

Yardlong Bean Growing Guide: Your Path to a Bountiful Harvest!
Ever dreamt of strolling through your garden, casually snipping beans that are, well, practically as long as your arm? That’s the magic of yardlong beans, also known as asparagus beans or Chinese long beans! These fascinating vegetables aren’t just a novelty; they’re a delicious and productive addition to any home garden. For centuries, yardlong beans have been a staple in Asian cuisine, gracing stir-fries, curries, and countless other dishes with their unique flavor and satisfying crunch.
But let’s be honest, sometimes gardening feels more like a battle than a blissful escape. Pests, diseases, and unpredictable weather can quickly turn your green dreams into a brown nightmare. That’s where this yardlong bean growing guide comes in! I’m here to share my tried-and-true tips and tricks to help you cultivate a thriving yardlong bean patch, even if you’re a complete beginner.
Why do you need this guide? Because growing yardlong beans successfully requires a little know-how. They have specific needs when it comes to sunlight, soil, and support. Without the right guidance, you might end up with spindly plants and a disappointing harvest. But fear not! With this yardlong bean growing guide, you’ll learn everything you need to know, from selecting the right seeds to harvesting your bumper crop. Get ready to impress your friends and family with your gardening prowess and enjoy the freshest, most flavorful yardlong beans straight from your backyard!
DIY Yardlong Bean Trellis: From Seed to Spectacular Harvest
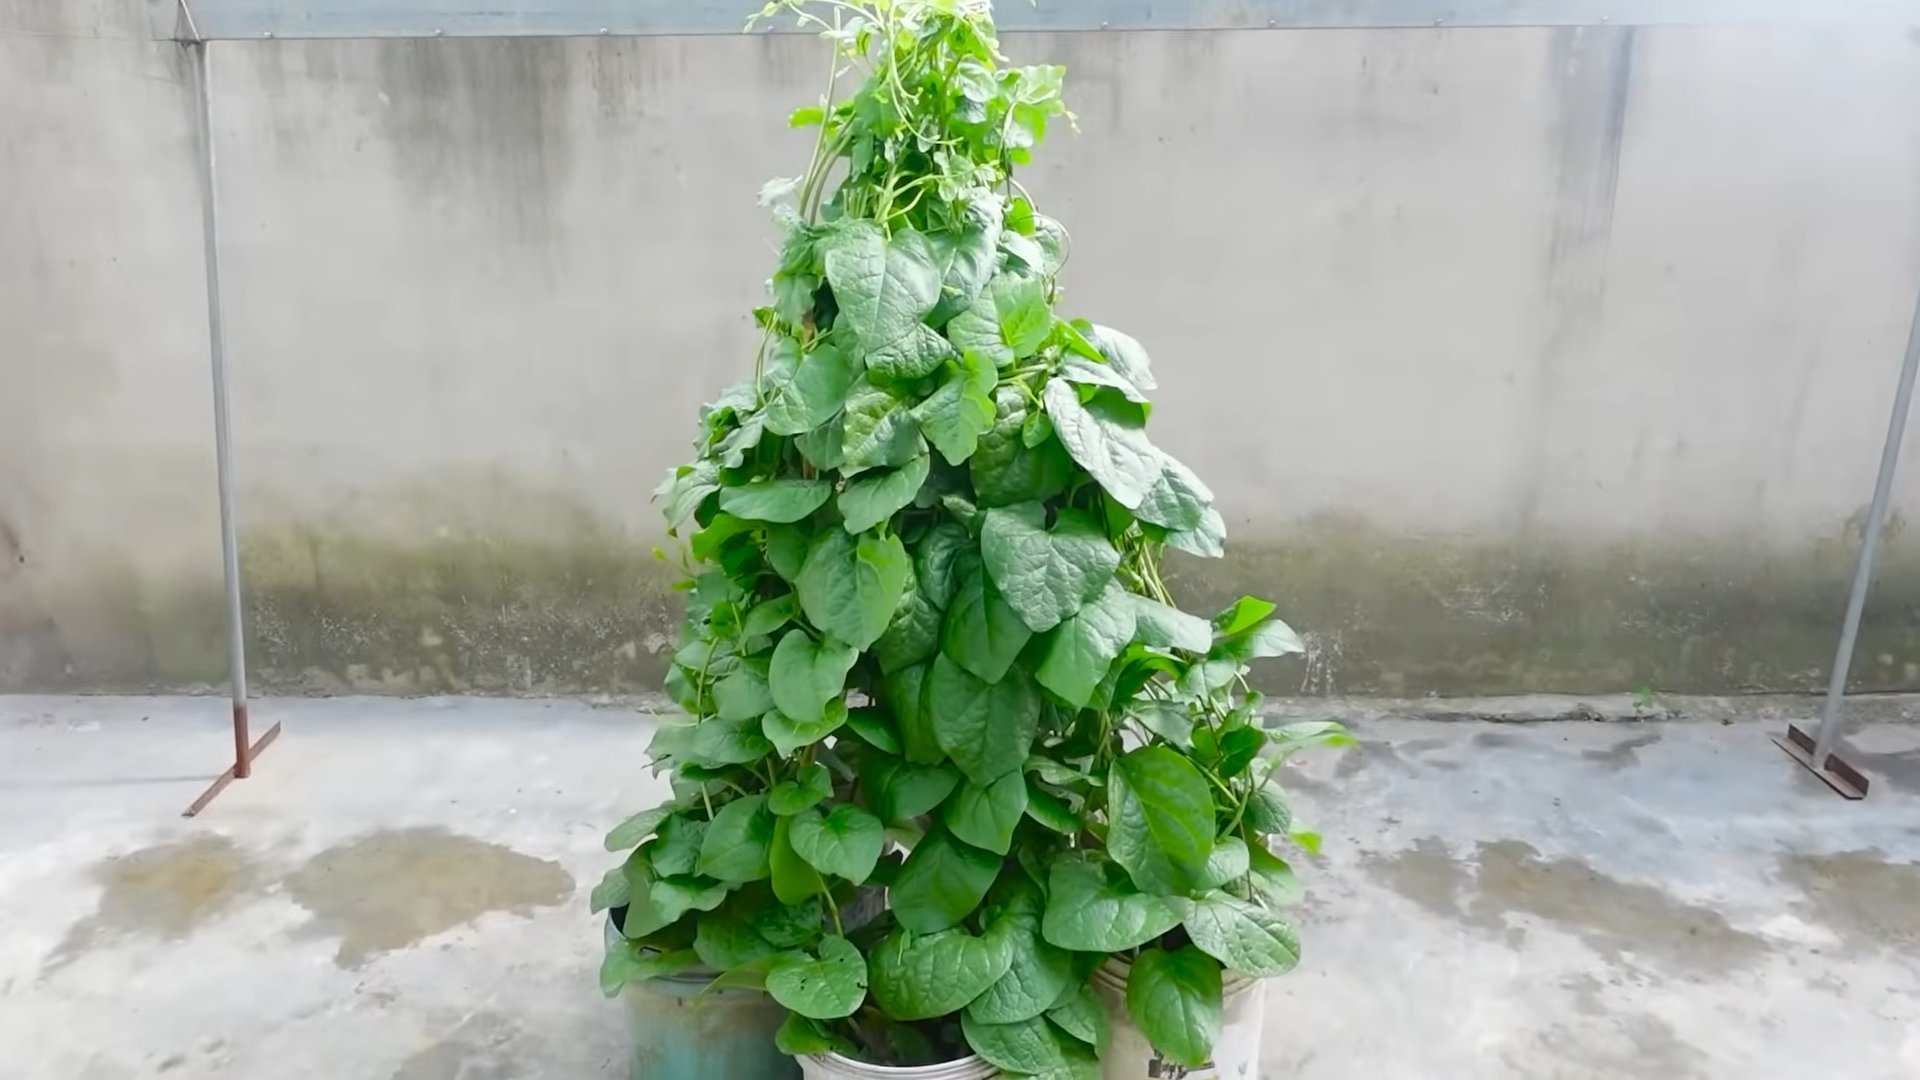
Okay, friends, let’s talk yardlong beans! These aren’t your average green beans. We’re talking about beans that can grow up to three feet long! But to get those impressive harvests, you’ll need a sturdy trellis. Buying one can be expensive, and honestly, where’s the fun in that? So, let’s build our own! This guide will walk you through creating a robust and beautiful trellis that will have your yardlong beans reaching for the sky.
Materials You’ll Need
Before we dive in, let’s gather our supplies. I’ve tried to keep this project budget-friendly, using materials you might already have lying around.
* **Wooden Posts:** Four 4×4 wooden posts, at least 8 feet long. Cedar or pressure-treated lumber is best for longevity, especially if you live in a damp climate. I’m using cedar because I love the natural look and its resistance to rot.
* **Horizontal Supports:** Two 2×4 wooden boards, each about 8 feet long. These will connect the posts at the top.
* **Wire Mesh or Netting:** This is what the beans will climb on. Chicken wire, cattle panel, or even sturdy garden netting will work. I’m opting for cattle panel because it’s super strong and will last for years. You’ll need enough to cover the area between your posts.
* **Fasteners:**
* Deck screws (3-inch) for attaching the horizontal supports to the posts.
* U-nails or heavy-duty staples for attaching the wire mesh or netting to the posts and horizontal supports.
* Zip ties (optional, but helpful for extra security with netting).
* **Tools:**
* Post hole digger or shovel
* Measuring tape
* Level
* Drill with screwdriver bits
* Hammer
* Wire cutters (if using cattle panel or chicken wire)
* Gloves (essential when working with wire mesh!)
* Safety glasses (always protect your eyes!)
* Saw (for cutting posts or horizontal supports if needed)
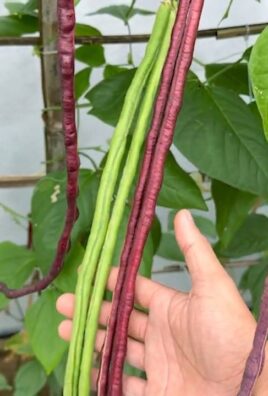
* **Yardlong Bean Seeds:** Of course! Choose a variety that suits your climate. I’m planting ‘Red Noodle’ this year – the vibrant red pods are stunning!
Planning Your Trellis
Before you start digging, let’s plan the layout. This will ensure your trellis is the right size and in the best location for your beans.
* **Location, Location, Location:** Choose a sunny spot in your garden that gets at least 6-8 hours of direct sunlight per day. Yardlong beans are sun-worshippers! Also, consider the prevailing wind direction. Orient your trellis so the wind doesn’t constantly batter the bean plants.
* **Trellis Size:** The size of your trellis will depend on how many beans you want to grow. A good starting point is a trellis that’s about 8 feet long and 4 feet wide. This will give your beans plenty of room to spread out.
* **Post Spacing:** I recommend spacing your posts about 4 feet apart. This will provide ample support for the heavy bean vines.
Building the Trellis: Step-by-Step
Alright, let’s get our hands dirty! This is where the magic happens.
Phase 1: Setting the Posts
This is the foundation of your trellis, so take your time and make sure the posts are sturdy and level.
1. **Dig the Post Holes:** Using your post hole digger or shovel, dig four holes, each about 2 feet deep. The holes should be spaced according to your planned layout (approximately 4 feet apart).
2. **Position the Posts:** Place one post in each hole. Make sure the posts are plumb (perfectly vertical). You can use a level to check this.
3. **Backfill the Holes:** Fill the holes with soil, tamping it down firmly around each post. This will help stabilize the posts. You can also use gravel or concrete for extra stability, especially if you live in an area with strong winds.
4. Check for Level:** Use your level again to ensure all the posts are still plumb. Make any necessary adjustments before the soil settles.
5. Ensure Consistent Height:** After backfilling, make sure all the posts are the same height. Use a measuring tape and a saw to trim any posts that are too tall. This will give your trellis a professional look.
Phase 2: Attaching the Horizontal Supports
Now we’ll connect the posts to create a strong frame for the trellis.
1. **Position the Horizontal Supports:** Place one 2×4 board across the top of two posts, ensuring it’s level. The board should overhang each post by a few inches for a clean look.
2. **Secure the Supports:** Using your drill and deck screws, attach the 2×4 board to each post. Use at least two screws per post for a secure connection.
3. **Repeat for the Other Side:** Repeat steps 1 and 2 for the other two posts and the remaining 2×4 board.
4. Double-Check Stability:** Give the frame a good shake to make sure it’s sturdy. If anything feels loose, add more screws.
Phase 3: Installing the Climbing Surface
This is where your beans will do their thing! Choose the material that best suits your needs and budget.
1. **Measure and Cut the Wire Mesh or Netting:** Measure the distance between the posts and the horizontal supports. Cut the wire mesh or netting to the appropriate size, leaving a few extra inches on each side for attaching.
2. **Attach the Climbing Surface:**
* **For Wire Mesh (like Cattle Panel):** Wearing gloves and safety glasses, carefully position the wire mesh between the posts and horizontal supports. Use U-nails or heavy-duty staples to attach the mesh to the posts and supports. Space the fasteners every few inches for a secure hold. Be careful when hammering the U-nails – they can bend easily!
* **For Netting:** Stretch the netting tightly between the posts and horizontal supports. Use U-nails or heavy-duty staples to attach the netting to the posts and supports. You can also use zip ties to secure the netting to the wire mesh or to the posts themselves.
3. Trim Excess Material:** Use wire cutters to trim any excess wire mesh or netting. Be careful not to leave any sharp edges that could injure you or your plants.
4. Inspect for Security:** Give the climbing surface a good tug to make sure it’s securely attached. Add more fasteners if needed.
Planting Your Yardlong Beans
Now for the fun part – planting!
1. **Prepare the Soil:** Amend the soil around the base of the trellis with compost or other organic matter. Yardlong beans prefer well-drained, fertile soil.
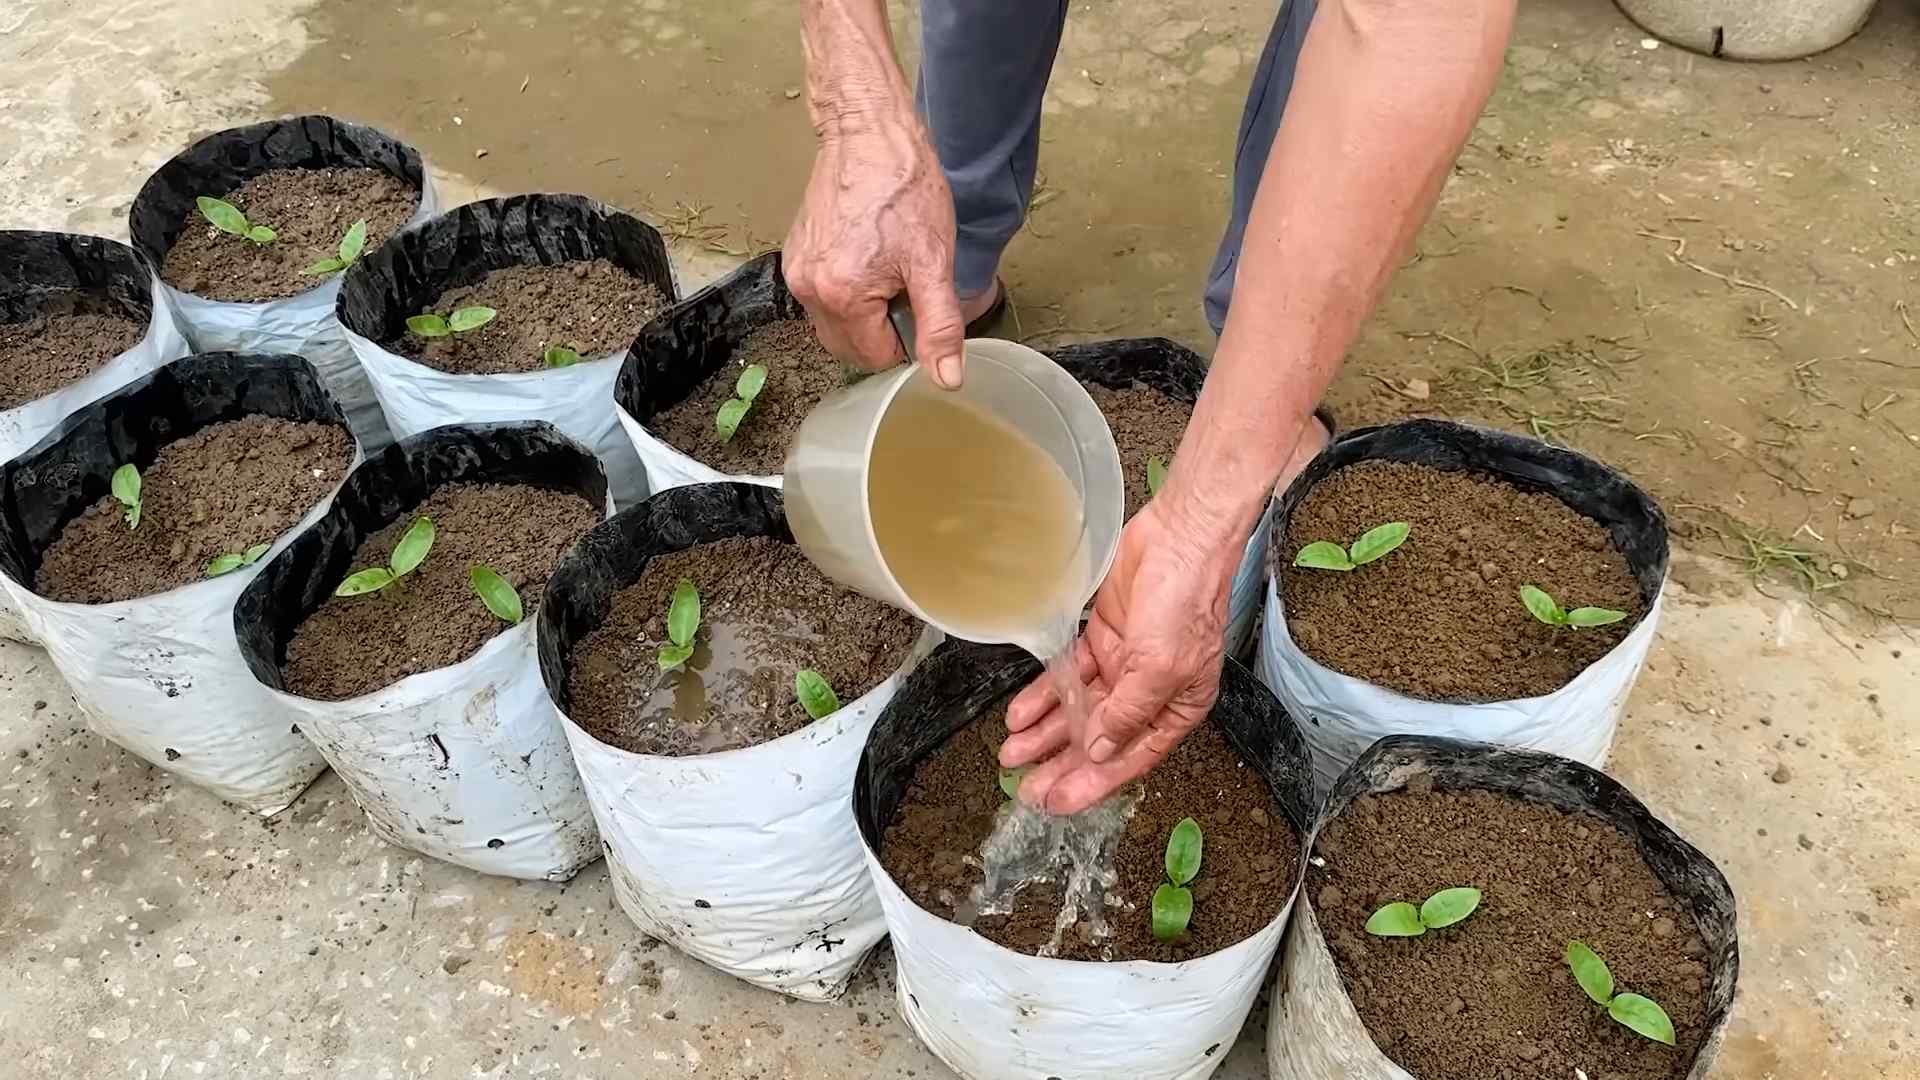
2. **Sow the Seeds:** Plant the seeds about 1 inch deep and 4-6 inches apart along the base of the trellis. Follow the instructions on your seed packet for specific planting recommendations.
3. **Water Thoroughly:** Water the seeds gently but thoroughly after planting.
4. **Provide Initial Support:** As the bean seedlings emerge, gently guide them towards the trellis. You can use twine or plant clips to help them get started.
5. Water Regularly:** Keep the soil consistently moist, especially during hot weather.
6. Fertilize as Needed:** Fertilize your bean plants every few weeks with a balanced fertilizer.
7. Watch Them Grow!:** Keep an eye out for pests and diseases. Treat any problems promptly. And most importantly, enjoy watching your yardlong beans climb and produce those amazing, extra-long pods!
Tips for Success
Here are a few extra tips to help you get the most out of your yardlong bean trellis:
* Choose the Right Variety:** Some yardlong bean varieties are better suited to certain climates than others. Do your research to find a variety that will thrive in your area.
* Provide Adequate Support:** Yardlong beans can get heavy, so make sure your trellis is strong enough to support them.
* Water Deeply and Regularly:** Yardlong beans need plenty of water, especially during hot weather. Water deeply and regularly to keep the soil consistently moist.
* Fertilize Regularly:** Yardlong beans are heavy feeders, so fertilize them regularly with a balanced fertilizer.
* Harvest Frequently:** Harvest your yardlong beans when they are young and tender. This will encourage the plants to produce more beans.
* Consider Companion Planting:** Plant beneficial companion plants near your yardlong beans to help deter pests and attract pollinators. Some good companion plants include marigolds, basil, and nasturtiums.
* Mulch Around the Base:** Mulching around the base of the plants helps to retain moisture, suppress weeds, and regulate soil temperature.
* Rotate Your Crops:** Avoid planting yardlong beans in the same spot year after year. Crop rotation helps to prevent soilborne diseases and pests
Conclusion
So, there you have it! This comprehensive guide equips you with everything you need to successfully cultivate your own vibrant and productive yardlong bean patch. From selecting the perfect variety to battling common pests, we’ve covered all the essential aspects of yardlong bean growing. But why should you embark on this gardening adventure? Because the reward is far more than just fresh produce; it’s the satisfaction of nurturing life, the joy of harvesting your own food, and the unparalleled flavor of homegrown yardlong beans.
Why is growing your own yardlong beans a must-try? Simply put, the taste and texture of freshly picked yardlong beans are incomparable to anything you’ll find in a grocery store. The beans are crisp, tender, and bursting with a unique, slightly sweet flavor that elevates stir-fries, salads, and countless other dishes. Beyond the superior taste, growing your own beans allows you to control the growing environment, ensuring they are free from harmful pesticides and herbicides. You’ll also be reducing your carbon footprint by minimizing transportation costs associated with commercially grown produce.
But the benefits don’t stop there. Yardlong beans are incredibly prolific, providing a generous harvest throughout the growing season. This abundance allows you to experiment with different recipes, share your bounty with friends and neighbors, and even preserve some for later enjoyment. Imagine the satisfaction of serving a dish featuring your own homegrown yardlong beans at your next dinner party!
Ready to take your yardlong bean growing to the next level? Consider these variations and suggestions:
* Vertical Gardening: If you’re short on space, yardlong beans are perfect for vertical gardening. Train them up trellises, fences, or even sturdy tomato cages to maximize your yield in a small area.
* Companion Planting: Enhance your yardlong bean patch by incorporating companion plants like basil, marigolds, and rosemary. These herbs can help deter pests and attract beneficial insects, creating a healthier and more productive growing environment.
* Succession Planting: Extend your harvest season by planting yardlong beans in succession. Sow new seeds every few weeks to ensure a continuous supply of fresh beans throughout the summer and fall.
* Seed Saving: Save seeds from your best-performing yardlong bean plants to ensure a consistent supply of high-quality seeds for future growing seasons. This is a great way to adapt your beans to your specific climate and growing conditions.
* Explore Different Varieties: Don’t limit yourself to just one variety of yardlong bean. Experiment with different colors, shapes, and flavors to discover your favorites. Some popular varieties include ‘Red Noodle,’ ‘Chinese Red,’ and ‘Orient Wonder.’
We are confident that with the knowledge and tips shared in this guide, you’ll be well on your way to enjoying a bountiful harvest of delicious yardlong beans. So, grab your seeds, prepare your garden, and get ready to experience the joy of growing your own food.
We encourage you to try this yardlong bean growing guide and share your experiences with us! Let us know what varieties you’re growing, what challenges you’ve faced, and what successes you’ve achieved. Share your photos, recipes, and tips in the comments section below. Together, we can create a thriving community of yardlong bean enthusiasts! Happy gardening!
Frequently Asked Questions (FAQ)
What are the best conditions for yardlong bean growing?
Yardlong beans thrive in warm weather and require at least 6-8 hours of direct sunlight per day. The ideal soil temperature for germination is between 70°F and 85°F (21°C and 29°C). They prefer well-drained soil that is rich in organic matter. Amend your soil with compost or aged manure before planting to improve its fertility and drainage. Yardlong beans are also heavy feeders, so regular fertilization is essential for optimal growth and yield.
How often should I water my yardlong beans?
Yardlong beans need consistent moisture, especially during hot and dry weather. Water deeply and regularly, aiming to keep the soil consistently moist but not waterlogged. Avoid overhead watering, as this can increase the risk of fungal diseases. Instead, use a soaker hose or drip irrigation system to deliver water directly to the roots. Mulching around the plants can also help retain moisture and suppress weeds. Check the soil moisture regularly by sticking your finger about an inch deep into the soil. If it feels dry, it’s time to water.
What are some common pests and diseases that affect yardlong beans?
Yardlong beans can be susceptible to various pests and diseases, including aphids, bean beetles, spider mites, and fungal diseases like powdery mildew and rust. Regularly inspect your plants for signs of infestation or disease. To prevent pest problems, consider using companion planting techniques, such as planting basil or marigolds near your beans. You can also use insecticidal soap or neem oil to control aphids and other pests. For fungal diseases, ensure good air circulation around the plants and avoid overhead watering. If necessary, use a fungicide specifically labeled for use on beans.
How long does it take for yardlong beans to mature?
Yardlong beans typically take 60-80 days to mature after planting. The exact time will depend on the variety, growing conditions, and climate. You can start harvesting the beans when they are about 12-18 inches long and still tender. Regular harvesting will encourage the plant to produce more beans.
Can I grow yardlong beans in containers?
Yes, yardlong beans can be successfully grown in containers, provided you choose a large enough container (at least 12 inches in diameter and depth) and provide adequate support for the vines. Use a well-draining potting mix and ensure the container receives plenty of sunlight. Water regularly and fertilize every few weeks with a balanced fertilizer.
How do I support yardlong bean vines?
Yardlong beans are climbing plants and require support to grow properly. You can use trellises, fences, or even sturdy tomato cages to support the vines. Install the support structure before planting the beans to avoid disturbing the roots later. As the vines grow, gently guide them onto the support structure and tie them loosely if necessary.
Are yardlong bean seeds easy to save?
Yes, yardlong bean seeds are relatively easy to save. Allow some of the pods to mature fully on the plant until they are dry and brown. Harvest the pods and shell the seeds. Spread the seeds out on a tray to dry completely for a few days. Store the dried seeds in an airtight container in a cool, dark, and dry place.
What are some good companion plants for yardlong beans?
Good companion plants for yardlong beans include basil, marigolds, rosemary, carrots, cucumbers, and radishes. Basil and marigolds can help deter pests, while rosemary can attract beneficial insects. Carrots, cucumbers, and radishes can help improve soil health and provide ground cover. Avoid planting yardlong beans near onions or garlic, as these can inhibit their growth.
How do I know when to harvest yardlong beans?
Harvest yardlong beans when they are about 12-18 inches long and still tender. The pods should be firm and snap easily when bent. Avoid harvesting beans that are too mature, as they can become tough and stringy. Regular harvesting will encourage the plant to produce more beans.
Can I eat the leaves of yardlong beans?
While the primary focus is on the pods, the young leaves of yardlong beans are also edible and can be used in salads or stir-fries. However, it’s best to harvest only a small amount of leaves to avoid stressing the plant. Ensure the leaves are thoroughly washed before consumption.

Leave a Comment