

WD40 household uses – you’ve probably got a can lurking in your garage, right? But did you know its talents extend far beyond silencing squeaky hinges? I’m about to unlock a treasure trove of DIY tricks that will make you see this iconic spray in a whole new light! For generations, WD40 has been a go-to solution for mechanics and handymen, a legacy that speaks volumes about its versatility. But its applications in the home are often overlooked, and that’s where I come in!
Think about it: how often do you struggle with sticky residue, stubborn stains, or even just getting your garden tools clean? These little annoyances can add up, costing you time and frustration. That’s why mastering these WD40 household uses is a game-changer. I’m going to show you how to tackle everyday problems with this simple, readily available product, saving you money on specialized cleaners and making your life a whole lot easier. Get ready to be amazed by the power of WD40 – it’s time to unleash its full potential in your home!
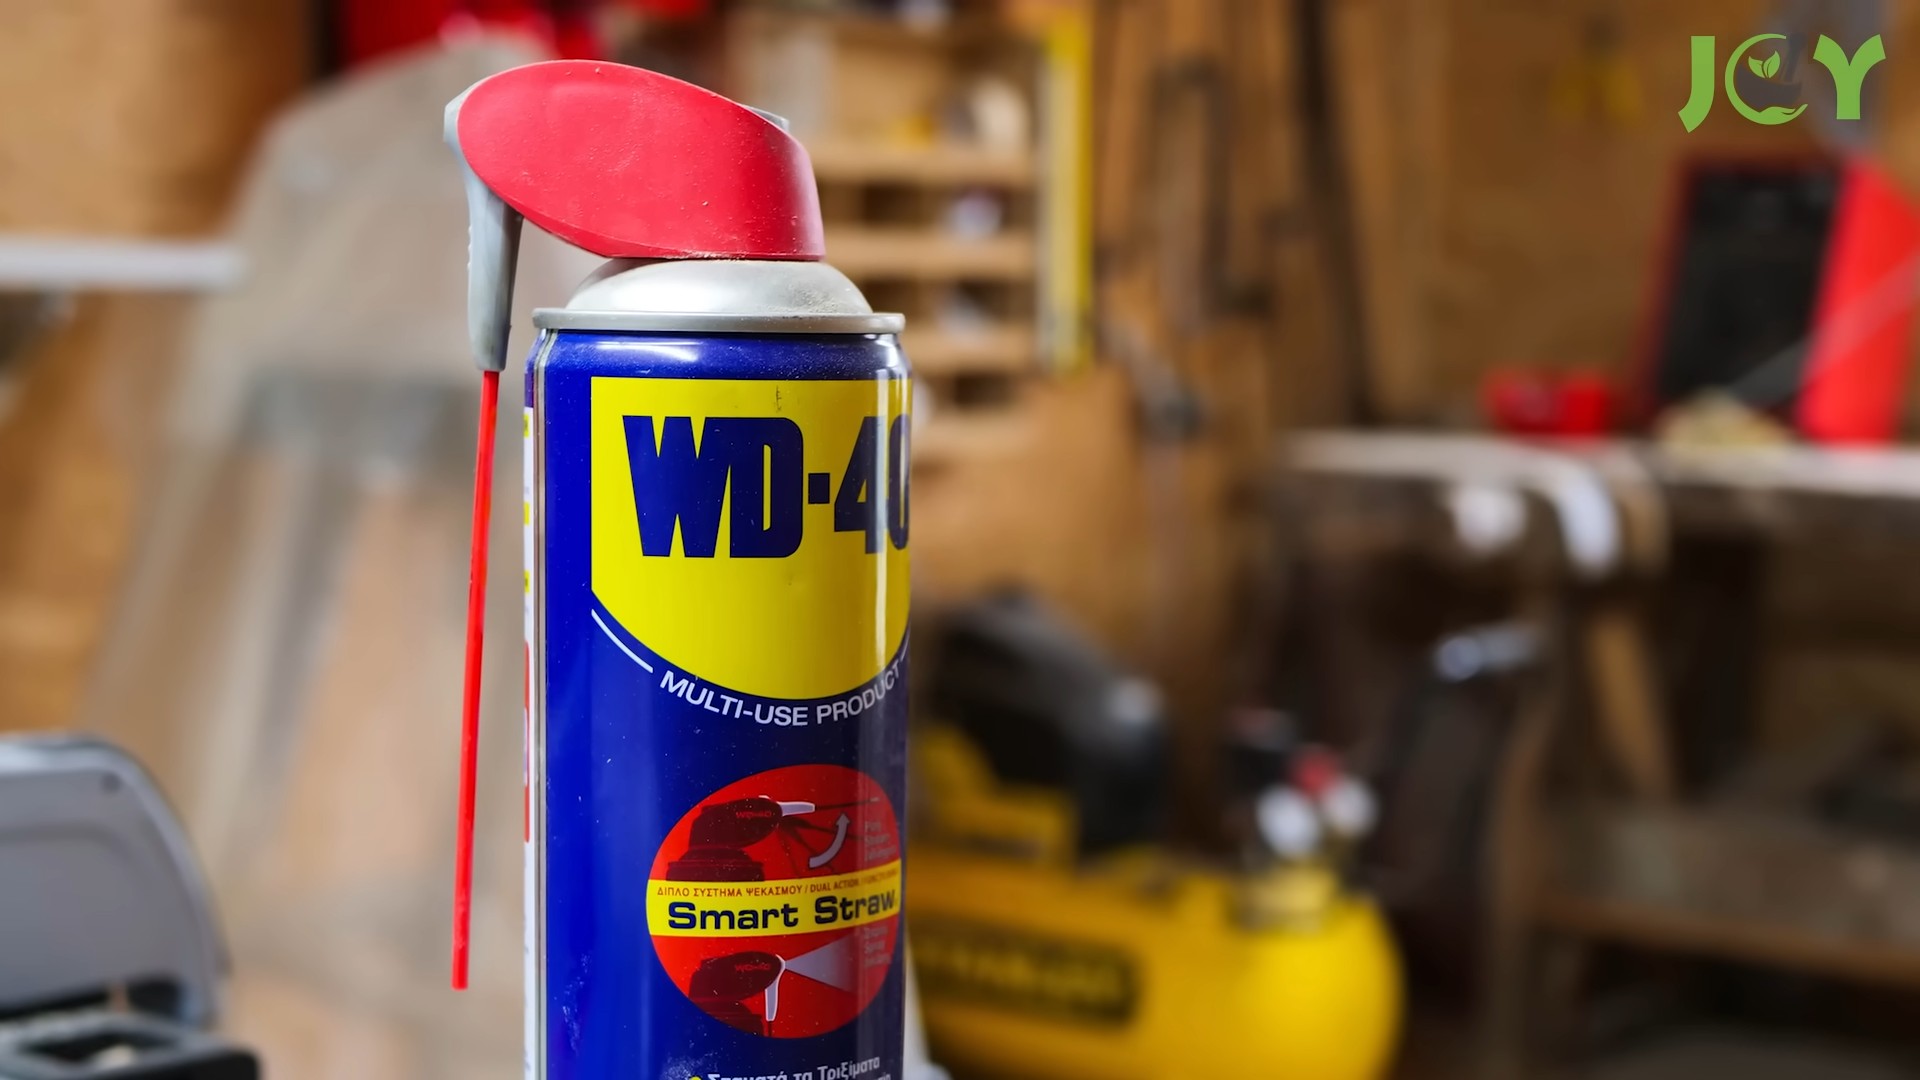
Unlock the Magic: 20 Unexpected Ways to Use WD-40 Around Your Home
Hey there, DIY enthusiasts! I’m always on the lookout for clever hacks to make life easier, and let me tell you, WD-40 is a total game-changer. It’s not just for squeaky hinges and rusty bolts; this stuff is practically magic around the house. I’ve compiled a list of 20 surprising and super useful ways you can use WD-40 to tackle everyday problems. Get ready to be amazed!
1. Removing Stubborn Stickers and Labels
We’ve all been there – battling a stubborn sticker that just won’t peel off cleanly. WD-40 to the rescue!
* The Problem: Sticky residue left behind by labels, price tags, or even those pesky bumper stickers.
* The Solution: WD-40 dissolves the adhesive, making removal a breeze.
Step-by-Step Instructions:
1. Spray it on: Generously spray WD-40 directly onto the sticker or label. Make sure you saturate the area, especially around the edges.
2. Let it soak: Give it a few minutes (5-10 should do the trick) to penetrate the adhesive. The longer you let it sit, the easier the removal will be.
3. Peel and wipe: Gently peel back a corner of the sticker. If it still feels stuck, spray a little more WD-40 underneath as you peel.
4. Clean up: Once the sticker is removed, wipe away any remaining residue with a clean cloth. You might need a little soap and water for the final touch.
2. Silencing Squeaky Hinges
This is probably the most well-known use, but it’s worth mentioning because it works so darn well!
* The Problem: Annoying squeaks from door hinges, cabinet hinges, or even gate hinges.
* The Solution: WD-40 lubricates the moving parts, eliminating friction and silencing the squeak.
Step-by-Step Instructions:
1. Aim and spray: Use the straw attachment to precisely target the hinge. Spray a short burst of WD-40 directly into the hinge mechanism.
2. Work it in: Open and close the door or cabinet several times to distribute the lubricant.
3. Wipe away excess: Use a clean cloth to wipe away any drips or excess WD-40. You don’t want it running down your door or cabinet!
4. Repeat if needed: If the squeak persists, repeat the process. Sometimes it takes a second application to fully penetrate the hinge.
3. Loosening Rusted Bolts and Screws
Don’t struggle with rusted fasteners! WD-40 can help you break them free.
* The Problem: Rusted or corroded bolts and screws that are impossible to turn.
* The Solution: WD-40 penetrates the rust and corrosion, loosening the bond and allowing you to turn the fastener.
Step-by-Step Instructions:
1. Apply liberally: Spray WD-40 directly onto the rusted bolt or screw, making sure to saturate the threads.
2. Let it sit: This is crucial! Give the WD-40 ample time to work – at least 15-30 minutes, or even longer for severely rusted fasteners. Overnight is ideal.
3. Tap gently: Before attempting to turn the fastener, gently tap it with a hammer. This can help break the rust bond.
4. Use the right tool: Use a wrench or screwdriver that fits the fastener properly. Avoid using pliers, as they can strip the head.
5. Apply pressure: Apply steady pressure while turning the fastener. Avoid jerking or forcing it, as this can break the head.
6. Repeat if needed: If the fastener still won’t budge, apply more WD-40 and let it sit longer. You can also try heating the fastener with a heat gun (carefully!) to help loosen the rust.
4. Removing Gum from Hair or Fabric
Oh no, gum stuck in your hair or on your favorite sweater? Don’t panic!
* The Problem: Sticky gum stubbornly clinging to hair or fabric.
* The Solution: WD-40 lubricates the gum, making it easier to remove without damaging the hair or fabric.
Step-by-Step Instructions (Hair):
1. Protect the surrounding hair: Isolate the gum-stuck area as much as possible.
2. Spray sparingly: Lightly spray WD-40 onto the gum, being careful not to get it in the eyes.
3. Gently massage: Gently massage the WD-40 into the gum.
4. Comb it out: Use a fine-toothed comb to gently comb the gum out of the hair.
5. Wash thoroughly: Wash the hair with shampoo and water to remove any remaining WD-40.
Step-by-Step Instructions (Fabric):
1. Test in an inconspicuous area: Before applying WD-40 to the gum, test it on a hidden part of the fabric to make sure it doesn’t cause discoloration.
2. Spray and soak: Spray WD-40 onto the gum and let it soak for a few minutes.
3. Scrape gently: Use a dull knife or scraper to gently scrape the gum off the fabric.
4. Launder as usual: Wash the garment according to the care instructions.
5. Cleaning and Protecting Garden Tools
Keep your garden tools in tip-top shape with WD-40!
* The Problem: Rust and dirt buildup on garden tools, making them difficult to use and shortening their lifespan.
* The Solution: WD-40 cleans, lubricates, and protects garden tools from rust and corrosion.
Step-by-Step Instructions:
1. Clean the tools: Remove any loose dirt or debris from the tools with a brush or cloth.
2. Spray liberally: Spray WD-40 onto the metal parts of the tools, paying attention to the blades and joints.
3. Wipe away excess: Wipe away any excess WD-40 with a clean cloth.
4. Store properly: Store the tools in a dry place to prevent rust.
6. Removing Crayon Marks from Walls
Kids and crayons – a classic combination, but not always a welcome one on your walls!
* The Problem: Crayon marks on walls, furniture, or other surfaces.
* The Solution: WD-40 dissolves the wax in the crayon, making it easy to wipe away.
Step-by-Step Instructions:
1. Test in an inconspicuous area: Before spraying WD-40 on the crayon marks, test it on a hidden part of the wall to make sure it doesn’t damage the paint.
2. Spray lightly: Lightly spray WD-40 onto the crayon marks.
3. Wipe clean: Wipe the area with a clean cloth. The crayon should come off easily.
4. Clean with soap and water: Wipe the area again with a damp cloth and a mild soap to remove any remaining WD-40 residue.
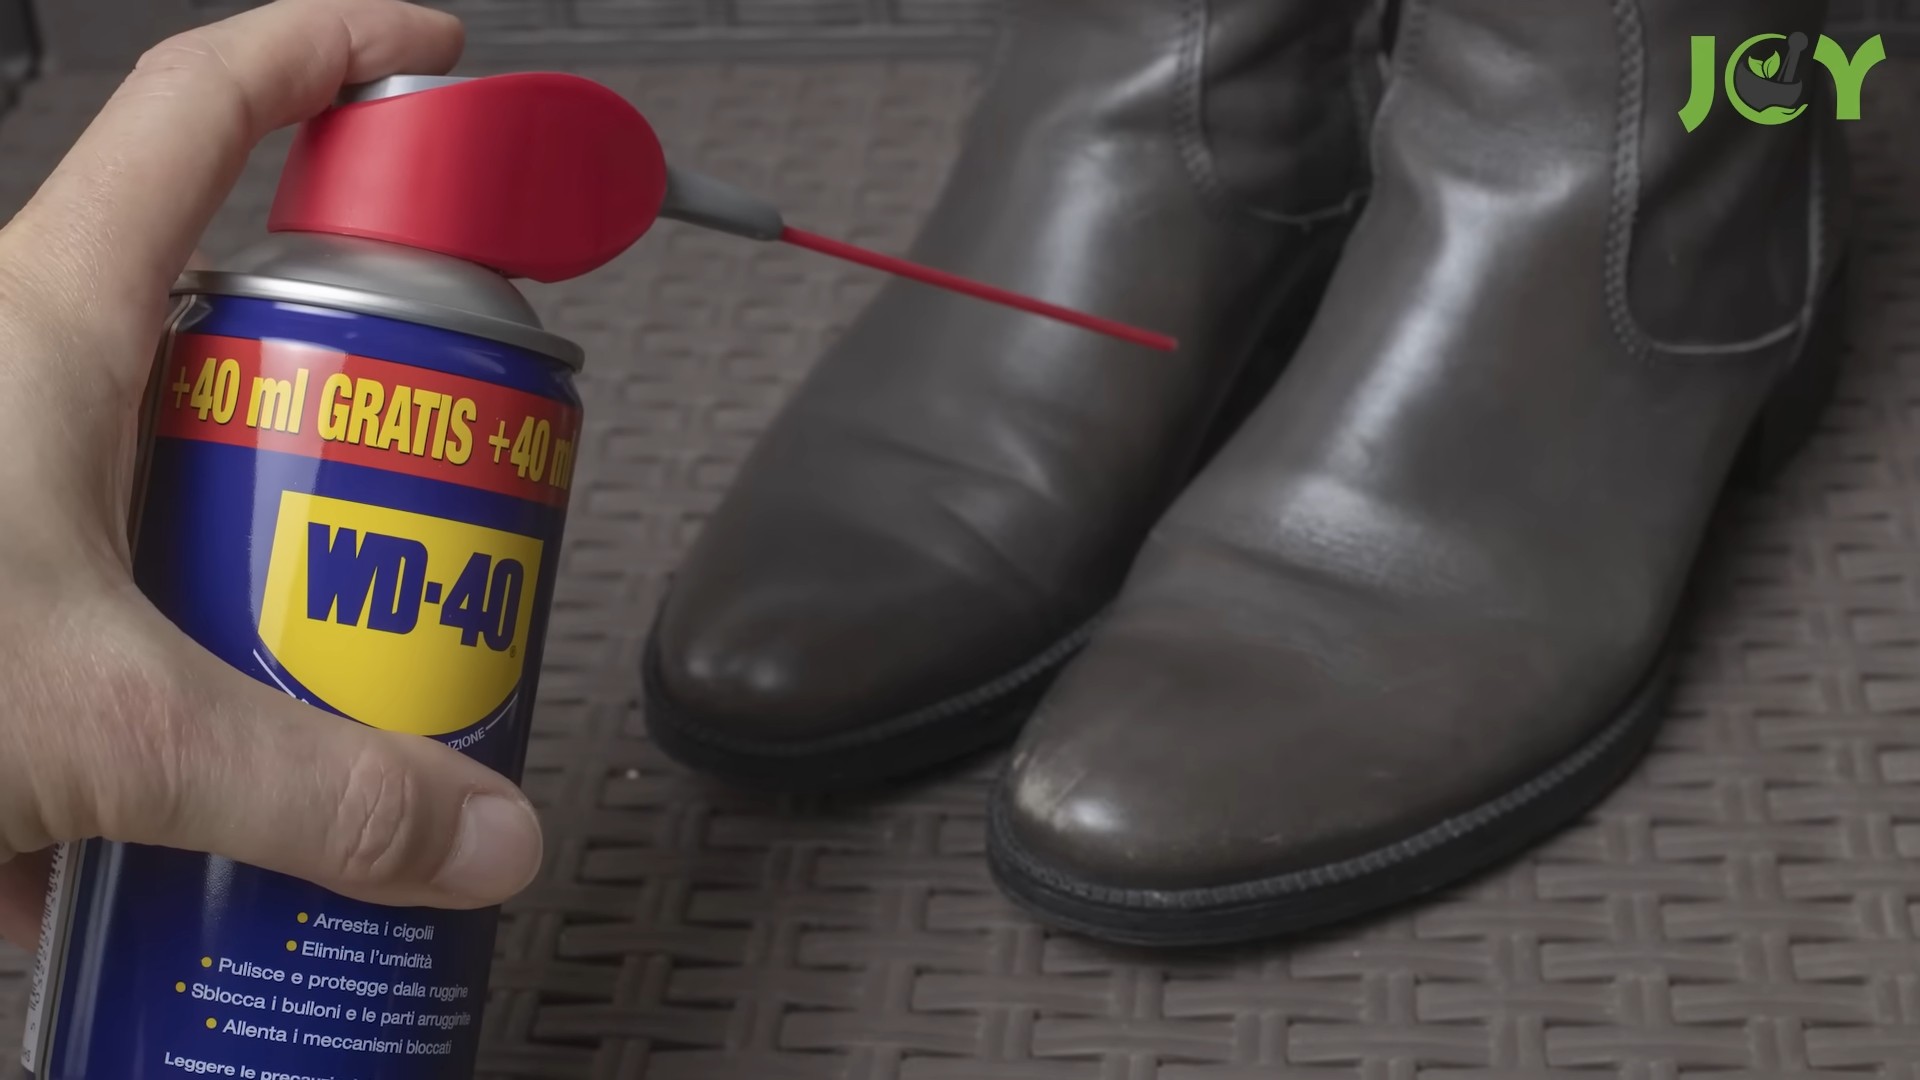
7. Waterproofing Shoes and Boots
Keep your feet dry and comfortable with this simple trick.
* The Problem: Shoes and boots getting wet and soggy in rainy or snowy weather.
* The Solution: WD-40 creates a water-resistant barrier on the surface of the shoes, helping to repel water.
Step-by-Step Instructions:
1. Clean the shoes: Make sure your shoes are clean and dry before applying WD-40.
2. Spray evenly: Spray WD-40 evenly over the entire surface of the shoes, holding the can about 6-8 inches away.
3. Let it dry: Allow the WD-40 to dry completely before wearing the shoes. This may take several hours.
4. Repeat as needed: Reapply WD-40 as needed, especially after wearing the shoes in wet conditions.
8. Preventing Rust on Metal Surfaces
Protect your metal items from rust and corrosion.
* The Problem: Rust forming on metal surfaces, especially in humid environments.
* The Solution: WD-40 creates a protective barrier that prevents moisture from reaching the metal, thus preventing rust.
Step-by-Step Instructions:
1. Clean the surface: Clean the metal surface to remove any dirt, grease, or existing rust.
2. Spray evenly: Spray WD-40 evenly over the entire surface, holding the can about 6-8 inches away.
3. Wipe away excess: Wipe away any excess WD
Conclusion
So, there you have it! Unlocking the potential of WD40 for household uses is not just a clever hack; it’s a game-changer for simplifying your life and saving you money. From banishing squeaks and dissolving stubborn grime to protecting your tools and revitalizing your garden, the versatility of this product is truly remarkable. We’ve explored a range of applications, proving that WD40 is far more than just a lubricant for rusty bolts. It’s a multi-purpose problem-solver that deserves a place in every home.
Why is this DIY trick a must-try? Because it’s effective, affordable, and readily available. Instead of reaching for a cabinet full of specialized cleaners and lubricants, you can often achieve the same, if not better, results with a single can of WD40. Think of the space you’ll save, the money you’ll keep in your pocket, and the satisfaction of tackling household challenges with a simple, yet powerful solution.
But the possibilities don’t end here! Feel free to experiment and discover new ways to utilize WD40 around your home. For instance, if you’re dealing with sticky residue from labels or tape, try spraying a small amount of WD40, letting it sit for a few minutes, and then wiping it away. You can also use it to protect your outdoor furniture from rust and corrosion, especially during harsh weather conditions. Consider applying a light coat to metal hinges and latches on gates and fences to keep them functioning smoothly year-round.
For a variation on the shoe scuff removal trick, try using a microfiber cloth instead of a paper towel for an even gentler approach, especially on delicate surfaces. If you’re using WD40 to clean your shower door, consider following up with a squeegee to prevent water spots and maintain a sparkling finish. Remember to always test WD40 in an inconspicuous area first, especially on painted or delicate surfaces, to ensure it doesn’t cause any damage or discoloration.
We’re confident that once you experience the magic of WD40 for household uses, you’ll wonder how you ever lived without it. It’s a simple, effective, and surprisingly versatile solution to a wide range of common household problems.
Now, it’s your turn! We encourage you to try these DIY tricks and share your experiences with us. Did you discover a new and innovative way to use WD40? Did you find a particular application especially helpful? Let us know in the comments below! Your insights could help other readers unlock even more potential from this amazing product. We’re eager to hear your stories and learn from your successes. So, grab a can of WD40, get creative, and start simplifying your life today! Don’t forget to share your before-and-after photos – we’d love to see the results!
Frequently Asked Questions (FAQs)
Is WD40 safe to use around children and pets?
While WD40 is a versatile product, it’s essential to use it responsibly, especially around children and pets. WD40 contains petroleum distillates, which can be harmful if ingested or inhaled in large quantities. Always store WD40 out of reach of children and pets. When using it indoors, ensure adequate ventilation to avoid inhaling fumes. If you’re concerned about potential exposure, consider using WD40 alternatives that are specifically formulated to be safer for use around children and pets. These alternatives often contain plant-based ingredients and are less likely to cause adverse reactions. Always read the product label carefully and follow the manufacturer’s instructions for safe use and disposal. If you suspect that a child or pet has ingested WD40, contact a medical professional or veterinarian immediately.
Can WD40 damage certain surfaces?
Yes, WD40 can potentially damage certain surfaces, especially if used improperly or in excessive amounts. While it’s generally safe for use on metal, glass, and some plastics, it can react negatively with certain types of paint, rubber, and some delicate fabrics. Before applying WD40 to any surface, it’s crucial to test it in an inconspicuous area first to ensure it doesn’t cause any discoloration, staining, or other damage. Avoid using WD40 on surfaces that are known to be sensitive to petroleum-based products. For example, it’s generally not recommended to use WD40 on leather, as it can dry it out and cause cracking. Similarly, avoid using it on certain types of rubber, as it can cause them to swell or degrade. If you’re unsure whether WD40 is safe for a particular surface, consult the manufacturer’s instructions or contact a professional cleaner for advice.
How should I properly dispose of WD40?
Proper disposal of WD40 is essential to protect the environment and prevent potential hazards. WD40 is considered a hazardous waste product and should not be disposed of in regular household trash or poured down the drain. Instead, you should take it to a designated hazardous waste collection facility in your area. These facilities are equipped to handle hazardous materials safely and dispose of them in an environmentally responsible manner. You can find a list of hazardous waste collection facilities in your area by contacting your local waste management department or searching online. When transporting WD40 to a collection facility, make sure it’s securely sealed in its original container to prevent leaks or spills. If you have leftover WD40 in an aerosol can, ensure that the can is completely empty before disposing of it. You can do this by spraying the remaining contents into a rag or container until no more product comes out.
Is WD40 a lubricant or a cleaner?
WD40 is both a lubricant and a cleaner, although it’s primarily known for its lubricating properties. It contains a blend of solvents, lubricants, and corrosion inhibitors that work together to loosen rust, displace moisture, and reduce friction between moving parts. As a cleaner, WD40 can effectively dissolve grease, grime, and other stubborn residues, making it useful for cleaning tools, equipment, and other surfaces. However, it’s important to note that WD40 is not a long-lasting lubricant. While it can provide temporary lubrication, it tends to evaporate over time, leaving surfaces vulnerable to friction and wear. For long-term lubrication, it’s best to use a dedicated lubricant that’s specifically designed for the application. WD40 is an excellent choice for cleaning and loosening stuck parts, but it should be followed up with a more durable lubricant for optimal performance.
Can I use WD40 on electrical components?
While WD40 can be used on some electrical components, it’s important to exercise caution and follow certain guidelines to avoid potential hazards. WD40 is non-conductive, meaning it doesn’t conduct electricity, which makes it safe to use on electrical contacts and connections to displace moisture and prevent corrosion. However, it’s crucial to disconnect the power source before applying WD40 to any electrical component. This will prevent the risk of electric shock or short circuits. Avoid using WD40 on sensitive electronic components, such as circuit boards or microchips, as it can potentially damage them. When using WD40 on electrical components, apply it sparingly and wipe away any excess with a clean cloth. Allow the WD40 to dry completely before reconnecting the power source. If you’re unsure whether WD40 is safe for a particular electrical component, consult the manufacturer’s instructions or contact a qualified electrician for advice.
How can I remove WD40 residue from surfaces?
While WD40 is a useful product, it can sometimes leave behind a residue that can be difficult to remove. The best way to remove WD40 residue depends on the type of surface it’s on. For hard surfaces like metal, glass, or plastic, you can typically remove WD40 residue with a clean cloth and a mild detergent or degreaser. Simply apply the detergent or degreaser to the affected area, let it sit for a few minutes, and then wipe it away with a clean cloth. For porous surfaces like fabric or carpet, you may need to use a more specialized cleaning solution. Start by blotting the affected area with a clean cloth to absorb as much of the WD40 as possible. Then, apply a stain remover specifically designed for oil-based stains and follow the manufacturer’s instructions. You may need to repeat the process several times to completely remove the WD40 residue. Always test the cleaning solution in an inconspicuous area first to ensure it doesn’t damage the surface.
Leave a Comment