

Toothbrush cleaning hacks – who knew such a small tool could have so many secrets? Let’s be honest, we all know we *should* be cleaning our toothbrushes regularly, but how many of us actually do it? I’m guilty as charged! But what if I told you that keeping your toothbrush sparkling clean is easier than you think, and can significantly impact your oral health?
Throughout history, oral hygiene practices have evolved, from chewing on twigs to the invention of the modern toothbrush. But one thing has remained constant: the need to keep our teeth and mouths healthy. A clean toothbrush is fundamental to this. Think about it – your toothbrush is constantly exposed to bacteria, food particles, and moisture, creating a breeding ground for germs. Yuck!
That’s where these amazing toothbrush cleaning hacks come in. This DIY guide will provide you with simple, effective, and budget-friendly methods to disinfect and maintain your toothbrush, preventing the spread of bacteria and ensuring a healthier smile. We’ll explore everything from using common household ingredients to quick and easy cleaning routines. So, ditch the germs and embrace a cleaner, healthier you with these easy-to-follow tips!
DIY Toothbrush Cleaning Hacks: Keep Your Smile Sparkling!
Hey there, fellow DIY enthusiasts! Let’s talk about something we all use twice a day (hopefully!): our toothbrushes. We rely on them to keep our pearly whites shining, but how often do we think about cleaning the *toothbrush* itself? Probably not enough! A dirty toothbrush can harbor bacteria, fungi, and even viruses – yikes! So, I’m here to share some super easy and effective DIY toothbrush cleaning hacks to keep your mouth healthy and your smile bright.
Why Clean Your Toothbrush?
Before we dive into the how-to, let’s quickly cover the why. Think about it: your toothbrush goes into your mouth, battling plaque and food particles. Then, it sits in a damp environment, which is basically a breeding ground for all sorts of nasties. Cleaning your toothbrush regularly helps:
* Reduce bacteria buildup: This is the big one! A clean toothbrush means fewer germs going back into your mouth.
* Extend the life of your toothbrush: Removing debris and buildup can help your toothbrush last longer (though you should still replace it every 3 months, or sooner if the bristles are frayed).
* Improve your oral hygiene: A cleaner toothbrush contributes to a cleaner mouth and healthier gums.
Hack #1: The Simple Rinse and Air Dry
This is the most basic, but also the most crucial, step. It’s something you should do *after every single use*.
Step-by-step Instructions:
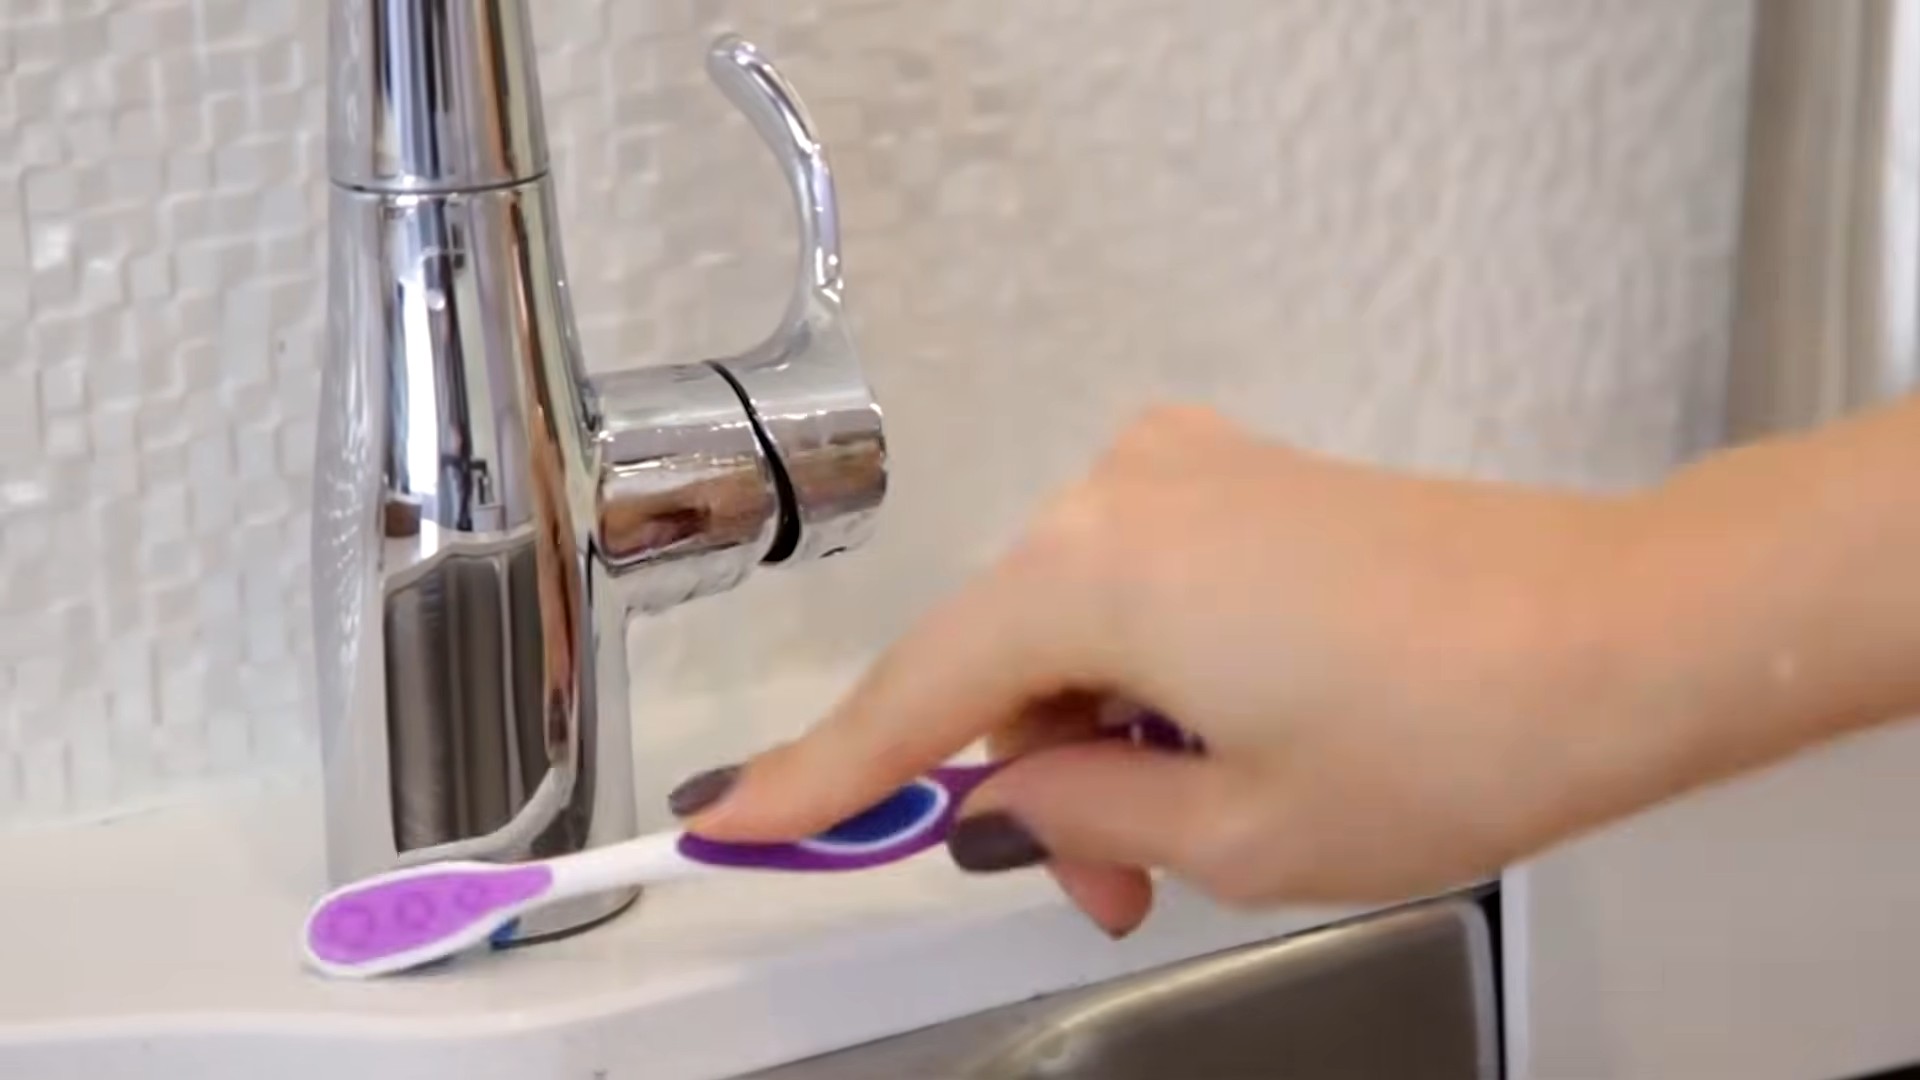
1. Rinse thoroughly: After brushing, rinse your toothbrush under hot, running water for at least 30 seconds. Make sure to get all the toothpaste and food particles out from between the bristles. I like to use my finger to gently massage the bristles while rinsing to dislodge any stubborn bits.
2. Shake it off: Give your toothbrush a good shake to remove excess water. This helps prevent bacteria from thriving in a damp environment.
3. Air dry upright: Store your toothbrush upright in a holder that allows air to circulate around the bristles. Avoid storing it in a closed container or lying it flat on a surface, as this can trap moisture and encourage bacterial growth. I use a simple toothbrush holder with individual slots for each brush.
Hack #2: The Mouthwash Soak
Mouthwash isn’t just for rinsing your mouth; it can also be a powerful toothbrush cleaner!
Step-by-step Instructions:
1. Choose your mouthwash: Opt for an antibacterial mouthwash containing ingredients like chlorhexidine gluconate, cetylpyridinium chloride (CPC), or essential oils. These ingredients are effective at killing bacteria.
2. Prepare the soak: Pour a small amount of mouthwash into a clean cup or glass. You only need enough to submerge the toothbrush head.
3. Soak the toothbrush: Place the toothbrush head into the mouthwash and let it soak for about 2 minutes. Don’t soak it for too long, as some mouthwash ingredients can damage the bristles over time.
4. Rinse thoroughly: After soaking, rinse the toothbrush thoroughly under running water to remove any residual mouthwash.
5. Air dry upright: As with the simple rinse, shake off excess water and store your toothbrush upright in a well-ventilated area.
Hack #3: The Baking Soda Paste
Baking soda is a natural cleaner and deodorizer, making it a great option for cleaning your toothbrush.
Step-by-step Instructions:
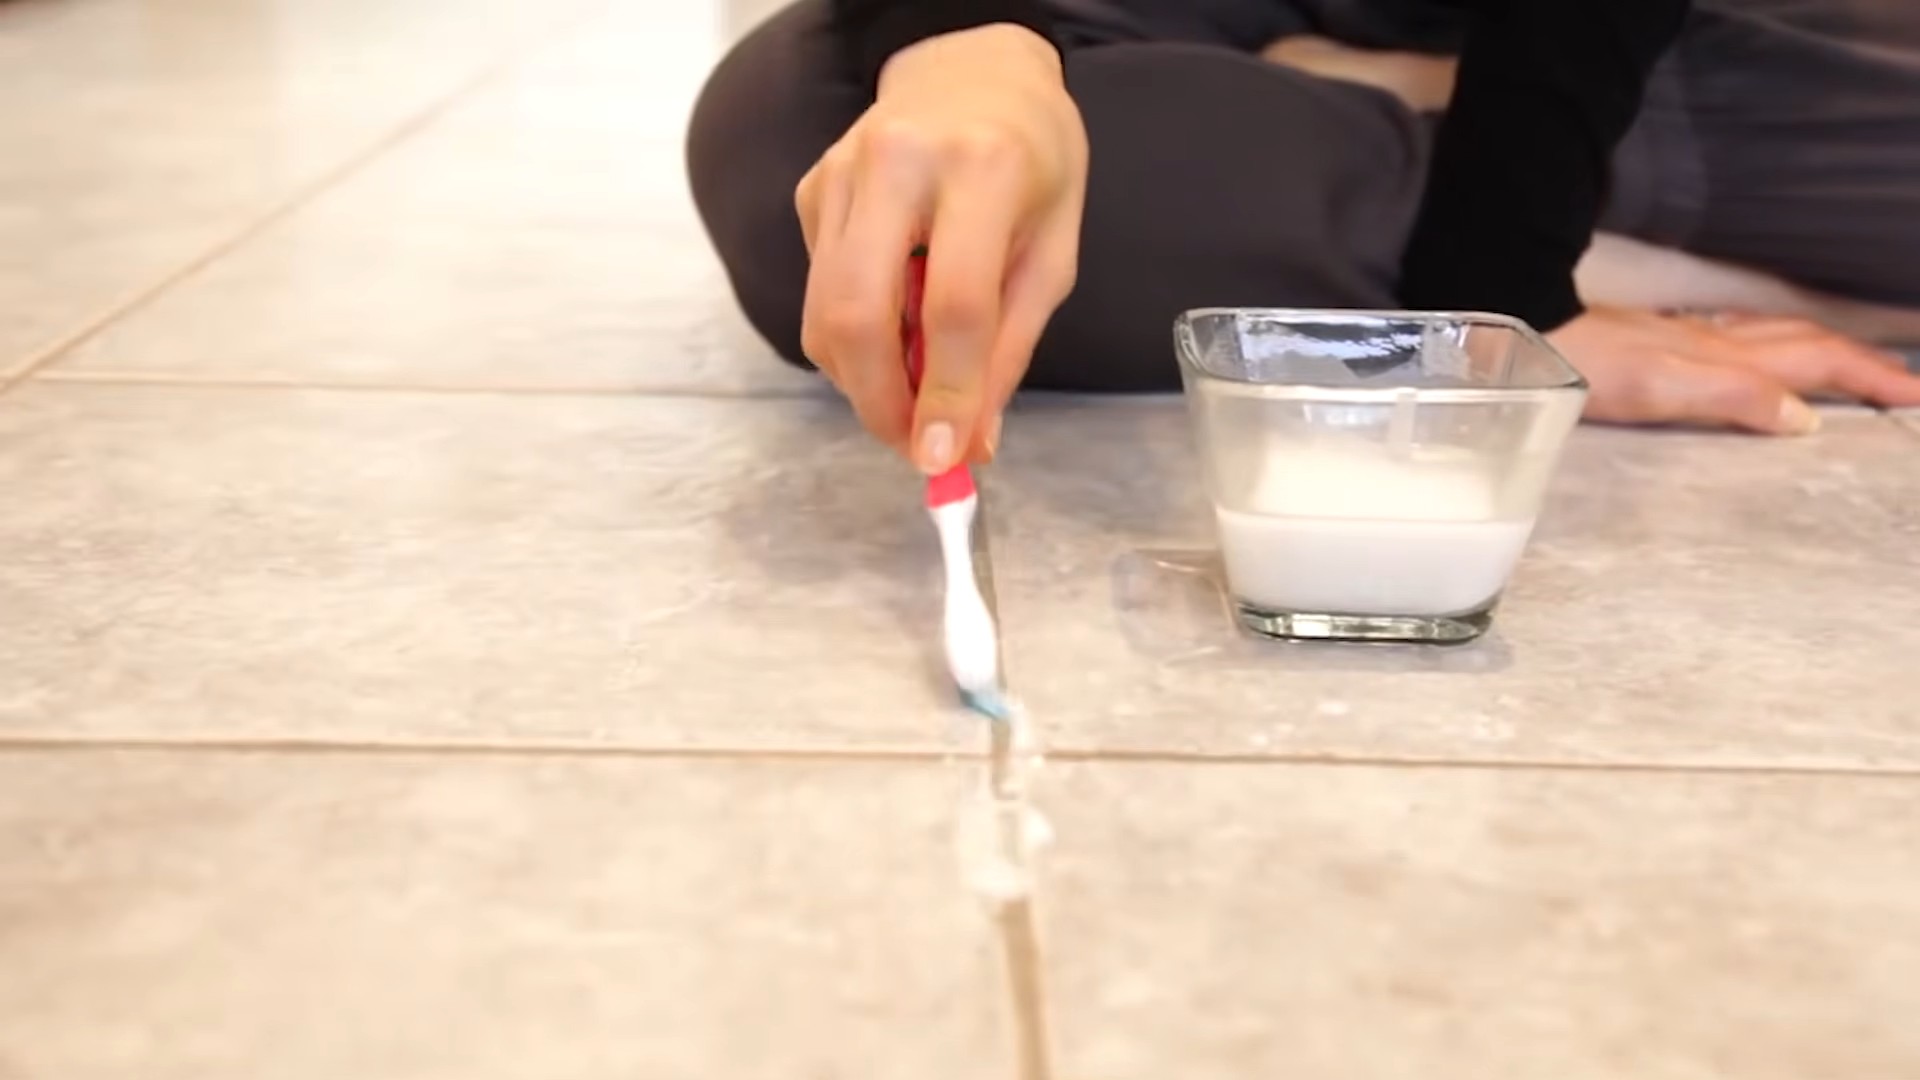
1. Make a paste: Mix a small amount of baking soda with a few drops of water to form a thick paste. You can also add a drop of peppermint essential oil for a refreshing scent.
2. Apply the paste: Apply the baking soda paste to the toothbrush bristles, making sure to coat them evenly.
3. Scrub gently: Gently scrub the bristles with your fingers or a clean toothbrush to remove any debris or buildup.
4. Rinse thoroughly: Rinse the toothbrush thoroughly under running water until all traces of baking soda are gone.
5. Air dry upright: Shake off excess water and store your toothbrush upright in a well-ventilated area.
Hack #4: The Hydrogen Peroxide Soak
Hydrogen peroxide is a powerful disinfectant that can kill bacteria and viruses. However, it’s important to use it carefully and dilute it properly.
Step-by-step Instructions:
1. Dilute the hydrogen peroxide: Mix equal parts 3% hydrogen peroxide and water in a clean cup or glass. Important: Never use undiluted hydrogen peroxide on your toothbrush, as it can damage the bristles and irritate your gums.
2. Soak the toothbrush: Place the toothbrush head into the diluted hydrogen peroxide solution and let it soak for about 5-10 minutes.
3. Rinse thoroughly: Rinse the toothbrush thoroughly under running water to remove any residual hydrogen peroxide.
4. Air dry upright: Shake off excess water and store your toothbrush upright in a well-ventilated area.
Hack #5: The Boiling Water Dip (Use with Caution!)
Boiling water can kill bacteria, but it can also damage your toothbrush if you’re not careful. This method is best used sparingly and only on toothbrushes with durable bristles.
Step-by-step Instructions:
1. Boil water: Bring a pot of water to a rolling boil.
2. Let the water cool slightly: Remove the pot from the heat and let the water cool for a minute or two. You don’t want it to be scalding hot, as this can melt the bristles.
3. Dip the toothbrush: Carefully dip the toothbrush head into the hot water for about 30 seconds. Do not submerge the entire toothbrush, as this can damage the handle.
4. Rinse thoroughly: Rinse the toothbrush thoroughly under running water.
5. Air dry upright: Shake off excess water and store your toothbrush upright in a well-ventilated area.
Important Considerations for Boiling Water:
* Bristle type: This method is best for toothbrushes with nylon bristles. Avoid using it on toothbrushes with natural bristles, as they can be damaged by the heat.
* Frequency: Don’t use this method too often, as it can weaken the bristles over time. Once a month is usually sufficient.
* Safety: Be extremely careful when handling boiling water to avoid burns.
Hack #6: The UV Sanitizer
If you’re looking for a more high-tech solution, consider investing in a UV toothbrush sanitizer. These devices use ultraviolet light to kill bacteria on your toothbrush.
Step-by-step Instructions:
1. Choose a UV sanitizer: There are many different UV toothbrush sanitizers available on the market. Choose one that is reputable and has good reviews.
2. Follow the manufacturer’s instructions: Each UV sanitizer will have its own specific instructions for use. Be sure to read and follow them carefully.
3. Place the toothbrush in the sanitizer: Typically, you’ll place the toothbrush head into the sanitizer and close the lid.
4. Activate the sanitizing cycle: The sanitizer will then use UV light to kill bacteria on the toothbrush. The cycle usually takes a few minutes.
5. Remove the toothbrush: Once the cycle is complete, remove the toothbrush from the sanitizer.
6. Air dry upright: Store your toothbrush upright in a well-ventilated area.
Additional Tips for Toothbrush Hygiene:
* Don’t share toothbrushes: Sharing toothbrushes can spread germs and infections.
* Replace your toothbrush regularly: As mentioned earlier, you should replace your toothbrush every 3 months, or sooner if the bristles are frayed.
* Store your toothbrush away from the toilet: Bacteria can be spread through the air when you flush the toilet. Store your toothbrush in a drawer or cabinet away from the toilet to minimize exposure.
* Clean your toothbrush holder regularly: Your toothbrush holder can also harbor bacteria. Clean it regularly with soap and water.
* Consider using a toothbrush cover: While a toothbrush cover can protect your toothbrush from airborne germs, it can also trap moisture. If you use a toothbrush cover, make sure it has ventilation holes and that you allow your toothbrush to dry completely before covering it.
By incorporating these simple DIY toothbrush cleaning hacks into your routine, you can keep your toothbrush clean, your mouth healthy, and your smile sparkling! Happy brushing!
Conclusion
So, there you have it! Transforming your cleaning routine with these simple, yet incredibly effective toothbrush cleaning hacks is not just about maintaining hygiene; it’s about extending the life of your toothbrush, saving money, and contributing to a healthier lifestyle. We’ve explored several methods, from the quick and easy vinegar soak to the powerful baking soda paste, each offering a unique approach to banishing bacteria and keeping your toothbrush in tip-top shape.
But why is this DIY approach a must-try? Because it’s accessible, affordable, and undeniably effective. Commercial toothbrush sanitizers can be expensive and often contain harsh chemicals. These natural alternatives, using ingredients you likely already have in your pantry, provide a safe and equally potent solution. Think about it: a cleaner toothbrush means a cleaner mouth, which translates to better oral health and a brighter smile. It’s a small change that yields significant benefits.
Don’t be afraid to experiment and find what works best for you. For example, if you find the vinegar smell too strong, try adding a few drops of your favorite essential oil, like peppermint or tea tree, for a more pleasant aroma and added antibacterial properties. You could also alternate between different cleaning methods throughout the week to ensure a comprehensive approach. Perhaps a vinegar soak on Mondays, a baking soda paste on Wednesdays, and a hydrogen peroxide rinse on Fridays. The possibilities are endless!
Remember, consistency is key. Make cleaning your toothbrush a regular part of your oral hygiene routine, just like brushing and flossing. Aim to clean it at least once a week, or even more frequently if you’ve been sick.
We are confident that these toothbrush cleaning hacks will revolutionize your oral care routine. Now, it’s your turn to put these tips into practice. We encourage you to try these DIY methods and see the difference for yourself. And most importantly, share your experience with us! Let us know which method you preferred, any variations you tried, and the results you achieved. Your feedback will not only help us improve our recommendations but also inspire others to embrace a healthier and more sustainable approach to oral hygiene. So, go ahead, give your toothbrush the spa treatment it deserves and experience the joy of a truly clean and healthy mouth!
Frequently Asked Questions (FAQ)
Why is it so important to clean my toothbrush regularly?
Cleaning your toothbrush regularly is crucial for maintaining good oral hygiene and overall health. Your toothbrush is a breeding ground for bacteria, viruses, and fungi. These microorganisms can come from your mouth, the environment, and even the air. If you don’t clean your toothbrush, these germs can multiply and potentially re-enter your mouth the next time you brush, leading to infections, gum disease, and other health problems. Regular cleaning helps to eliminate these harmful microorganisms, ensuring that your toothbrush is actually cleaning your teeth and not just spreading germs around.
How often should I clean my toothbrush?
Ideally, you should clean your toothbrush after each use by rinsing it thoroughly with hot water. However, a more thorough cleaning should be done at least once a week. If you’ve been sick, it’s especially important to clean your toothbrush more frequently, even daily, to prevent re-infection. Consider replacing your toothbrush after you recover from an illness.
What are the best methods for cleaning a toothbrush?
There are several effective methods for cleaning a toothbrush, including:
* **Vinegar Soak:** Soak your toothbrush in white vinegar for about 30 minutes. Vinegar is a natural disinfectant that can kill bacteria and viruses. Rinse thoroughly with water afterward.
* **Baking Soda Paste:** Make a paste of baking soda and water and rub it onto the bristles of your toothbrush. Baking soda is a mild abrasive that can help remove debris and stains. Rinse thoroughly with water.
* **Hydrogen Peroxide Rinse:** Soak your toothbrush in 3% hydrogen peroxide for a few minutes. Hydrogen peroxide is a powerful disinfectant that can kill bacteria and viruses. Rinse thoroughly with water.
* **Mouthwash Soak:** Soak your toothbrush in an antibacterial mouthwash for about 30 minutes. This can help kill bacteria and freshen your toothbrush.
* **Boiling Water:** Submerge your toothbrush head in boiling water for a few minutes. This is a quick and effective way to kill bacteria, but be careful not to melt the bristles.
Is it safe to use these DIY cleaning methods on all types of toothbrushes?
Generally, yes, these DIY cleaning methods are safe for most types of toothbrushes, including manual and electric toothbrushes. However, it’s always a good idea to check the manufacturer’s instructions for your specific toothbrush model. Avoid using abrasive cleaners or harsh chemicals that could damage the bristles or the handle. For electric toothbrushes, be sure to remove the brush head before cleaning and avoid submerging the handle in water.
Can I use essential oils to clean my toothbrush?
Yes, some essential oils have antibacterial and antifungal properties that can help clean your toothbrush. Tea tree oil, peppermint oil, and eucalyptus oil are all good options. Add a few drops of essential oil to your chosen cleaning solution (e.g., vinegar or water) before soaking your toothbrush. Be sure to rinse thoroughly with water afterward.
How do I dry my toothbrush properly after cleaning?
After cleaning your toothbrush, it’s important to dry it properly to prevent the growth of bacteria. Shake off any excess water and store your toothbrush upright in a well-ventilated area. Avoid storing it in a closed container or lying flat, as this can trap moisture and promote bacterial growth.
How often should I replace my toothbrush?
The American Dental Association recommends replacing your toothbrush every three to four months, or sooner if the bristles are frayed or worn. Worn bristles are less effective at cleaning your teeth and can harbor more bacteria. You should also replace your toothbrush after you’ve been sick to prevent re-infection.
Can I clean my toothbrush in the dishwasher?
While some people recommend cleaning toothbrushes in the dishwasher, it’s generally not recommended. The high heat and harsh detergents can damage the bristles and potentially leach harmful chemicals into your toothbrush. It’s best to stick to the DIY cleaning methods mentioned above.
What if my toothbrush has mold on it?
If you see mold growing on your toothbrush, it’s best to discard it immediately and replace it with a new one. Mold can be harmful to your health and should not be ingested.
Are there any commercial toothbrush sanitizers that you recommend?
While DIY methods are effective, some people prefer to use commercial toothbrush sanitizers. Look for sanitizers that are approved by the American Dental Association and contain ingredients like chlorine dioxide or ultraviolet (UV) light. Be sure to follow the manufacturer’s instructions carefully. However, remember that even with a commercial sanitizer, regular cleaning and replacement of your toothbrush are still essential.


Leave a Comment