

Terrace Potatoes DIY Growing: Imagine stepping onto your terrace and harvesting a bounty of fresh, homegrown potatoes – the kind that taste like sunshine and earth. Sounds dreamy, right? Well, it doesn’t have to be just a dream! For centuries, humans have cultivated potatoes in various ways, from traditional in-ground methods to innovative vertical farming techniques. The Incas of South America, who first domesticated potatoes, understood the importance of maximizing space and resources, a principle that resonates even more strongly today.
In our modern, often space-constrained lives, the idea of a sprawling garden can feel out of reach. But that’s where the magic of DIY comes in! Growing potatoes on your terrace is not only possible, but it’s also incredibly rewarding. This article is your ultimate guide to terrace potatoes DIY growing, offering simple, step-by-step instructions and clever hacks to transform your outdoor space into a potato paradise. I’m going to show you how to bypass the need for a large garden and still enjoy the satisfaction of harvesting your own delicious potatoes.
Why do you need this DIY trick? Because fresh, homegrown potatoes taste infinitely better than store-bought ones, and because gardening is a fantastic way to relieve stress, connect with nature, and add a touch of green to your urban environment. Plus, it’s a fun and educational activity for the whole family! So, grab your gardening gloves, and let’s get started on this exciting potato-growing adventure!
Growing Potatoes in a Terrace Garden: A DIY Guide
Hey there, fellow gardening enthusiasts! Ever dreamt of harvesting your own potatoes right from your terrace? Well, dream no more! I’m going to walk you through a super fun and rewarding DIY project: growing potatoes in containers on your terrace. It’s easier than you think, and the taste of homegrown potatoes is simply unbeatable. Let’s get our hands dirty!
Choosing the Right Container and Location
Before we even think about planting, we need to set the stage for success. This means picking the perfect container and finding the ideal spot on your terrace.
* **Container Size Matters:** Potatoes need room to grow, both above and below the soil. I recommend using containers that are at least 15 gallons in size. Think large buckets, trash cans (with drainage holes, of course!), or even grow bags. The bigger, the better, as it allows for more potato development.
* **Drainage is Key:** Potatoes hate sitting in soggy soil. Make sure your chosen container has plenty of drainage holes. If you’re using a container without pre-made holes, drill several into the bottom.
* **Sunlight, Sunlight, Sunlight:** Potatoes are sun-loving plants. Choose a spot on your terrace that receives at least 6-8 hours of direct sunlight per day. This is crucial for healthy growth and a bountiful harvest.
* **Consider Weight:** Remember that soil, especially when wet, can be heavy. Make sure your terrace can handle the weight of multiple large containers filled with soil. You might want to reinforce the area if you’re concerned.
* **Accessibility:** Think about how easy it will be to water and harvest your potatoes. You don’t want to be lugging heavy watering cans across the entire terrace!
Preparing the Soil
Potatoes thrive in loose, well-draining soil that’s rich in organic matter. Here’s how I like to prepare my potato-growing mix:
* **Base Mix:** Start with a good quality potting mix. Avoid using garden soil directly, as it can be too heavy and compact.
* **Amendments:** Now, let’s boost that potting mix! I add a generous amount of compost (about 1/3 of the total volume) to provide essential nutrients and improve drainage.
* **Perlite or Vermiculite:** To further enhance drainage, I also incorporate perlite or vermiculite (about 1/4 of the total volume). These materials help keep the soil loose and airy.
* **Slow-Release Fertilizer:** Potatoes are heavy feeders, so I mix in a slow-release fertilizer specifically formulated for vegetables. Follow the instructions on the fertilizer package for the correct amount.
* **pH Level:** Ideally, the soil pH should be between 5.5 and 6.5. You can test your soil pH with a simple soil testing kit available at most garden centers. If the pH is too high, you can lower it by adding sulfur.
Choosing and Preparing Seed Potatoes
You can’t just plant any old potato from the grocery store. You need “seed potatoes,” which are potatoes specifically grown for planting.
* **Where to Buy:** You can find seed potatoes at most garden centers or online retailers. Look for certified disease-free seed potatoes.
* **Variety Selection:** There are many different potato varieties to choose from, each with its own unique flavor, texture, and growing characteristics. Some popular choices for container gardening include Yukon Gold, Red Norland, and fingerling potatoes.
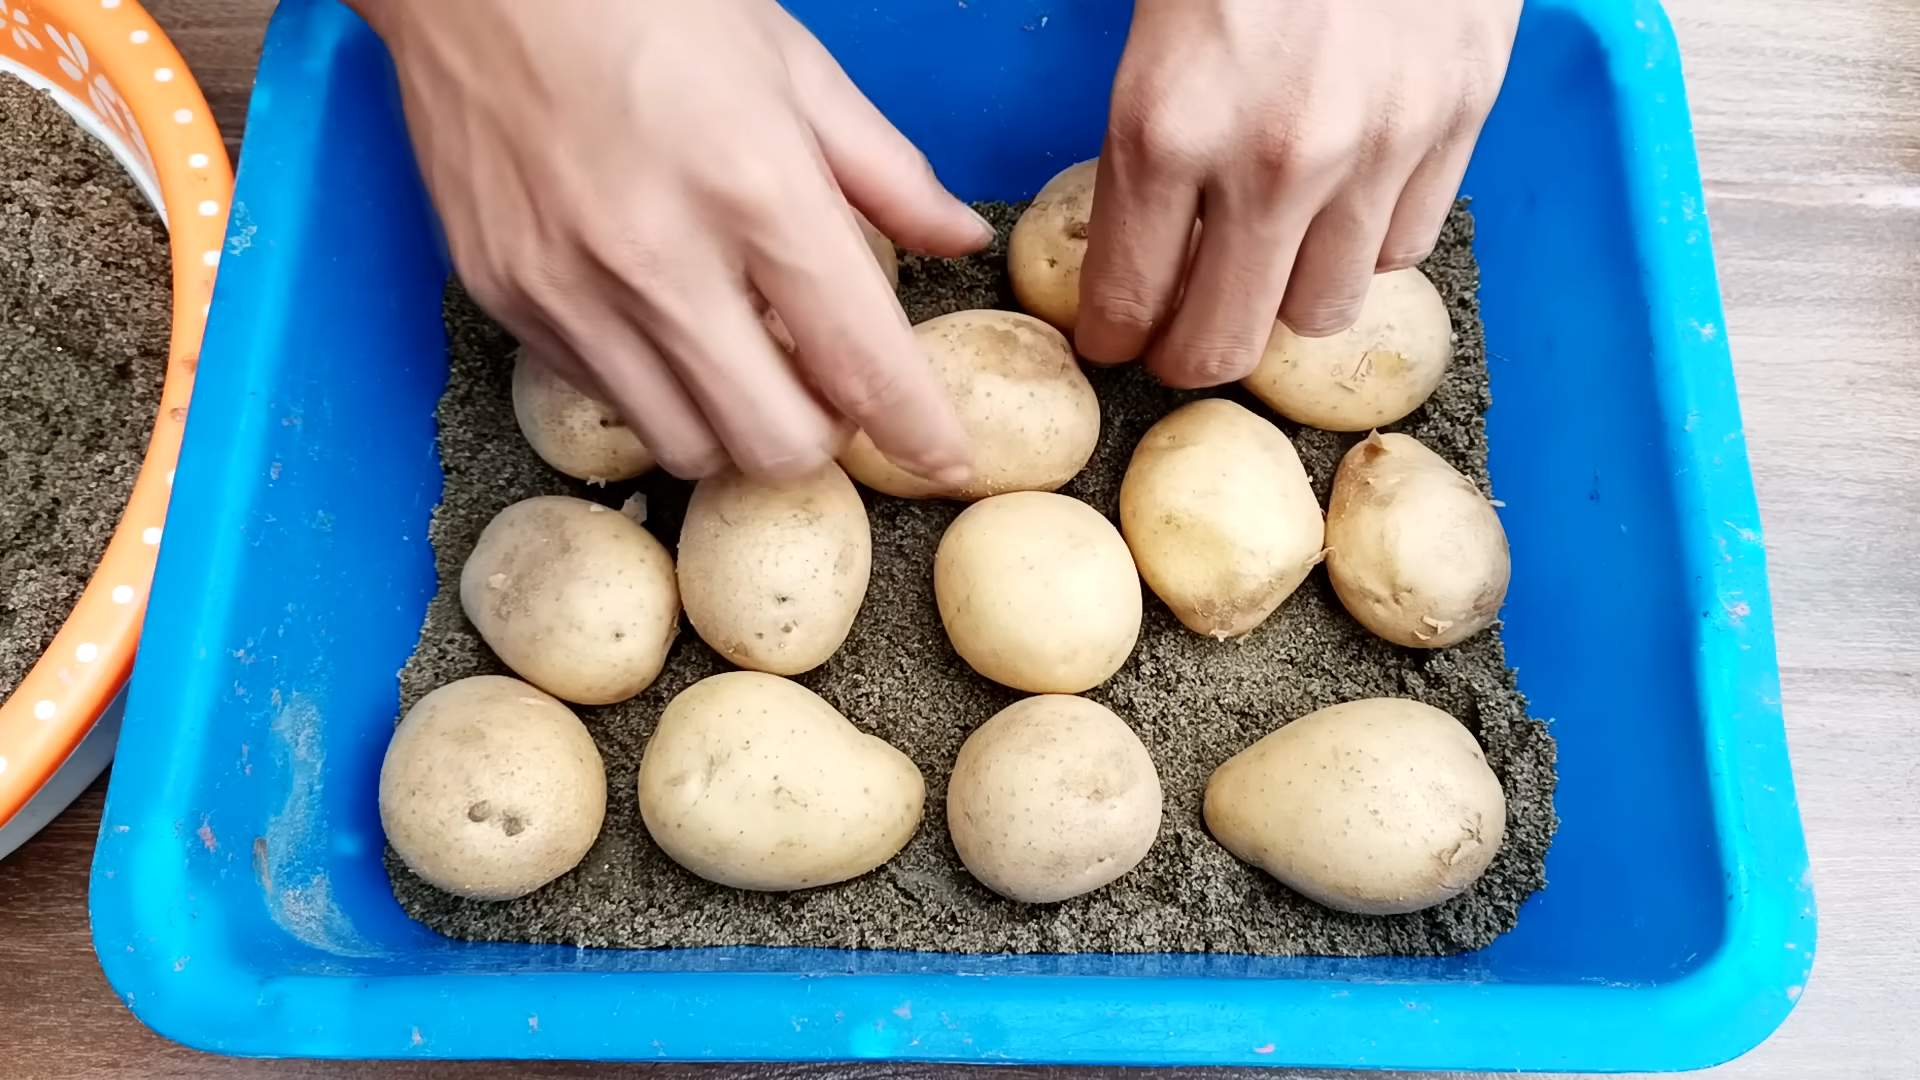
* **Chitting (Sprouting):** This is an optional but highly recommended step. About 2-3 weeks before planting, place your seed potatoes in a cool, bright location (but not direct sunlight) to encourage them to sprout. This process, called “chitting,” gives your potatoes a head start and can result in an earlier harvest.
* **Cutting Seed Potatoes (Optional):** If your seed potatoes are large (bigger than an egg), you can cut them into smaller pieces, making sure each piece has at least 2-3 “eyes” (the little buds where sprouts emerge). Let the cut pieces dry for a day or two to callous over before planting. This helps prevent rotting.
Planting Your Seed Potatoes
Alright, the moment we’ve been waiting for! Let’s get those potatoes in the ground (or, rather, in the container).
1. **Fill the Container:** Start by filling your container with about 4-6 inches of your prepared soil mix.
2. **Planting the Seed Potatoes:** Place your seed potatoes (or potato pieces) on top of the soil, with the sprouts (or eyes) facing upwards. Space them about 8-10 inches apart if you’re planting multiple potatoes in the same container.
3. **Cover with Soil:** Cover the seed potatoes with another 4-6 inches of soil.
4. **Water Thoroughly:** Water the soil gently but thoroughly until it’s evenly moist.
“Hilling” Your Potatoes
This is a crucial step for maximizing your potato yield. As your potato plants grow, you’ll need to “hill” them, which means adding more soil around the stems.
1. **Wait for Growth:** Once your potato plants have grown about 6-8 inches tall, it’s time to start hilling.
2. **Add Soil:** Add a few inches of soil around the base of the plants, burying the lower part of the stems. Leave the top few inches of the plant exposed.
3. **Repeat:** Continue hilling every 2-3 weeks as the plants grow taller. The goal is to encourage the plants to produce more potatoes along the buried stems.
4. **Why Hilling Works:** Potatoes form tubers (the potatoes we eat) along the underground stems. By hilling, you’re providing more space for the tubers to develop.
Watering and Fertilizing
Proper watering and fertilization are essential for healthy potato growth.
* **Watering:** Water your potato plants regularly, especially during hot, dry weather. The soil should be consistently moist but not waterlogged. Check the soil moisture by sticking your finger into the soil. If the top inch feels dry, it’s time to water.
* **Fertilizing:** As mentioned earlier, potatoes are heavy feeders. In addition to the slow-release fertilizer you mixed into the soil, you can also supplement with a liquid fertilizer every 2-3 weeks. Choose a fertilizer that’s high in potassium, which is important for tuber development.
Pest and Disease Control
Keep an eye out for common potato pests and diseases.
* **Potato Beetles:** These pesky beetles can quickly defoliate your potato plants. Hand-picking them off the plants is an effective way to control small infestations. For larger infestations, you can use an organic insecticide like neem oil.
* **Aphids:** These tiny insects suck the sap from plants, weakening them. Spray them off with a strong stream of water or use insecticidal soap.
* **Fungal Diseases:** Potatoes are susceptible to various fungal diseases, such as early blight and late blight. To prevent these diseases, ensure good air circulation around your plants and avoid overhead watering. If you notice signs of fungal disease, treat with a fungicide.
Harvesting Your Potatoes
The most exciting part! Here’s how to know when your potatoes are ready to harvest:
* **Timing:** Potatoes typically take 80-100 days to mature.
* **Signs of Maturity:** The foliage will start to turn yellow and die back. This is a sign that the potatoes are ready to harvest.
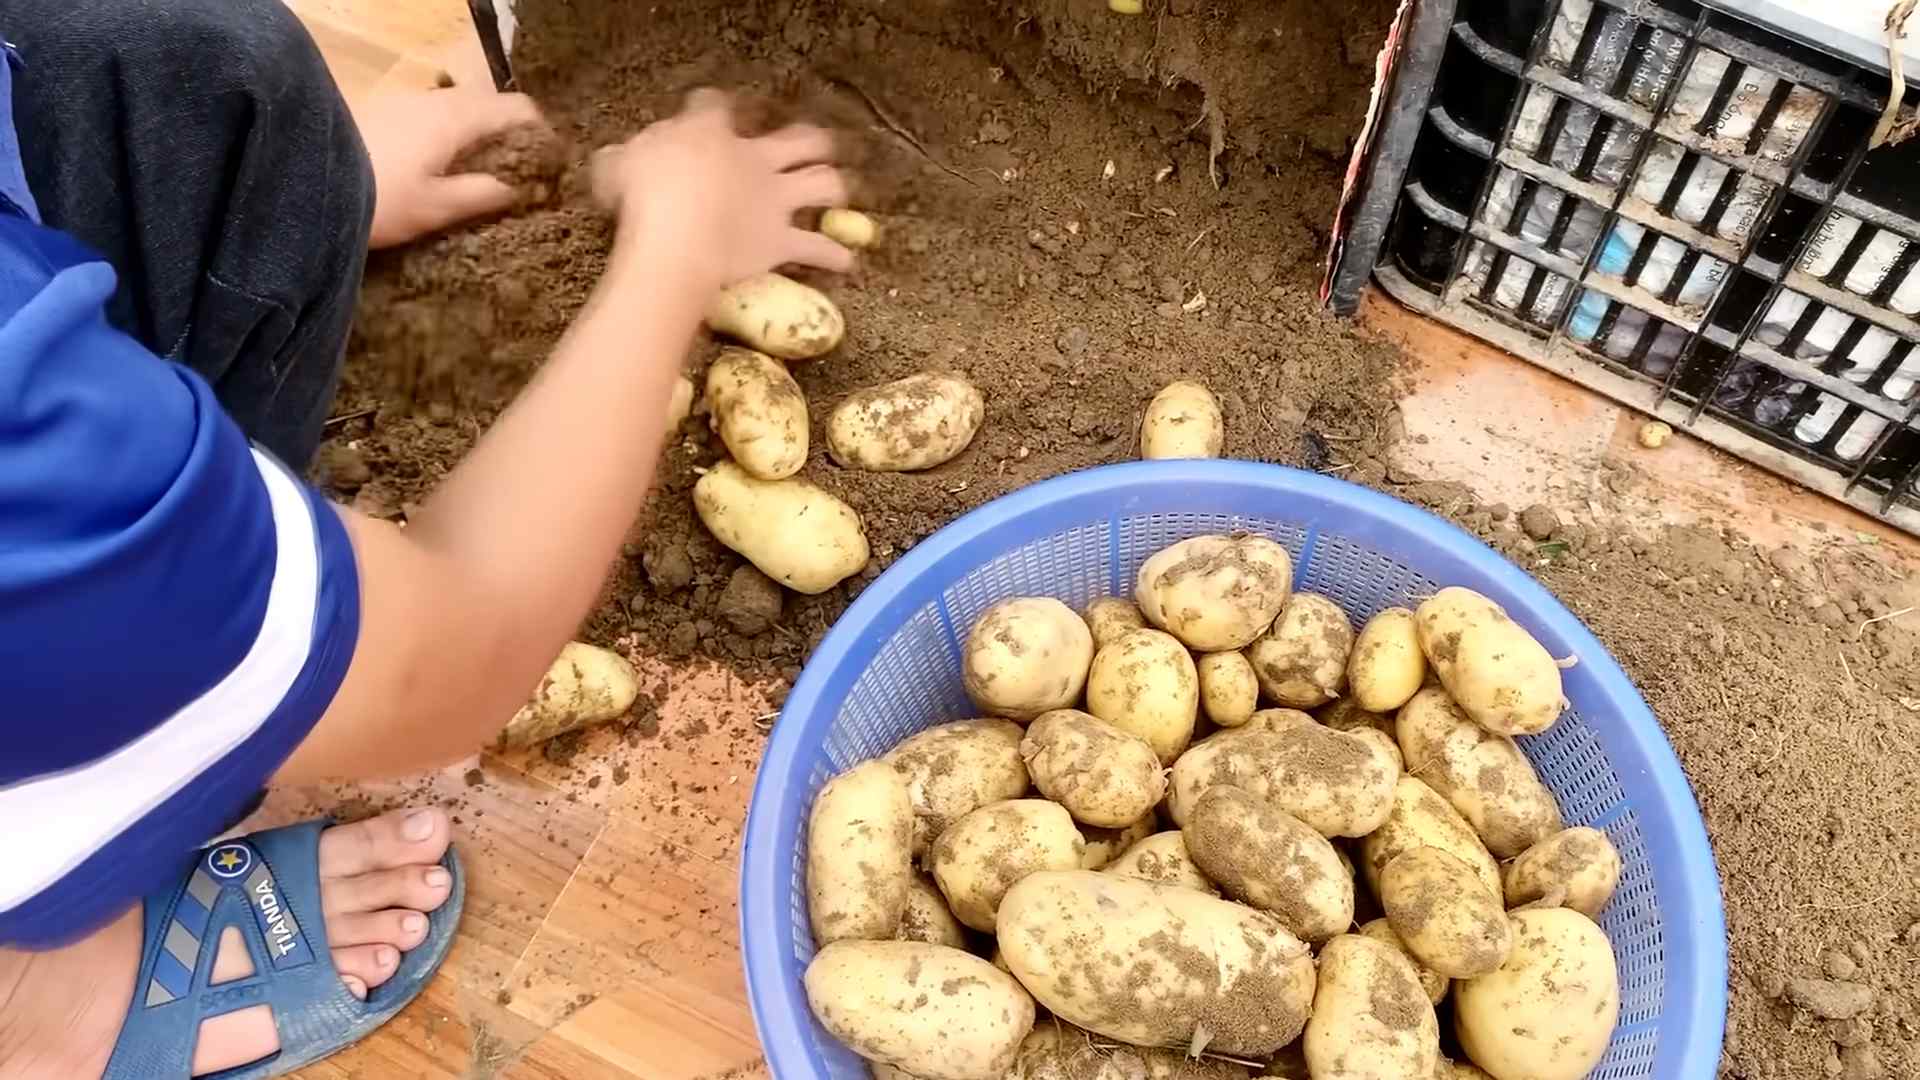
* **Gentle Digging:** Carefully dig around the base of the plants with your hands or a small trowel. Be gentle to avoid damaging the potatoes.
* **Harvesting:** Once you’ve unearthed the potatoes, brush off any excess soil and let them dry in a cool, dark place for a few days before storing.
* **”New Potatoes”:** If you want to harvest “new potatoes” (small, tender potatoes), you can start harvesting them a few weeks before the foliage dies back. Just carefully dig around the base of the plants and remove a few potatoes, leaving the rest to continue growing.
Storing Your Potatoes
Proper storage is essential for keeping your potatoes fresh and delicious for as long as possible.
* **Curing:** After harvesting, let your potatoes cure in a cool, dark, and well-ventilated place for about 1-2 weeks. This allows the skins to harden, which helps prevent spoilage.
* **Storage Conditions:** Store your cured potatoes in a cool, dark, and dry place, such as a root cellar or a basement. The ideal storage temperature is between 40-50°F (4-10°C).
* **Avoid Sunlight:** Exposure to sunlight can cause potatoes to turn green and produce solanine, a toxic compound.
* **Don’t Wash:** Don’t wash your potatoes before storing them, as this can promote rotting.
* **Check Regularly:** Check your stored potatoes regularly for signs of spoilage. Remove any potatoes that are soft, rotten, or sprouting.
Troubleshooting Common Problems
Even with the best planning, you might encounter some challenges along the way. Here are some common
Conclusion
So, there you have it! Transforming your limited space into a thriving potato patch with this terrace potatoes DIY growing method is not just a possibility, it’s a rewarding reality waiting to happen. We’ve walked you through the simple steps, highlighting how easy it is to cultivate delicious, homegrown potatoes even if you only have a balcony, patio, or small yard. Forget the sprawling fields – this method brings the farm to you!
But why is this DIY trick a must-try? Beyond the sheer satisfaction of harvesting your own food, growing terrace potatoes offers several compelling advantages. Firstly, it’s incredibly space-efficient. The tiered structure maximizes your growing area, allowing you to produce a surprisingly large yield in a compact footprint. Secondly, it’s an excellent way to improve soil drainage and aeration, leading to healthier and more productive potato plants. Thirdly, it’s a fantastic project for the whole family, teaching valuable lessons about gardening, sustainability, and where our food comes from. And finally, let’s be honest, there’s nothing quite like the taste of freshly dug, homegrown potatoes!
Looking to personalize your potato-growing adventure? Consider these variations:
* Potato Varieties: Experiment with different potato varieties to discover your favorites. From the classic Russet to the creamy Yukon Gold or the colorful Purple Majesty, each variety offers a unique flavor and texture.
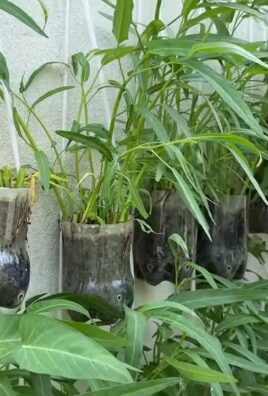
* Container Materials: While we’ve focused on using readily available materials like tires or wooden pallets, feel free to get creative with your container choices. Large plastic bins, repurposed barrels, or even sturdy fabric grow bags can all work well. Just ensure they have adequate drainage.
* Companion Planting: Enhance your terrace garden by incorporating companion plants alongside your potatoes. Marigolds can deter pests, while basil can improve the flavor of your potatoes.
* Vertical Expansion: If you’re feeling ambitious, consider expanding your terrace vertically by adding more tiers. Just make sure your structure is stable and can support the weight of the soil and plants.
This terrace potatoes DIY growing project is more than just a gardening technique; it’s an invitation to connect with nature, embrace sustainability, and enjoy the unparalleled taste of homegrown goodness. Don’t be intimidated by the thought of growing your own food. This method is designed to be accessible and rewarding for gardeners of all skill levels.
We wholeheartedly encourage you to give this DIY trick a try. Imagine the joy of harvesting your own potatoes, knowing that you nurtured them from seed to table. Picture the delicious meals you can create with your homegrown bounty. And think of the satisfaction of sharing your harvest with friends and family.
But the journey doesn’t end here! We want to hear about your experiences. Share your photos, tips, and stories with us. What potato varieties did you choose? What challenges did you encounter? What successes did you celebrate? Your insights can inspire and empower other gardeners to embark on their own terrace potato adventures. Let’s build a community of passionate potato growers, sharing our knowledge and celebrating the joys of homegrown food. So, grab your tools, gather your materials, and get ready to experience the magic of terrace potatoes DIY growing! We can’t wait to see what you create!
Frequently Asked Questions (FAQ)
What kind of soil should I use for growing terrace potatoes?
The ideal soil for growing terrace potatoes is a well-draining, loamy mix that is rich in organic matter. A good starting point is a blend of equal parts garden soil, compost, and peat moss or coco coir. This combination provides the necessary nutrients, moisture retention, and drainage that potatoes need to thrive. Avoid using heavy clay soil, as it can become waterlogged and hinder root development. You can also amend your soil with slow-release fertilizer specifically formulated for vegetables to provide a steady supply of nutrients throughout the growing season. Regularly testing your soil pH is also recommended. Potatoes prefer a slightly acidic soil with a pH between 6.0 and 6.5. You can adjust the pH by adding lime to raise it or sulfur to lower it.
How often should I water my terrace potatoes?
Watering frequency depends on several factors, including the weather, the type of soil you’re using, and the size of your containers. Generally, you should aim to keep the soil consistently moist but not waterlogged. Check the soil moisture level regularly by sticking your finger about an inch into the soil. If it feels dry to the touch, it’s time to water. During hot, dry weather, you may need to water daily, while during cooler, wetter periods, you may only need to water every few days. When watering, water deeply and thoroughly, ensuring that the water reaches the bottom of the containers. Avoid overhead watering, as this can increase the risk of fungal diseases. Drip irrigation or soaker hoses are excellent options for providing consistent and efficient watering.
How much sunlight do terrace potatoes need?
Potatoes require at least six to eight hours of direct sunlight per day to produce a good yield. Choose a location for your terrace garden that receives ample sunlight throughout the day. If you live in a particularly hot climate, providing some afternoon shade can help prevent the plants from overheating. If you don’t have access to a sunny location, you can supplement with grow lights. Position the grow lights about 12-18 inches above the plants and provide 14-16 hours of light per day. Rotate your potato plants regularly to ensure that all sides receive equal exposure to sunlight. This will help promote even growth and prevent the plants from becoming leggy.
How do I “hill” my terrace potatoes?
Hilling is an essential practice for growing potatoes, as it encourages the development of more tubers along the stems. As your potato plants grow, gradually add more soil or compost around the base of the stems, burying the lower leaves. This process encourages the plant to produce more roots and, consequently, more potatoes. Continue hilling every few weeks as the plants grow taller, until the containers are nearly full. Be careful not to bury the entire plant, as it still needs leaves to photosynthesize. Hilling also helps to protect the developing tubers from sunlight, which can cause them to turn green and produce solanine, a toxic compound.
When is the right time to harvest my terrace potatoes?
The harvesting time for terrace potatoes depends on the variety you’re growing and the desired size of the potatoes. Generally, you can start harvesting “new potatoes” (small, immature potatoes) about 70-80 days after planting. To harvest new potatoes, carefully dig around the base of the plant and remove a few tubers, leaving the rest to continue growing. For mature potatoes, wait until the foliage starts to turn yellow and die back, usually around 90-120 days after planting. This indicates that the potatoes have reached their full size and are ready to be harvested. To harvest mature potatoes, carefully dig up the entire plant, being careful not to damage the tubers.
What are some common pests and diseases that affect terrace potatoes, and how can I prevent them?
Potatoes can be susceptible to various pests and diseases, including potato beetles, aphids, blight, and scab. To prevent these problems, start with disease-free seed potatoes and practice good sanitation. Remove any diseased or infested plants promptly to prevent the spread of pests and diseases. Use organic pest control methods, such as introducing beneficial insects like ladybugs or spraying with neem oil. Ensure good air circulation around the plants to prevent fungal diseases. Rotate your crops each year to prevent the buildup of soilborne pathogens. Monitor your plants regularly for signs of pests or diseases and take action promptly to address any problems.
Can I grow potatoes in containers other than tires or wooden pallets?
Yes, absolutely! While tires and wooden pallets are popular and readily available options, you can grow potatoes in a variety of containers. Large plastic bins, repurposed barrels, sturdy fabric grow bags, or even large buckets can all work well. The key is to ensure that the containers are large enough to accommodate the growing potato plants and have adequate drainage holes to prevent waterlogging. The size of the container will also influence the number of potato plants you can grow in each container.
How do I store my harvested terrace potatoes?
Proper storage is essential for extending the shelf life of your harvested potatoes. After harvesting, cure the potatoes by allowing them to dry in a cool, dark, and well-ventilated place for about a week. This helps to toughen the skin and prevent spoilage. Store the cured potatoes in a cool, dark, and dry place with good ventilation. The ideal storage temperature is between 40-50°F (4-10°C). Avoid storing potatoes near apples or onions, as they release gases that can cause the potatoes to sprout or rot. Check your stored potatoes regularly and remove any that show signs of spoilage.
Can I reuse the soil from my terrace potato containers for other plants?
Yes, you can reuse the soil from your terrace potato containers, but it’s essential to replenish the nutrients that the potatoes have depleted. After harvesting your potatoes, remove any remaining plant debris and amend the soil with compost, aged manure, or other organic matter. You can also add a slow-release fertilizer to provide a boost of nutrients for your next crop. Avoid planting potatoes in the same soil for at least three years to prevent the buildup of soilborne diseases. Consider rotating your crops and planting different types of vegetables in the containers each year.
Leave a Comment