

Swiss Chard Gardening: Your Guide to a Bountiful Harvest
Swiss chard gardening might seem daunting, but I’m here to tell you it’s surprisingly accessible and rewarding! This isn’t just about growing leafy greens; it’s about connecting with nature, enjoying fresh, flavorful food directly from your garden, and experiencing the immense satisfaction of nurturing something from seed to plate. For centuries, Swiss chard has been a staple in many cultures, prized for its nutritional value and adaptability to various climates. From ancient Roman times, where it was a common vegetable, to its current popularity in modern kitchens, Swiss chard has consistently proven its worth.
I’ve spent years perfecting my Swiss chard gardening techniques, and I’m thrilled to share my easy-to-follow DIY tricks and hacks with you. Why bother with store-bought chard when you can cultivate your own vibrant, pesticide-free leaves? Not only will you save money, but you’ll also have the freshest, most delicious chard imaginable, ready to be incorporated into your favorite recipes. Plus, there’s something truly magical about harvesting your own produce – it’s a connection to the earth and a sense of accomplishment that’s hard to beat.
Why This Guide is Essential for You
This guide is designed to demystify Swiss chard gardening, providing you with practical tips and clever DIY solutions to overcome common challenges. Whether you’re a seasoned gardener or a complete beginner, you’ll find valuable information here to help you grow a thriving crop of this nutritious and versatile vegetable. Get ready to transform your garden into a vibrant oasis of delicious Swiss chard!
Growing Your Own Swiss Chard: A Beginner’s Guide
I love Swiss chard! It’s so versatile, nutritious, and relatively easy to grow, even for a beginner like me. This guide will walk you through everything you need to know to cultivate your own vibrant crop.
Phase 1: Planning and Preparation
- Choose your location: Swiss chard needs at least six hours of sunlight per day. Select a sunny spot in your garden with well-drained soil. Avoid areas prone to flooding.
- Prepare the soil: Healthy soil is key! Amend your soil with compost or other organic matter to improve drainage and fertility. I like to till the soil to a depth of about 12 inches to loosen it up. A soil test can help determine if you need to add any specific nutrients.
- Decide on your planting method: You can start seeds indoors or sow them directly outdoors. Starting seeds indoors gives you a head start, especially in cooler climates. Direct sowing is simpler, but plants may mature a bit later.
- Gather your supplies: You’ll need seeds (or seedlings), gardening gloves, a trowel or hand cultivator, a watering can, and possibly a garden hoe for weeding.
Phase 2: Starting Seeds (Indoor Method)
- Choose your containers: Use seed starting trays, small pots, or even recycled containers with drainage holes. Fill them with seed starting mix, not garden soil.
- Sow the seeds: Plant seeds about ¼ inch deep and about 1 inch apart. Gently cover with soil and water lightly. Don’t overwater; keep the soil moist but not soggy.
- Provide warmth and light: Place the containers in a warm location (around 70-75°F) with plenty of sunlight or under grow lights. Grow lights are especially helpful if you’re starting seeds indoors during winter.
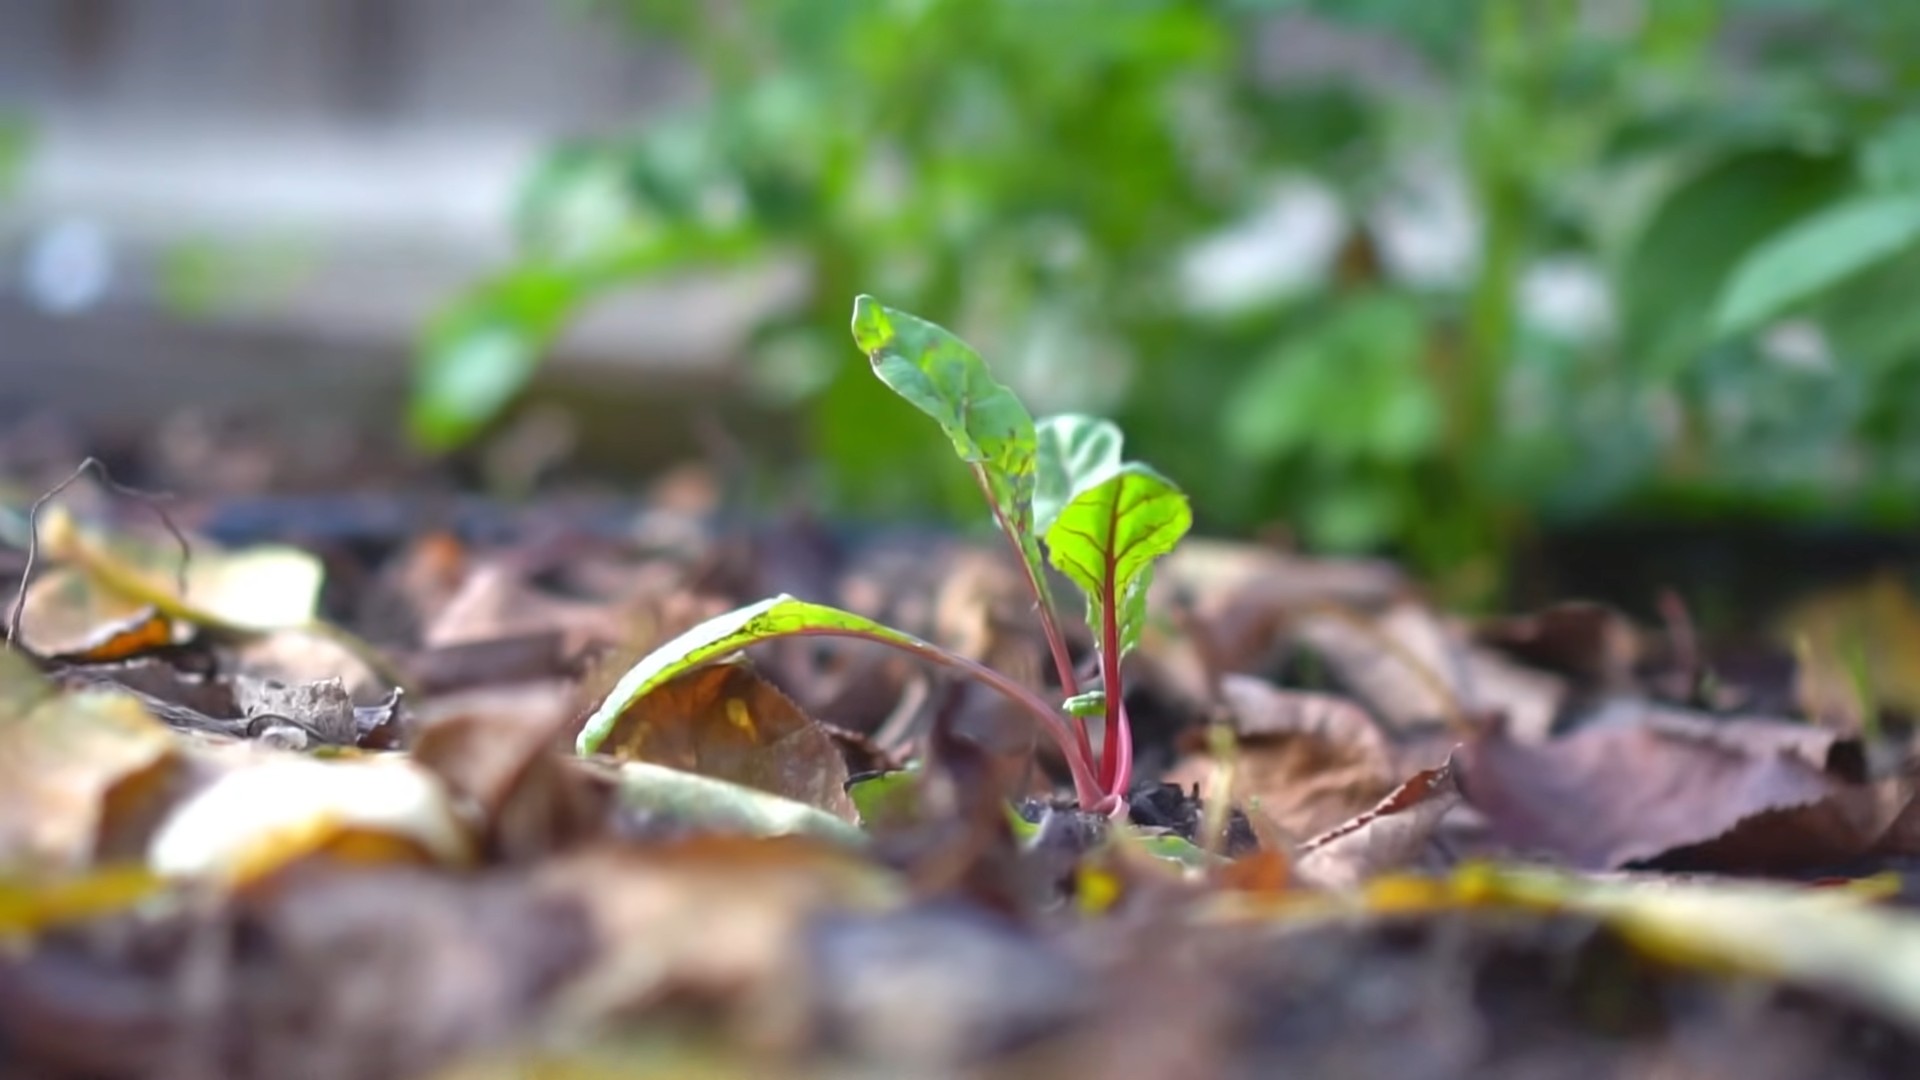
- Thin seedlings: Once seedlings have a few true leaves (not the seed leaves), thin them out to give each plant enough space to grow. You can transplant the thinned seedlings into other containers.
- Harden off seedlings: Before transplanting outdoors, gradually acclimate your seedlings to outdoor conditions. Start by placing them outside for a few hours each day, gradually increasing the time over a week or two.
Phase 3: Direct Sowing (Outdoor Method)
- Wait for the right time: Direct sow seeds after the last frost and when the soil temperature is consistently above 50°F. This usually falls in spring or early summer.
- Prepare the seedbed: Loosen the soil and rake it smooth. Make shallow furrows about ½ inch deep and 1 inch apart.
- Sow the seeds: Plant seeds about 1 inch apart in the furrows. Cover with soil and gently firm the soil around the seeds.
- Water gently: Water thoroughly after sowing to help the seeds germinate. Keep the soil consistently moist but not waterlogged.
- Thin seedlings: Once seedlings emerge and have a few true leaves, thin them to about 6-8 inches apart for optimal growth. This allows for better air circulation and prevents overcrowding.
Phase 4: Transplanting (For both methods)
- Choose the right time: Transplant seedlings outdoors after the last frost and when the soil has warmed up. Evening or a cloudy day is ideal to minimize transplant shock.
- Dig holes: Dig holes slightly larger than the root ball of your seedlings. Space plants 6-8 inches apart.
- Gently remove seedlings: Carefully remove seedlings from their containers, being mindful not to damage the roots. If using the direct sowing method, carefully lift the seedlings from the ground.
- Plant the seedlings: Place the seedlings in the holes, ensuring the top of the root ball is level with the soil surface. Fill in the holes with soil and gently firm the soil around the plants.
- Water thoroughly: Water deeply after transplanting to help the plants settle in. Mulch around the plants to retain moisture and suppress weeds.
Phase 5: Ongoing Care
- Watering: Water regularly, especially during dry periods. Aim for consistent moisture, avoiding both underwatering and overwatering. A deep watering once or twice a week is usually sufficient.
- Weeding: Regularly remove weeds to prevent competition for nutrients and water. Mulching can help reduce weed growth.
- Fertilizing: While Swiss chard isn’t a heavy feeder, a balanced fertilizer applied once or twice during the growing season can promote vigorous growth. Follow the instructions on the fertilizer package.
- Pest and disease control: Monitor your plants for pests and diseases. Address any issues promptly using appropriate organic methods if possible. Good air circulation can help prevent fungal diseases.
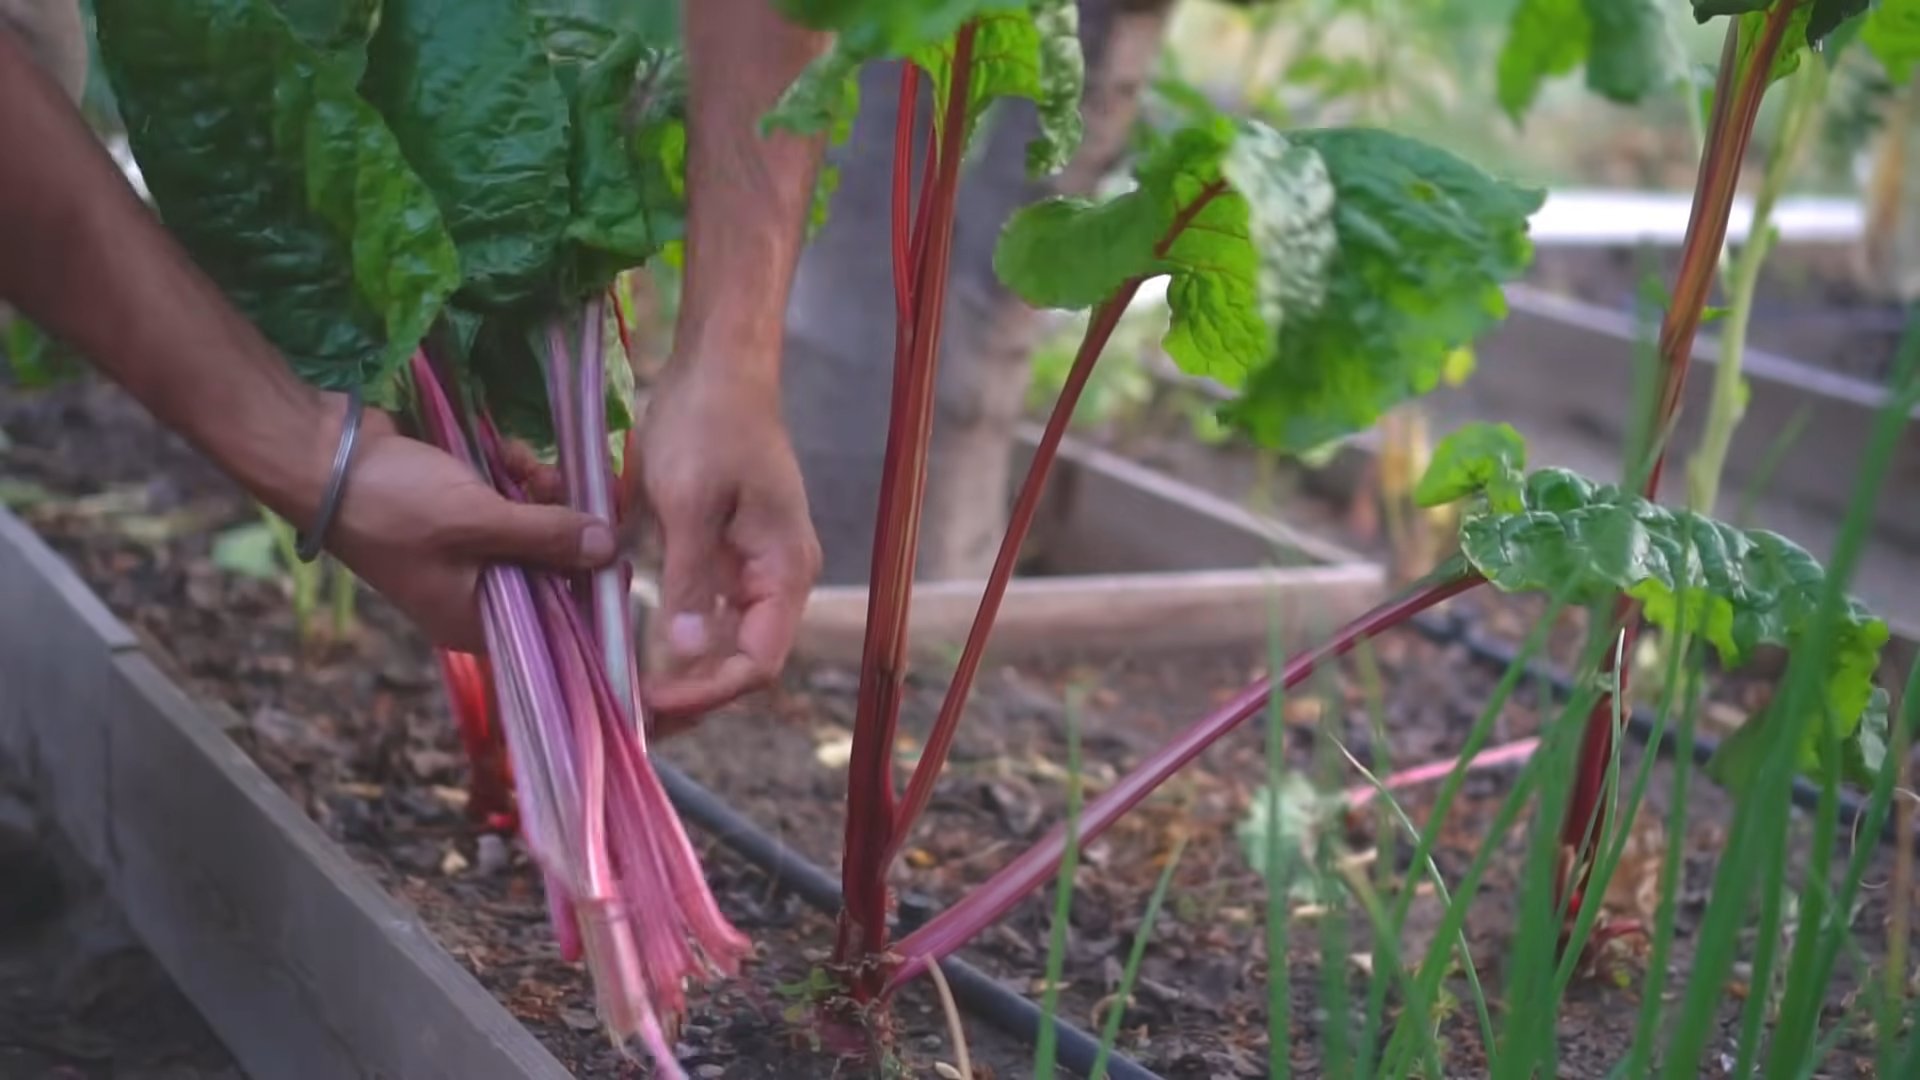
- Harvesting: You can begin harvesting outer leaves when they are about 6-8 inches long. Harvesting regularly encourages more leaf growth. Cut the leaves at the base of the plant, leaving the inner leaves intact.
Phase 6: Troubleshooting Common Problems
Yellowing Leaves:
Yellowing leaves can indicate several issues, including nutrient deficiencies, overwatering, or underwatering. Check your watering practices and consider a soil test to determine if nutrient levels are adequate.
Bolting:
Bolting (flowering) can occur in hot weather, resulting in bitter leaves. Choose a variety known for its resistance to bolting, or provide some shade during the hottest part of the day.
Pests:
Aphids and other pests can sometimes infest Swiss chard. Inspect your plants regularly and use appropriate organic pest control methods if necessary. Neem oil is a popular organic option.
Remember:
Patience is key! Growing your own Swiss chard is a rewarding experience, but it takes time and effort. Don’t get discouraged if you encounter challenges along the way. Learn from your mistakes and keep experimenting. Happy gardening!
Conclusion
So there you have it – your comprehensive guide to mastering the art of Swiss chard gardening! This isn’t just another leafy green; Swiss chard offers a vibrant, versatile addition to your garden and your table. From its striking colors to its nutritional powerhouse status, growing your own Swiss chard is a rewarding experience that elevates homegrown produce to a whole new level. This DIY approach, focusing on simple techniques and readily available resources, makes it accessible to even the most novice gardener. The ease of cultivation, coupled with the delicious and healthy rewards, makes this a must-try for anyone looking to expand their gardening repertoire. You’ll be amazed at how quickly you can go from seed to succulent, flavorful leaves, ready to be incorporated into your favorite dishes.
Beyond the basic techniques outlined, the possibilities for experimentation are endless. Consider these variations to further enhance your Swiss chard gardening journey:
- Variety Exploration: Experiment with different Swiss chard varieties! From the classic green to vibrant red and rainbow hues, each offers a unique flavor profile and visual appeal. Try a mix to see which ones thrive best in your garden and which you prefer in your culinary creations.
- Succession Planting: For a continuous harvest, practice succession planting. Sow seeds every few weeks to ensure a steady supply of fresh Swiss chard throughout the growing season. This ensures you always have young, tender leaves available.
- Companion Planting: Enhance your Swiss chard’s growth and pest resistance by incorporating companion plants. Marigolds, for example, are known to deter certain pests. Experiment to find the best companions for your garden environment.
- Vertical Gardening: If space is limited, consider vertical gardening techniques. Train your Swiss chard plants to climb trellises or grow them in hanging baskets to maximize your yield in a smaller area.
- Soil Enrichment: Invest in high-quality soil amendments to ensure your Swiss chard receives the nutrients it needs to flourish. Compost, well-rotted manure, and other organic matter will significantly improve soil health and plant growth.
Now it’s your turn! We encourage you to embark on this rewarding Swiss chard gardening adventure. Share your experiences, successes, and even your challenges with us. Let’s build a community of passionate gardeners who are committed to growing their own delicious and nutritious food. Post pictures of your thriving Swiss chard plants on social media using #SwissChardGardening and tag us – we can’t wait to see your results! Remember, the journey of growing your own food is as fulfilling as the harvest itself. So get your hands dirty, embrace the process, and enjoy the fruits (or rather, leaves!) of your labor.
Frequently Asked Questions
Q: When is the best time to plant Swiss chard?
The ideal time to plant Swiss chard depends on your climate. In areas with mild winters, you can sow seeds directly in the ground in early spring or even fall. For colder climates, starting seeds indoors 6-8 weeks before the last expected frost is recommended. This allows the seedlings to establish strong roots before transplanting outdoors.
Q: How much sunlight does Swiss chard need?
Swiss chard thrives in full sun to partial shade. At least 6 hours of sunlight per day is ideal, but it can tolerate some shade, especially in hotter climates. Too much intense sun can scorch the leaves, so consider providing some afternoon shade if your area experiences particularly hot summers.
Q: How often should I water my Swiss chard?
Consistent moisture is key for healthy Swiss chard growth. Water deeply and regularly, especially during dry spells. Aim to keep the soil consistently moist but not waterlogged. Mulching around the plants helps retain soil moisture and suppress weeds.
Q: What are some common pests and diseases that affect Swiss chard?
Swiss chard is relatively pest-resistant, but it can be susceptible to aphids, flea beetles, and leaf miners. Regularly inspect your plants for signs of infestation. Handpicking pests, using insecticidal soap, or introducing beneficial insects like ladybugs can help control infestations. Good air circulation can also help prevent fungal diseases.
Q: How do I harvest Swiss chard?
You can begin harvesting Swiss chard leaves when they are about 6-8 inches tall. Harvest outer leaves first, leaving the inner leaves to continue growing. Cut the leaves with a sharp knife or scissors, leaving about an inch of stem attached to the plant. This encourages continuous growth and a longer harvest period. For a continuous harvest, harvest only the outer leaves, leaving the inner leaves to continue growing.
Q: Can I grow Swiss chard in containers?
Absolutely! Swiss chard grows well in containers, making it a great option for balcony or patio gardening. Choose a container at least 12 inches deep and wide to allow for adequate root development. Ensure the container has drainage holes to prevent waterlogging.
Q: How do I store harvested Swiss chard?
To maintain freshness, store harvested Swiss chard in a plastic bag in the refrigerator. It’s best to use it within a few days for optimal flavor and texture. You can also blanch and freeze Swiss chard for longer storage.
Q: What are the nutritional benefits of Swiss chard?
Swiss chard is a nutritional powerhouse, packed with vitamins A, K, and C, as well as minerals like potassium and magnesium. It’s a low-calorie, high-fiber vegetable that offers numerous health benefits. Adding Swiss chard to your diet can contribute to improved eye health, bone health, and overall well-being.

Leave a Comment