

Stop Dryer Lint Buildup before it becomes a fire hazard or a costly appliance repair! Let’s face it, laundry is a never-ending chore, but did you know that the simple act of drying your clothes could be silently creating a dangerous situation in your home? For generations, we’ve relied on dryers to efficiently fluff and dry our garments, but the byproduct – lint – is a sneaky culprit that can lead to serious problems.
Think of your dryer vent as a historical record of every fabric fiber that’s ever passed through it. Over time, this collection of lint accumulates, restricting airflow and causing your dryer to work harder, longer, and hotter. This not only increases your energy bills but also significantly raises the risk of a dryer fire. In fact, according to the U.S. Fire Administration, thousands of dryer fires occur each year, primarily due to – you guessed it – lint buildup!
That’s why I’m so excited to share these easy and effective DIY tricks to stop dryer lint buildup in its tracks. These aren’t just quick fixes; they’re preventative measures that will save you money, protect your home, and give you peace of mind. I’ll walk you through simple steps and share some clever hacks that anyone can do, regardless of their DIY experience. So, grab your tools (or maybe just your vacuum!), and let’s get started on making your laundry routine safer and more efficient!
DIY: Conquer Dryer Lint Buildup and Boost Efficiency!
Okay, friends, let’s talk about something we all deal with: dryer lint. It’s annoying, it’s a fire hazard, and it makes your dryer work harder (and cost you more money!). But fear not! I’m going to walk you through a super effective DIY method to keep that lint buildup at bay and keep your dryer running smoothly. This isn’t just about cleaning the lint trap; we’re going deeper!
Understanding the Enemy: Where Lint Hides
Before we dive in, let’s understand where lint likes to accumulate. Obviously, the lint trap is the primary culprit. But sneaky lint also loves to hide:
* Inside the Dryer Vent Hose: This is the big one! Lint builds up along the walls of the hose, restricting airflow.
* At the Dryer Vent Outlet: The exterior vent can get clogged with lint, especially if it has a screen.
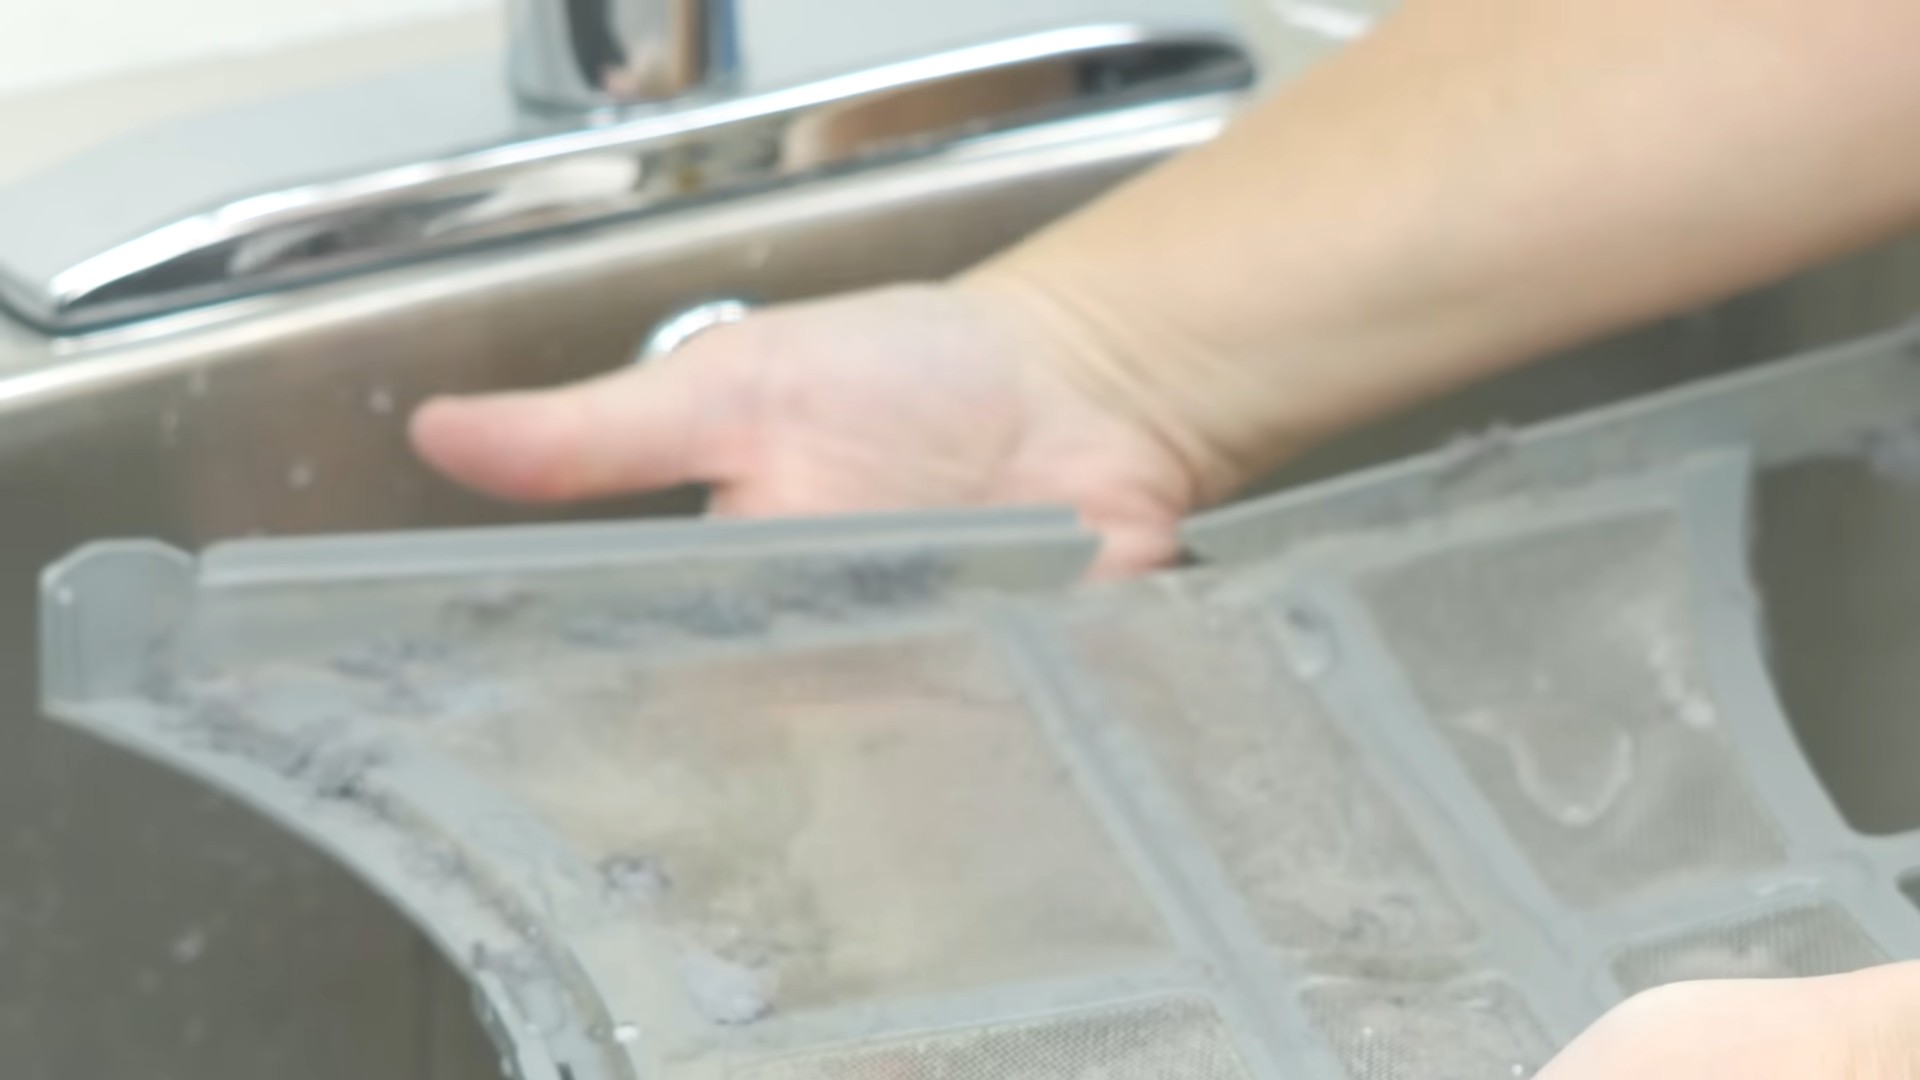
* Inside the Dryer Cabinet: Yes, lint can even get inside the dryer itself!
The Arsenal: What You’ll Need
To wage war on lint, you’ll need a few key tools:
* A Dryer Vent Cleaning Kit: These kits usually include a flexible rod with a brush attachment. You can find them at most hardware stores or online. I highly recommend getting one – it’s a game-changer!
* A Vacuum Cleaner with Hose Attachments: A crevice tool and brush attachment are essential.
* A Screwdriver: You’ll need this to detach the dryer vent hose.
* Duct Tape (Optional): For resealing the vent hose connections.
* A Stiff Brush (Optional): For scrubbing the exterior vent.
* Safety Glasses: Protect your eyes from flying lint!
* Gloves (Optional): If you’re sensitive to dust or lint.
Phase 1: Attacking the Dryer Vent Hose
This is where the magic happens! Cleaning the vent hose is the most impactful thing you can do to reduce lint buildup.
1. Unplug the Dryer: Safety first! Always disconnect the power before working on any appliance.
2. Locate the Dryer Vent Hose: This is usually a flexible hose connected to the back of your dryer and leading to an outside vent.
3. Detach the Hose: Use your screwdriver to loosen the clamp(s) holding the hose to the dryer and the wall. Carefully pull the hose off. Be prepared for some lint to fall out!
4. Assemble the Dryer Vent Cleaning Kit: Follow the instructions that came with your kit. Typically, you’ll connect the flexible rods together to create a longer reach.
5. Clean the Hose: Insert the brush end of the cleaning kit into the hose. Rotate the brush as you push it through, breaking up the lint buildup. Work your way through the entire length of the hose.
6. Vacuum the Hose: After using the brush, use your vacuum cleaner with the hose attachment to suck out any remaining lint.
7. Repeat if Necessary: If the hose was particularly clogged, you might need to repeat steps 5 and 6.
8. Inspect the Hose: Check the hose for any damage, such as tears or kinks. If the hose is damaged, replace it. A new hose is relatively inexpensive and well worth the investment.
9. Reattach the Hose: Carefully reattach the hose to the dryer and the wall, making sure the clamps are secure. Use duct tape to seal any gaps, if needed.
Phase 2: Conquering the Exterior Vent
Don’t forget about the outside vent! A clogged exterior vent can restrict airflow just as much as a clogged hose.
1. Locate the Exterior Vent: This is usually a louvered vent on an outside wall of your house.
2. Inspect the Vent: Check for any visible lint buildup or obstructions.
3. Clean the Vent: Use your stiff brush to scrub away any lint buildup on the vent cover.
4. Vacuum the Vent: Use your vacuum cleaner with the hose attachment to suck out any lint from inside the vent.
5. Check for Bird Nests: While you’re at it, make sure there are no bird nests or other debris blocking the vent.
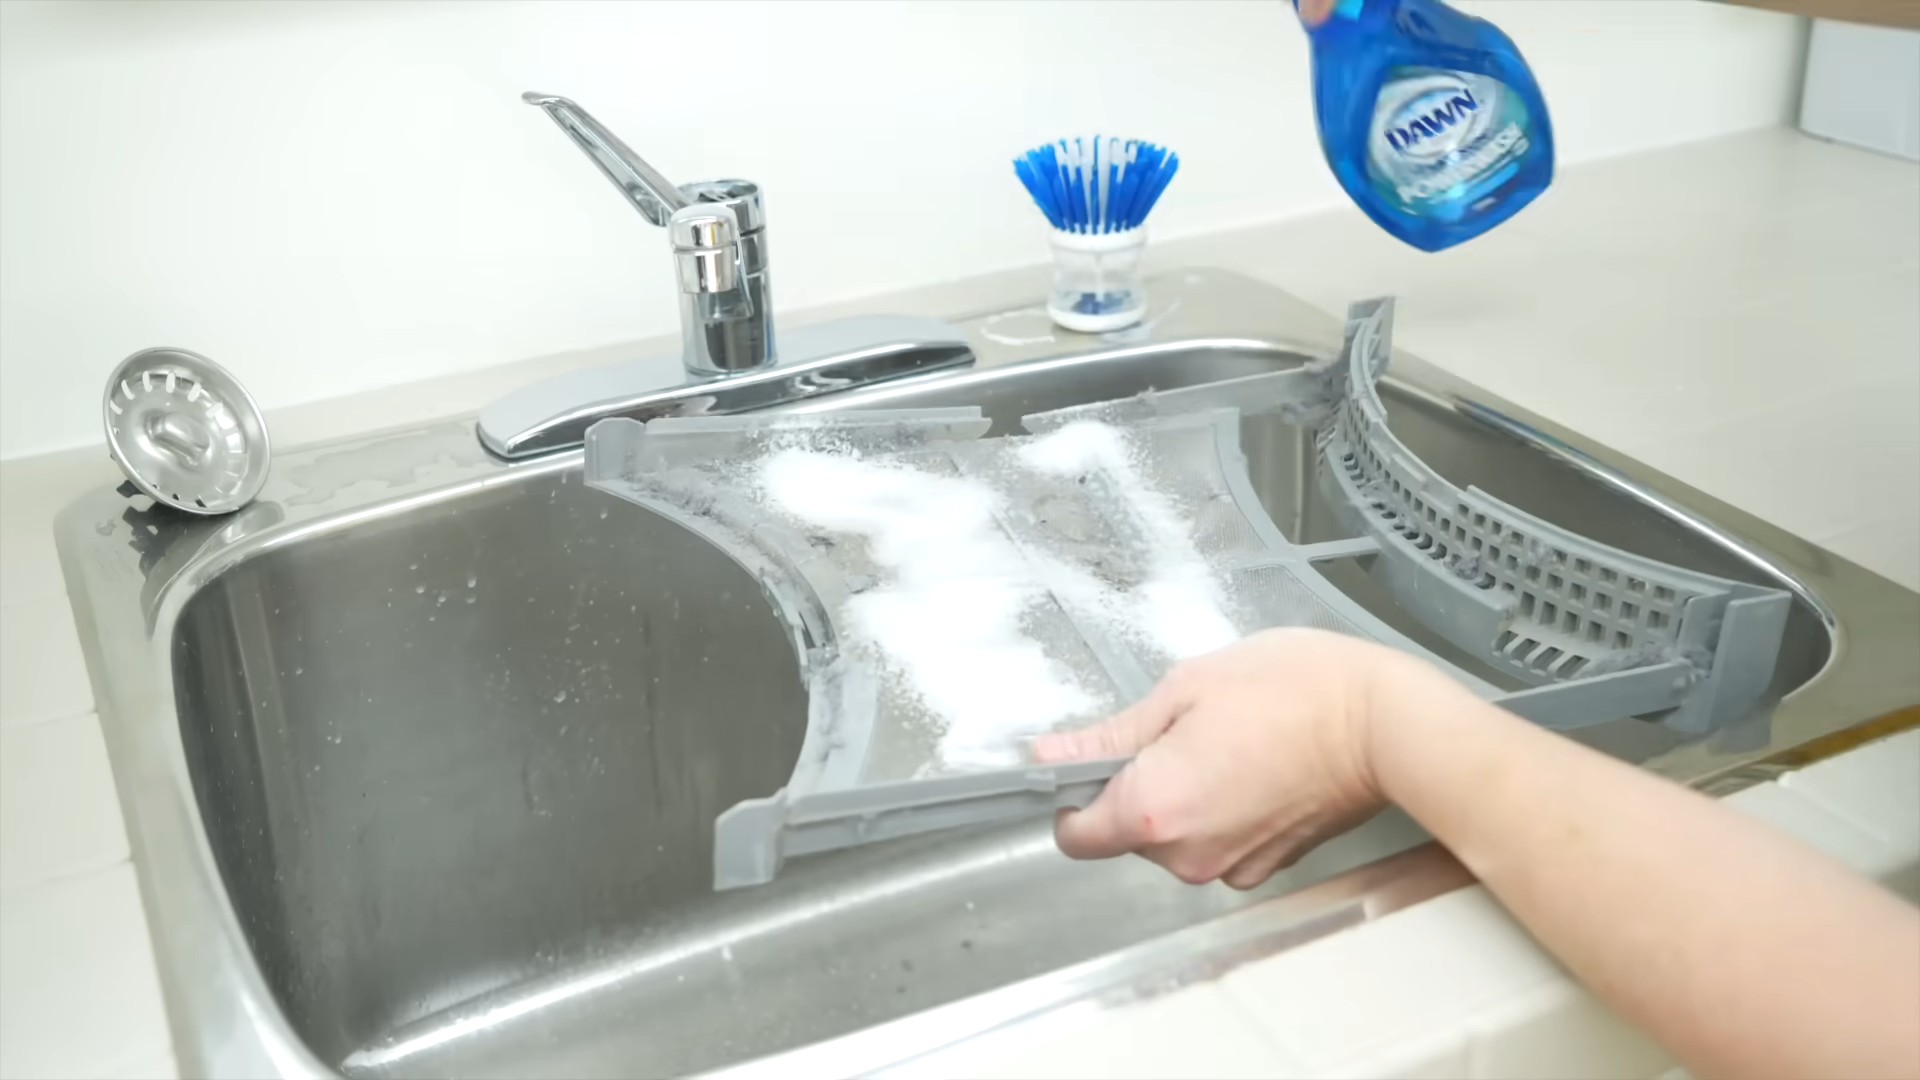
Phase 3: Deep Cleaning the Dryer Interior (Optional, but Recommended)
This step is a bit more involved, but it can really help to remove any lint that has made its way inside the dryer cabinet.
1. Unplug the Dryer (Again!): Double-check that the dryer is unplugged.
2. Consult Your Dryer’s Manual: Before disassembling anything, consult your dryer’s manual for specific instructions and safety precautions.
3. Remove the Lint Trap: Clean the lint trap thoroughly.
4. Remove the Back Panel (Usually): Most dryers have a removable back panel that allows access to the interior. Use your screwdriver to remove the screws holding the panel in place.
5. Vacuum the Interior: Use your vacuum cleaner with the hose attachment to vacuum up any lint inside the dryer cabinet. Pay special attention to the area around the heating element and the blower fan.
6. Be Careful Around Electrical Components: Avoid touching any electrical components.
7. Reassemble the Dryer: Carefully reattach the back panel and replace the lint trap.
Phase 4: Maintaining a Lint-Free Future
Now that you’ve conquered the lint monster, here’s how to keep it at bay:
* Clean the Lint Trap After Every Load: This is the easiest and most effective way to prevent lint buildup. Don’t just wipe it; actually remove the lint.
* Regularly Inspect and Clean the Dryer Vent Hose: I recommend cleaning the vent hose at least once a year, or more often if you do a lot of laundry.
* Use Rigid Metal Venting: If possible, replace your flexible vent hose with rigid metal venting. Metal venting is less likely to trap lint and is more fire-resistant.
* Avoid Using Dryer Sheets: Dryer sheets can leave a residue that can clog your lint trap and vent. Consider using dryer balls instead.
* Don’t Overload the Dryer: Overloading the dryer can cause more lint to be produced.
* Check the Exterior Vent Regularly: Make sure the exterior vent is clear of obstructions.
Troubleshooting: What If It’s Still Not Working?
If you’ve followed all these steps and your dryer is still not drying clothes properly, there might be a more serious problem. Here are a few things to consider:
* Check the Heating Element: If the dryer is not heating up, the heating element might be faulty.
* Check the Thermostat: The thermostat controls the temperature of the dryer. If it’s not working properly, the dryer might not heat up or might overheat.
* Check the Blower Fan: The blower fan circulates air through the dryer. If it’s not working properly, the dryer might not dry clothes effectively.
* Call a Professional: If you’re not comfortable troubleshooting these issues yourself, it’s best to call a qualified appliance repair technician.
By following these steps, you can keep your dryer lint-free, improve its efficiency, and reduce the risk of fire. Happy drying!
Conclusion
So, there you have it! Mastering the art of stopping dryer lint buildup is not just a chore; it’s an investment in your home’s safety, your appliance’s longevity, and your peace of mind. We’ve explored a simple yet incredibly effective DIY trick that will significantly reduce the amount of lint accumulating in your dryer and vent. This isn’t about complicated tools or expensive solutions; it’s about proactive maintenance using readily available materials and a few minutes of your time.
Why is this DIY trick a must-try? Because the consequences of neglecting dryer lint buildup are far-reaching. From increased energy bills due to inefficient drying to the very real threat of a house fire, the risks are simply too great to ignore. By implementing this simple preventative measure, you’re actively safeguarding your home and family.
But the benefits don’t stop there. A cleaner dryer vent means your clothes will dry faster, saving you time and energy. It also puts less strain on your dryer, extending its lifespan and preventing costly repairs down the road. Think of it as a small investment that yields significant returns.
Now, let’s talk variations. While the core principle remains the same – capturing lint before it reaches the vent – you can adapt this DIY trick to suit your specific needs and preferences. For example, if you have a particularly lint-prone dryer, consider using a finer mesh material for your lint trap. You could also experiment with different placement locations to maximize lint capture. Some users have found success attaching the material directly to the dryer vent opening, while others prefer placing it inside the lint trap housing.
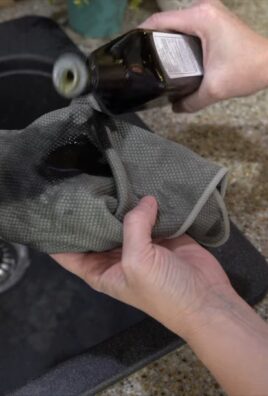
Another variation involves incorporating essential oils for a subtle fragrance boost. Simply add a few drops of your favorite essential oil to the material you’re using to capture the lint. As the warm air circulates through the dryer, it will gently diffuse the scent, leaving your clothes smelling fresh and clean. Lavender, lemon, and eucalyptus are all excellent choices.
Remember, the key is to experiment and find what works best for you and your dryer. Don’t be afraid to get creative and personalize this DIY trick to fit your unique circumstances.
We wholeheartedly encourage you to try this DIY trick for stopping dryer lint buildup. It’s a simple, effective, and affordable way to protect your home and improve the performance of your dryer. Once you’ve given it a try, we’d love to hear about your experience! Share your tips, tricks, and variations in the comments below. Let’s create a community of proactive homeowners who are committed to dryer lint safety. Together, we can make a difference!
Frequently Asked Questions (FAQ)
What exactly is dryer lint and why is it so dangerous?
Dryer lint is a highly flammable byproduct of the drying process. It consists of tiny fibers that are shed from clothing, towels, and other textiles during the tumbling action of the dryer. These fibers are typically made of cotton, polyester, or a blend of both. The danger lies in the fact that lint is extremely dry and easily ignited by heat. When lint accumulates in the dryer vent, it restricts airflow, causing the dryer to overheat. This overheating can then ignite the lint, leading to a house fire. According to the U.S. Fire Administration, dryers cause an estimated 15,970 fires each year, resulting in deaths, injuries, and significant property damage. Regular cleaning and preventative measures are crucial to mitigate this risk.
How often should I clean my dryer vent, even with this DIY trick?
Even with this DIY trick, which helps to reduce the amount of lint reaching the vent, you should still clean your dryer vent at least once a year. If you use your dryer frequently, or if you have a long or complex vent system, you may need to clean it more often, perhaps every six months. Signs that your dryer vent needs cleaning include: clothes taking longer than usual to dry, the dryer feeling hot to the touch, a burning smell coming from the dryer, and excessive lint buildup around the dryer. This DIY trick is a great preventative measure, but it doesn’t eliminate the need for regular professional cleaning or thorough DIY vent cleaning.
What materials are best to use for capturing the lint in this DIY trick?
The best materials to use for capturing lint in this DIY trick are those that are breathable, durable, and easy to clean. Some popular options include:
* Nylon Stockings or Pantyhose: These are readily available, inexpensive, and have a fine mesh that effectively traps lint.
* Cheesecloth: This is another inexpensive option that is breathable and can be easily cut to size. However, it may not be as durable as nylon stockings.
* Mesh Laundry Bags: These bags are designed to protect delicate items in the washing machine and can also be used to capture lint in the dryer. They are durable and reusable.
* Dryer Sheets (Used): While not as effective as the other options, used dryer sheets can provide a slight barrier and capture some lint.
Avoid using materials that are not breathable, such as plastic wrap or aluminum foil, as these can restrict airflow and create a fire hazard.
Will this DIY trick affect my dryer’s performance or void its warranty?
When implemented correctly, this DIY trick should not negatively affect your dryer’s performance or void its warranty. However, it’s important to ensure that the material you’re using to capture the lint is not obstructing airflow. If you notice that your clothes are taking longer to dry or that the dryer is overheating, remove the material and try a different one or adjust the placement. Always consult your dryer’s owner’s manual for specific warranty information and guidelines. If you’re unsure about whether this DIY trick will void your warranty, contact the manufacturer directly.
Can I use this DIY trick with any type of dryer (gas or electric)?
Yes, this DIY trick can be used with both gas and electric dryers. The principle of capturing lint before it reaches the vent applies to both types of dryers. However, it’s crucial to exercise caution when working with gas dryers, as they require proper ventilation to prevent carbon monoxide buildup. Ensure that the material you’re using to capture the lint is not obstructing the vent and that the dryer is properly vented to the outside. If you’re unsure about the safety of using this DIY trick with your gas dryer, consult a qualified appliance technician.
What if I don’t have any of the suggested materials on hand? Are there any alternatives?
If you don’t have any of the suggested materials on hand, you can try using other breathable fabrics with a tight weave, such as old t-shirts or pillowcases. Cut the fabric into a manageable size and secure it in place using clothespins or rubber bands. However, keep in mind that these alternatives may not be as effective as nylon stockings or cheesecloth. As a temporary solution, you can also try using a lint roller to remove excess lint from your clothes before placing them in the dryer. Ultimately, investing in a dedicated lint-catching material is the best long-term solution.
How do I properly dispose of the collected lint?
Collected dryer lint is highly flammable and should be disposed of properly to prevent accidental fires. The best way to dispose of dryer lint is to place it in a sealed plastic bag and discard it in your outdoor trash can. Avoid composting dryer lint, as it may contain synthetic fibers that are not biodegradable. You can also use dryer lint as a fire starter for campfires or fireplaces, but be sure to store it in a safe and dry location away from flammable materials.
Is there a way to reduce lint production in the first place?
Yes, there are several ways to reduce lint production in the first place:
* Clean your lint trap after every load: This is the most basic and effective way to prevent lint buildup.
* Separate lint-producing items: Wash and dry towels, blankets, and other lint-prone items separately from other clothes.
* Turn clothes inside out: This can help to reduce friction and lint shedding.
* Avoid over-drying clothes: Over-drying can damage fibers and increase lint production.
* Use fabric softener sparingly: Fabric softener can leave a residue on clothes that can contribute to lint buildup.
* Regularly clean your washing machine: A dirty washing machine can transfer lint to your clothes.
By implementing these tips, you can significantly reduce the amount of lint produced by your laundry and minimize the risk of dryer lint buildup.

Leave a Comment