

Sponge Cleaning Hacks: Are you tired of your kitchen sponge smelling like a forgotten science experiment? I know I am! We all rely on these little workhorses to keep our homes clean, but let’s be honest, they can quickly become breeding grounds for bacteria and unpleasant odors. But fear not, fellow cleaning enthusiasts! This isn’t just another article about tossing your sponge every week. We’re diving deep into the world of sponge cleaning hacks, uncovering clever and cost-effective ways to extend their lifespan and keep them sparkling clean.
Sponges have been around in various forms for centuries, from natural sea sponges used by ancient Greeks and Romans for bathing to the synthetic versions we know and love today. While their purpose has remained consistent – absorbing and wiping – our understanding of how to properly care for them has evolved. In today’s busy world, who has time to constantly replace sponges? That’s where these DIY tricks come in. I’m going to share some simple yet effective methods to sanitize, deodorize, and even revive your sponges, saving you money and reducing waste. Get ready to transform your cleaning routine with these game-changing tips!
DIY Sponge Cleaning Hacks: Extend the Life of Your Scrubbers!
Hey there, fellow DIY enthusiasts! Let’s be honest, sponges are the unsung heroes of our kitchens and bathrooms. They tackle grime, scrub away messes, and generally keep things sparkling. But they also get pretty gross, pretty fast. Instead of constantly tossing them out, let’s explore some super effective DIY cleaning hacks to extend their lifespan and keep them fresh! I’m going to share my favorite methods for sanitizing, deodorizing, and even preventing that dreaded sponge smell.
Understanding the Enemy: Why Sponges Get Gross
Before we dive into the cleaning, let’s understand why sponges become breeding grounds for bacteria. They’re constantly damp, full of food particles, and sit in warm environments – basically, a bacteria paradise! This is why regular cleaning is crucial, not just for hygiene, but also to prevent that funky odor.
Hack #1: The Microwave Sanitization Powerhouse
This is my go-to method for a quick and effective clean. It’s super easy and uses something most of us already have!
What you’ll need:
* Your dirty sponge
* Microwave oven
* Water
Step-by-step instructions:
1. Thoroughly Wet the Sponge: Make sure your sponge is completely saturated with water. Squeeze it out slightly so it’s not dripping, but still very wet. This is crucial because the water will create steam, which is what sanitizes the sponge. A dry sponge in the microwave is a fire hazard – seriously, don’t do it!
2. Microwave on High: Place the wet sponge in the microwave. I usually put it in the center of the turntable. Microwave it on high for 2 minutes. The steam generated will kill most of the bacteria lurking inside.
3. Let it Cool: Carefully remove the sponge from the microwave. It will be very hot! Let it cool down for a few minutes before handling it. I usually use tongs to grab it.
4. Squeeze and Rinse: Once it’s cool enough to handle, squeeze out any excess water and rinse the sponge thoroughly under running water. This will remove any remaining debris.
Important Notes:
* Never microwave a dry sponge! Fire hazard!
* Make sure your sponge doesn’t have any metal parts.
* This method is best for sponges without abrasive scrubbing pads, as the heat can damage them over time.
* I usually do this every other day to keep my sponges fresh.
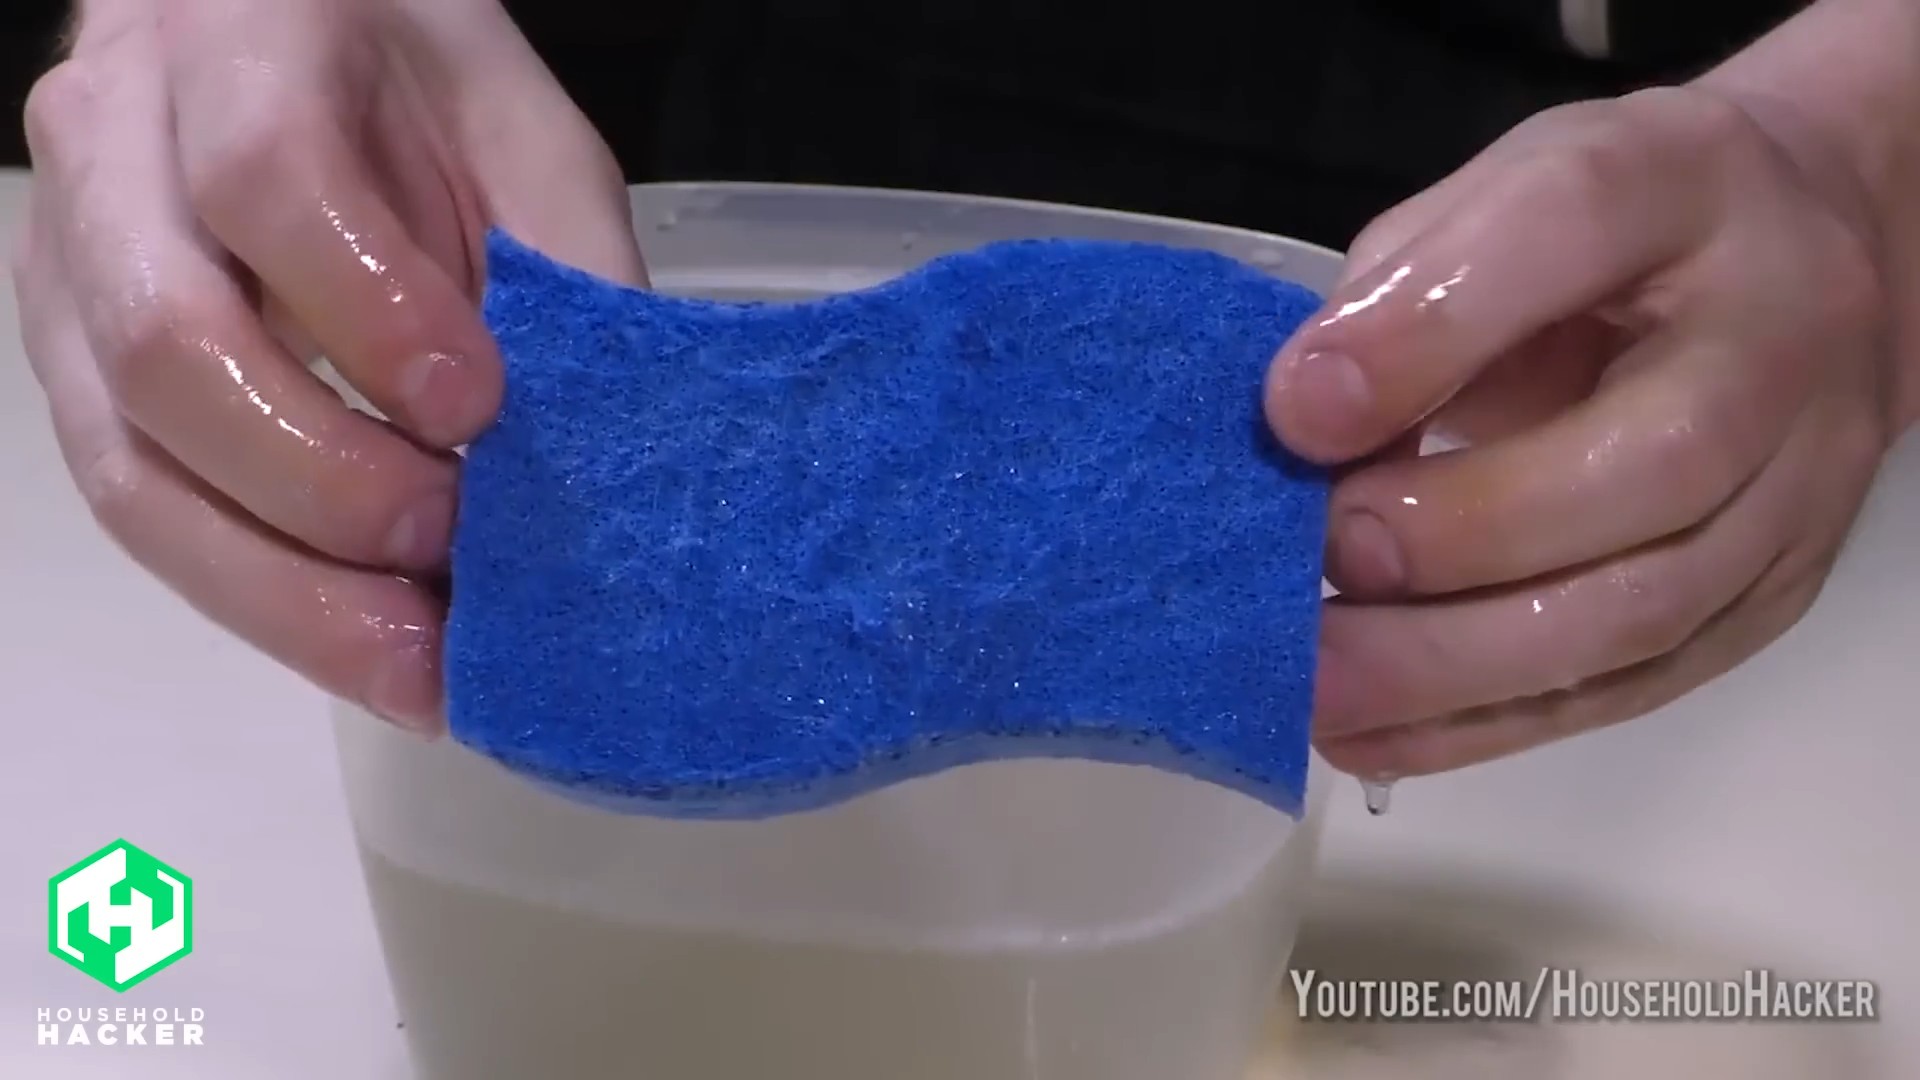
Hack #2: The Bleach Bath for Deep Cleaning
When your sponge needs a serious refresh, a bleach solution is the way to go. This method is incredibly effective at killing bacteria and removing stubborn stains.
What you’ll need:
* Your dirty sponge
* Bleach (unscented)
* Water
* A bowl or sink
Step-by-step instructions:
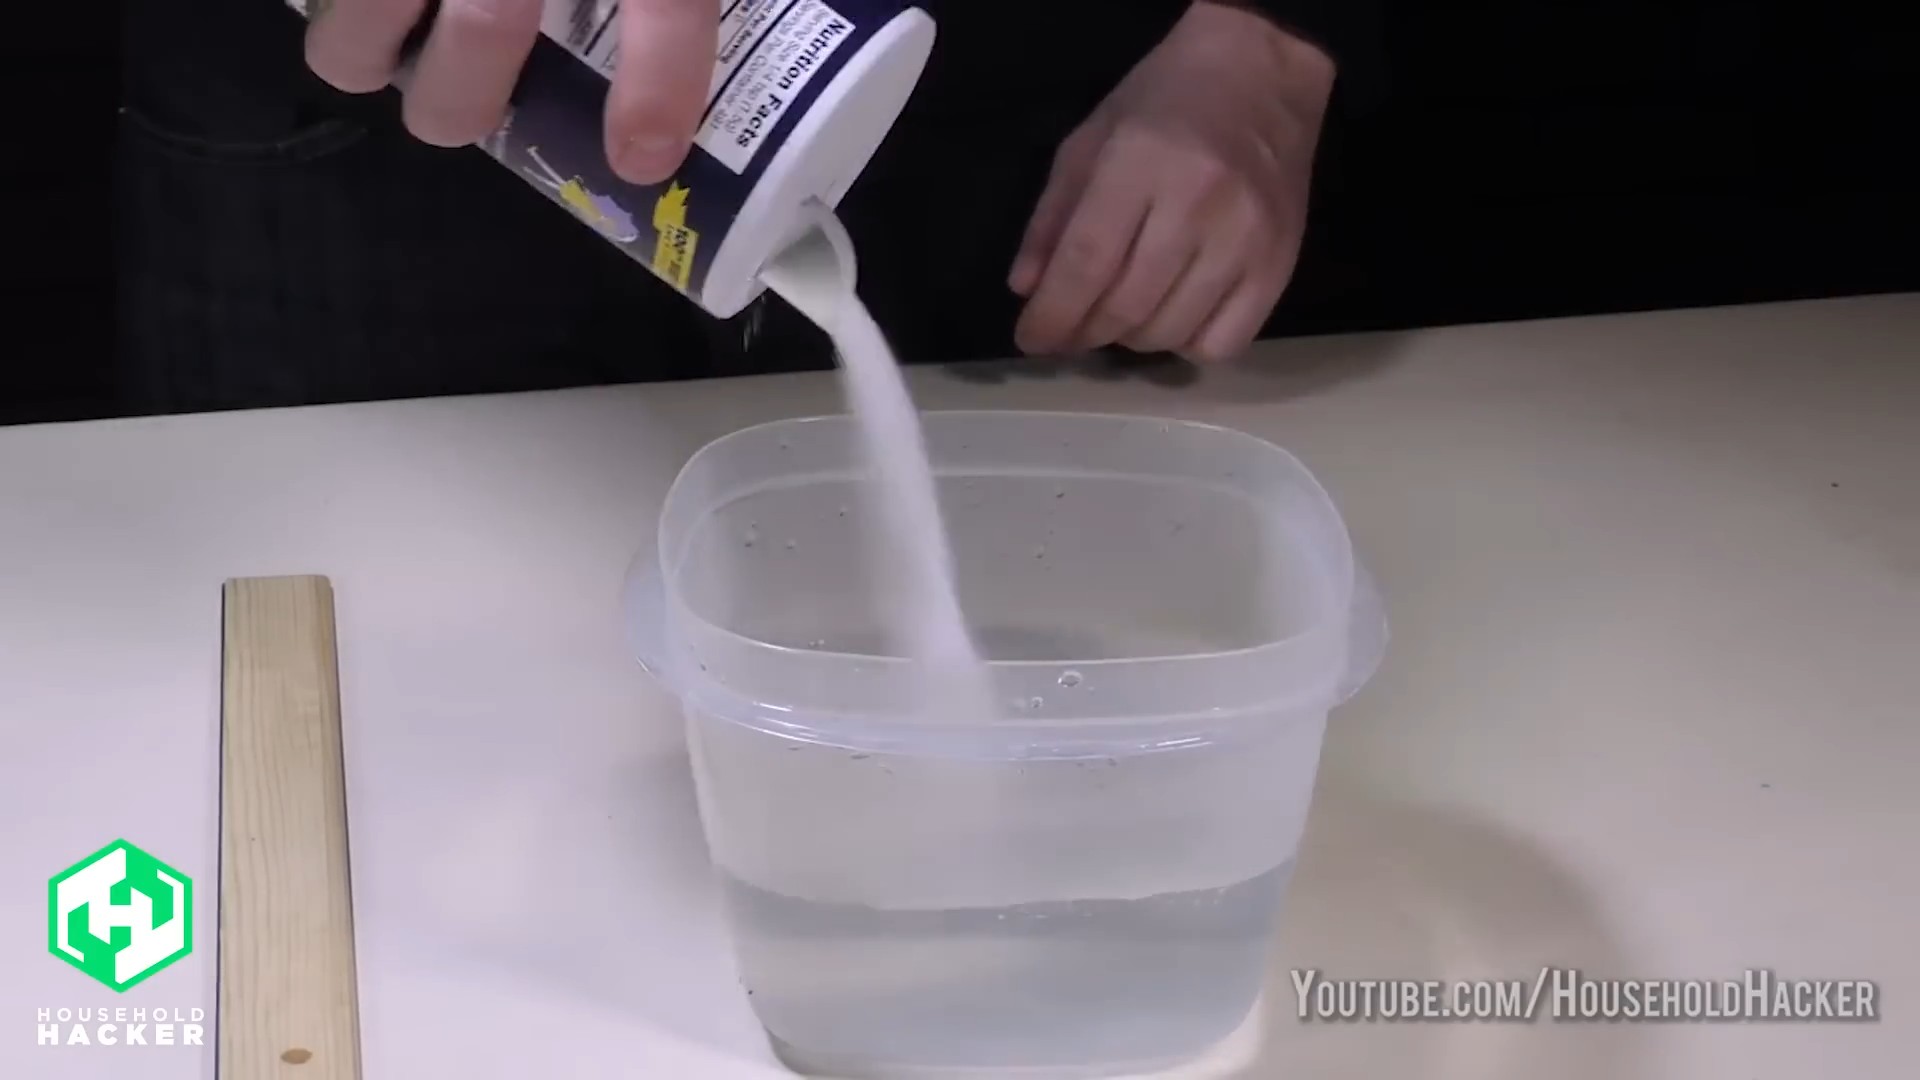
1. Prepare the Bleach Solution: In a bowl or sink, mix 3/4 cup of bleach with one gallon of cold water. Always add bleach to water, never the other way around, to avoid dangerous fumes.
2. Soak the Sponge: Submerge the sponge completely in the bleach solution. Make sure it’s fully saturated.
3. Let it Soak: Allow the sponge to soak in the solution for at least 5 minutes, but no more than 10 minutes. Prolonged exposure to bleach can damage the sponge.
4. Rinse Thoroughly: Remove the sponge from the bleach solution and rinse it extremely thoroughly under running water. Rinse until you can no longer smell any bleach. This is crucial to prevent bleach residue from contaminating your dishes or surfaces.
5. Air Dry: Squeeze out any excess water and allow the sponge to air dry completely.
Important Notes:
* Always wear gloves when working with bleach to protect your skin.
* Ensure proper ventilation when using bleach. Open a window or turn on a fan.
* Never mix bleach with ammonia or other cleaning products, as this can create toxic fumes.
* This method can be harsh on sponges, so I only use it when necessary, maybe once a week or when the sponge is particularly dirty.
* If you’re sensitive to bleach, consider using a different method.
Hack #3: The Vinegar Soak for Natural Cleaning
If you prefer a more natural approach, vinegar is a fantastic alternative to bleach. It’s a natural disinfectant and deodorizer.
What you’ll need:
* Your dirty sponge
* White vinegar
* Water
* A bowl or sink
Step-by-step instructions:
1. Prepare the Vinegar Solution: In a bowl or sink, mix equal parts white vinegar and water.
2. Soak the Sponge: Submerge the sponge completely in the vinegar solution.
3. Let it Soak: Allow the sponge to soak in the solution for at least one hour, or even overnight for a deeper clean.
4. Rinse Thoroughly: Remove the sponge from the vinegar solution and rinse it thoroughly under running water.
5. Squeeze and Air Dry: Squeeze out any excess water and allow the sponge to air dry completely.
Important Notes:
* Vinegar has a strong smell, but it will dissipate as the sponge dries.
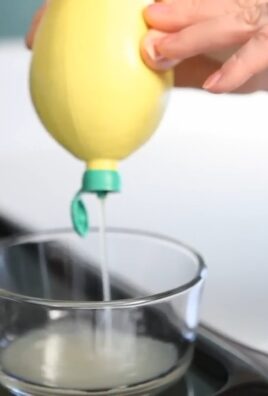
* You can add a few drops of your favorite essential oil to the vinegar solution to help mask the smell. Lemon or tea tree oil are great choices for their antibacterial properties.
* This method is gentle enough to use regularly, even daily.
Hack #4: The Dishwasher Delight
Did you know you can clean your sponges in the dishwasher? It’s a convenient and effective way to sanitize them.
What you’ll need:
* Your dirty sponge
* Dishwasher
Step-by-step instructions:
1. Place the Sponge in the Dishwasher: Place the sponge on the top rack of your dishwasher, away from the heating element.
2. Run a Normal Cycle: Run a normal dishwasher cycle with your regular detergent.
3. Let it Dry: Once the cycle is complete, let the sponge dry completely before using it again.
Important Notes:
* Make sure your sponge doesn’t have any metal parts.
* Avoid washing sponges with delicate items, as the high heat can be damaging.
* This method is best for sponges without abrasive scrubbing pads, as the heat can damage them over time.
* I usually do this once a week to keep my sponges clean.
Hack #5: Sun’s Out, Germs Out: The Power of Sunlight
This is a simple, natural, and often overlooked method. Sunlight is a natural disinfectant!
What you’ll need:
* Your dirty sponge
* Sunlight
Step-by-step instructions:
1. Rinse the Sponge: Rinse the sponge thoroughly under running water to remove any loose debris.
2. Place in Direct Sunlight: Place the sponge in direct sunlight for several hours. The UV rays will help kill bacteria and freshen the sponge.
3. Bring Indoors: Bring the sponge indoors before nightfall.
Important Notes:
* This method is most effective on sunny days.
* Make sure the sponge is placed in a location where it won’t be blown away.
* While sunlight is effective, it’s not a substitute for other cleaning methods. I use this in conjunction with other hacks.
Preventing the Sponge Stink: Proactive Measures
Cleaning your sponges is important, but preventing them from getting gross in the first place is even better! Here are some tips to keep your sponges fresh:
* Rinse After Every Use: This is the most important step! Rinse your sponge thoroughly under running water after each use to remove food particles and debris.
* Squeeze Out Excess Water: After rinsing, squeeze out as much water as possible. A damp sponge is a breeding ground for bacteria.
* Store Properly: Store your sponge in a well-ventilated area where it can dry completely. Avoid leaving it in a damp sink or on a wet countertop. I use a little sponge holder with holes for drainage.
* Replace Regularly: Even with regular cleaning, sponges will eventually wear out and become less effective. Replace your sponges every 2-4 weeks, or sooner if they start to smell or look worn.
* Consider Different Types of Sponges: Some sponges are more resistant to bacteria than others. Look for sponges made with antimicrobial materials. Silicone sponges are also a good option, as they are less porous and easier to clean.
* Designate Sponges for Different Tasks: Use separate sponges for different tasks, such as cleaning dishes, wiping countertops, and cleaning bathrooms. This will prevent cross-contamination.
Choosing the Right Sponge for the Job
Not all sponges are created equal! Here’s a quick guide
Conclusion
So, there you have it! These sponge cleaning hacks aren’t just about saving a few bucks; they’re about extending the life of your hardworking kitchen companion and keeping your home a healthier, happier place. We’ve explored simple yet effective methods, from the microwave zap to the vinegar soak, each designed to tackle the unique challenges sponges face in their daily battle against grime.
Why is this a must-try? Because let’s face it, sponges are breeding grounds for bacteria. Regularly cleaning them isn’t just good practice; it’s essential for preventing the spread of germs and keeping your family safe. Plus, think of the money you’ll save by not having to constantly replace your sponges! It’s a win-win situation.
But don’t stop there! Feel free to experiment with these techniques. For instance, if you’re dealing with particularly stubborn odors, try adding a few drops of essential oil, like lemon or tea tree, to your vinegar solution. These oils not only smell great but also possess additional antibacterial properties. Another variation is to use baking soda paste for scrubbing away tough stains before sanitizing. You can also try using a diluted bleach solution (1 part bleach to 9 parts water) for a more intense cleaning, but remember to rinse thoroughly and wear gloves. Always prioritize safety when using bleach.
Ultimately, the best sponge cleaning method is the one that fits seamlessly into your routine. Whether you prefer the speed of the microwave or the deep clean of a vinegar soak, the key is consistency. Make it a habit to clean your sponges at least every other day, and you’ll be amazed at the difference it makes.
We’re confident that these **sponge cleaning hacks** will revolutionize your cleaning routine. They’re easy, effective, and environmentally friendly. So, ditch the disposable mentality and embrace these simple strategies for keeping your sponges fresh and ready to tackle any mess.
Now, it’s your turn! We encourage you to try these hacks and see for yourself how much cleaner and longer-lasting your sponges can be. Don’t forget to share your experiences with us in the comments below. We’d love to hear which method worked best for you, any variations you tried, and any other tips you’ve discovered along the way. Let’s create a community of clean sponge enthusiasts!
Frequently Asked Questions (FAQ)
1. How often should I clean my kitchen sponge?
Ideally, you should clean your kitchen sponge every day or at least every other day. Sponges are notorious for harboring bacteria, so frequent cleaning is crucial for maintaining a hygienic kitchen environment. Daily cleaning helps prevent the buildup of bacteria and keeps your sponge smelling fresh. If you use your sponge for particularly messy tasks, such as cleaning up raw meat juices, clean it immediately afterward.
2. What’s the best way to clean a sponge in the microwave?
To clean a sponge in the microwave, first, thoroughly wet the sponge. Then, place it in the microwave and heat it on high for 1-2 minutes. Be sure to watch it carefully, as some sponges may melt or catch fire. Let the sponge cool down before handling it, as it will be very hot. The microwave’s heat kills many of the bacteria present in the sponge. However, it’s important to note that microwaving alone may not eliminate all bacteria, so it’s best used in conjunction with other cleaning methods.
3. Can I clean my sponge in the dishwasher?
Yes, you can clean your sponge in the dishwasher. Place the sponge on the top rack of the dishwasher to avoid direct contact with the heating element. Run a normal wash cycle with detergent. The hot water and detergent will help to sanitize the sponge. This is a convenient way to clean your sponge alongside your dishes.
4. Is it safe to use bleach to clean my sponge?
Yes, you can use a diluted bleach solution to clean your sponge, but it’s essential to do so safely. Mix 1 part bleach with 9 parts water. Soak the sponge in the solution for 5-10 minutes. Rinse the sponge thoroughly with clean water until all traces of bleach are gone. Always wear gloves when handling bleach to protect your skin. Bleach is a powerful disinfectant, but it can also be harmful if not used properly. Ensure adequate ventilation when using bleach.
5. How effective is vinegar at cleaning sponges?
Vinegar is a highly effective natural cleaner for sponges. Its acidity helps to kill bacteria and remove odors. Soak the sponge in undiluted white vinegar for at least 5 minutes, or preferably overnight for a deeper clean. Rinse the sponge thoroughly with water afterward. Vinegar is a safe and eco-friendly alternative to harsh chemicals.
6. My sponge smells bad even after cleaning it. What should I do?
If your sponge still smells bad after cleaning, it may be time to replace it. However, before you do, try soaking it in a solution of baking soda and water. Mix 1/4 cup of baking soda with 1 cup of water and soak the sponge for several hours or overnight. Baking soda helps to neutralize odors. If the smell persists, it’s best to discard the sponge and get a new one.
7. How long should a kitchen sponge last?
Even with regular cleaning, kitchen sponges should be replaced every 1-2 weeks, or sooner if they show signs of wear and tear, such as crumbling or developing a persistent odor. Regular replacement ensures that you’re using a clean and effective tool for cleaning your kitchen.
8. Are there any alternatives to traditional kitchen sponges?
Yes, there are several alternatives to traditional kitchen sponges, such as silicone sponges, cellulose sponges, and dishcloths. Silicone sponges are more durable and easier to clean than traditional sponges. Cellulose sponges are biodegradable and absorbent. Dishcloths can be washed and reused, making them a more sustainable option. Consider these alternatives if you’re looking for a more eco-friendly or long-lasting cleaning tool.
9. Can I use these cleaning methods on other types of sponges, like bath sponges?
While some of these methods can be adapted for other types of sponges, it’s important to consider the material and intended use of the sponge. For bath sponges, rinsing thoroughly after each use and allowing them to air dry completely is crucial. You can also soak them in a diluted vinegar solution periodically to prevent bacterial growth. Always check the manufacturer’s instructions for specific cleaning recommendations.
10. What are the environmental impacts of using and disposing of kitchen sponges?
Traditional kitchen sponges are often made from synthetic materials that are not biodegradable, contributing to landfill waste. Consider switching to more sustainable alternatives, such as cellulose sponges or reusable dishcloths. When disposing of sponges, check if your local recycling program accepts them. You can also cut up old sponges and use them for other cleaning tasks, such as scrubbing grout or cleaning hard-to-reach areas. By making conscious choices about the sponges you use and how you dispose of them, you can reduce your environmental impact.

Leave a Comment