

Soil bags for carrots – ever heard of them? Probably not, but trust me, they’re about to revolutionize your carrot-growing game! Forget battling rocky soil, stunted roots, and those frustratingly forked carrots. I’m going to let you in on a little secret that will have you harvesting the sweetest, straightest carrots you’ve ever seen, all thanks to a simple DIY trick.
Carrots have been cultivated for centuries, with their origins tracing back to Afghanistan. Initially, they weren’t even orange! Purple, yellow, and white varieties were common before the Dutch selectively bred the vibrant orange carrot we know and love today. But regardless of color, the challenge of growing perfect carrots has always remained. Traditional gardening methods often fall short, especially if you’re dealing with less-than-ideal soil conditions.
That’s where this DIY hack comes in. Let’s face it, nobody wants to spend months nurturing a carrot crop only to dig up a bunch of misshapen, bitter roots. This method using soil bags for carrots not only simplifies the growing process but also guarantees a higher yield of quality carrots. It’s perfect for small spaces, balconies, or anyone looking to take control of their soil composition. So, ditch the disappointment and get ready to enjoy a bountiful carrot harvest with this easy and effective technique!
DIY Carrot Growing in a Sack: Here’s How!
Hey gardening friends! Do you have limited space in your garden or on your balcony but still want to grow crisp, homegrown carrots? Then I have the perfect solution for you: growing carrots in a sack! It’s super easy, space-saving, and yields a great harvest. I’ll show you how you can easily do it yourself.
What you need:
- A sack: A sturdy sack made of jute, polypropylene, or another breathable material. It should be at least 60 cm (about 24 inches) high so the carrots have enough room to grow. Old potato sacks or feed bags are ideal!
- Soil: High-quality vegetable soil or a mixture of garden soil, compost, and sand. Carrots like loose, well-draining soil.
- Carrot seeds: Choose a variety that is suitable for growing in a container. Short, round varieties like ‘Paris Market’ or ‘Rondo’ are perfect.
- Drainage material: Expanded clay pellets, gravel, or clay shards for the bottom of the sack.
- Watering can or hose: For watering the carrots.
- Optional: Slow-release fertilizer or horn shavings for optimal nutrient supply.
Step-by-Step Guide:
- Prepare the sack:
- First, you should thoroughly clean the sack if it was previously used for something else.
- Fold the top edge of the sack over a few times to make it more stable and easier to fill. This also looks neater!
- Create drainage:
- Fill the bottom of the sack with a layer of drainage material (about 10-15 cm or 4-6 inches high). This prevents waterlogging and ensures the roots don’t rot.
- I prefer to use expanded clay pellets for this because they are lightweight and retain water well.
- Fill with soil:
- Fill the sack with soil until it is about two-thirds full.
- Press the soil down lightly, but not too firmly. It should remain loose and airy.
- Sow the seeds:
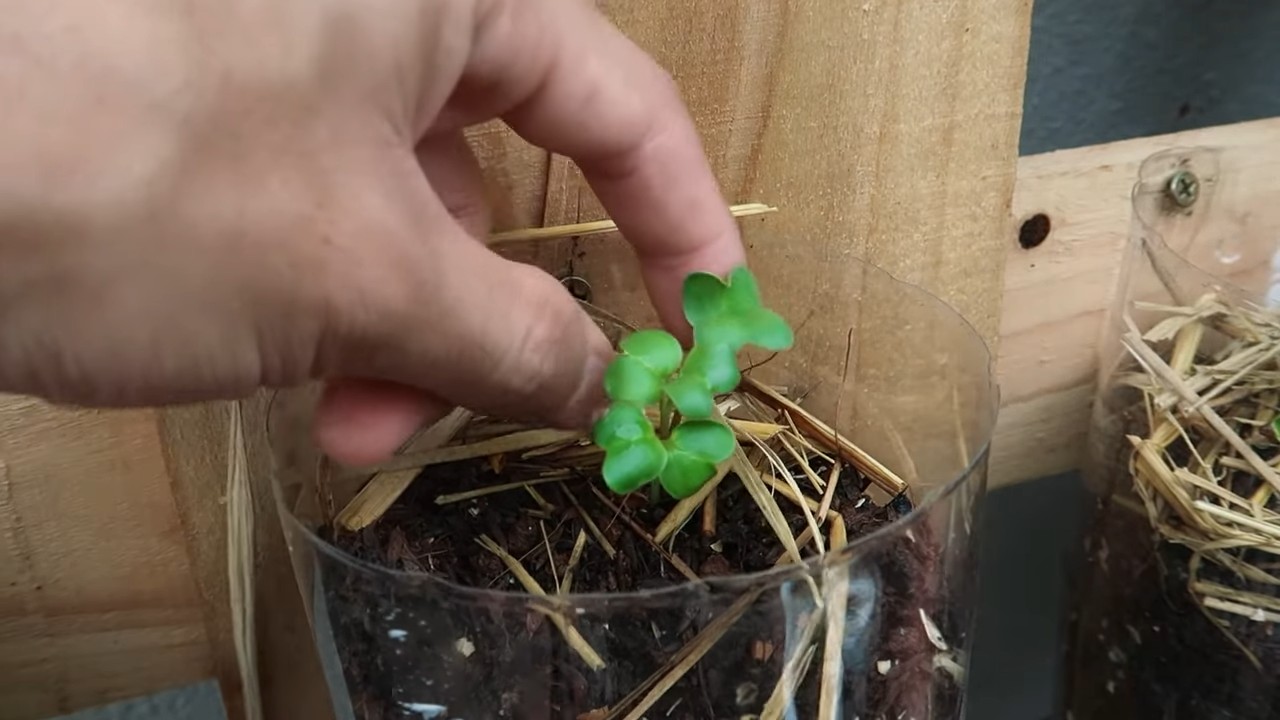
- Distribute the carrot seeds evenly over the soil surface. Make sure they are not too close together, otherwise the small seedlings will need to be thinned out later.
- Cover the seeds with a thin layer of soil (about 0.5-1 cm or 0.2-0.4 inches).
- Water the soil gently so the seeds don’t get washed away.
- Watering and fertilizing:
- Keep the soil evenly moist, but not wet. Carrots do not like waterlogging.
- It’s best to water in the morning or evening when the sun is not too strong.
- If you like, you can mix slow-release fertilizer or horn shavings into the soil when filling. Otherwise, you can regularly fertilize the carrots with a liquid vegetable fertilizer during the growing season.
- Choose a location:
- Place the sack in a sunny location. Carrots need at least 6 hours of sun per day to grow well.
- Make sure the sack is in a spot protected from wind so it doesn’t fall over.
- Care:
- Regularly check the soil for moisture and water as needed.
- Remove any weeds that grow in the sack.
- If the carrot seedlings are too close together, you can thin them out. The weakest seedlings are removed so the stronger ones have enough space to grow.
- Watch out for pests like carrot flies. You can use natural pest control methods if necessary.
Harvest Time!
- Depending on the variety and weather, the carrots are ready to harvest after about 2-4 months.
- You’ll know they’re ripe when the tops of the carrots stick out of the soil and the leaves turn yellow.
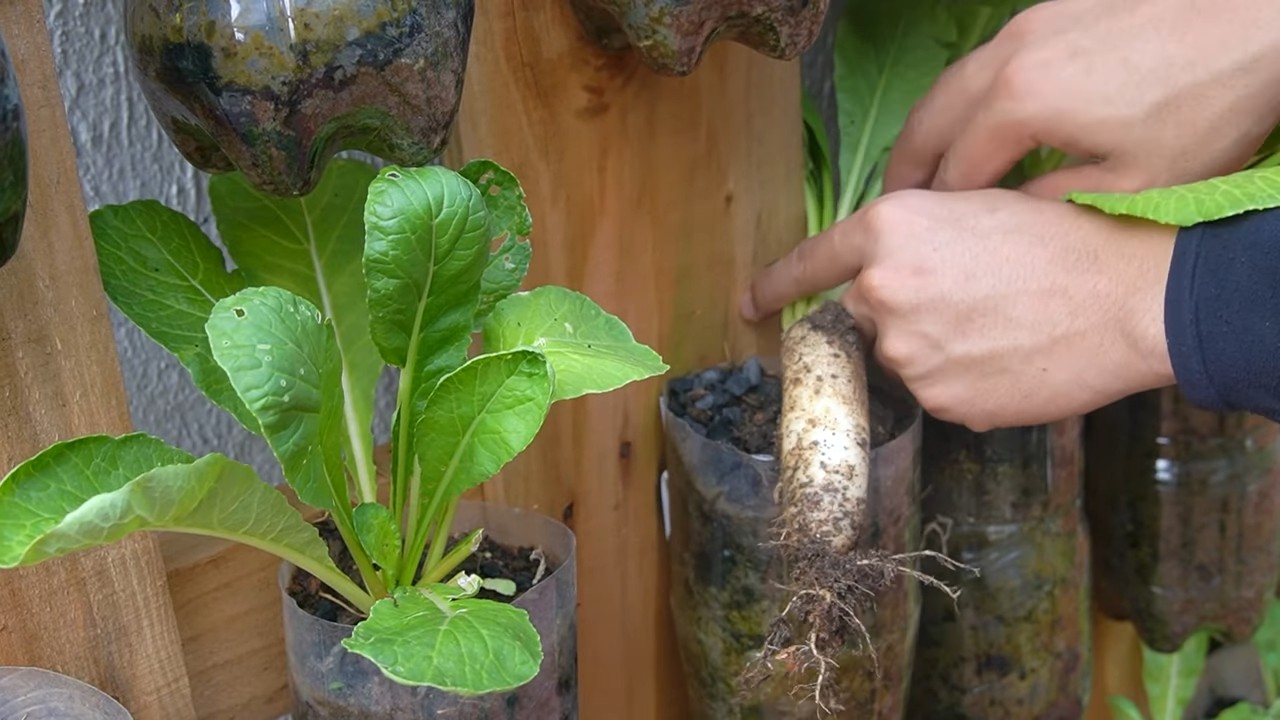
- Gently pull the carrots out of the soil. If they don’t come out easily, you can loosen the soil a bit.
- And then: Enjoy! Homegrown carrots simply taste the best!
Additional Tips for a Rich Harvest:
- Variety choice: As mentioned, short, round carrot varieties are particularly well-suited for growing in a sack. But longer varieties can also work if the sack is tall enough. Just experiment and see what you like best!
- Soil: The right soil is the key to a good harvest. Carrots like loose, sandy soil that is well-draining. Avoid heavy, clay soil as it can hinder root development.
- Watering: Make sure the soil is always evenly moist, but not wet. Too much water can lead to root rot, while too little water can result in dry, woody carrots.
- Fertilizing: Carrots are heavy feeders and need sufficient nutrients to grow well. Fertilize them regularly with a liquid vegetable fertilizer or use a slow-release fertilizer.
- Pests: Carrot flies are a common problem when growing carrots. You can keep them away with an insect net or use natural pest control methods.
- Crop rotation: Don’t grow carrots in the same spot every year. Rotate your planting area to prevent diseases and pests.
A Few More Ideas:
- Plant herbs with them: You can also plant herbs like parsley, chives, or thyme in the sack with the carrots. This not only looks nice but also helps deter pests.
- Multiple sacks: If you want to harvest more carrots, you can simply plant several sacks.
- Upcycling: Use old sacks that you would otherwise throw away. This is good for the environment and saves money.
Conclusion:
Growing carrots in a sack is a great way to harvest fresh vegetables even in a small space. It’s easy, fun, and yields a rich harvest. Just give it a try and enjoy the taste! I’m sure you’ll love it! Happy gardening!
Conclusion
So, there you have it! Creating your own soil bags for carrots is not just a cost-effective alternative to store-bought options; it’s a game-changer for achieving those long, straight, and delicious carrots you’ve always dreamed of. By taking control of the soil composition and drainage, you’re setting your carrots up for success from the very beginning. Forget about rocky, misshapen roots struggling in compacted garden beds. With these DIY soil bags, you’re providing a perfectly tailored environment for optimal growth.
But the benefits extend beyond just aesthetics. Using soil bags allows for better water management, preventing waterlogged conditions that can lead to rot and disease. It also makes harvesting a breeze – simply tip the bag and gently pull out your prize-winning carrots! Plus, you can easily move the bags around to chase the sun or protect them from unexpected weather.
Don’t be afraid to experiment with variations! Try adding different amendments to your soil mix, such as bone meal for phosphorus or kelp meal for micronutrients. You can also adjust the size of the bags to accommodate different carrot varieties. Shorter, rounder carrots like ‘Parisian’ will thrive in smaller bags, while longer varieties like ‘Nantes’ will need more vertical space. Consider using different materials for the bags themselves. While burlap is a classic choice, you could also repurpose old grow bags or even sturdy plastic feed sacks. Just be sure to poke plenty of drainage holes!
This DIY project is more than just a gardening hack; it’s an investment in your carrot-growing success. It’s about taking a hands-on approach to nurturing your plants and reaping the rewards of your labor. It’s about enjoying the satisfaction of biting into a perfectly grown carrot that you cultivated from seed to harvest.
We wholeheartedly encourage you to give these DIY soil bags for carrots a try. The process is simple, the materials are readily available, and the results are truly remarkable. You’ll be amazed at the difference it makes in the quality and quantity of your carrot harvest.
Once you’ve tried it, we’d love to hear about your experience! Share your photos, tips, and tricks in the comments below. Let’s build a community of carrot-growing enthusiasts and learn from each other’s successes (and even the occasional mishap!). Happy gardening!
Frequently Asked Questions (FAQ)
What type of soil is best for carrots in soil bags?
The ideal soil mix for carrots in soil bags is a loose, well-draining blend that is rich in organic matter. Carrots need to push through the soil easily to develop long, straight roots. A good starting point is a mix of equal parts compost, peat moss (or coco coir as a sustainable alternative), and sand or perlite. The compost provides nutrients, the peat moss or coco coir retains moisture, and the sand or perlite improves drainage. Avoid heavy clay soils, as they can compact and hinder root growth. You can also add a slow-release fertilizer specifically formulated for root vegetables to ensure your carrots have a steady supply of nutrients throughout the growing season. Remember to test your soil pH before planting. Carrots prefer a slightly acidic soil with a pH between 6.0 and 6.8.
How big should the soil bags be for carrots?
The size of your soil bags will depend on the variety of carrots you plan to grow. For shorter, rounder varieties like ‘Parisian’ or ‘Thumbelina,’ a bag that is 8-10 inches deep and 6-8 inches in diameter will suffice. However, for longer, more traditional varieties like ‘Nantes’ or ‘Danvers,’ you’ll need bags that are at least 12-18 inches deep and 8-10 inches in diameter. The deeper the bag, the more room the carrots have to grow long and straight. It’s always better to err on the side of larger bags, as you can always grow shorter varieties in them, but you can’t grow long varieties in bags that are too shallow. Consider the mature size of the carrot variety you’ve chosen when determining the appropriate bag size.
How often should I water carrots grown in soil bags?
Watering frequency will depend on several factors, including the weather, the type of soil mix you’re using, and the size of the bags. Generally, carrots grown in soil bags need to be watered more frequently than carrots grown in the ground, as the bags tend to dry out more quickly. Check the soil moisture regularly by sticking your finger about an inch into the soil. If the soil feels dry to the touch, it’s time to water. Water deeply and thoroughly, ensuring that the entire soil volume is moistened. Avoid overwatering, as this can lead to root rot. A good rule of thumb is to water when the top inch of soil is dry. During hot, dry weather, you may need to water daily, while during cooler, wetter weather, you may only need to water every few days.
Can I reuse the soil from my carrot soil bags?
Yes, you can reuse the soil from your carrot soil bags, but it’s important to amend it before replanting. Carrots are heavy feeders, meaning they deplete the soil of nutrients. Before reusing the soil, remove any remaining carrot debris and add fresh compost, aged manure, or a slow-release fertilizer to replenish the nutrients. You may also want to add some perlite or sand to improve drainage. It’s also a good idea to test the soil pH to ensure it’s still within the optimal range for carrots. If the pH is too high or too low, amend it accordingly with lime or sulfur. Finally, consider rotating your crops. Avoid planting carrots in the same soil bags year after year, as this can increase the risk of soilborne diseases.
What are the best carrot varieties to grow in soil bags?
Many carrot varieties thrive in soil bags. Some excellent choices include:
* **’Nantes’:** A classic, cylindrical carrot with a sweet flavor and smooth texture.
* **’Danvers’:** A reliable, tapered carrot that is known for its good storage qualities.
* **’Chantenay Red Core’:** A shorter, thicker carrot that is well-suited for heavier soils.
* **’Parisian’:** A round, bite-sized carrot that is perfect for snacking.
* **’Thumbelina’:** Another round variety that is very easy to grow in containers.
* **’Rainbow Mix’:** A blend of colorful carrots in shades of orange, yellow, purple, and white.
When choosing a variety, consider your personal preferences, the size of your soil bags, and your local climate. Some varieties are more heat-tolerant or cold-tolerant than others.
How do I prevent pests and diseases in my carrot soil bags?
Prevention is key when it comes to pests and diseases in carrot soil bags. Start by using a high-quality soil mix that is free of pathogens. Ensure good drainage to prevent waterlogged conditions, which can promote root rot. Practice crop rotation to avoid the buildup of soilborne diseases. Monitor your plants regularly for signs of pests or diseases. Common carrot pests include carrot rust flies, aphids, and nematodes. Common diseases include leaf blight and root rot. If you spot any problems, take action immediately. You can use organic pesticides or fungicides to control pests and diseases. You can also try companion planting. Planting carrots alongside onions or garlic can help deter carrot rust flies.
Can I grow other vegetables in soil bags besides carrots?
Absolutely! Soil bags are a versatile growing method that can be used for a wide variety of vegetables. Some other vegetables that thrive in soil bags include:
* **Potatoes:** Similar to carrots, potatoes benefit from the loose, well-draining soil in soil bags.
* **Radishes:** Radishes are quick-growing and easy to harvest from soil bags.
* **Beets:** Beets also appreciate the loose soil and ample space for root development.
* **Lettuce and other leafy greens:** These vegetables are shallow-rooted and do well in soil bags.
* **Herbs:** Many herbs, such as basil, parsley, and cilantro, can be successfully grown in soil bags.
When choosing vegetables to grow in soil bags, consider their size, root depth, and nutrient requirements. Some vegetables may need larger bags or more frequent fertilization than others.

Leave a Comment