

Salt Uses You Didn’t Know: Unlocking the Hidden Potential in Your Pantry!
Ever wonder if that humble container of salt in your kitchen cabinet holds more secrets than just seasoning your food? I’m here to tell you, it absolutely does! For centuries, salt has been a cornerstone of civilizations, not just for preserving food but also for its surprising medicinal and practical applications. From ancient Roman soldiers being paid in salt (hence the word “salary”) to its use in various cultural rituals, this mineral has a rich and fascinating history.
But beyond its historical significance, salt possesses a range of everyday uses that can simplify your life and save you money. Are you tired of struggling with stubborn stains, dealing with pesky pests, or looking for natural cleaning solutions? Then, you’re in the right place! This article is packed with DIY tricks and hacks that will reveal the amazing salt uses you didn’t know existed.
I’ll guide you through simple, step-by-step instructions on how to harness the power of salt for everything from cleaning and deodorizing to even improving your garden. Get ready to be amazed by the versatility of this common household ingredient and discover how these unexpected salt uses you didn’t know can transform your home and routine!
Unlocking the Secret Powers of Salt: DIY Hacks You Never Knew!
Hey there, fellow DIY enthusiasts! I’m about to blow your mind with some seriously cool and unexpected uses for something you probably have sitting in your pantry right now: good old salt! Forget just seasoning your food; salt is a powerhouse of potential for cleaning, beauty, and even household repairs. Get ready to be amazed!
Cleaning Like a Pro with Salt
Salt’s abrasive texture and chemical properties make it a fantastic natural cleaner. It’s cheap, readily available, and a great alternative to harsh chemicals. Let’s dive into some specific cleaning hacks:
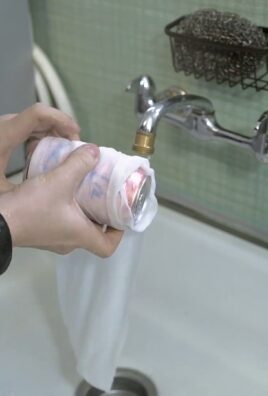
Reviving Tarnished Copper and Brass
Is your copper cookware looking dull? Don’t despair! Salt can bring back its shine.
What you’ll need:
* Salt
* White vinegar (or lemon juice)
* Flour (optional, for a paste)
* Soft cloth
Step-by-step instructions:
1. Prepare the cleaning solution: In a bowl, mix equal parts salt and white vinegar (or lemon juice). If you want a thicker paste, add flour gradually until you reach your desired consistency. I usually prefer a paste for heavily tarnished items.
2. Apply the mixture: Using a soft cloth, apply the salt mixture to the tarnished copper or brass. Gently rub in a circular motion. You’ll start to see the tarnish lifting away almost immediately!
3. Rinse and dry: Once you’ve scrubbed the entire surface, rinse thoroughly with warm water. Make sure to remove all traces of the salt mixture.
4. Polish: Dry the item completely with a clean, soft cloth. For an extra shine, you can use a commercial copper or brass polish after drying. I find this step really makes the difference!
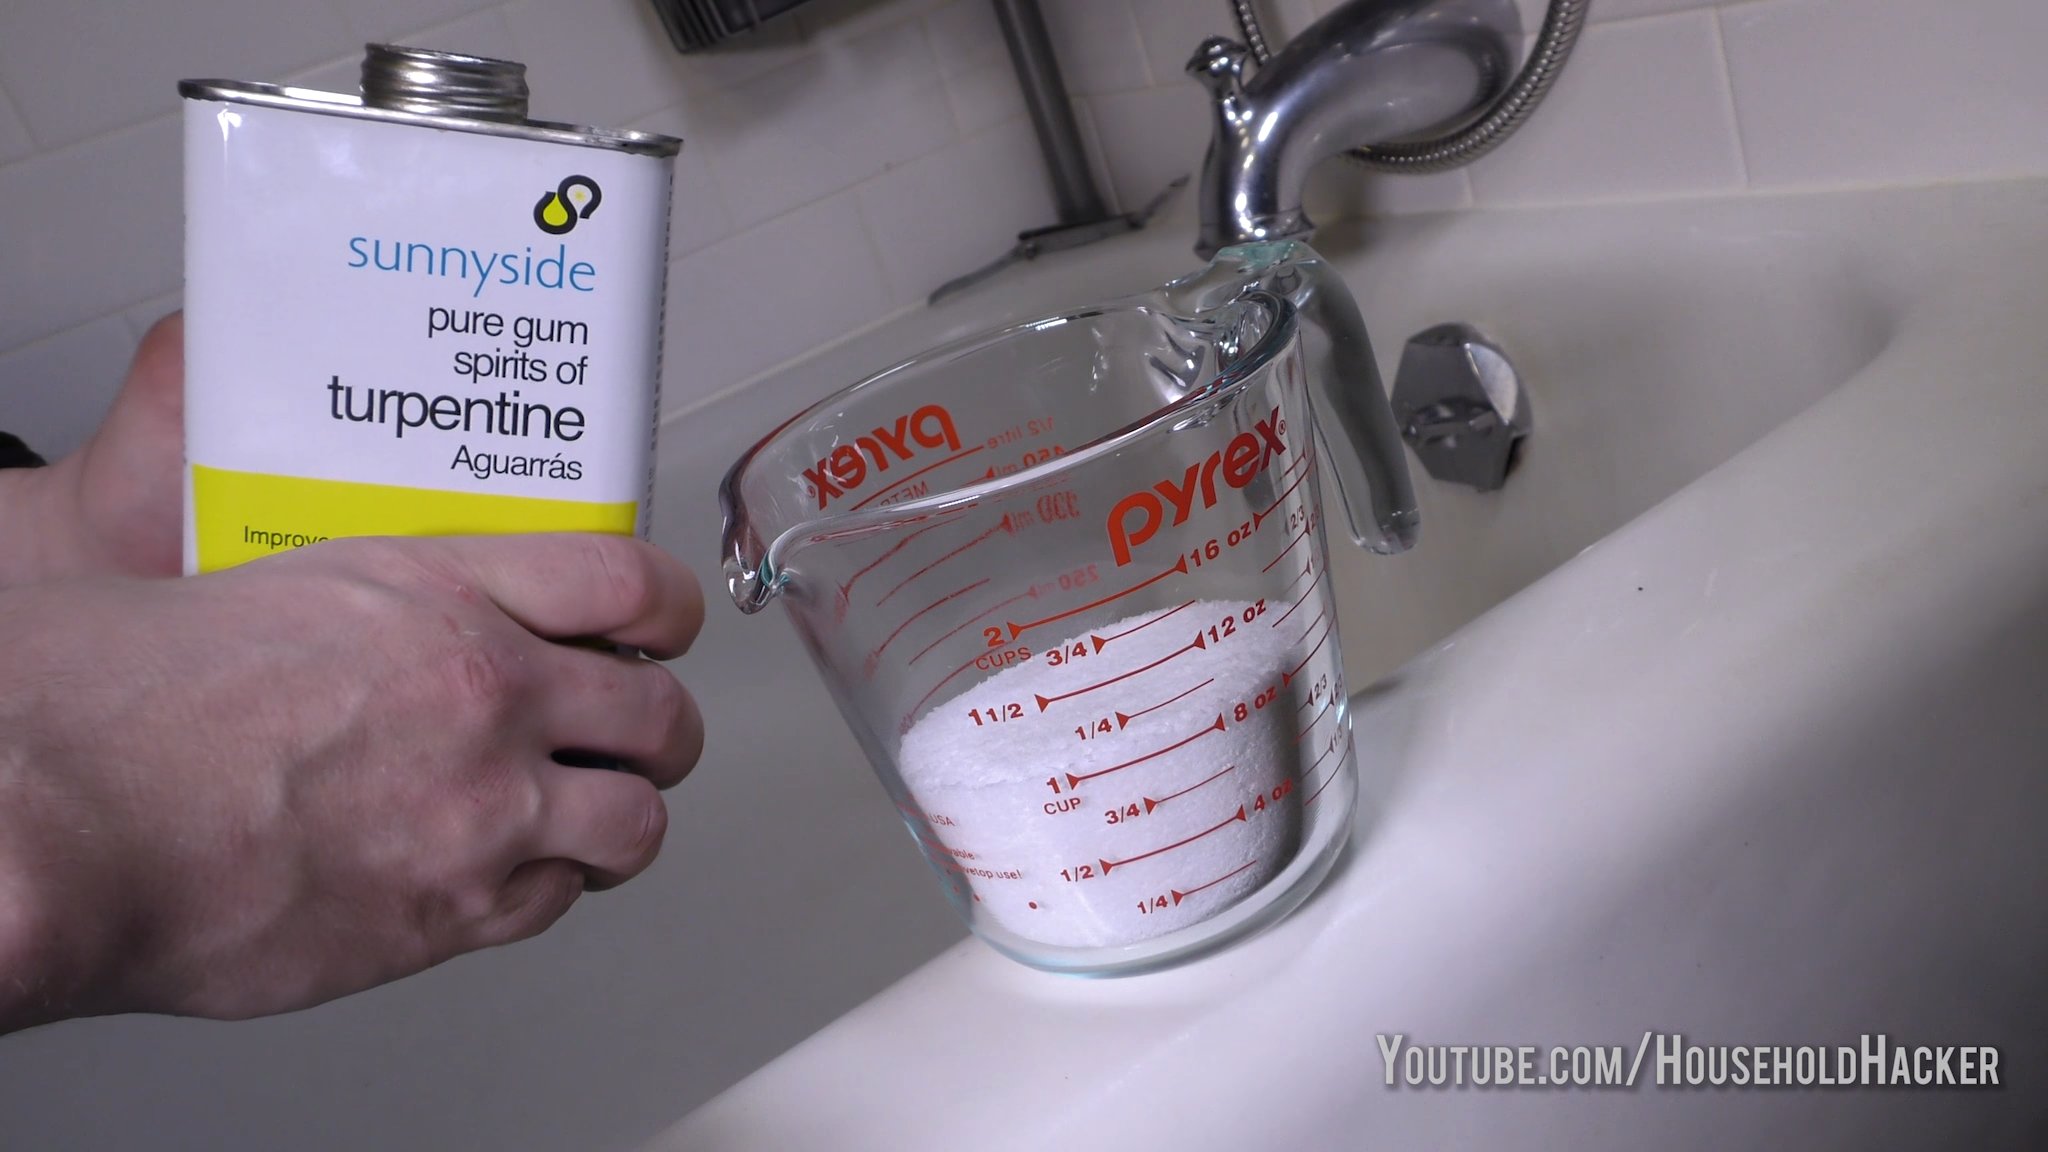
Cleaning a Scorched Iron
Burnt residue on your iron can be a real pain. Salt to the rescue!
What you’ll need:
* Salt
* Clean cotton cloth or towel
* Iron (unplugged and cool!)
Step-by-step instructions:
1. Prepare the surface: Spread a generous layer of salt onto a clean cotton cloth or towel. Make sure the surface is smooth and even.
2. Iron the salt: Turn your iron on to the lowest setting (make sure it’s unplugged and completely cool first!). Gently iron the salt-covered cloth in a circular motion. The salt will act as a mild abrasive, removing the burnt residue from the iron’s soleplate.
3. Wipe clean: Once you’ve ironed the entire surface, unplug the iron and let it cool completely. Then, wipe the soleplate clean with a damp cloth to remove any remaining salt residue.
4. Test: Before ironing your clothes, test the iron on an old piece of fabric to ensure all the residue is gone. I always do this just to be safe!
Freshening Up Your Sink Drain
A smelly sink drain is never pleasant. Salt can help eliminate odors and keep your drain clear.
What you’ll need:
* Salt
* Hot water
Step-by-step instructions:
1. Pour in the salt: Pour about half a cup of salt down the drain.
2. Flush with hot water: Immediately follow with a generous amount of hot (but not boiling) water.
3. Let it sit: Allow the salt and hot water to sit in the drain for at least 30 minutes, or even better, overnight. This will give the salt time to break down any grease and grime.
4. Flush again: Flush the drain again with hot water to clear away any remaining debris. I usually repeat this process once a week to keep my drains fresh.
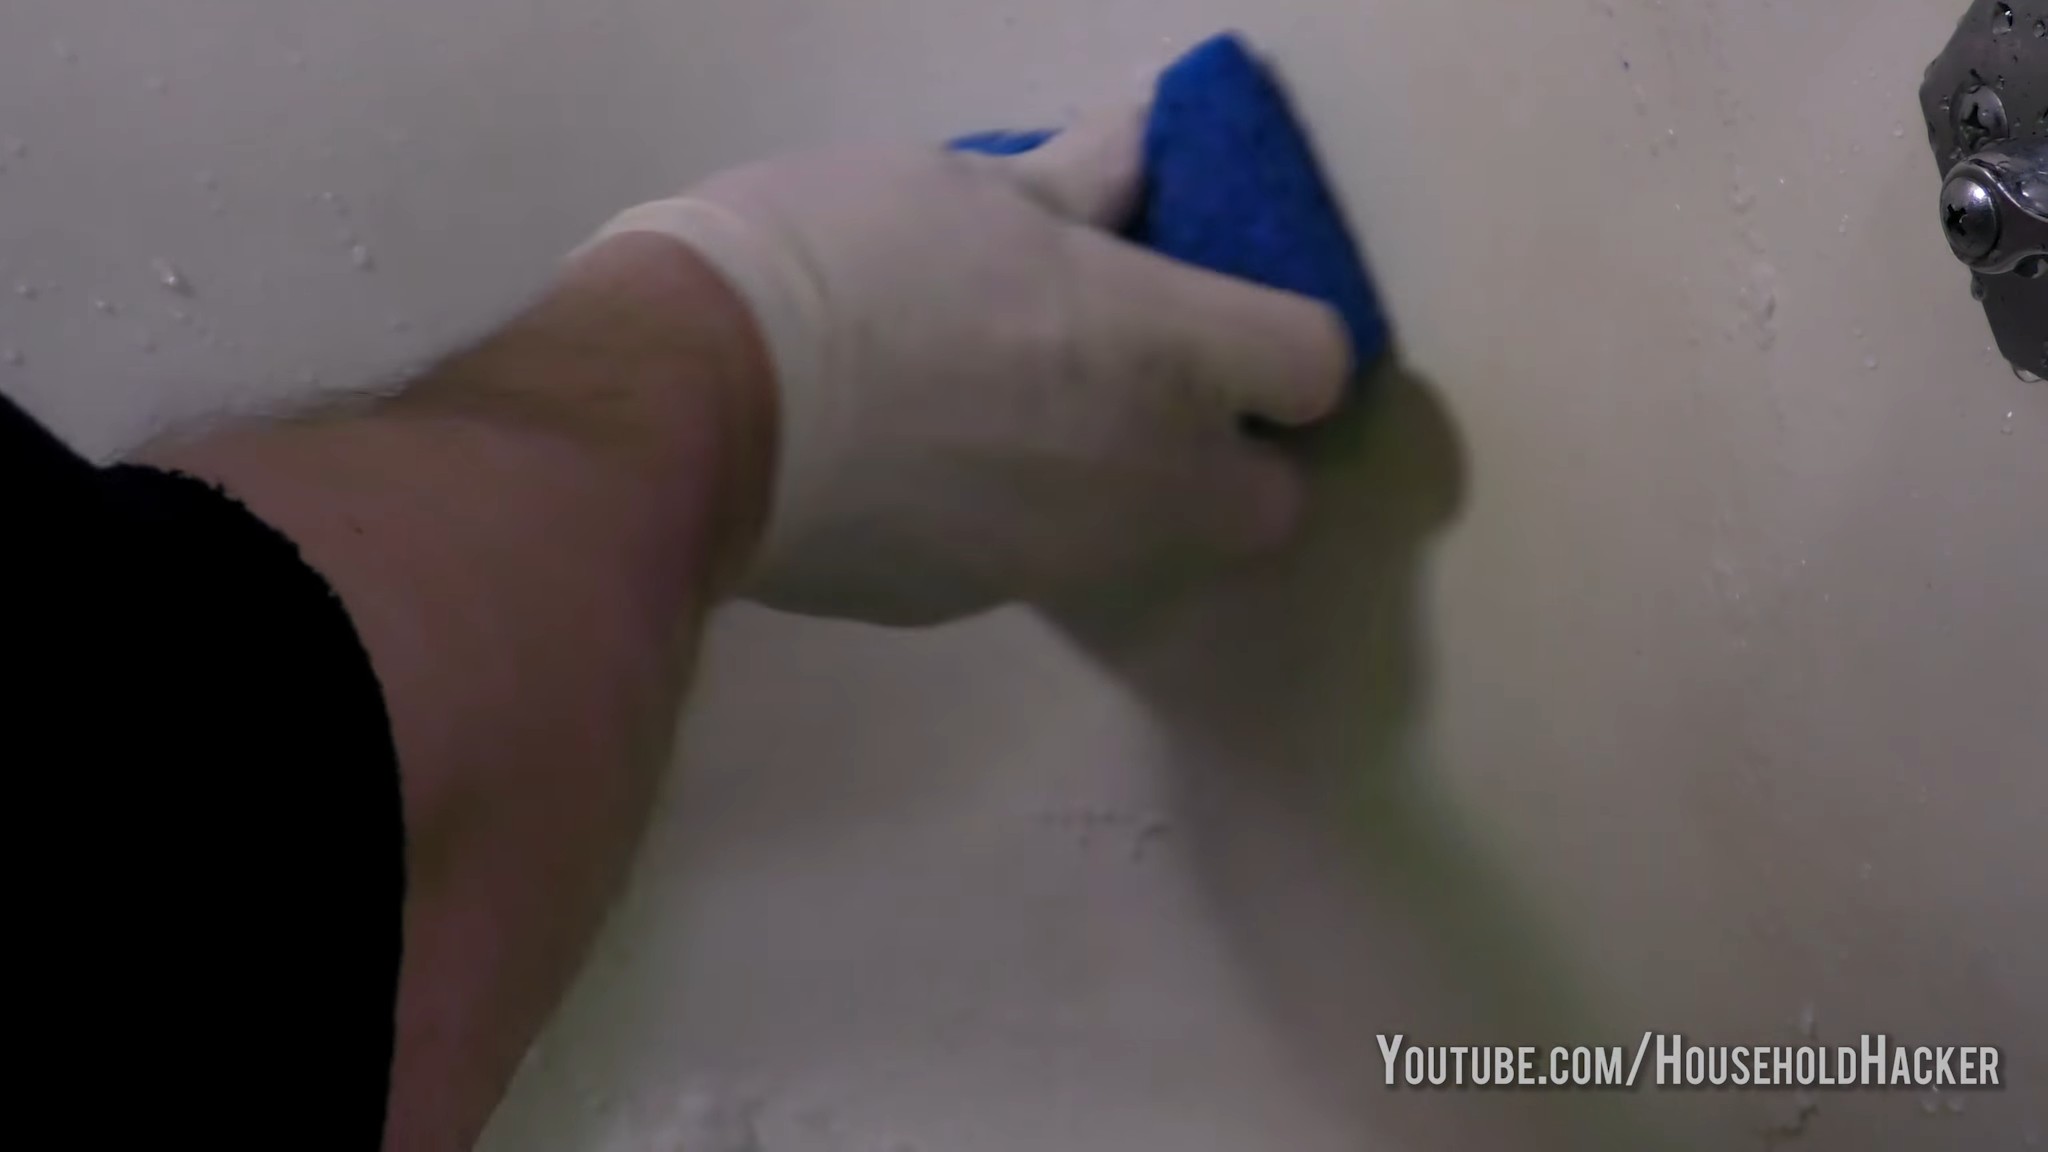
Cleaning Grout
Grimey grout lines can make your whole bathroom look dirty. Salt can help brighten them up.
What you’ll need:
* Salt
* Baking soda
* White vinegar
* Old toothbrush or grout brush
* Spray bottle
Step-by-step instructions:
1. Make the cleaning paste: In a bowl, mix equal parts salt and baking soda. Add enough white vinegar to create a thick paste.
2. Apply the paste: Apply the paste to the grout lines using an old toothbrush or grout brush.
3. Scrub: Scrub the grout lines vigorously to remove dirt and grime.
4. Let it sit: Allow the paste to sit on the grout for about 10-15 minutes.
5. Rinse: Rinse the grout lines thoroughly with water. You can use a spray bottle to make rinsing easier.
6. Dry: Wipe the grout lines dry with a clean cloth. You’ll be amazed at how much brighter they look!
Salt in the Garden: Unexpected Benefits
Believe it or not, salt can also be a valuable tool in your garden. Here are a couple of ways to use it:
Weed Control
Salt can be used to kill weeds, but be careful! It can also harm desirable plants if used improperly.
What you’ll need:
* Salt
* Water
* Spray bottle
Step-by-step instructions:
1. Create a salt solution: Mix one part salt with three parts water in a spray bottle.
2. Apply carefully: Carefully spray the salt solution directly onto the weeds you want to eliminate. Avoid spraying any desirable plants, as the salt can damage them. I usually use a piece of cardboard to shield nearby plants.
3. Repeat as needed: Repeat the application as needed until the weeds are completely dead. Be patient; it may take a few days to see results.
4. Important note: Use this method sparingly and only in areas where you don’t plan to grow anything else, as salt can make the soil infertile.
Slug and Snail Deterrent
Slugs and snails can wreak havoc on your garden. Salt can help keep them away.
What you’ll need:
* Salt
Step-by-step instructions:
1. Create a barrier: Sprinkle a thin line of salt around the plants you want to protect.
2. Replenish as needed: Replenish the salt barrier after rain or watering, as it will dissolve.
3. Be cautious: Avoid getting salt directly on the plants, as it can damage them. I usually create a barrier a few inches away from the base of the plant.
Beauty Hacks with Salt: A Natural Touch
Salt isn’t just for cleaning and gardening; it can also be a fantastic addition to your beauty routine!
Salt Scrub for Exfoliation
A salt scrub is a great way to exfoliate your skin and remove dead cells.
What you’ll need:
* Salt (sea salt or Epsom salt work best)
* Olive oil (or coconut oil)
* Essential oil (optional, for fragrance)
* Small jar or container
Step-by-step instructions:
1. Combine ingredients: In a bowl, mix together equal parts salt and olive oil (or coconut oil). Add a few drops of your favorite essential oil for fragrance, if desired. I love using lavender or peppermint oil.
2. Apply to skin: In the shower or bath, apply the salt scrub to your damp skin. Gently massage in a circular motion, focusing on rough areas like elbows, knees, and feet.
3. Rinse thoroughly: Rinse your skin thoroughly with warm water.
4. Moisturize: After rinsing, apply a moisturizer to your skin to keep it hydrated. Your skin will feel incredibly smooth and soft!
Salt Water Rinse for Acne
Salt water can help reduce inflammation and kill bacteria, making it a great natural remedy for acne.
What you’ll need:
* Salt
* Warm water
* Clean washcloth
Step-by-step instructions:
1. Create a salt water solution: Dissolve one teaspoon of salt in one cup of warm water.
2. Apply to affected areas: Dip a clean washcloth into the salt water solution and gently apply it to the affected areas of your skin.
3. Leave on for 10-15 minutes: Allow the salt water to sit on your skin for 10-15 minutes.
4. Rinse and pat dry: Rinse your skin thoroughly with cool water and pat dry with a clean towel.
5. Repeat daily: Repeat this process daily until your acne improves. Be careful not to overdo it, as salt can be drying.
Soothe Sore Throat with Salt Water Gargle
A salt water gargle is a classic remedy for a sore throat.
What you’ll need:
* Salt
* Warm water
Step-by-step instructions
Conclusion
So, there you have it – a treasure trove of unexpected and incredibly useful ways to leverage the power of ordinary salt! From banishing stubborn stains to reviving tired skin and even enhancing the flavor of your coffee, the possibilities are truly astounding. We’ve explored how salt uses you didn’t know can simplify your life, save you money, and even add a touch of brilliance to your everyday routines.
But why is this DIY approach a must-try? Simply put, it’s effective, affordable, and readily accessible. You likely already have salt in your pantry, making these tricks incredibly convenient. Forget about expensive specialty cleaners or complicated solutions; salt offers a natural and often superior alternative. Plus, embracing these DIY methods reduces your reliance on harsh chemicals, contributing to a healthier home and a more sustainable lifestyle.
Consider these variations to personalize your salt-powered adventures:
* **Infused Salt Scrubs:** Experiment with adding essential oils like lavender for relaxation or peppermint for invigoration to your salt scrub. You can also incorporate dried herbs like rosemary or thyme for added benefits and fragrance.
* **Salt Dough Ornaments:** Get creative with salt dough during the holidays! Add food coloring for vibrant decorations or press in natural elements like leaves and flowers for a rustic touch.
* **Salt-Enhanced Cleaning Solutions:** Boost the cleaning power of your homemade solutions by adding a tablespoon of salt to your vinegar or baking soda mixtures. This will help tackle tough grime and leave surfaces sparkling.
* **Gourmet Finishing Salts:** Elevate your culinary creations by making your own flavored finishing salts. Combine sea salt flakes with dried herbs, spices, or citrus zest for a burst of flavor that will impress your guests.
We’re confident that once you experience the magic of these salt-based solutions, you’ll wonder how you ever lived without them. The versatility of salt is truly remarkable, and we encourage you to explore its potential in your own home.
Don’t just take our word for it – try these DIY tricks for yourself! We’re eager to hear about your experiences. Did you discover a new and innovative use for salt? Did one of our suggestions work particularly well for you? Share your stories, tips, and variations in the comments below. Let’s build a community of salt enthusiasts and unlock even more of its hidden potential together! Your insights could inspire others and help us all discover new and exciting ways to harness the power of this humble yet extraordinary ingredient. So go ahead, experiment, and let us know what you discover!
Frequently Asked Questions
Is all salt the same for these DIY tricks?
Not necessarily. While table salt will work for many of these applications, other types of salt, such as sea salt, kosher salt, and Epsom salt, may offer specific benefits depending on the use. For example, Epsom salt is magnesium sulfate, which is great for soothing sore muscles in a bath. Sea salt often contains trace minerals that can enhance its exfoliating properties in scrubs. Kosher salt’s larger crystals are ideal for seasoning and drawing out moisture in cooking. Consider the specific application when choosing your salt. For cleaning, table salt is generally fine. For beauty treatments, sea salt or Epsom salt might be preferable. For cooking, kosher salt is often favored by chefs for its texture and flavor.
Can salt damage certain surfaces when cleaning?
Yes, it’s important to be cautious when using salt as a cleaning agent. Avoid using salt on delicate surfaces like polished wood, marble, or certain types of metal, as it can scratch or corrode them. Always test a small, inconspicuous area first to ensure that the salt doesn’t cause any damage. For surfaces that are prone to scratching, consider dissolving the salt in water to create a less abrasive solution. Also, avoid using salt on electronics or near electrical outlets.
How often can I use a salt scrub on my skin?
It’s generally recommended to use a salt scrub no more than once or twice a week. Over-exfoliating can strip your skin of its natural oils and lead to dryness, irritation, and even inflammation. Pay attention to how your skin feels after each use. If you experience any redness, itching, or discomfort, reduce the frequency of your scrubs. Always moisturize your skin thoroughly after using a salt scrub to replenish lost moisture.
Is it safe to ingest salt that has been used for cleaning or other non-food purposes?
No, absolutely not. Salt that has been used for cleaning, de-icing, or any other non-food purpose should never be ingested. It may contain contaminants or chemicals that are harmful to your health. Always use fresh, clean salt specifically intended for culinary purposes when cooking or seasoning food. Store your cleaning salt separately from your cooking salt to avoid any accidental contamination.
How should I store homemade salt scrubs or other salt-based solutions?
Store homemade salt scrubs and other salt-based solutions in airtight containers in a cool, dry place. This will help prevent the salt from clumping or absorbing moisture. For scrubs containing fresh ingredients like citrus zest or herbs, store them in the refrigerator to extend their shelf life. Be sure to label your containers clearly with the date and contents to avoid any confusion.
Can I use iodized salt for all of these tricks?
While iodized salt can be used for many of these tricks, it’s worth noting that the iodine can sometimes cause discoloration in certain applications, particularly when cleaning. For example, it might leave a slight yellow tint on light-colored surfaces. For cleaning purposes, non-iodized salt is often preferred. In cooking, the difference is often negligible, but some chefs prefer kosher salt for its pure flavor. For beauty treatments, the type of salt is less critical, but sea salt is often favored for its mineral content.
What are the environmental benefits of using salt for cleaning compared to commercial cleaners?
Using salt for cleaning offers several environmental benefits. Salt is a natural and readily available resource, unlike many commercial cleaners that contain synthetic chemicals and harsh ingredients. By using salt, you reduce your reliance on these potentially harmful substances, which can pollute waterways and contribute to air pollution. Salt is also biodegradable and doesn’t persist in the environment like some synthetic chemicals. Furthermore, making your own salt-based cleaning solutions reduces the need for plastic packaging, further minimizing your environmental impact.
Are there any medical conditions that would make using salt scrubs or baths inadvisable?
Yes, certain medical conditions may make using salt scrubs or baths inadvisable. If you have sensitive skin, eczema, psoriasis, or open wounds, consult with your doctor before using salt scrubs, as they can irritate these conditions. People with high blood pressure or kidney problems should also be cautious about using Epsom salt baths, as the magnesium can be absorbed through the skin and potentially affect these conditions. If you are pregnant or breastfeeding, it’s always best to consult with your doctor before trying any new beauty treatments or home remedies.

Leave a Comment