

Salt life hacks – who knew something so simple could be the secret weapon to a thriving home garden? I’m always on the lookout for easy and effective ways to boost my plants, and I stumbled upon some incredible uses for salt that I just had to share with you.
For centuries, salt has been more than just a seasoning. In ancient times, it was so valuable it was used as currency! While we’re not trading salt for gold these days, its properties can still work wonders in our gardens. Think of it as a natural, readily available tool to tackle common gardening woes.
Are you tired of weeds taking over your precious flowerbeds? Or maybe your tomatoes just aren’t as sweet as you’d like? That’s where these salt life hacks come in. I’ve compiled a list of simple, DIY tricks that use salt to naturally improve your garden’s health and productivity. From deterring pests to boosting nutrient uptake, these hacks are a game-changer.
This article will guide you through easy-to-follow steps, ensuring you can implement these salt-based solutions with confidence. Get ready to unlock the potential of this everyday ingredient and transform your garden into a flourishing oasis!
DIY Salt Dough Ornaments: A Fun & Festive Project!
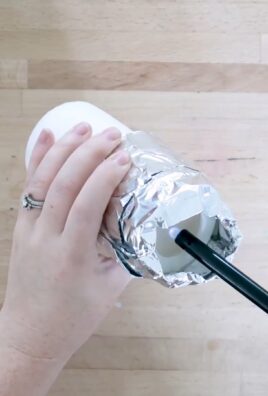
Hey everyone! I’m super excited to share one of my favorite holiday traditions with you: making salt dough ornaments! It’s a super simple, budget-friendly craft that’s perfect for getting the whole family involved. Plus, they make adorable gifts! Let’s dive in!
What You’ll Need:
Before we get started, let’s gather all the supplies. This is a pretty basic recipe, so you probably already have most of these things in your kitchen!
* All-Purpose Flour: 4 cups. This is the base of our dough.
* Salt: 1 cup. Yes, a whole cup! This is what makes the dough durable and helps it harden. Regular table salt works perfectly fine.
* Warm Water: 1 1/2 cups. Add this gradually to get the right consistency.
* Mixing Bowls: One large bowl for mixing the dough and a smaller one for adding water gradually.
* Rolling Pin: To roll out the dough to the desired thickness.
* Cookie Cutters: Get creative with different shapes and sizes! Holiday-themed cutters are always a hit.
* Baking Sheet: To bake the ornaments on.
* Parchment Paper: To line the baking sheet and prevent sticking.
* Drinking Straw or Skewer: To create a hole for hanging the ornaments.
* Acrylic Paints: For decorating the finished ornaments.
* Paintbrushes: A variety of sizes for different details.
* Glitter (Optional): For adding a little sparkle!
* Mod Podge or Clear Sealer: To protect the paint and glitter and give the ornaments a nice finish.
* Ribbon or Twine: For hanging the ornaments on the tree.
* Apron: To protect your clothes from flour and paint.
Making the Salt Dough:
This is the most important part! Getting the dough right is key to having beautiful, long-lasting ornaments.
1. Combine Dry Ingredients: In a large mixing bowl, whisk together the flour and salt until they are well combined. This ensures that the salt is evenly distributed throughout the dough.
2. Add Water Gradually: Slowly add the warm water to the dry ingredients, mixing with your hands or a wooden spoon. Start with about half of the water and gradually add more until the dough comes together into a ball.
3. Knead the Dough: Turn the dough out onto a lightly floured surface and knead it for about 5-7 minutes. The dough should be smooth and elastic. If it’s too sticky, add a little more flour, one tablespoon at a time. If it’s too dry, add a little more water, one teaspoon at a time.
4. Rest the Dough: Wrap the dough in plastic wrap and let it rest for at least 20 minutes. This allows the gluten to relax, making the dough easier to roll out.
Shaping and Baking the Ornaments:
Now for the fun part! This is where you get to unleash your creativity.
1. Preheat Oven: Preheat your oven to 250°F (120°C). This low temperature is crucial for baking the ornaments slowly and evenly, preventing them from puffing up or cracking.
2. Roll Out the Dough: On a lightly floured surface, roll out the dough to about 1/4 inch thickness. You can adjust the thickness depending on your preference, but keep in mind that thicker ornaments will take longer to bake.
3. Cut Out Shapes: Use cookie cutters to cut out your desired shapes. You can also use a knife to create freehand designs.
4. Create Hanging Holes: Use a drinking straw or skewer to create a hole near the top of each ornament. Make sure the hole is large enough to accommodate your ribbon or twine.
5. Place on Baking Sheet: Line a baking sheet with parchment paper and carefully place the ornaments on the sheet, leaving a little space between each one.
6. Bake the Ornaments: Bake the ornaments for 2-3 hours, or until they are hard and dry. The baking time will depend on the thickness of the ornaments. Check them periodically and flip them over halfway through baking to ensure even drying. If the edges start to brown too quickly, you can lower the oven temperature slightly.
7. Cool Completely: Once the ornaments are baked, turn off the oven and let them cool completely inside the oven with the door slightly ajar. This will help prevent them from cracking.
Decorating the Ornaments:
This is where you can really let your personality shine!
1. Gather Your Supplies: Get out your acrylic paints, paintbrushes, glitter, and any other embellishments you want to use.
2. Paint the Ornaments: Paint the ornaments with your desired colors and designs. You can use stencils, freehand designs, or any other technique you like. Let the paint dry completely before moving on to the next step.
3. Add Glitter (Optional): If you want to add some sparkle, apply a thin layer of Mod Podge or clear sealer to the areas where you want the glitter to stick. Sprinkle glitter over the wet sealer and let it dry completely.
4. Seal the Ornaments: Once the paint and glitter are dry, apply a coat of Mod Podge or clear sealer to the entire ornament. This will protect the paint and glitter and give the ornaments a nice, glossy finish. Let the sealer dry completely.
Finishing Touches:
Almost there! Just a few more steps and your ornaments will be ready to hang.
1. Thread Ribbon or Twine: Cut a length of ribbon or twine and thread it through the hole in the ornament. Tie the ends together to create a loop for hanging.
2. Hang and Enjoy: Hang your beautiful salt dough ornaments on your Christmas tree, give them as gifts, or use them to decorate your home.
Tips and Tricks for Success:
* Don’t Overbake: Overbaking can cause the ornaments to crack. Keep a close eye on them and remove them from the oven when they are hard and dry.
* Prevent Cracking: To prevent cracking, bake the ornaments at a low temperature and let them cool completely in the oven.
* Store Properly: Store the ornaments in a cool, dry place to prevent them from becoming soft or moldy. An airtight container is ideal.
* Experiment with Colors: You can add food coloring to the dough to create colored ornaments. Just add a few drops of food coloring to the water before mixing it with the dry ingredients.
* Get Creative with Embellishments: Use beads, sequins, buttons, or any other embellishments to add extra detail to your ornaments.
* Personalize Your Ornaments: Write names, dates, or special messages on the ornaments to make them extra special.
* Make Paw Print Ornaments: Press your pet’s paw into the dough to create a unique and memorable ornament.
* Use Essential Oils: Add a few drops of essential oil to the dough for a fragrant ornament. Cinnamon, clove, and orange are great choices for the holidays.
* Consider Air Drying: If you don’t want to bake the ornaments, you can air dry them. This will take several days, but it’s a good option if you don’t have an oven or if you want to avoid using heat. Place the ornaments on a wire rack and turn them over every day to ensure even drying.
Troubleshooting:
* Dough is too sticky: Add more flour, one tablespoon at a time, until the dough is no longer sticky.
* Dough is too dry: Add more water, one teaspoon at a time, until the dough comes together into a ball.
* Ornaments are cracking: Bake the ornaments at a lower temperature and let them cool completely in the oven.
* Paint is peeling: Make sure the ornaments are completely dry before painting them. Also, use a good quality acrylic paint and seal the ornaments with Mod Podge or clear sealer.
* Glitter is falling off: Apply a thin layer of Mod Podge or clear sealer to the areas where you want the glitter to stick. Sprinkle glitter over the wet sealer and let it dry completely.
I hope you have as much fun making these salt dough ornaments as I do! They’re a wonderful way to create lasting memories and add a personal touch to your holiday decorations. Happy crafting!
Conclusion
So, there you have it! We’ve explored the surprisingly versatile world of salt beyond just seasoning our food. From banishing stubborn stains to creating spa-worthy scrubs, these salt life hacks are not only incredibly effective but also remarkably simple and budget-friendly. Why spend a fortune on specialized cleaning products or expensive beauty treatments when a humble container of salt can accomplish so much?
The beauty of these hacks lies in their adaptability. Feel free to experiment and tailor them to your specific needs and preferences. For instance, when making the salt scrub, consider adding a few drops of your favorite essential oil for an aromatherapy boost. Lavender for relaxation, peppermint for invigoration, or tea tree for its antibacterial properties – the possibilities are endless! You could also swap out the olive oil for coconut oil for a richer, more moisturizing experience.
Similarly, when tackling stains, remember that different fabrics may react differently. Always test a small, inconspicuous area first to ensure the salt solution doesn’t damage the material. For particularly stubborn stains, you might need to repeat the treatment or let the salt solution sit for a longer period.
But the real magic happens when you start incorporating these salt life hacks into your regular routine. Imagine effortlessly removing coffee stains from your favorite mug, revitalizing your skin with a homemade scrub, or even keeping your cut flowers fresher for longer – all thanks to the power of salt!
We truly believe that these tips will simplify your life and save you money. They’re a testament to the fact that sometimes, the most effective solutions are the simplest ones.
Don’t just take our word for it, though. We wholeheartedly encourage you to try these salt life hacks for yourself. Pick one or two that resonate with you and give them a whirl. You might be surprised at how effective they are!
And most importantly, we want to hear about your experiences! Did you discover a new and innovative way to use salt? Did one of these hacks work particularly well for you? Share your stories, tips, and variations in the comments below. Let’s create a community where we can all learn from each other and unlock the full potential of this amazing natural resource. Your feedback is invaluable and will help us refine and improve these hacks for everyone. So, go ahead, embrace the salt life, and let us know what you discover!
Frequently Asked Questions (FAQs)
What kind of salt should I use for these hacks?
The type of salt you use can depend on the specific hack. For cleaning purposes, regular table salt or sea salt generally works well. For beauty treatments like scrubs, finer salts like sea salt or Epsom salt are preferred as they are less abrasive. Coarse salts are great for cleaning cast iron pans. Avoid using iodized salt on delicate surfaces as it can sometimes cause staining. Always read the instructions carefully and consider the surface you’re working with before choosing your salt.
Are these salt life hacks safe for all surfaces and fabrics?
While salt is generally a safe and natural cleaning agent, it’s essential to exercise caution and test any solution on a small, inconspicuous area first, especially when dealing with delicate fabrics or surfaces. Some materials may be sensitive to salt, and it’s always better to be safe than sorry. Avoid using salt on surfaces that are prone to scratching, such as polished wood or certain types of plastic.
Can I use these salt hacks on my skin if I have sensitive skin?
If you have sensitive skin, it’s crucial to proceed with caution when using salt-based beauty treatments. Start with a very small amount and test it on a small area of your skin to see how you react. You can also dilute the salt solution with more water or oil to make it less abrasive. If you experience any irritation, redness, or discomfort, discontinue use immediately. Consider consulting with a dermatologist before trying any new skincare treatments, especially if you have pre-existing skin conditions.
How long will these salt-based cleaning solutions last?
Most salt-based cleaning solutions are best used immediately or within a few days. Over time, the salt may dissolve or settle, and the solution may lose its effectiveness. It’s generally recommended to make fresh batches of cleaning solutions as needed to ensure optimal results. Store any leftover solutions in a sealed container in a cool, dark place.
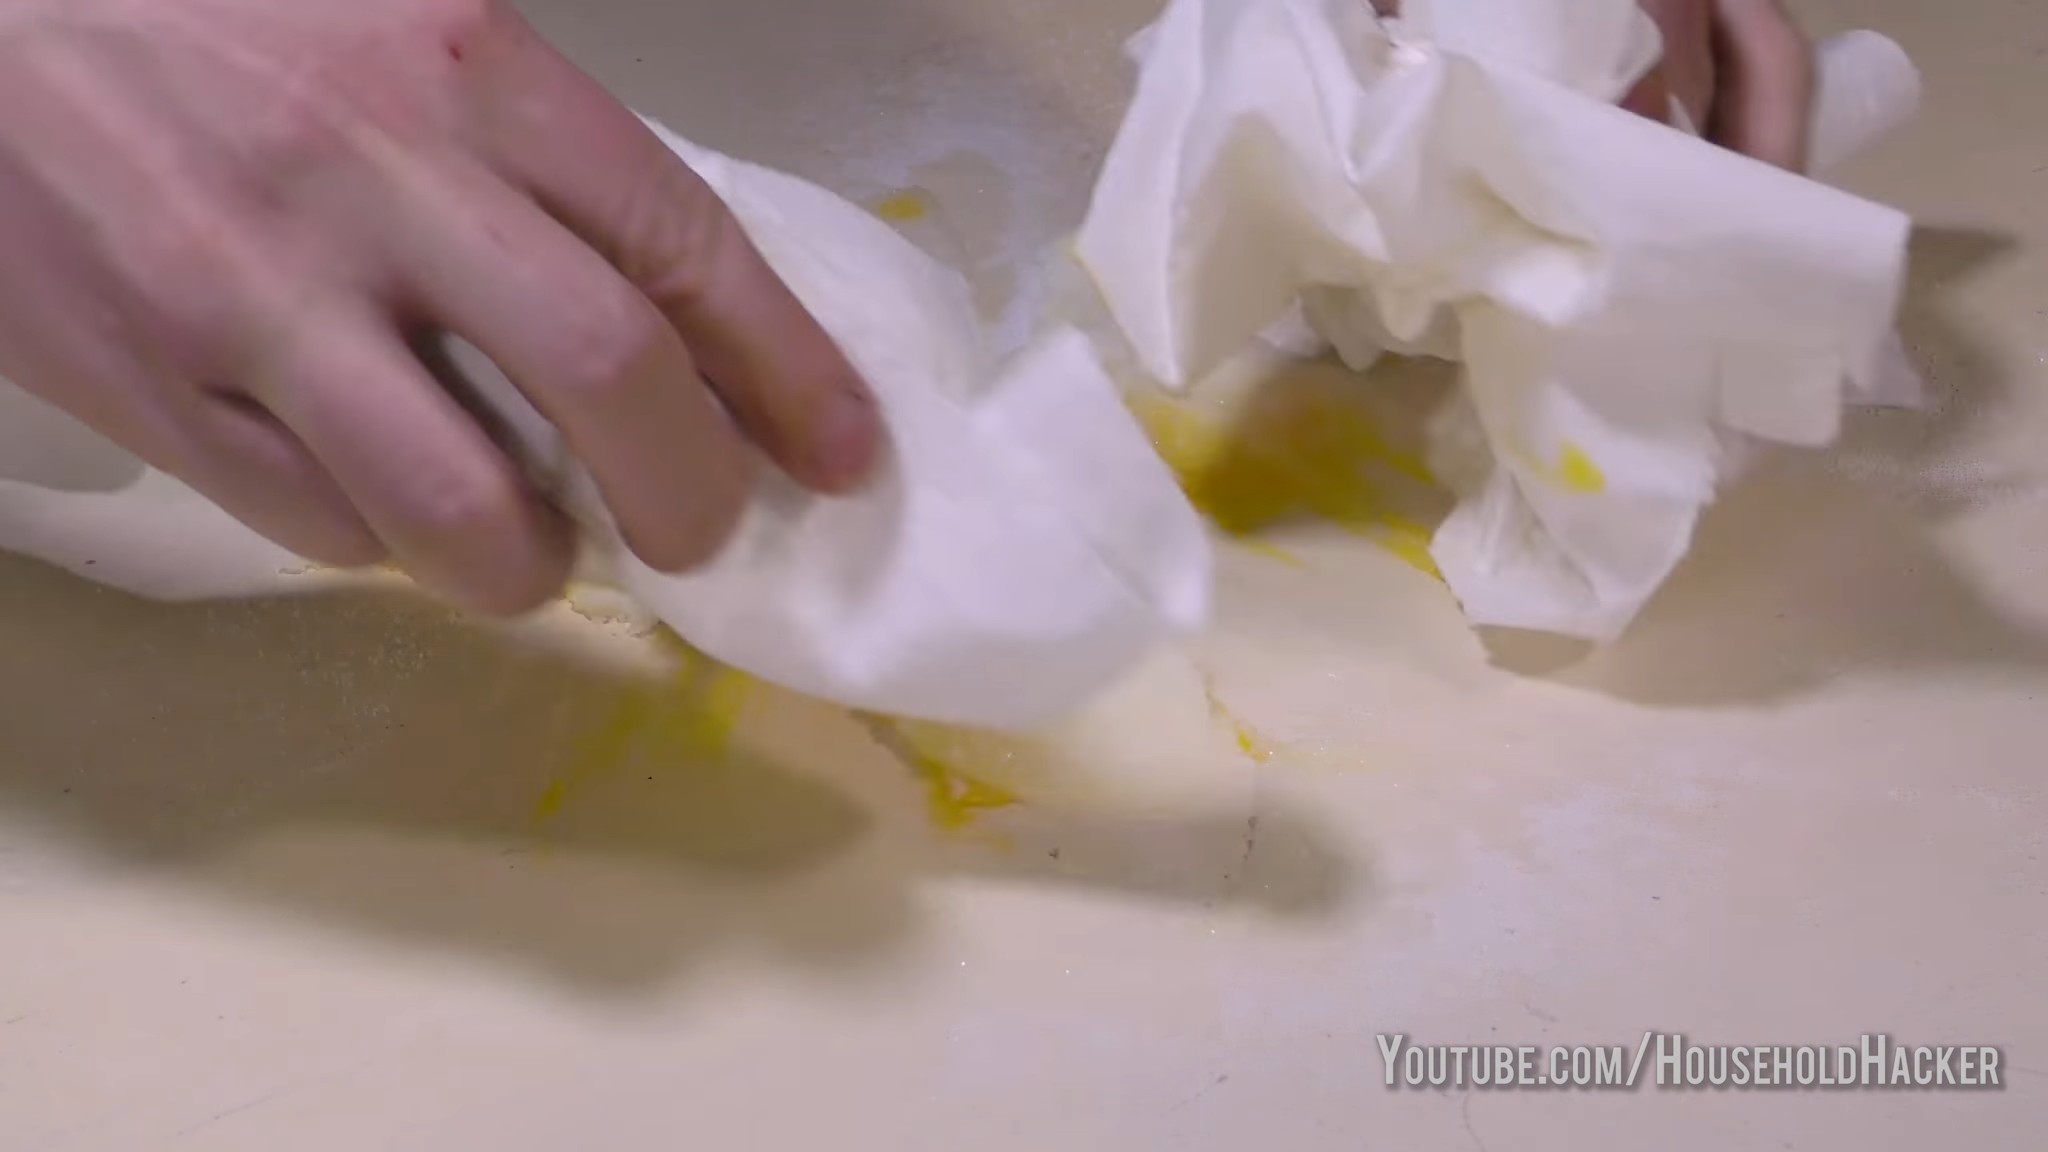
Can I use these salt hacks to remove tough stains like red wine or grease?
Yes, salt can be surprisingly effective at removing tough stains like red wine or grease. For red wine stains, immediately pour a generous amount of salt onto the stain to absorb the liquid. Let it sit for several hours or overnight, then vacuum or brush away the salt. For grease stains, create a paste of salt and water and apply it to the stain. Let it dry completely, then brush away the salt. You may need to repeat the treatment for particularly stubborn stains.
Are there any surfaces or materials that I should absolutely avoid using salt on?
Yes, there are certain surfaces and materials that you should avoid using salt on, including:
* Polished wood: Salt can scratch and damage the finish.
* Certain plastics: Some plastics may be sensitive to salt and can become discolored or damaged.
* Silver: Salt can corrode silver.
* Electronics: Avoid getting salt near electronic devices as it can cause damage.
* Marble: Salt can etch marble surfaces.
Can I add other ingredients to these salt hacks to enhance their effectiveness?
Absolutely! You can customize these salt hacks by adding other ingredients to enhance their effectiveness. For example, you can add vinegar to a salt solution for extra cleaning power, or essential oils to a salt scrub for aromatherapy benefits. Lemon juice can also be added to salt for its bleaching and disinfecting properties. Experiment with different combinations to find what works best for you.
How do I store salt properly to prevent it from clumping?
To prevent salt from clumping, store it in an airtight container in a cool, dry place. You can also add a few grains of rice to the container to absorb excess moisture. Avoid storing salt near sources of humidity, such as the stove or sink.
Can I use these salt hacks to get rid of pests?
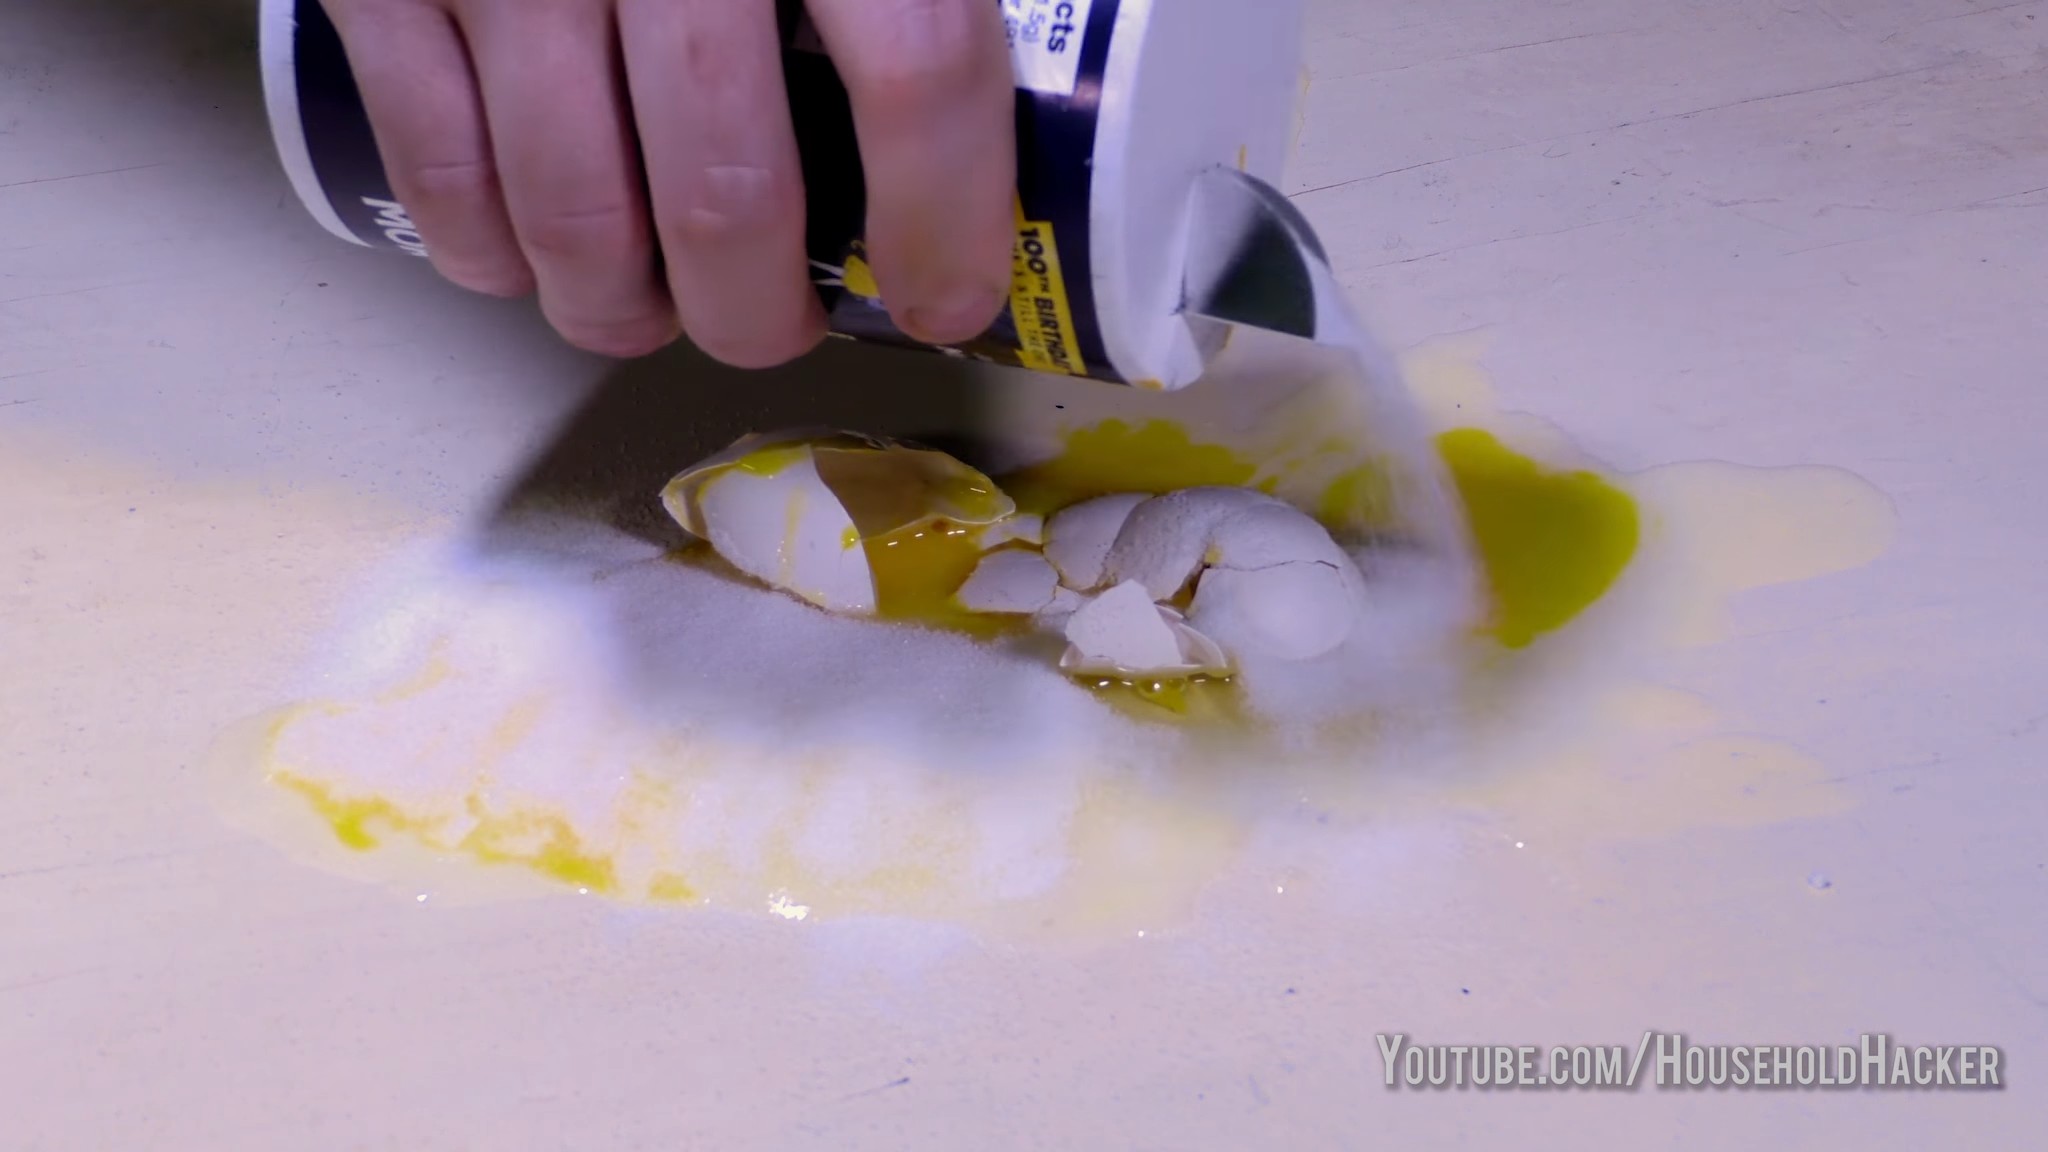
Yes, salt can be used to deter certain pests. Sprinkling salt around the perimeter of your garden can help keep slugs and snails away. You can also use a salt solution to kill weeds. However, be careful not to overuse salt in your garden as it can harm the soil.
What if I don’t see results immediately after trying these salt hacks?
Don’t be discouraged if you don’t see results immediately. Some stains or cleaning tasks may require multiple treatments or a longer soaking time. Be patient and persistent, and you’ll likely see improvement over time. Also, make sure you’re using the correct type of salt and following the instructions carefully. If you’re still not seeing results, try adjusting the concentration of the salt solution or adding other ingredients to enhance its effectiveness.
Leave a Comment