

Rooftop Corn Growing DIY: Imagine stepping onto your rooftop and harvesting fresh, juicy corn, right in the heart of the city! Sounds like a dream, doesn’t it? Well, it doesn’t have to be! This article is your ultimate guide to transforming your urban space into a thriving cornfield. Forget those bland, store-bought ears – we’re talking about homegrown goodness, bursting with flavor and sunshine.
Corn, a staple crop with roots stretching back thousands of years in Mesoamerica, has nourished civilizations and played a vital role in countless cultures. From ancient rituals to modern-day barbecues, corn holds a special place in our hearts (and stomachs!). But who says you need acres of farmland to enjoy this golden delight?
In today’s world, where access to fresh, locally sourced produce is becoming increasingly important, rooftop corn growing DIY offers a fantastic solution. It’s not just about the delicious corn; it’s about connecting with nature, reducing your carbon footprint, and enjoying the satisfaction of growing your own food. Plus, let’s be honest, it’s a pretty cool conversation starter! Whether you’re a seasoned gardener or a complete beginner, I’m here to guide you through every step of the process, from choosing the right varieties to troubleshooting common problems. So, grab your gardening gloves, and let’s get started on this exciting rooftop adventure!
Your Own Rooftop Garden: Corn Growing Made Easy!
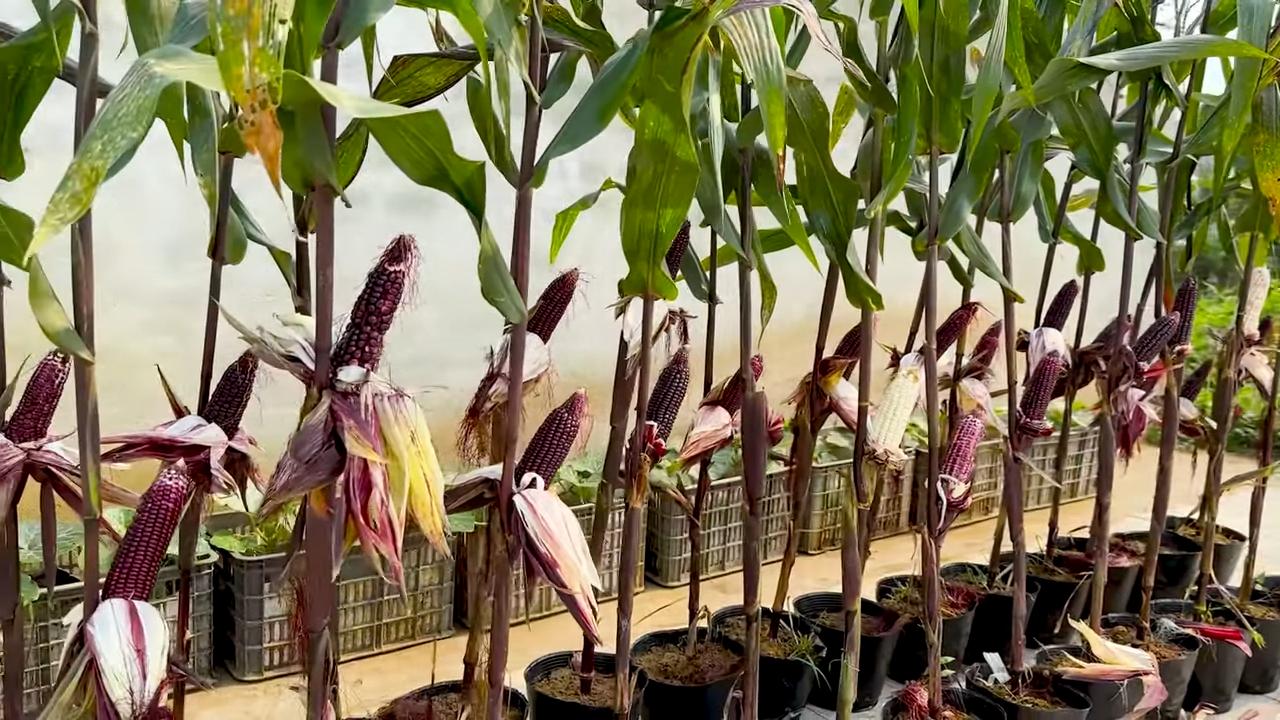
Hello, dear garden friends! Have you ever wondered if you can grow corn on the roof? The answer is a clear YES! I’ll show you how, with a few simple steps and a little patience, you can create your own small cornfield high above the city roofs. It’s not only a great project but also a fantastic way to enjoy fresh, homegrown corn. Let’s get started!
What you need: The Material List
Before we begin, here is a list of all the materials you will need for your rooftop corn project:
- Large planters: Choose sturdy, weatherproof containers with sufficient volume (at least 40 liters per plant). Remember that corn has deep roots!
- High-quality potting soil: A mixture of garden soil, compost, and coconut coir is ideal. It ensures good drainage and sufficient nutrients.
- Corn kernels: Choose a variety that is suitable for growing in containers. Dwarf corn varieties are often a good choice.
- Fertilizer: A slow-release fertilizer or organic fertilizer (e.g., horn shavings) will provide your plants with the necessary nutrients.
- Watering can or garden hose: Regular watering is crucial for success.
- Mulch material: Straw or wood chips help to retain moisture in the soil and suppress weeds.
- Trellis (optional): For taller corn varieties, a trellis can provide additional support.
- Protective net (optional): A net can be helpful to protect your plants from birds.
- Drainage material: Expanded clay or gravel for the bottom of the planters to prevent waterlogging.
- Gloves: To protect your hands.
- Shovel or trowel: For filling the planters.
The Preparation: The Foundation for Your Success
Before we start planting, good preparation is essential. Here are the steps you should take now:
- Prepare the planters: Start by thoroughly cleaning the planters. Then, place a layer of drainage material (expanded clay or gravel) at the bottom to prevent waterlogging.
- Mix the soil: Mix the garden soil, compost, and coconut coir in a large container or on a tarp. Make sure the mixture is loose and well-aerated.
- Fill the containers: Fill the planters with the prepared soil. Leave about 5-10 cm of space to the rim.
- Incorporate fertilizer: Add the slow-release or organic fertilizer to the soil according to the package instructions.
- Choose a location: Select a sunny spot for your planters. Corn needs at least 6-8 hours of sunlight per day. Make sure the location is sheltered from the wind to prevent the plants from tipping over.
The Sowing: The Beginning of Growth
Now comes the exciting part: sowing the corn kernels!
- Determine the sowing time: The best time to sow is when there is no more risk of frost and the soil temperature is at least 10°C. This is usually the case from mid-May onwards.
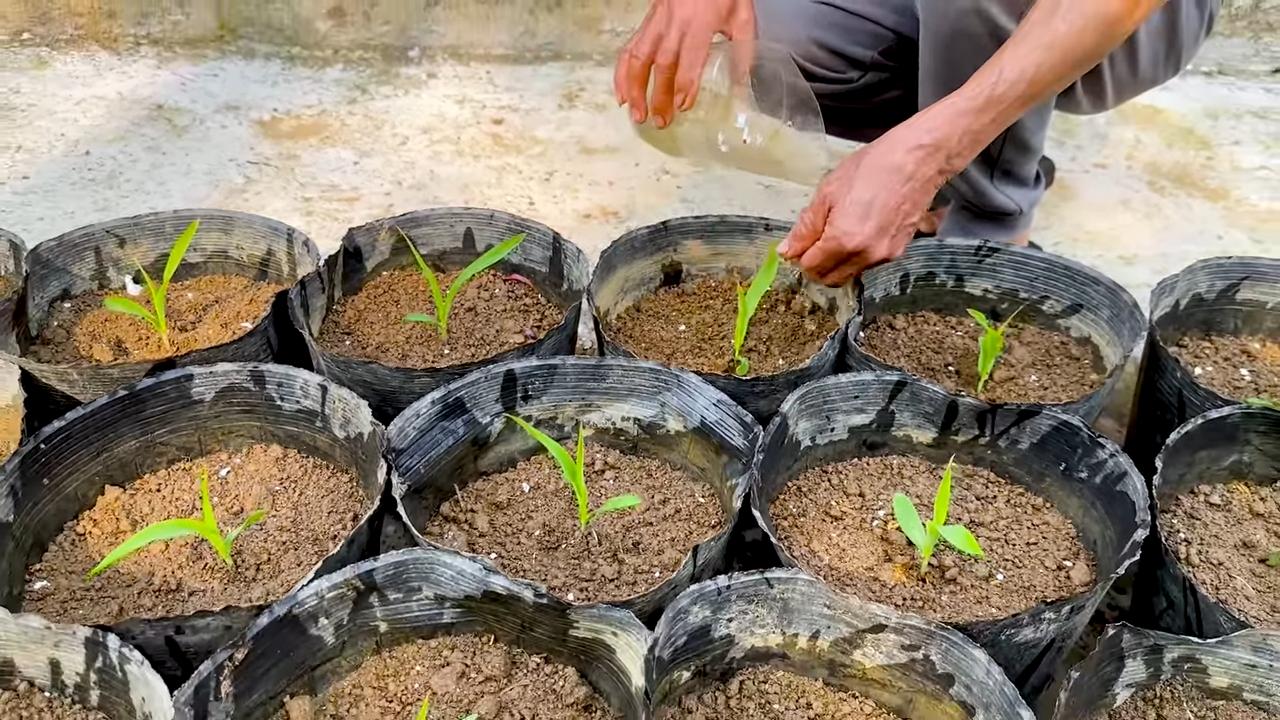
- Prepare for sowing: Lightly moisten the soil in the planters.
- Sow the kernels: Place the corn kernels in the soil at a distance of about 15-20 cm and a depth of 2-3 cm. You should sow several kernels per planter to ensure that at least one plant germinates.
- Cover the kernels: Cover the kernels with soil and press down lightly.
- Water: Water the soil gently without flooding it.
- Be patient: Now it’s time to wait! Germination usually takes 7-14 days. Keep the soil moist during this time.
The Care: So Your Corn Thrives
After sowing, the real work begins: caring for your corn plants.
- Watering: Corn needs a lot of water, especially during the flowering period. Water regularly, preferably early in the morning or late in the evening to avoid evaporation. Make sure the soil does not dry out, but is also not too wet.
- Fertilizing: Fertilize your corn plants regularly with a suitable fertilizer. A liquid fertilizer administered every two weeks is ideal. Make sure the fertilizer contains sufficient nitrogen, phosphorus, and potassium.
- Remove weeds: Regularly remove weeds that grow in the planters. Weeds compete with the corn plants for nutrients and water.
- Thinning: If several plants have germinated from one kernel, you should remove the weakest plant to give the strongest plant more space and nutrients.
- Install a trellis (optional): If your corn variety grows very tall, a trellis can provide additional support. Attach the trellis to the planters and guide the plants along it.
- Pest protection: Watch out for pests like aphids or corn borers. If necessary, you can use biological pesticides.
- Assist pollination: Corn is a wind-pollinated plant. If you only have a few plants, it can be helpful to assist pollination manually. To do this, shake the plants gently to distribute the pollen.
The Harvest: The Reward for Your Effort
After about 80-100 days, the time has finally come: you can harvest your homegrown corn!
- Recognize ripeness: The corn cobs are ripe when the silks are brown and dry and the cobs feel plump.
- Harvesting: Carefully break the corn cobs off the plants.
- Enjoy: You can enjoy the corn fresh immediately or freeze or preserve it for later.
Additional Tips for Your Rooftop Corn
- Wind protection: Since it is often windy on the roof, you should protect your plants from strong wind. A windbreak wall or a privacy screen can help.
- Consider the weight: Make sure that your roof can bear the additional loads of the planters. If necessary, consult a structural engineer.
- Irrigation system: If you cannot water regularly, an automatic irrigation system can be a good solution.
- Variety selection: Before sowing, inform yourself about the different corn varieties and choose one that is suitable for growing in containers and for your climate.
- Inform your neighbors: Inform your neighbors about your project to avoid misunderstandings.
Avoiding Common Mistakes
- Too little sun: Corn needs a lot of sun to grow well. Make sure your location receives sufficient sunlight.
- Too little water: Corn is thirsty! Water regularly and sufficiently.
- Too little fertilizer: Corn needs a lot of nutrients. Fertilize regularly with a suitable fertilizer.
- Planting too closely: Give the plants enough space to develop.
- Ignoring pests: Check your plants regularly for pests and combat them if necessary.
I hope this guide helps you to successfully grow your own rooftop corn. It is a rewarding project that will not only bring you fresh corn but also a lot of joy. Good luck and happy gardening
Conclusion
So, there you have it! Transforming your rooftop into a thriving cornfield might sound like a whimsical dream, but with a little planning, some elbow grease, and this simple DIY trick, it’s entirely achievable. We’ve walked you through the process, highlighting the key steps and considerations to ensure your rooftop corn growing adventure is a resounding success.
Why is this DIY trick a must-try? Because it unlocks the potential of underutilized space, bringing the joy of fresh, homegrown corn right to your doorstep. Imagine stepping outside and harvesting your own sweet corn for summer barbecues, knowing exactly where it came from and how it was grown. It’s a rewarding experience that connects you to nature, promotes sustainable living, and provides a delicious and healthy food source. Plus, let’s be honest, it’s a pretty cool conversation starter!
But the benefits extend beyond just the corn itself. The process of rooftop gardening is incredibly therapeutic. Tending to your plants, nurturing them, and watching them grow is a fantastic way to de-stress and reconnect with the natural world. It’s a mindful activity that can bring a sense of calm and accomplishment to your daily life.
Don’t be afraid to experiment and personalize your rooftop corn growing setup. Consider these variations:
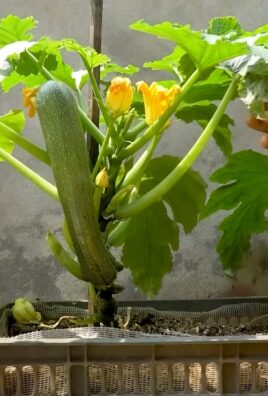
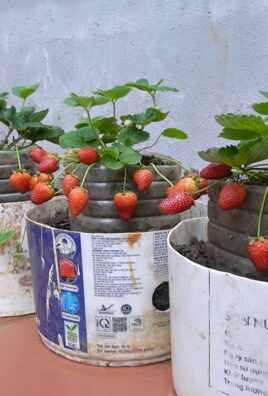
* **Companion Planting:** Enhance your corn’s growth and deter pests by planting companion plants like beans, squash, or sunflowers. These plants can provide shade, fix nitrogen in the soil, and attract beneficial insects.
* **Vertical Growing:** If space is limited, explore vertical growing techniques. Use trellises or supports to encourage your corn stalks to grow upwards, maximizing your yield in a smaller footprint.
* **Different Corn Varieties:** While sweet corn is a popular choice, don’t limit yourself! Experiment with different varieties of corn, such as popcorn corn or ornamental corn, to add visual interest and diversity to your rooftop garden.
* **Automated Watering Systems:** To simplify watering, especially during hot summer months, consider installing an automated drip irrigation system. This will ensure your corn plants receive consistent moisture without requiring daily manual watering.
We understand that embarking on a new DIY project can be daunting, but we encourage you to take the plunge and give rooftop corn growing a try. The rewards are well worth the effort. Remember to start small, learn as you go, and don’t be afraid to ask for help or advice.
We’re confident that with a little dedication, you’ll be enjoying fresh, homegrown corn from your very own rooftop garden in no time. So, grab your tools, gather your supplies, and get ready to transform your rooftop into a corn-growing paradise!
And most importantly, we want to hear about your experience! Share your photos, tips, and challenges with us in the comments below. Let’s build a community of rooftop corn growers and learn from each other’s successes and failures. Your insights could inspire others to take on this rewarding DIY project and discover the joy of growing their own food. Let us know how this DIY trick worked for you!
Frequently Asked Questions (FAQ)
What type of corn is best for rooftop growing?
Sweet corn varieties are generally the most popular choice for rooftop gardens due to their relatively compact size and delicious flavor. Look for varieties that are specifically bred for container growing or shorter growing seasons. Some good options include ‘Golden Bantam’, ‘Honey Select’, and ‘Early Sunglow’. However, don’t be afraid to experiment with other types of corn, such as popcorn corn or ornamental corn, if you’re looking for something different. Just be sure to choose varieties that are well-suited to your climate and growing conditions.
How much sunlight does rooftop corn need?
Corn requires at least 6-8 hours of direct sunlight per day to thrive. Choose a location on your rooftop that receives ample sunlight throughout the day. If your rooftop is partially shaded, try to position your corn plants in the area that receives the most sunlight. You can also use reflective surfaces, such as white paint or aluminum foil, to bounce sunlight onto your plants and increase their exposure.
What size containers are needed for growing corn on a rooftop?
Corn plants need plenty of space for their roots to grow, so choose large containers that are at least 12-18 inches in diameter and depth. The larger the container, the better, as it will provide more room for the roots to spread and access nutrients and water. You can use plastic pots, wooden boxes, or even repurposed containers, as long as they have adequate drainage holes.
What type of soil is best for rooftop corn growing?
Corn prefers well-draining, fertile soil that is rich in organic matter. Use a high-quality potting mix that is specifically formulated for container gardening. You can also amend your potting mix with compost, aged manure, or other organic materials to improve its fertility and drainage. Avoid using garden soil, as it can be too heavy and compacted for container growing.
How often should I water my rooftop corn plants?
Corn plants need consistent moisture, especially during hot summer months. Water your plants deeply whenever the top inch of soil feels dry to the touch. Avoid overwatering, as this can lead to root rot. The frequency of watering will depend on the weather conditions, the size of your containers, and the type of soil you’re using. As a general rule, water more frequently during hot, dry weather and less frequently during cool, wet weather.
How do I pollinate my rooftop corn plants?
Corn is wind-pollinated, so you may need to hand-pollinate your plants if there is not enough wind on your rooftop. To hand-pollinate, gently shake the tassels (the male flowers at the top of the plant) to release the pollen. Then, use a small brush or cotton swab to collect the pollen and transfer it to the silks (the female flowers that emerge from the developing ears of corn). Repeat this process every day for several days to ensure that all of the silks are pollinated.
How do I fertilize my rooftop corn plants?
Corn is a heavy feeder, so it’s important to fertilize your plants regularly to ensure they have enough nutrients to grow and produce ears of corn. Use a balanced fertilizer that is specifically formulated for vegetables. Follow the instructions on the fertilizer package for application rates and frequency. You can also supplement your fertilizer with compost tea or other organic fertilizers.
How do I protect my rooftop corn plants from pests and diseases?
Rooftop gardens are generally less susceptible to pests and diseases than in-ground gardens, but it’s still important to monitor your plants regularly and take steps to prevent problems. Common pests that can affect corn include aphids, corn earworms, and spider mites. You can control these pests with insecticidal soap, neem oil, or other organic pesticides. Common diseases that can affect corn include rust and smut. You can prevent these diseases by providing good air circulation, avoiding overwatering, and using disease-resistant varieties.
When is the best time to harvest my rooftop corn?
Corn is typically ready to harvest about 60-90 days after planting, depending on the variety. The silks will turn brown and dry, and the ears will feel plump and full. To check for ripeness, peel back a small portion of the husk and puncture a kernel with your fingernail. If the liquid that comes out is milky, the corn is ready to harvest. If the liquid is clear, the corn is not yet ripe. If the liquid is doughy, the corn is overripe.
What are the safety considerations for rooftop gardening?
Before starting a rooftop garden, it’s important to ensure that your roof can support the weight of the soil, containers, and plants. Consult with a structural engineer or building professional to assess the load-bearing capacity of your roof. Also, be sure to install a proper drainage system to prevent water from pooling on your roof and causing damage. Finally, take precautions to prevent falls and other accidents by using safety railings and wearing appropriate footwear.

Leave a Comment