

Neglected bean plant flowers drooping? Don’t despair! I know the feeling – life gets busy, and sometimes our beloved bean plants suffer. But before you resign yourself to a bean-less harvest, let’s dive into some simple DIY tricks to revive those beauties and get them blooming again.
Beans have been a staple crop for centuries, dating back to ancient civilizations in the Americas and Asia. They’re not just nutritious; they’re also relatively easy to grow, making them a popular choice for home gardeners. But even the hardiest bean plant can struggle if neglected. And let’s be honest, seeing those flowers wither is heartbreaking!
That’s why I’ve put together this guide. We’ll explore easy-to-implement solutions to address common issues like underwatering, nutrient deficiencies, and pest infestations. These DIY hacks are designed to be quick, affordable, and effective, so you can get your neglected bean plant flowers back on track in no time. Think of it as a bean plant rescue mission – and I’m here to guide you every step of the way!
Ready to transform those sad blooms into a vibrant display of healthy, productive bean plants? Let’s get started!
Transform Your Neglected Bean Plants into Flourishing Beauties: A DIY Guide
Hey plant friends! Do you ever get the feeling that your bean plants are giving you the side-eye because you’ve neglected them a bit? Don’t worry, it happens to the best of us! But before you give up hope and toss them in the compost, I have a step-by-step guide on how to get your neglected bean plants blooming again. And the best part? It’s easier than you think!
The Diagnosis: What’s Wrong with My Beans?
Before we get started, it’s important to figure out why your bean plants don’t look so happy. Here are some common causes:
- Lack of Water: Beans love it moist, but not soggy. Check the soil regularly and water when the top layer feels dry.
- Nutrient Deficiency: Beans are hungry plants! If the leaves are turning yellow or the plant looks weak overall, it could be a nutrient deficiency.
- Pests: Aphids, spider mites, and other pests can weaken your bean plants. Carefully inspect the leaves and stems for signs of infestation.
- Too Little Sun: Beans need at least 6 hours of sunlight per day. If they are in the shade, they will not bloom well.
- Incorrect pH: Beans prefer a slightly acidic to neutral pH (between 6.0 and 7.0).
The Rescue Mission: A Step-by-Step Guide
Okay, now that we know the possible causes, we can start the rescue mission!
Phase 1: Preparation
- Take Stock: Take the time to inspect your bean plants closely. What problems do you see? Are the leaves yellow? Are there pests? Is the soil dry? The more precise you are, the better you can tailor the treatment.
- Tools and Materials: Gather everything you need before you start. This saves time and frustration. Here is a list:
- Watering can or hose
- Pruning shears or sharp scissors
- Organic fertilizer (specifically for vegetables or flowering plants)
- Spray bottle
- Neem oil (optional, for pest control)
- pH test kit (optional, to check the soil’s pH)
- Fresh potting soil (if you need to repot the plant)
- Gloves (optional, but recommended)
- Prepare Your Workspace: Find a well-ventilated work area. If you are treating the plants indoors, lay down newspaper or a tarp to protect the floor.
Phase 2: The Treatment
- Watering: If the soil is dry, water the bean plants thoroughly. Make sure the water can drain well to avoid waterlogging. It’s best to water early in the morning so the leaves have time to dry by evening.
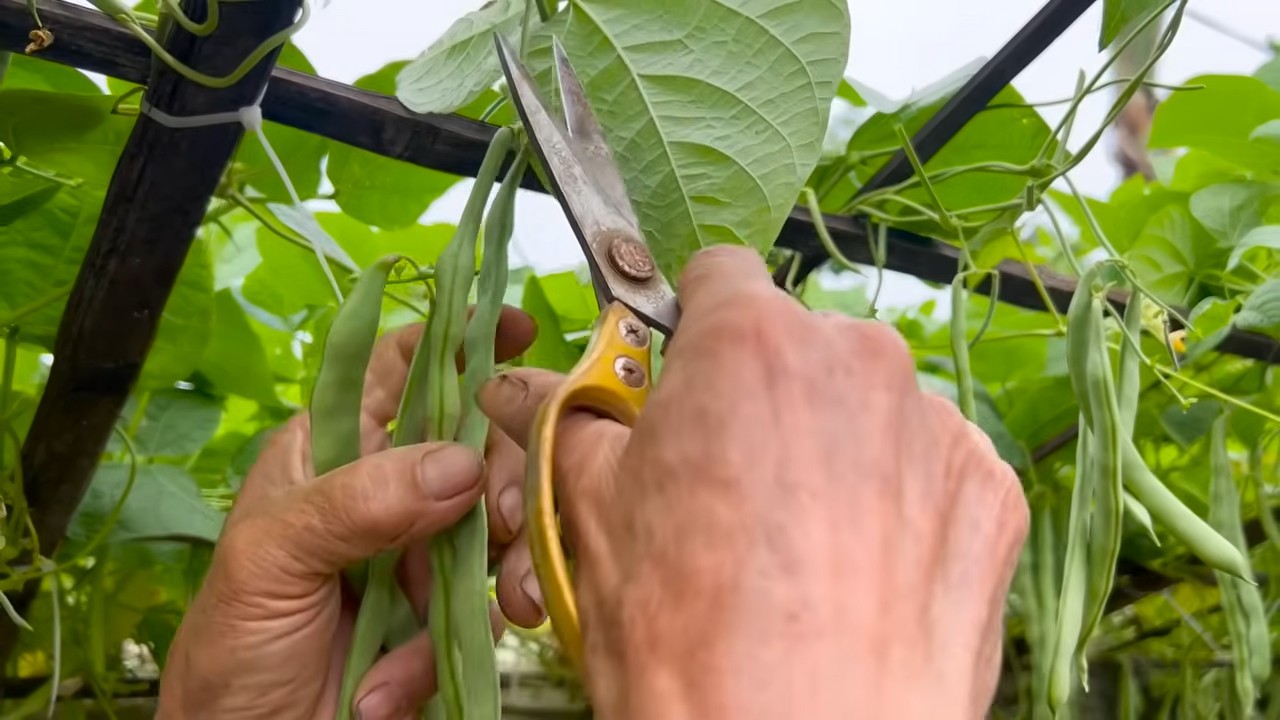
- Pruning: Remove all yellow, brown, or damaged leaves and stems. This helps the plant focus its energy on healthy growth. Cut the leaves just above the stem.
- Fertilizing: Bean plants need nutrients to bloom. Use an organic fertilizer specifically designed for vegetables or flowering plants. Follow the instructions on the package carefully. I personally like liquid fertilizers because they work quickly.
- Pest Control (if necessary): If you discover pests, treat the plants with neem oil. Dilute the neem oil according to the package instructions and spray the plants thoroughly, especially under the leaves. Repeat the treatment every few days until the pests are gone. Be careful not to apply neem oil in direct sunlight, as this can burn the leaves.
- Check pH (optional): If you suspect the soil’s pH is off, test it with a pH test kit. If the pH is too high or too low, you can adjust it with lime or sulfur. Follow the instructions on the test kit and the pH adjustment products.
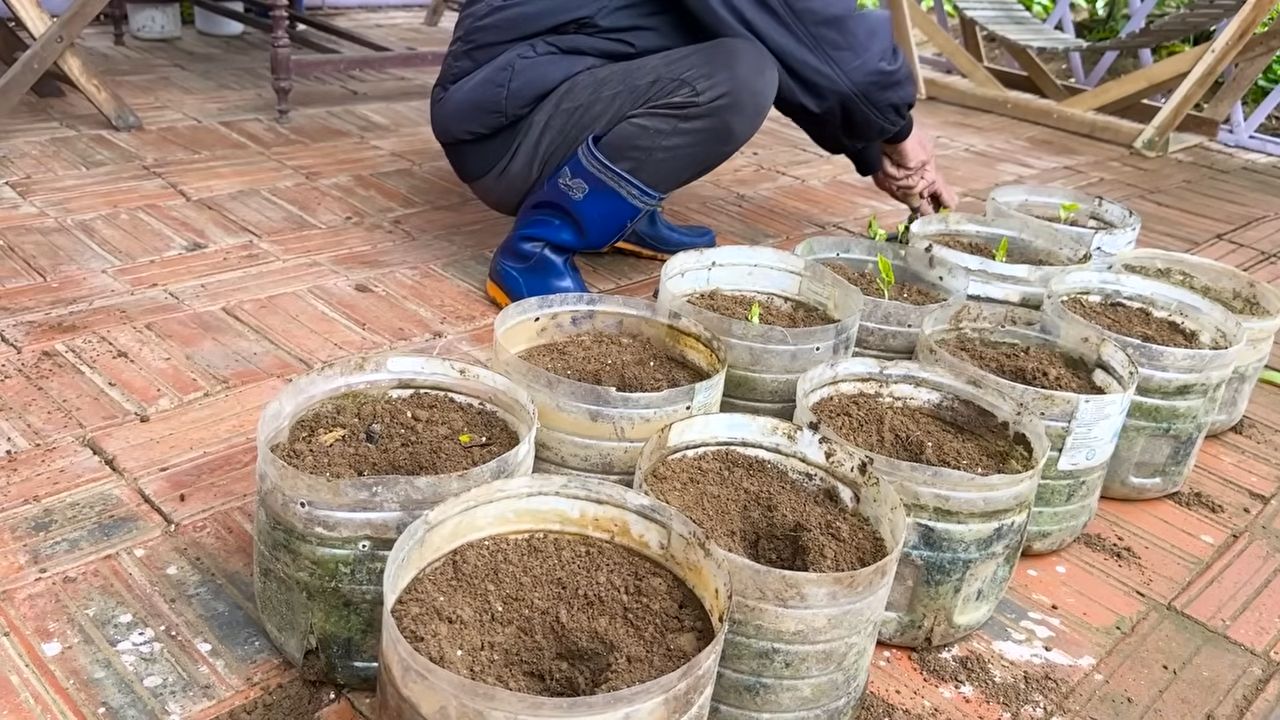
- Repotting (if necessary): If the bean plant is in a pot that is too small or the soil is depleted, you should repot it. Choose a pot that is slightly larger than the previous one and use fresh potting soil. Be careful not to damage the roots when repotting.
Phase 3: Aftercare
- Regular Watering: Check the soil regularly and water when the top layer feels dry. Avoid waterlogging.
- Regular Fertilizing: Fertilize the bean plants every few weeks with an organic fertilizer.
- Sunlight: Make sure the bean plants get at least 6 hours of sunlight per day. If you keep them indoors, place them in a sunny window or use a plant lamp.
- Ventilation: Provide good ventilation to prevent fungal diseases. If you keep the plants indoors, open the windows regularly or use a fan.
- Observation: Regularly observe the bean plants for signs of problems. The sooner you detect problems, the easier they are to fix.
Additional Tips for Blooming Beans
- Beans Love Climbing Aids: Give your bean plants a climbing aid, such as a trellis or a bamboo stake. This helps them spread out and produce more flowers.
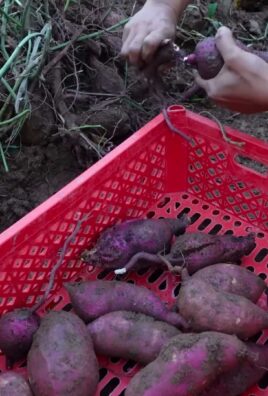
- Regular Harvesting: Harvest the beans regularly to encourage more blossoms. The more beans you harvest, the more flowers the plants will produce.
- Mulching: Mulch the soil around the bean plants with organic material, such as straw or wood chips. This helps to retain moisture in the soil and suppress weeds.
- Patience: Be patient! It can take a few weeks for your neglected bean plants to start blooming again. Don’t give up and continue the treatment.
Common Mistakes to Avoid
- Overwatering: Too much water can lead to root rot. Make sure the water can drain well.
- Over-fertilizing: Too much fertilizer can burn the plants. Follow the instructions on the package carefully.
- Neglect: Don’t neglect your bean plants! Regular care is the key to success.
I hope this guide helps you bring your neglected bean plants back to life! With a little love and attention, you can transform your plants into flourishing beauties. Good luck and have fun gardening!
Conclusion
So, there you have it! Transforming neglected bean plants flowers into a vibrant display is not only achievable but incredibly rewarding. We’ve shown you how a little TLC and this simple DIY trick can breathe new life into those seemingly hopeless blooms. Forget expensive fertilizers and complicated gardening techniques; this method is all about harnessing the power of readily available resources and a touch of patience.
The beauty of this approach lies in its simplicity and effectiveness. It’s a testament to the fact that even the most forlorn plants can be revived with the right care. Imagine the satisfaction of watching your bean plants, once struggling and flowerless, burst forth with a profusion of blossoms, all thanks to your own ingenuity. This isn’t just about saving plants; it’s about connecting with nature, understanding its resilience, and experiencing the joy of nurturing life.
But don’t just take our word for it. The real magic happens when you try it yourself. Experiment with different variations. Perhaps you’ll find that adding a small amount of diluted compost tea alongside the suggested method further enhances the results. Or maybe you’ll discover that adjusting the frequency of the treatment based on your local climate yields even better outcomes. The possibilities are endless!
This DIY trick for reviving neglected bean plants flowers is more than just a quick fix; it’s a sustainable and cost-effective way to care for your garden. It encourages resourcefulness and reduces reliance on chemical-laden products, promoting a healthier environment for both your plants and yourself. Plus, it’s a fantastic learning experience, deepening your understanding of plant physiology and the delicate balance of nature.
We are confident that you’ll be amazed by the results. The transformation from lackluster to luscious is truly remarkable. So, gather your supplies, put on your gardening gloves, and prepare to witness the incredible power of this simple yet effective technique.
We encourage you to embark on this gardening adventure and share your experiences with us. Let us know how this DIY trick worked for you, what variations you tried, and any tips you discovered along the way. Your feedback is invaluable and will help us refine and improve this method for the benefit of all gardening enthusiasts. Share your before-and-after photos, your success stories, and even your challenges. Let’s create a community of passionate gardeners who are dedicated to reviving neglected plants and celebrating the beauty of nature.
Don’t let those neglected bean plants flowers languish any longer. Give them the chance to thrive, and you’ll be rewarded with a stunning display of blooms and a renewed appreciation for the wonders of the natural world. This is your opportunity to become a plant rescuer, a gardening innovator, and a champion of sustainable practices. So, go forth and revive those bean plants!
Frequently Asked Questions (FAQ)
Q: How often should I apply this DIY trick to my neglected bean plants flowers?
A: The frequency depends on the severity of the neglect and the overall health of your plants. Initially, apply the treatment every 3-4 days for the first two weeks. Observe your plants closely for signs of improvement, such as new growth, increased leaf turgor, and the emergence of flower buds. Once you see noticeable progress, you can reduce the frequency to once a week or even bi-weekly as a maintenance dose. Remember to adjust the frequency based on your plant’s individual needs and the environmental conditions. Over-treating can sometimes be as harmful as under-treating, so always err on the side of caution.
Q: What if I don’t see any improvement after a few weeks?
A: Don’t be discouraged! Plant revival takes time and patience. First, double-check that you’re following the instructions correctly and using the right proportions. Ensure that your plants are receiving adequate sunlight and that the soil is well-draining. If you’ve ruled out these factors, consider the possibility of underlying issues such as pests, diseases, or nutrient deficiencies. A soil test can help identify any imbalances in the soil. You might also want to try a slightly stronger concentration of the treatment, but do so cautiously to avoid burning the plants. If the plants are severely damaged, it might be necessary to prune away dead or dying foliage to encourage new growth. If after several weeks you still see no improvement, it might be best to start with new plants, but use what you learned to prevent the same issues.
Q: Can I use this DIY trick on other types of flowering plants besides bean plants?
A: While this DIY trick is specifically designed for reviving neglected bean plants flowers, it can potentially be adapted for other flowering plants as well. The underlying principle is to provide a boost of essential nutrients and hydration to stressed plants. However, it’s crucial to consider the specific needs of each plant species. Some plants may be more sensitive to certain ingredients or require different nutrient ratios. Before applying this trick to other plants, research their specific requirements and adjust the recipe accordingly. It’s always a good idea to test the treatment on a small, inconspicuous area of the plant first to ensure that it doesn’t cause any adverse reactions.
Q: Is there anything I should avoid doing while using this DIY trick?
A: Yes, there are a few things to keep in mind. Avoid overwatering your plants, as this can lead to root rot and other problems. Ensure that the soil is well-draining and that the pots have drainage holes. Also, avoid applying the treatment during the hottest part of the day, as this can cause the leaves to burn. It’s best to apply it in the early morning or late evening when the temperatures are cooler. Finally, avoid using harsh chemicals or fertilizers in conjunction with this DIY trick, as this can overwhelm the plants and do more harm than good.
Q: How can I prevent my bean plants flowers from becoming neglected in the first place?
A: Prevention is always better than cure! The best way to avoid neglecting your bean plants flowers is to establish a consistent care routine. This includes regular watering, fertilizing, and pruning. Monitor your plants closely for signs of stress, such as wilting leaves, yellowing foliage, or pest infestations. Address any issues promptly to prevent them from escalating. Consider using a self-watering system or setting reminders on your phone to ensure that you don’t forget to water your plants. Most importantly, take the time to observe and appreciate your plants. By paying attention to their needs, you can create a thriving and beautiful garden.
Q: What are some signs that my bean plants flowers are neglected?
A: Several signs indicate that your bean plants flowers are suffering from neglect. These include:
* Wilting or drooping leaves, even after watering.
* Yellowing or browning foliage.
* Stunted growth or a lack of new growth.
* A sparse or absent bloom.
* Dry or cracked soil.
* Pest infestations or signs of disease.
* Leggy growth (long, spindly stems with few leaves).
If you notice any of these signs, it’s time to take action and provide your plants with the care they need.
Q: Can I use tap water for this DIY trick, or should I use filtered water?
A: While tap water is generally safe for plants, it can sometimes contain chlorine, fluoride, and other chemicals that can be harmful, especially to sensitive plants. If your tap water is heavily chlorinated, it’s best to let it sit out for 24 hours before using it to allow the chlorine to dissipate. Alternatively, you can use filtered water or rainwater, which are both gentler options.
Q: How do I know if I’m overwatering or underwatering my bean plants flowers?
A: Overwatering and underwatering can both cause similar symptoms, such as wilting leaves. However, there are some key differences to look for. Overwatered plants often have soggy soil, and the leaves may turn yellow or brown and feel mushy. The roots may also start to rot. Underwatered plants, on the other hand, have dry soil, and the leaves may turn crispy and brown. To determine whether you’re overwatering or underwatering, stick your finger into the soil. If the soil feels wet or soggy, you’re likely overwatering. If the soil feels dry to the touch, you’re likely underwatering. Adjust your watering schedule accordingly.


Leave a Comment