

Lazy Coriander Planting Method: Your shortcut to a thriving herb garden, even if you think you have a black thumb! Let’s face it, we all dream of fresh, fragrant coriander readily available for our favorite dishes. But the thought of meticulously planting and tending to a herb garden can feel overwhelming, right? I get it! That’s why I’m so excited to share this incredibly simple, almost ridiculously easy, lazy coriander planting method that will have you harvesting fresh herbs in no time.
Coriander, also known as cilantro, has a rich history, dating back thousands of years. Evidence suggests its use in ancient Egypt, and it’s been a staple in cuisines across the globe, from Mexican salsas to Indian curries. But you don’t need to be a seasoned gardener or a culinary expert to enjoy its fresh, vibrant flavor.
This DIY trick is a game-changer because it eliminates the common frustrations of coriander cultivation – slow germination, inconsistent growth, and the feeling that you’re constantly battling the elements. With this lazy coriander planting method, you’ll bypass those hurdles and enjoy a bountiful harvest with minimal effort. Imagine the satisfaction of snipping fresh coriander leaves to garnish your tacos, add a zing to your salads, or elevate your homemade guacamole. No more expensive trips to the grocery store for wilted herbs! Let’s dive in and unlock the secrets to effortless coriander cultivation!
The Lazy Gardener’s Guide to Growing Coriander: No More Seedling Struggles!
Hey there, fellow plant enthusiasts! Are you tired of coriander seeds stubbornly refusing to sprout? Do you dream of fresh cilantro for your tacos but dread the finicky germination process? Well, I’ve got a game-changing method for you – a lazy, almost foolproof way to get those coriander seeds popping and thriving! Forget the complicated seed starting trays and constant watering; this method focuses on mimicking nature and giving those seeds exactly what they need to burst into life.
This method is perfect for beginners, busy individuals, or anyone who just wants a simpler, more reliable way to grow coriander. I’ve personally used this technique for years, and it’s consistently given me fantastic results. So, grab your supplies, and let’s get started!
What You’ll Need:
* Coriander Seeds: Obviously! Make sure they’re fresh and from a reputable source. Older seeds might have a lower germination rate.
* Paper Towels: A good quality, absorbent brand works best.
* Ziplock Bag: A standard sandwich-sized bag will do the trick.
* Spray Bottle with Water: For keeping those paper towels nice and moist.
* Potting Soil: Choose a well-draining mix.
* Pots or Containers: Whatever size you prefer, depending on how much coriander you want to grow.
* A Warm, Dark Place: A cupboard, drawer, or even a shaded corner works great.
* Optional: Rooting hormone powder (can help with root development, but not essential).
The Secret Weapon: Pre-Sprouting Your Coriander Seeds
The key to this lazy method is pre-sprouting the seeds before planting them in soil. This gives them a head start and ensures that only the viable seeds make it into your pots. Here’s how it works:
Step 1: Cracking the Code (and the Seeds!)
Coriander seeds are actually fruits containing two seeds inside. To improve germination, we need to gently crack them open.
1. Place the seeds on a hard surface: A cutting board or countertop works well.
2. Gently roll a rolling pin or a heavy jar over the seeds: Apply just enough pressure to crack the outer shell. You don’t want to crush the seeds into powder! I usually do this in small batches to avoid overdoing it.
3. Inspect the seeds: You should see that the outer shell has cracked, revealing the two seeds inside. Don’t worry if some seeds don’t crack perfectly; the goal is to weaken the shell, not destroy the seeds.
Step 2: Hydration Station: Soaking the Seeds
Soaking the seeds helps to kickstart the germination process.
1. Place the cracked coriander seeds in a small bowl.
2. Cover the seeds with lukewarm water.
3. Let them soak for 2-4 hours. This allows the seeds to absorb moisture and soften the outer shell further.
Step 3: The Paper Towel Technique: Creating a Germination Chamber
This is where the magic happens! We’re creating a mini-greenhouse for our seeds.
1. Dampen two paper towels: They should be thoroughly wet but not dripping. Squeeze out any excess water.
2. Lay one paper towel flat on a clean surface.
3. Sprinkle the soaked coriander seeds evenly over the paper towel: Make sure they’re not overcrowded. Give them a little space to breathe.
4. Cover the seeds with the second damp paper towel.
5. Gently press down to ensure good contact between the seeds and the paper towels.
6. Carefully slide the paper towel with the seeds into the ziplock bag.
7. Seal the bag, leaving a small gap for air circulation. This prevents the bag from becoming too humid and encourages air exchange.
8. Place the bag in a warm, dark place. A cupboard, drawer, or even a shaded corner of your kitchen will work perfectly. The ideal temperature is around 70-75°F (21-24°C).
Step 4: Patience is a Virtue: Monitoring Germination
Now comes the hardest part: waiting!
1. Check the seeds daily: Open the bag and gently check the paper towels.
2. Keep the paper towels moist: If they start to dry out, lightly spray them with water from your spray bottle.
3. Look for sprouts: You should start to see tiny white sprouts emerging from the seeds within 3-7 days. The exact time will depend on the freshness of your seeds and the temperature.
Planting Your Pre-Sprouted Coriander Seeds
Once your seeds have sprouted, it’s time to get them into some soil!
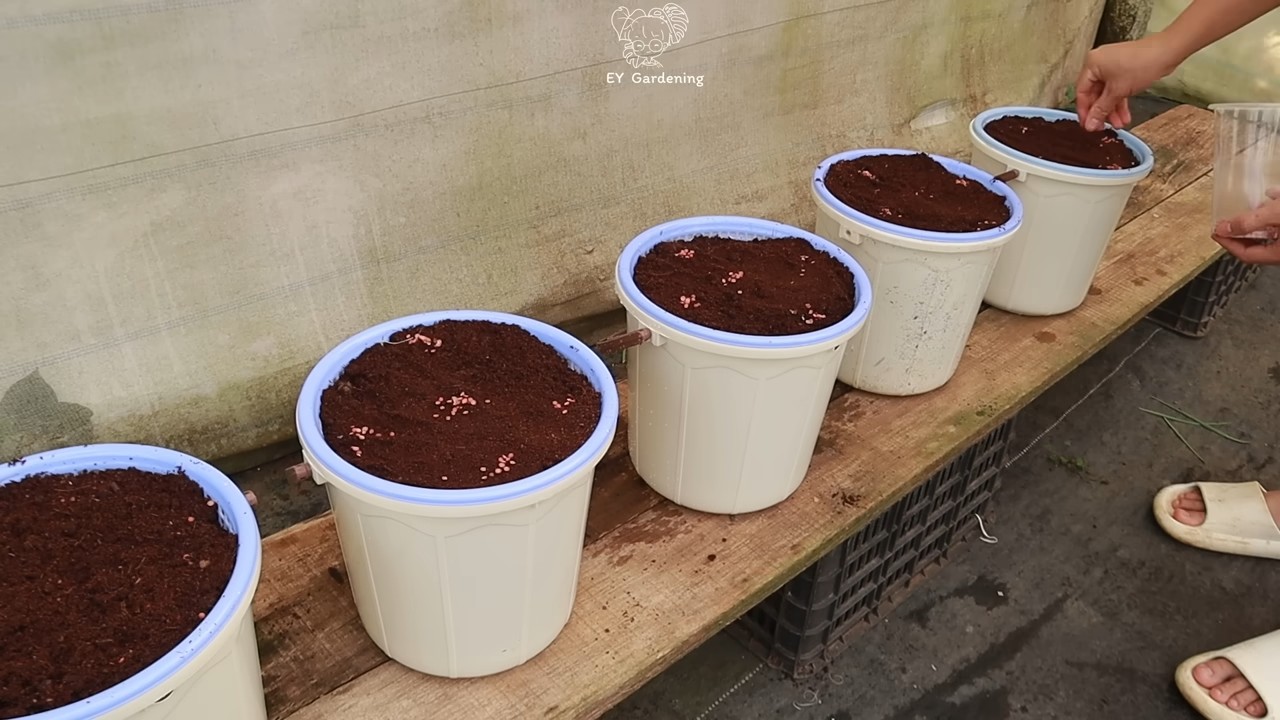
Step 1: Preparing Your Pots
1. Choose your pots or containers: Make sure they have drainage holes to prevent waterlogging.
2. Fill the pots with well-draining potting soil: Leave about an inch of space at the top of the pot.
3. Water the soil lightly: Moisten the soil before planting the seeds.
Step 2: Gently Transplanting the Sprouts
This is the most delicate part, so take your time!
1. Carefully open the ziplock bag and remove the paper towels.
2. Gently separate the sprouted seeds from the paper towels: Use your fingers or a small tool to carefully lift each sprout. Be as gentle as possible to avoid damaging the delicate roots.
3. Make a small hole in the soil: Use your finger or a pencil to create a small hole in the soil for each sprout.
4. Place the sprout in the hole: Gently place the sprout in the hole, ensuring that the roots are covered with soil.
5. Space the sprouts evenly: If you’re planting multiple sprouts in the same pot, space them about 1-2 inches apart.
6. Gently pat the soil around the sprouts: Secure the sprouts in place by gently patting the soil around them.
7. Optional: Dip the roots in rooting hormone powder before planting: This can encourage faster root development, but it’s not essential.
Step 3: Watering and Sunlight
1. Water the newly planted sprouts gently: Use a watering can with a gentle rose attachment or a spray bottle to avoid disturbing the soil.
2. Place the pots in a sunny location: Coriander needs at least 6 hours of sunlight per day. A south-facing window or a sunny balcony is ideal.
3. Monitor the soil moisture: Water the plants when the top inch of soil feels dry to the touch. Avoid overwatering, as this can lead to root rot.
Caring for Your Coriander Plants
Now that your coriander plants are growing, here are a few tips to keep them happy and healthy:
* Watering: Water regularly, but avoid overwatering. Let the top inch of soil dry out between waterings.
* Sunlight: Ensure your plants get at least 6 hours of sunlight per day.
* Fertilizing: Feed your plants with a balanced liquid fertilizer every 2-3 weeks.
* Pinching: Pinch off the top leaves regularly to encourage bushier growth.
* Bolting: Coriander tends to bolt (go to seed) in hot weather. To prevent bolting, try to keep the plants in a cooler location and water them regularly. If your plants do bolt, you can still harvest the seeds for future planting or use them as a spice.
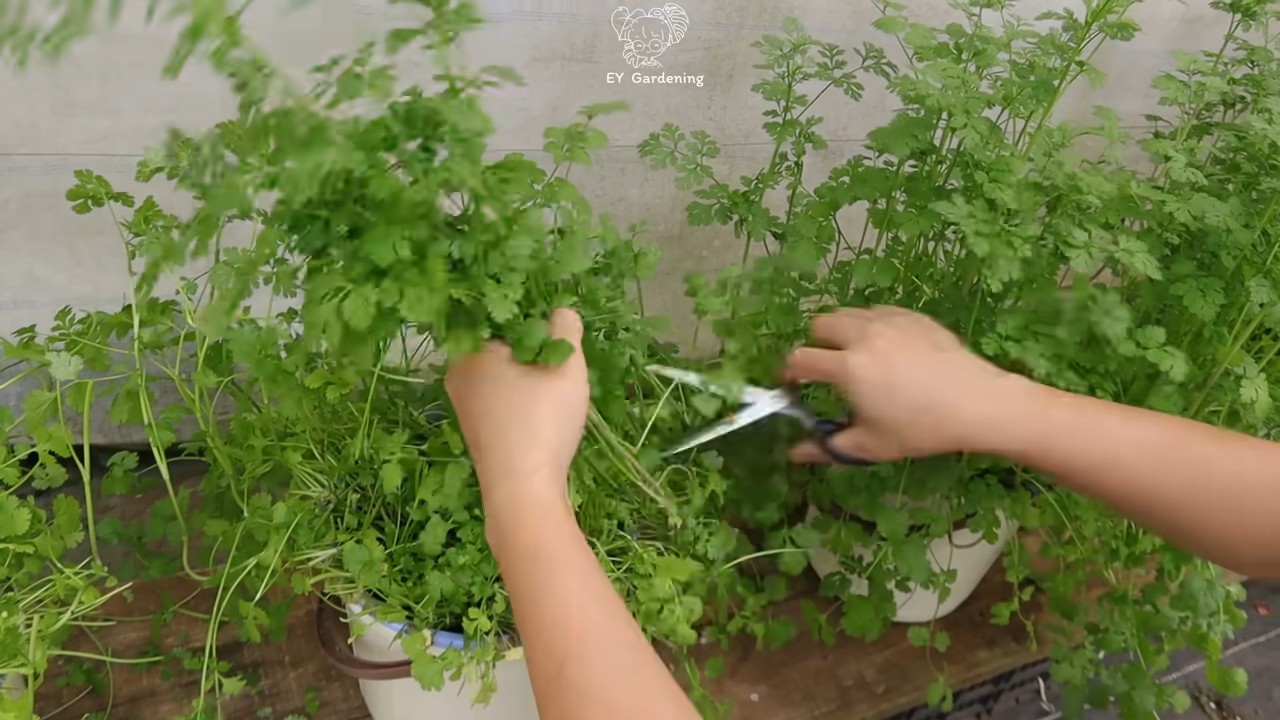
* Harvesting: You can start harvesting coriander leaves when the plants are about 6 inches tall. Simply snip off the leaves as needed.
Troubleshooting
* Seeds not sprouting: Make sure your seeds are fresh and that the paper towels are kept moist. The temperature should also be warm enough.
* Seedlings damping off: This is a fungal disease that can affect young seedlings. To prevent damping off, use well-draining soil and avoid overwatering.
* Yellowing leaves: This could be a sign of overwatering, underwatering, or nutrient deficiency. Adjust your watering schedule and fertilize your plants if necessary.
* Pests: Coriander can be susceptible to aphids and other pests. Inspect your plants regularly and treat any infestations promptly.
And there you have it! A simple, lazy, and effective way to grow your own coriander. With a little patience and care, you’ll be enjoying fresh cilantro in no time. Happy gardening!
Conclusion
So, there you have it! The “Lazy Coriander Planting Method” – a simple, efficient, and frankly, revolutionary way to ensure a continuous supply of fresh coriander right at your fingertips. We’ve walked you through the process, highlighting how this technique minimizes effort while maximizing yield. Forget painstakingly sowing individual seeds and battling inconsistent germination. This method streamlines the entire process, making it accessible even to the most novice gardener.
But why is this a must-try? Beyond the sheer convenience, this method addresses some of the most common challenges associated with growing coriander. Coriander seeds have a notoriously hard outer shell, which can inhibit germination. Crushing the seeds gently before planting, as we described, helps to break down this barrier, leading to faster and more uniform sprouting. This means less wasted seed and a more robust crop.
Furthermore, the “Lazy Coriander Planting Method” is incredibly adaptable. Feel free to experiment with different containers. While we recommend a wide, shallow pot, you can also use window boxes, raised beds, or even repurposed containers like old yogurt tubs (just ensure they have drainage holes!). You can also adjust the density of planting based on your needs. If you want smaller, more delicate leaves for garnishing, plant the seeds closer together. For larger, more robust leaves for cooking, space them out a bit more.
Consider these variations to personalize your coriander growing experience:
* Succession Planting: Plant a new batch of coriander every two to three weeks using this method to ensure a continuous harvest throughout the growing season.
* Companion Planting: Plant your coriander alongside other herbs and vegetables that benefit from its presence. Coriander is known to attract beneficial insects like ladybugs and lacewings, which can help control pests in your garden. Good companions include tomatoes, peppers, and basil.
* Growing Indoors: This method works just as well indoors as it does outdoors. Just make sure your coriander receives plenty of sunlight (at least six hours a day) or supplement with a grow light.
* Seed Soaking: For even faster germination, try soaking the crushed coriander seeds in water for 12-24 hours before planting. This will further soften the seed coat and encourage sprouting.
Ultimately, the beauty of the “Lazy Coriander Planting Method” lies in its simplicity and adaptability. It’s a technique that empowers you to take control of your coriander supply, ensuring you always have fresh, flavorful leaves on hand for your culinary creations.
We are confident that this method will transform your coriander growing experience. So, ditch the traditional methods and embrace the ease and efficiency of the “Lazy Coriander Planting Method.” We encourage you to give it a try and see the difference for yourself.
But don’t just take our word for it! We want to hear about your experiences. Share your photos, tips, and variations on social media using #LazyCoriander and let us know how this method worked for you. Your feedback will help us refine and improve this technique for everyone. Happy planting!
Frequently Asked Questions (FAQ)
What exactly is the “Lazy Coriander Planting Method,” and how does it differ from traditional planting?
The “Lazy Coriander Planting Method” is a simplified approach to growing coriander that focuses on maximizing germination rates and minimizing effort. Unlike traditional methods that involve sowing individual seeds, this method involves gently crushing the coriander seeds to break their outer shell, which promotes faster and more uniform sprouting. It also encourages a more relaxed approach to spacing, allowing for a denser planting that can be thinned out as needed. This method is particularly beneficial for those who struggle with coriander germination or want a continuous supply of fresh leaves.
Why is crushing the coriander seeds important? Won’t that damage them?
Coriander seeds have a tough outer shell that can inhibit germination. Crushing the seeds gently helps to break down this barrier, allowing moisture to penetrate more easily and trigger the sprouting process. It’s crucial to be gentle; you’re not trying to pulverize the seeds into powder. A light crack is all that’s needed. This process significantly increases the chances of successful germination and reduces the time it takes for the seedlings to emerge.
How much sunlight does coriander need when grown using this method?
Coriander thrives in full sun, requiring at least six hours of direct sunlight per day. However, it can also tolerate partial shade, especially in hotter climates. If you’re growing coriander indoors using the “Lazy Coriander Planting Method,” place it near a sunny window or supplement with a grow light to ensure it receives adequate light. Insufficient sunlight can lead to leggy growth and reduced flavor.
What type of soil is best for growing coriander using this method?
Coriander prefers well-draining soil that is rich in organic matter. A good potting mix or garden soil amended with compost or aged manure will provide the necessary nutrients and drainage. Avoid heavy clay soils, as they can become waterlogged and inhibit root growth. The ideal soil pH for coriander is between 6.0 and 7.5.
How often should I water coriander grown using the “Lazy Coriander Planting Method”?
Water coriander regularly, keeping the soil consistently moist but not waterlogged. Check the soil moisture level daily, especially during hot weather. Water when the top inch of soil feels dry to the touch. Avoid overwatering, as this can lead to root rot. When watering, aim for the base of the plant to avoid wetting the foliage, which can increase the risk of fungal diseases.
When and how should I harvest coriander leaves?
You can start harvesting coriander leaves as soon as the plants are a few inches tall. Snip off the outer leaves, leaving the inner leaves to continue growing. This will encourage the plant to produce more leaves. Harvest regularly to prevent the plant from bolting (going to seed), which can make the leaves bitter. The best time to harvest coriander is in the morning, after the dew has dried.
What can I do if my coriander starts to bolt?
Bolting is a natural process that occurs when coriander is exposed to high temperatures or long days. Once a plant bolts, the leaves become bitter and less palatable. To delay bolting, try providing shade during the hottest part of the day, watering regularly, and harvesting frequently. If your coriander does bolt, you can still harvest the seeds, which can be used as a spice or saved for planting next season.
Can I grow coriander from seed saved from a previous crop?
Yes, you can grow coriander from seed saved from a previous crop. Allow the seed heads to dry completely on the plant, then harvest the seeds and store them in a cool, dry place. Before planting, gently crush the seeds as described in the “Lazy Coriander Planting Method” to improve germination rates.
Is the “Lazy Coriander Planting Method” suitable for other herbs besides coriander?
While this method is specifically designed for coriander, the principle of gently breaking the seed coat to improve germination can be applied to other herbs with similar hard-shelled seeds, such as dill and parsley. However, it’s essential to research the specific germination requirements of each herb before applying this method.
What are some common problems that can affect coriander, and how can I prevent them?
Common problems that can affect coriander include aphids, whiteflies, and fungal diseases. To prevent these problems, ensure good air circulation, avoid overwatering, and inspect your plants regularly for signs of pests or diseases. If you notice any problems, treat them promptly with an appropriate organic pesticide or fungicide. Companion planting with beneficial herbs and flowers can also help to attract beneficial insects that prey on pests.

Leave a Comment