

June plant propagation: Ever wished you could magically multiply your favorite plants without spending a fortune at the garden center? I know I have! Imagine turning one prized rose bush into a whole fragrant hedge, or filling your home with vibrant succulents propagated from a single mother plant. That’s the beauty of plant propagation, and June is often a fantastic month to get started!
Plant propagation isn’t just a modern gardening trend; it’s a practice with roots stretching back centuries. Ancient civilizations, from the Egyptians to the Romans, understood the art of taking cuttings and nurturing new life from existing plants. It’s a skill passed down through generations, a testament to our enduring connection with the natural world. Think of it as a botanical legacy you can participate in!
But why should you learn about June plant propagation? Well, for starters, it’s incredibly cost-effective. Instead of constantly buying new plants, you can create your own from what you already have. Plus, it’s a deeply rewarding experience to witness new life sprouting from your efforts. Whether you’re looking to expand your garden, share plants with friends, or simply connect with nature on a deeper level, mastering these DIY propagation tricks will empower you to become a true green thumb. Let’s dive in and unlock the secrets to successful plant propagation this June!
June Plant Propagation Power-Up: Multiply Your Green Friends!
Hey plant lovers! June is practically *begging* us to propagate. The weather is warm, plants are actively growing, and success rates are generally higher. So, let’s dive into some easy and effective propagation methods you can try right now to expand your plant family without breaking the bank! I’m going to walk you through a few of my favorite techniques, perfect for June’s growing season.
Understanding Propagation Basics
Before we get our hands dirty, let’s quickly cover some fundamentals. Propagation is simply creating new plants from existing ones. This can be done through various methods, each suited to different plant types. Key factors for success include:
* Cleanliness: Always use sterilized tools to prevent the spread of diseases. I like to wipe my pruners with rubbing alcohol before and after each use.
* Humidity: New cuttings need high humidity to prevent them from drying out before they can develop roots.
* Light: Bright, indirect light is ideal. Direct sunlight can scorch delicate cuttings.
* Patience: Propagation takes time! Don’t get discouraged if you don’t see roots immediately.
Stem Cuttings: The Easiest Way to Multiply Many Plants
Stem cuttings are probably the most common and straightforward propagation method. It works wonders for plants like pothos, philodendrons, succulents, and herbs.
What You’ll Need:
* Your chosen plant (a healthy, actively growing one!)
* Sharp, sterilized pruners or scissors
* Rooting hormone (optional, but it can speed things up)
* A small pot or container
* Well-draining potting mix or water
* A clear plastic bag or propagation dome (to create humidity)
Step-by-Step Instructions:
1. Select a Healthy Stem: Look for a healthy stem with several leaves and nodes (the points where leaves emerge). The stem should be free from pests or diseases.
2. Make the Cut: Using your sterilized pruners, make a clean cut just below a node. The cutting should be about 4-6 inches long.
3. Remove Lower Leaves: Remove the leaves from the bottom 1-2 inches of the cutting. This prevents them from rotting when they’re in contact with the soil or water.
4. Apply Rooting Hormone (Optional): Dip the cut end of the stem into rooting hormone powder or liquid. This encourages root development. I find it particularly helpful for plants that are a bit more reluctant to root.
5. Choose Your Rooting Medium: You have two main options here:
* Water Propagation: Place the cutting in a glass or jar filled with water, ensuring that the bottom node is submerged. Change the water every few days to keep it fresh.
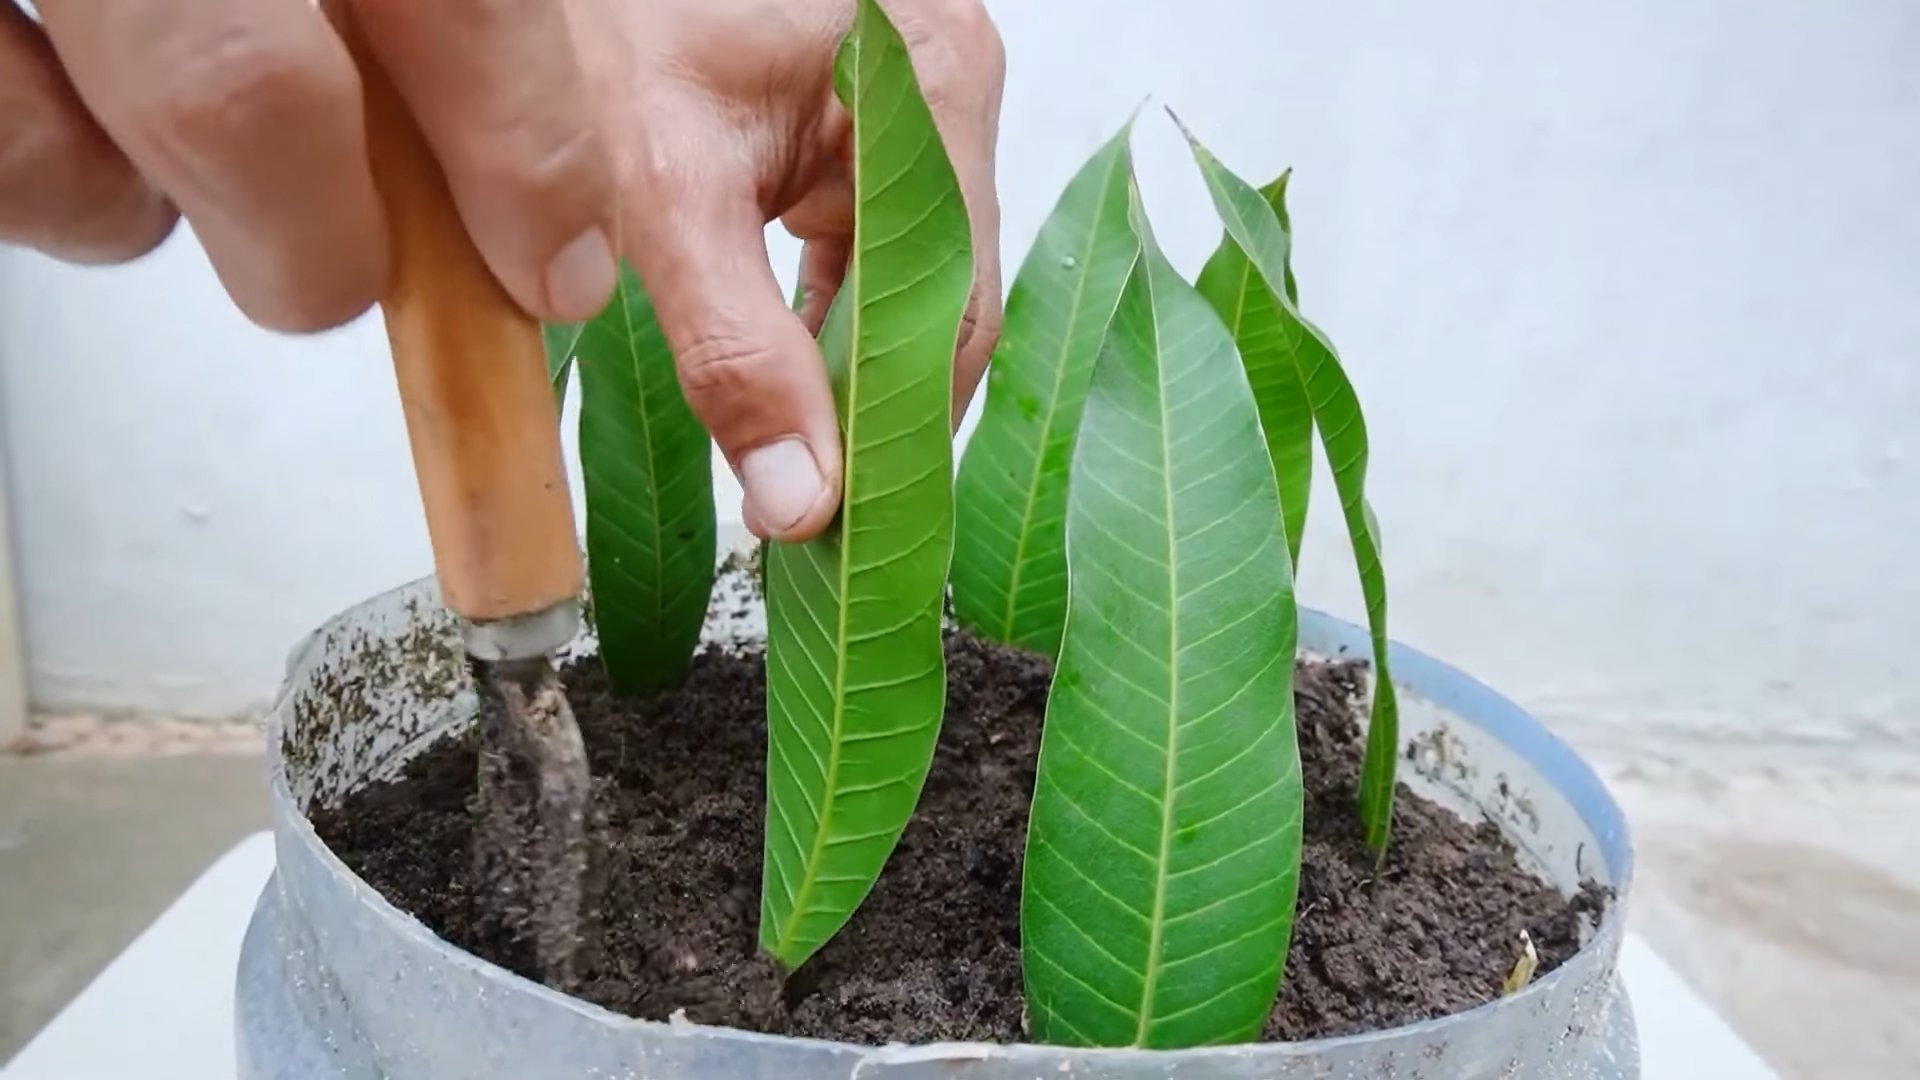
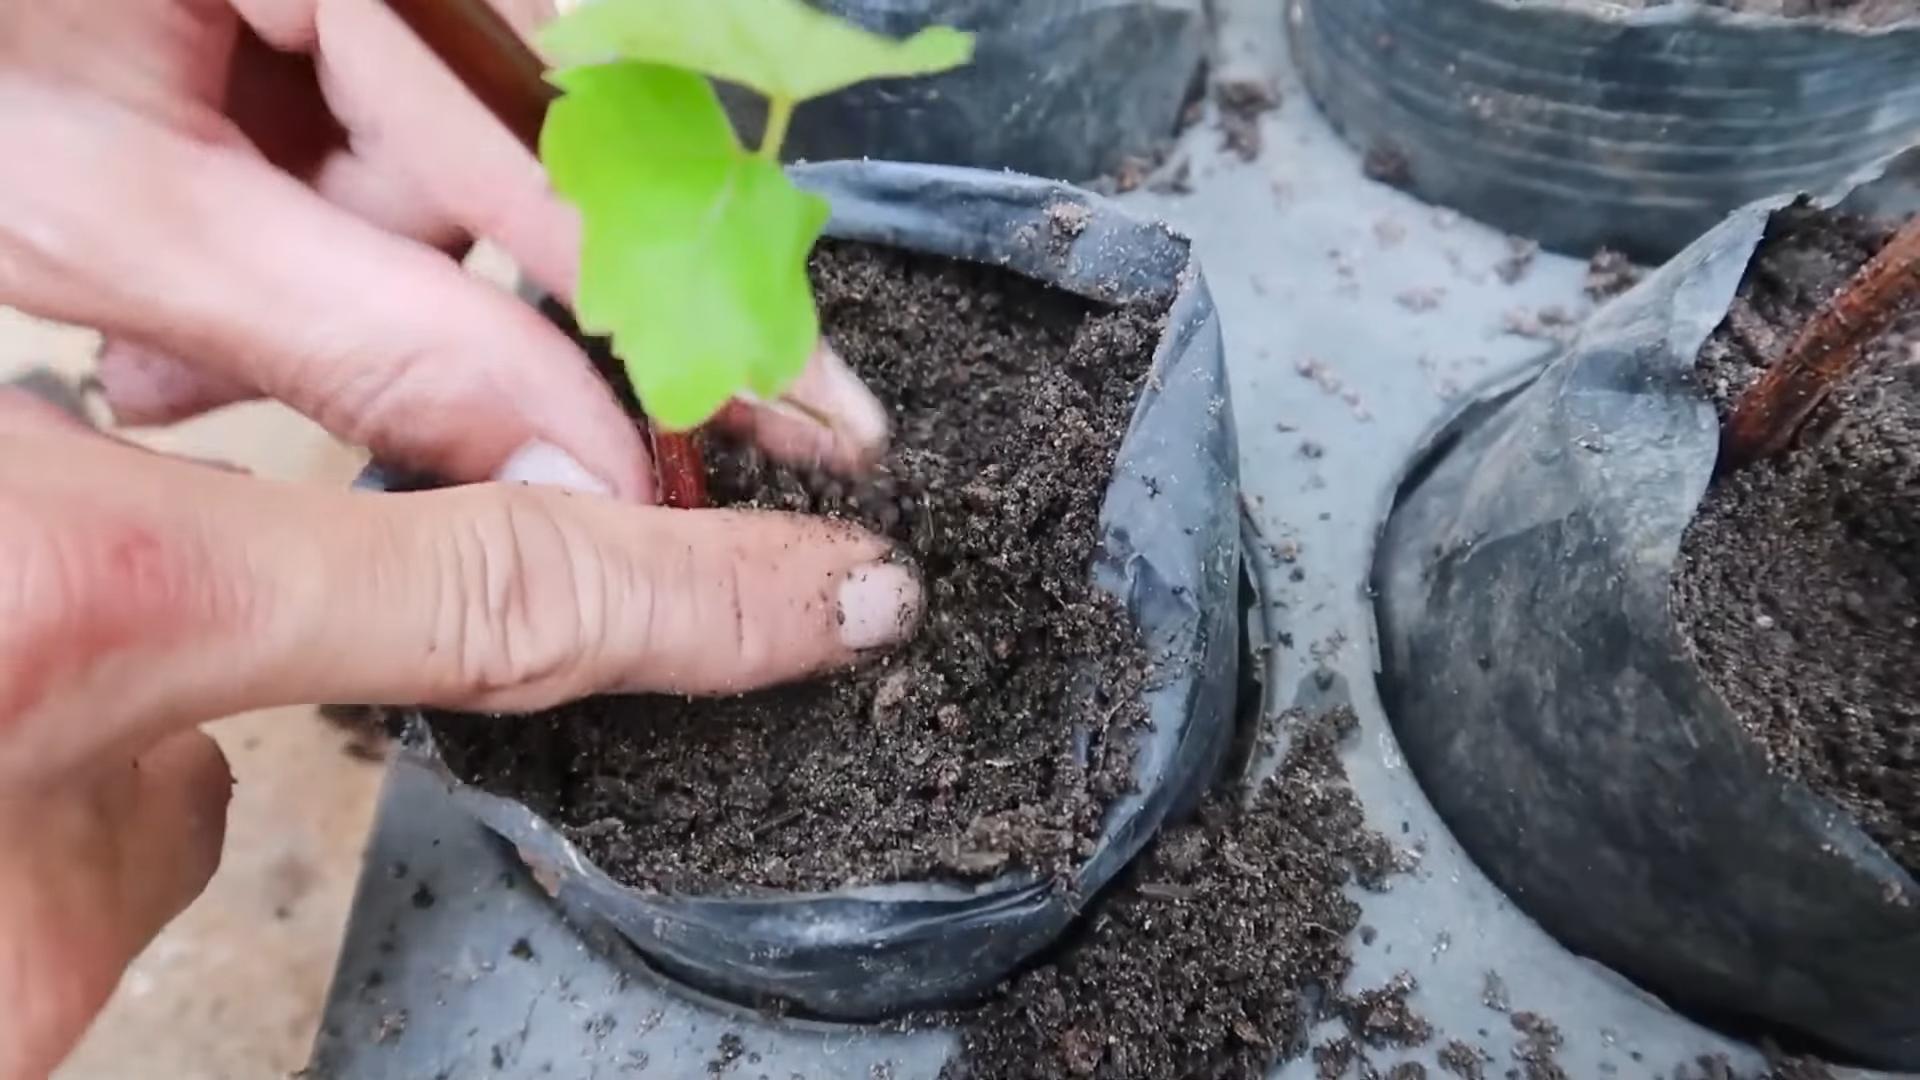
* Soil Propagation: Plant the cutting directly into a small pot filled with well-draining potting mix. Make a small hole in the soil with your finger or a pencil, insert the cutting, and gently firm the soil around it.
6. Create a Humid Environment: Cover the cutting with a clear plastic bag or place it in a propagation dome. This helps to maintain high humidity, which is crucial for root development. If using a plastic bag, make a few small holes for ventilation.
7. Provide Bright, Indirect Light: Place the cutting in a location with bright, indirect light. Avoid direct sunlight, which can scorch the leaves.
8. Be Patient: Roots should start to develop within a few weeks. You’ll know the cutting has rooted when you see new growth or when you gently tug on the cutting and feel resistance.
9. Pot Up Your New Plant: Once the roots are well-developed (usually a few inches long), you can pot up your new plant into a larger pot with fresh potting mix.
Leaf Cuttings: Perfect for Succulents and Snake Plants
Leaf cuttings are a fantastic way to propagate succulents like echeverias and sedums, as well as snake plants (Sansevieria).
What You’ll Need:
* Your chosen plant (a healthy succulent or snake plant)
* Sharp, sterilized knife or scissors
* Well-draining succulent potting mix
* A small pot or tray
* Rooting hormone (optional, but recommended for snake plants)
Step-by-Step Instructions for Succulents:
1. Select a Healthy Leaf: Choose a plump, healthy leaf from the mother plant. Gently wiggle the leaf back and forth until it detaches cleanly from the stem. It’s important to get the entire base of the leaf, as this is where the roots will emerge.
2. Callus Over: Allow the cut end of the leaf to callus over for a few days. This prevents rot. Simply place the leaves on a dry paper towel in a cool, dry place.
3. Prepare Your Potting Mix: Fill a small pot or tray with well-draining succulent potting mix.
4. Place the Leaves on the Soil: Lay the calloused leaves on top of the soil. You can gently press them into the soil slightly, but don’t bury them completely.
5. Provide Bright, Indirect Light: Place the pot or tray in a location with bright, indirect light.
6. Mist Lightly: Mist the soil lightly every few days to keep it slightly moist. Avoid overwatering, as this can cause the leaves to rot.
7. Be Patient: Roots and tiny plantlets will start to emerge from the base of the leaves within a few weeks.
8. Pot Up the New Plantlets: Once the plantlets are large enough to handle, you can gently separate them from the mother leaf and pot them up into individual pots.
Step-by-Step Instructions for Snake Plants:
1. Select a Healthy Leaf: Choose a healthy, mature leaf from the snake plant.
2. Cut the Leaf: Using a sterilized knife or scissors, cut the leaf into 2-3 inch sections. Make sure to remember which end was the bottom of the leaf, as this is the end that needs to be planted.
3. Apply Rooting Hormone (Optional): Dip the bottom end of each leaf section into rooting hormone powder or liquid.
4. Callus Over: Allow the cut ends of the leaf sections to callus over for a few days.
5. Prepare Your Potting Mix: Fill a small pot or tray with well-draining potting mix.
6. Plant the Leaf Sections: Insert the bottom end of each leaf section into the soil, about 1 inch deep.
7. Provide Bright, Indirect Light: Place the pot or tray in a location with bright, indirect light.
8. Water Sparingly: Water the soil sparingly, allowing it to dry out completely between waterings.
9. Be Patient: Roots and new plantlets will start to emerge from the base of the leaf sections within a few months. This method takes longer than succulent leaf propagation.
10. Pot Up the New Plantlets: Once the plantlets are large enough to handle, you can gently separate them from the mother leaf and pot them up into individual pots.
Division: Separating Clumps for More Plants
Division is a great way to propagate plants that grow in clumps, such as ZZ plants, snake plants (again!), peace lilies, and many types of herbs.
What You’ll Need:
* Your chosen plant (a mature plant with multiple stems or clumps)
* Sharp, sterilized knife or trowel
* New pots
* Fresh potting mix
Step-by-Step Instructions:
1. Remove the Plant from Its Pot: Gently remove the plant from its pot. If the roots are tightly bound, you may need to loosen them with your fingers or a trowel.
2. Identify Natural Divisions: Look for natural divisions in the root ball. These are areas where the plant is already starting to separate into distinct clumps.
3. Separate the Clumps: Using your sharp, sterilized knife or trowel, carefully separate the clumps. Make sure each division has its own set of roots and stems.
4. Pot Up the Divisions: Plant each division into its own pot with fresh potting mix.
5. Water Thoroughly: Water the newly potted divisions thoroughly.
6. Provide Bright, Indirect Light: Place the pots in a location with bright, indirect light.
7. Care as Usual: Care for the new plants as you would the original plant.
Layering: Rooting Stems While Still Attached
Layering is a technique where you encourage a stem to root while it’s still attached to the mother plant. This is particularly useful for plants with long, flexible stems, such as climbing plants and some shrubs.
What You’ll Need:
* Your chosen plant (with a long, flexible stem)
* Sharp, sterilized knife
Conclusion
So, there you have it! Mastering plant propagation in June isn’t just a gardening skill; it’s unlocking a world of botanical abundance right in your own backyard. This DIY trick, specifically tailored for the peak growing season, offers an unparalleled opportunity to expand your plant collection, share the joy of gardening with friends and family, and even save money by avoiding expensive nursery purchases.
The beauty of this method lies in its simplicity and adaptability. Whether you’re a seasoned gardener or just starting out, the steps are straightforward and easy to follow. And the rewards? They’re immense. Imagine transforming a single plant into a thriving colony, filling your home and garden with lush greenery and vibrant blooms.
But the benefits extend beyond mere aesthetics. Propagating your own plants fosters a deeper connection with nature, allowing you to witness the miracle of life unfold before your eyes. It’s a therapeutic and rewarding experience that can bring a sense of calm and accomplishment to your daily routine.
Don’t be afraid to experiment with different variations of this technique. For example, if you’re propagating succulents, try using a well-draining cactus mix instead of regular potting soil. If you’re propagating herbs, consider using a rooting hormone to speed up the process. And if you’re propagating woody plants, try taking cuttings from different parts of the plant to see which ones root best.
Consider these variations to elevate your propagation game:
* Stem Cuttings in Water: A classic method, especially effective for herbs like mint and basil. Simply place stem cuttings in a glass of water, ensuring the leaves are above the waterline, and wait for roots to develop.
* Leaf Cuttings for Succulents: Succulents are incredibly easy to propagate from leaves. Simply detach a healthy leaf and place it on top of well-draining soil. New roots and plantlets will emerge from the base of the leaf.
* Division for Clumping Plants: Plants like hostas and daylilies can be easily divided at the root ball. Carefully separate the clumps into smaller sections, ensuring each section has healthy roots and foliage.
* Air Layering for Woody Plants: For larger, more established woody plants, air layering is a great option. This involves creating a wound on a branch, wrapping it in moist sphagnum moss, and waiting for roots to develop before severing the branch from the parent plant.
The key to successful plant propagation in June is to provide the right conditions: adequate moisture, warmth, and light. Keep your cuttings or divisions consistently moist, but not waterlogged, and place them in a bright, indirect light location. Avoid direct sunlight, which can scorch the delicate new growth.
We wholeheartedly encourage you to give this DIY trick a try. It’s a fun, rewarding, and sustainable way to expand your plant collection and connect with nature. And don’t forget to share your experiences with us! We’d love to hear about your successes, your challenges, and any tips or tricks you’ve discovered along the way. Share your photos and stories on social media using [Your Hashtag] and let’s create a community of thriving plant propagators! Happy gardening!
Frequently Asked Questions (FAQ)
What types of plants are best for propagation in June?
June is an ideal month for propagating a wide variety of plants due to the warm temperatures and abundant sunlight. Some of the best plants to propagate in June include:
* Herbs: Basil, mint, rosemary, lavender, and sage are all easily propagated from stem cuttings in June.
* Succulents: Echeveria, sedum, and sempervivum are easily propagated from leaf or stem cuttings in June.
* Annuals: Petunias, geraniums, and impatiens can be propagated from stem cuttings in June.
* Perennials: Hostas, daylilies, and phlox can be divided in June.
* Vegetables: Tomatoes, peppers, and cucumbers can be propagated from stem cuttings in June.
However, remember that success can vary depending on your local climate and the specific plant species. Researching the specific needs of the plant you wish to propagate is always a good idea.
How do I choose the right cuttings for propagation?
Selecting healthy and vigorous cuttings is crucial for successful propagation. Look for stems that are free from pests, diseases, and damage. Choose stems that are actively growing and have several leaves or nodes. Avoid taking cuttings from flowering stems, as these tend to be less likely to root. For stem cuttings, aim for lengths of 4-6 inches. For leaf cuttings, choose mature, healthy leaves.
What type of rooting medium should I use?
The ideal rooting medium depends on the type of plant you’re propagating. For most stem cuttings, a well-draining potting mix or a mixture of perlite and vermiculite works well. For succulents, use a cactus mix or a sandy soil. For leaf cuttings, a well-draining potting mix or perlite is recommended. Ensure the rooting medium is moist but not waterlogged.
How much light do my cuttings need?
Cuttings need bright, indirect light to thrive. Avoid direct sunlight, which can scorch the delicate new growth. A north- or east-facing window is ideal. You can also use a grow light to provide supplemental lighting, especially if you live in a region with limited sunlight.
How often should I water my cuttings?
Keep the rooting medium consistently moist, but not waterlogged. Water when the top inch of soil feels dry to the touch. Avoid overwatering, which can lead to root rot. A spray bottle can be helpful for misting the cuttings and maintaining humidity.
How long does it take for cuttings to root?
The time it takes for cuttings to root varies depending on the plant species, the environmental conditions, and the propagation method. Some cuttings may root in as little as a week, while others may take several weeks or even months. Be patient and continue to provide the right conditions. You’ll know the cuttings have rooted when you see new growth emerging from the stem or leaves.
Can I use rooting hormone to speed up the process?
Rooting hormone can help to speed up the rooting process and increase the success rate, especially for difficult-to-root plants. However, it’s not always necessary. Many plants will root readily without it. If you choose to use rooting hormone, follow the instructions on the product label carefully.
What are some common problems I might encounter during propagation?
Some common problems you might encounter during propagation include:
* Root rot: This is caused by overwatering and poor drainage. To prevent root rot, use a well-draining rooting medium and avoid overwatering.
* Fungal diseases: These can be caused by high humidity and poor air circulation. To prevent fungal diseases, provide good air circulation and avoid overcrowding the cuttings.
* Pests: Pests can attack cuttings and damage their growth. Inspect your cuttings regularly for pests and treat them promptly if necessary.
* Failure to root: This can be caused by a variety of factors, including poor cutting selection, improper rooting medium, inadequate light, or insufficient moisture. Review your propagation techniques and make adjustments as needed.
How do I care for my newly rooted plants?
Once your cuttings have rooted, gradually acclimate them to outdoor conditions before transplanting them into their permanent location. Start by placing them in a sheltered spot for a few hours each day, gradually increasing the amount of time they spend outdoors. Water them regularly and fertilize them with a balanced fertilizer.
What if my June plant propagation doesn’t work?
Don’t be discouraged! Plant propagation can be a bit of a trial-and-error process. If your first attempt doesn’t succeed, analyze what might have gone wrong and try again. Experiment with different techniques, rooting mediums, and plant varieties. The more you practice, the better you’ll become at propagating plants. And remember, even experienced gardeners sometimes encounter failures. The key is to learn from your mistakes and keep trying!
Leave a Comment