

Homegrown Green Beans: There’s nothing quite like the satisfying crunch of a freshly picked green bean, still warm from the sun, right? I’m here to tell you that growing your own delicious, crisp green beans at home is easier than you might think! Forget those limp, flavorless beans from the grocery store. We’re diving into the wonderful world of DIY gardening to unlock the secrets to a bountiful harvest, even if you’re a complete beginner.
For centuries, cultivating green beans has been a staple in gardens around the globe, offering a nutritious and versatile food source. From ancient civilizations to modern-day homesteaders, the humble green bean has nourished families and connected us to the earth. But let’s face it, sometimes getting those perfect, plump beans can feel like a challenge. That’s where these simple, yet effective, DIY tricks come in!
Why do you need these hacks? Because everyone deserves to experience the joy of biting into a homegrown green bean bursting with flavor. Plus, growing your own vegetables is not only incredibly rewarding, but it’s also a fantastic way to save money, reduce your carbon footprint, and ensure you’re eating the freshest, healthiest produce possible. So, grab your gardening gloves, and let’s get started on transforming your backyard (or even your balcony!) into a green bean paradise!
Grow Your Own Bounty: A Beginner’s Guide to Growing Green Beans at Home
Hey there, fellow garden enthusiasts! I’m so excited to share my experience and guide you through the wonderful world of growing your own green beans. There’s nothing quite like the taste of fresh, homegrown green beans, and trust me, it’s easier than you think! This guide will walk you through every step, from choosing the right variety to harvesting your delicious crop.
Choosing Your Green Bean Variety
Before we get our hands dirty, let’s talk about the different types of green beans you can grow. This is important because it will influence how you plant and care for them.
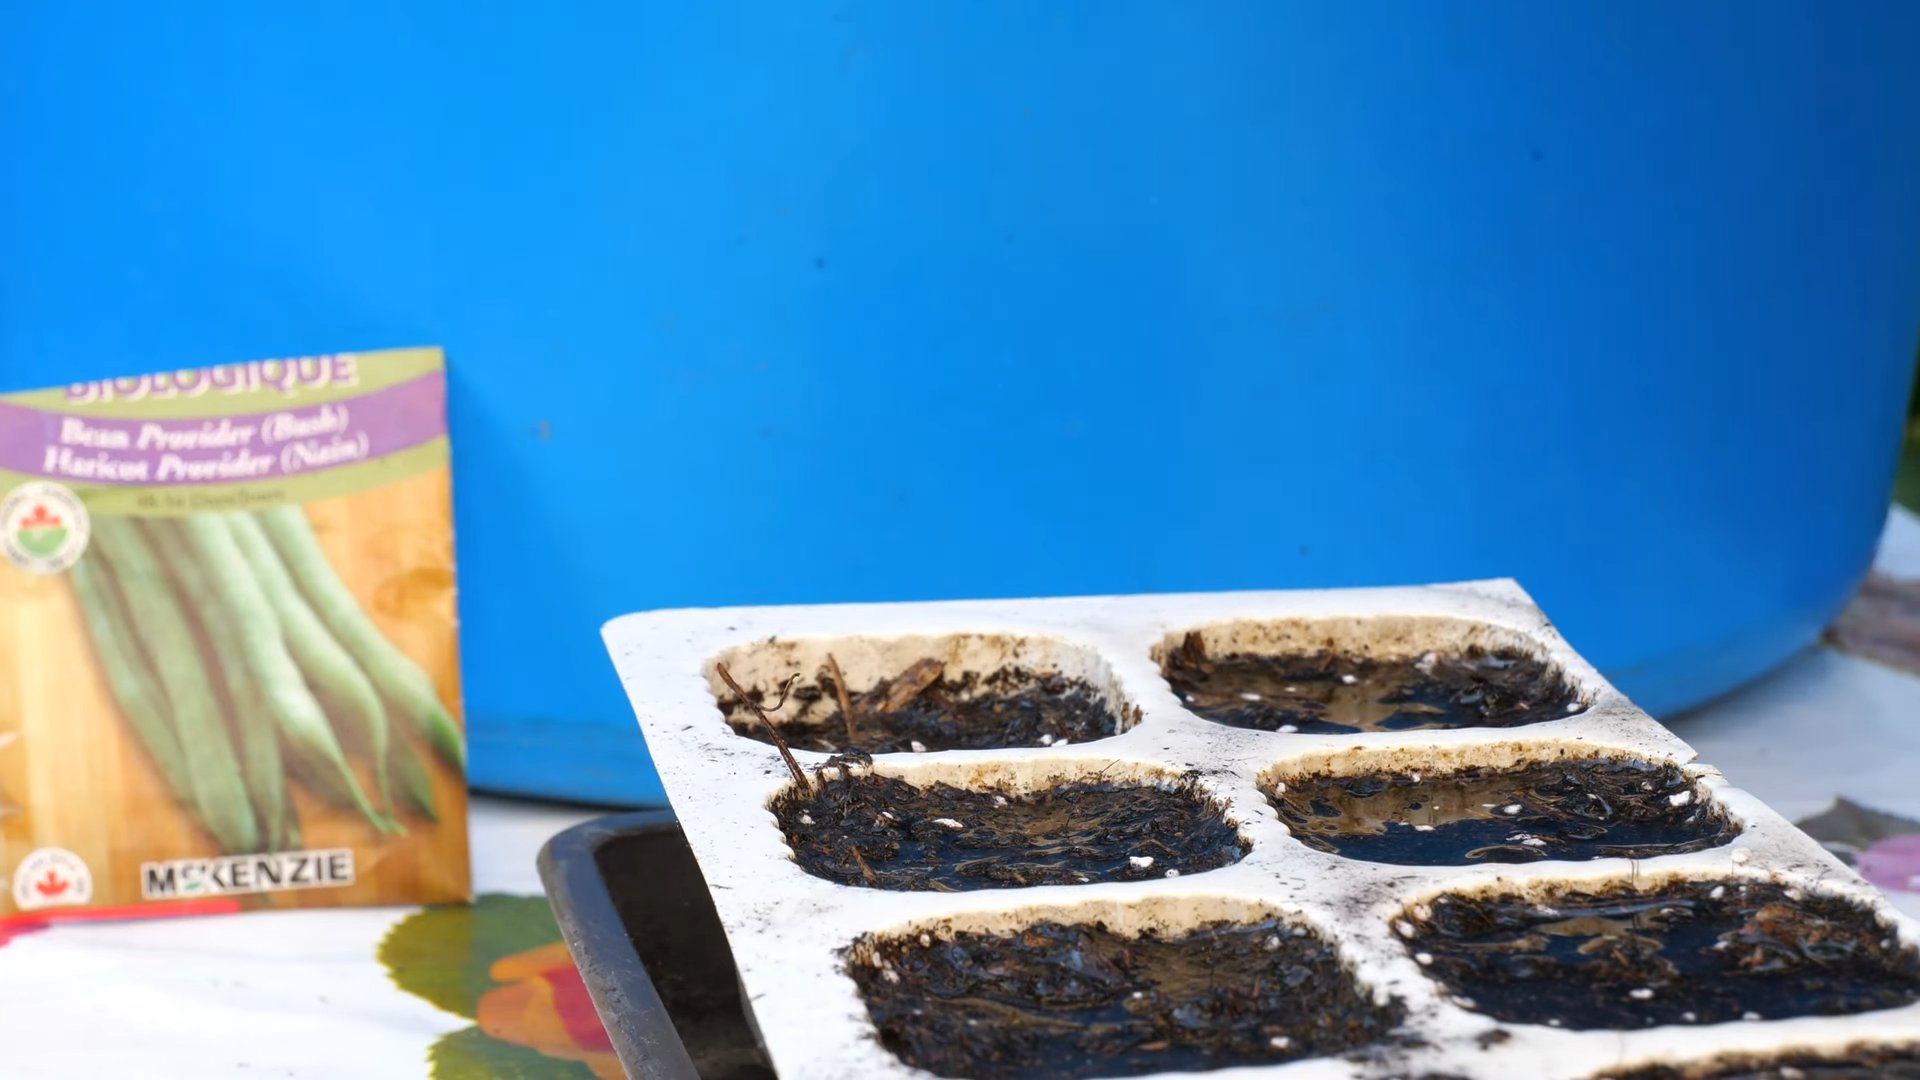
* Bush Beans: These are compact and don’t require staking. They’re perfect for smaller gardens or containers. They produce a large harvest all at once, making them ideal for canning or freezing. Popular varieties include ‘Blue Lake Bush,’ ‘Contender,’ and ‘Provider.’
* Pole Beans: These beans are climbers and need a trellis or other support to grow. They produce a continuous harvest over a longer period. They’re great for adding vertical interest to your garden. Some popular varieties are ‘Kentucky Wonder,’ ‘Blue Lake Pole,’ and ‘Scarlet Runner.’
* Half-Runner Beans: As the name suggests, these are somewhere in between bush and pole beans. They’ll need some support, but not as much as pole beans.
I personally love growing both bush and pole beans. Bush beans are great for a quick harvest, while pole beans keep me supplied with fresh beans for weeks!
Preparing Your Garden Bed
Green beans thrive in well-drained soil with plenty of sunshine. Here’s how to get your garden bed ready:
* Sunlight: Choose a spot that gets at least 6-8 hours of direct sunlight per day.
* Soil: Green beans prefer slightly acidic soil with a pH between 6.0 and 6.8. You can test your soil with a home testing kit or send a sample to your local agricultural extension office.
* Amendments: Amend your soil with compost or well-rotted manure to improve drainage and fertility. This will give your beans a great start. I usually add a generous layer of compost a few weeks before planting.
* Weed Removal: Clear the area of any weeds. Weeds compete with your beans for nutrients and water.
Planting Your Green Beans
Now for the fun part – planting!
1. Timing: Green beans are warm-season crops, so wait until the danger of frost has passed before planting. Soil temperature should be at least 60°F (16°C). I usually plant mine a couple of weeks after the last expected frost.
2. Spacing:
* Bush Beans: Plant seeds 1-2 inches deep and 2-4 inches apart in rows that are 18-24 inches apart.
* Pole Beans: Plant seeds 1-2 inches deep and 4-6 inches apart at the base of your trellis or support.
3. Planting Technique: I like to soak my bean seeds in water for a few hours before planting. This helps them germinate faster. Dig a small hole, drop in the seed, cover it with soil, and gently pat it down.
4. Watering: Water thoroughly after planting. Keep the soil consistently moist, but not waterlogged, until the seedlings emerge.
Building a Trellis for Pole Beans
If you’re growing pole beans, you’ll need a trellis. Here are a few options:
* Bamboo Trellis: You can create a simple trellis using bamboo poles tied together with twine.
* Netting: Attach netting to posts or a fence.
* A-Frame Trellis: Build an A-frame trellis using wooden boards.
I personally love using a bamboo trellis because it’s inexpensive and easy to build.
1. Gather Materials: You’ll need bamboo poles (or other sturdy sticks), twine, and pruning shears.
2. Create the Frame: Arrange the bamboo poles in a teepee shape, spacing them evenly apart.
3. Secure the Top: Tie the tops of the poles together tightly with twine.
4. Add Horizontal Supports: Add horizontal supports by tying shorter pieces of bamboo to the vertical poles. This will give the beans something to climb on.
5. Place the Trellis: Position the trellis near your planted pole bean seeds.
Caring for Your Green Beans
Once your beans are planted, it’s important to provide them with the care they need to thrive.
* Watering: Water regularly, especially during dry periods. Aim for about 1 inch of water per week. Water at the base of the plants to avoid wetting the foliage, which can lead to fungal diseases.
* Fertilizing: Green beans don’t need a lot of fertilizer. In fact, too much nitrogen can actually inhibit bean production. I usually side-dress my beans with a small amount of compost tea or a balanced organic fertilizer a few weeks after they emerge.
* Weeding: Keep the area around your beans free of weeds. Hand-pull weeds carefully to avoid disturbing the bean plants.
* Pest Control: Green beans can be susceptible to pests like aphids, bean beetles, and spider mites. Inspect your plants regularly and take action if you see any signs of infestation.
* Aphids: Spray aphids with a strong stream of water or use insecticidal soap.
* Bean Beetles: Hand-pick bean beetles or use neem oil.
* Spider Mites: Increase humidity around your plants by misting them with water. You can also use insecticidal soap.
* Disease Prevention: To prevent fungal diseases, avoid overhead watering and ensure good air circulation around your plants. If you notice any signs of disease, remove the affected leaves immediately.
Harvesting Your Green Beans
The moment you’ve been waiting for – harvesting!
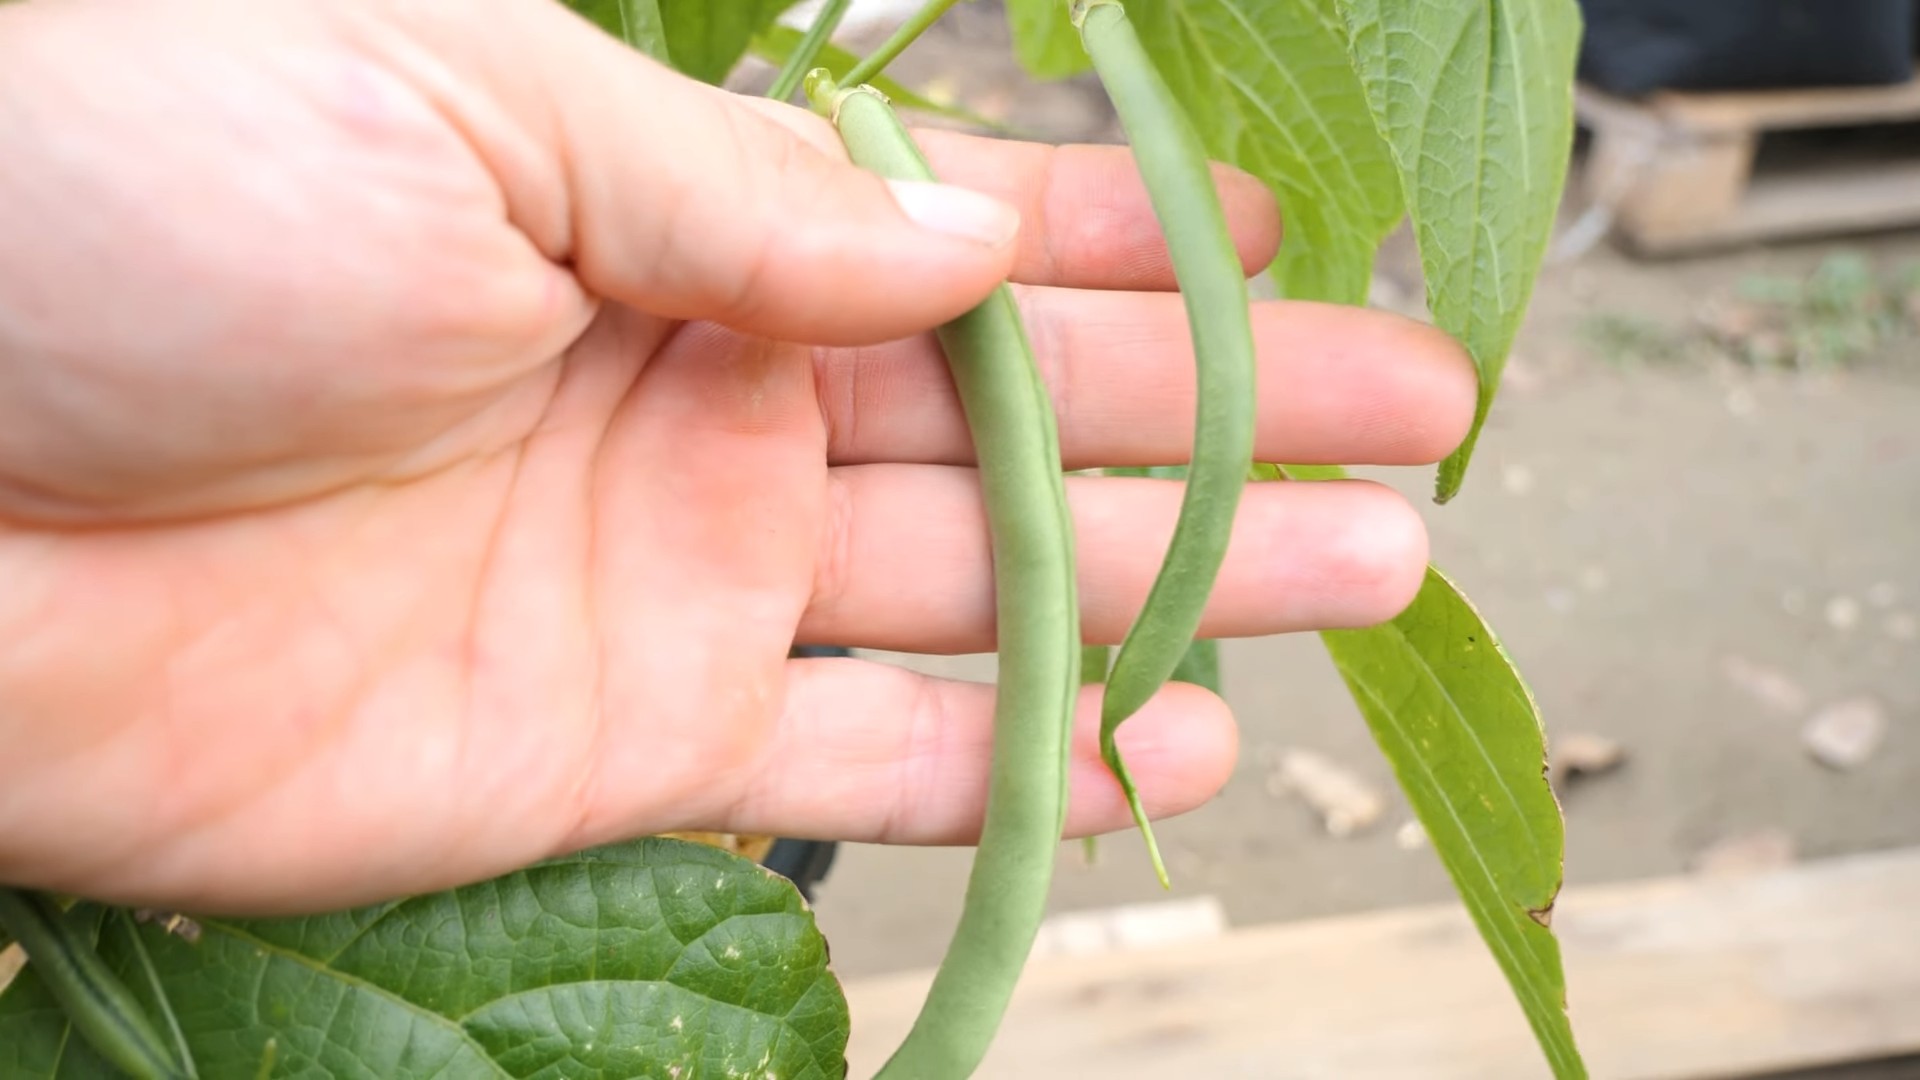
1. Timing: Green beans are typically ready to harvest 50-60 days after planting. The pods should be firm, crisp, and snap easily when bent. Don’t let them get too large and tough.
2. Harvesting Technique: Gently snap the beans off the plant, being careful not to damage the stems. Harvest regularly to encourage continued production.
3. Storage: Freshly harvested green beans can be stored in the refrigerator for up to a week. For longer storage, you can blanch and freeze them.
Troubleshooting Common Problems
Even with the best care, you might encounter some problems while growing green beans. Here are a few common issues and how to address them:
* Poor Germination: If your bean seeds aren’t germinating, it could be due to cold soil, poor soil drainage, or old seeds. Make sure the soil temperature is at least 60°F (16°C) before planting. Use fresh seeds and ensure good soil drainage.
* Yellowing Leaves: Yellowing leaves can be a sign of nutrient deficiency, overwatering, or disease. Check your soil pH and nutrient levels. Ensure proper drainage and avoid overwatering.
* Lack of Bean Production: If your bean plants are growing well but not producing beans, it could be due to hot weather, lack of pollination, or too much nitrogen fertilizer. Green beans prefer temperatures between 65°F and 80°F (18°C and 27°C). Avoid using high-nitrogen fertilizers.
* Pest Infestation: Regularly inspect your plants for pests and take action promptly.
Enjoying Your Homegrown Green Beans
Now that you’ve harvested your delicious green beans, it’s time to enjoy them! There are so many ways to prepare them:
* Steamed: Steaming is a simple and healthy way to cook green beans.
* Sautéed: Sauté green beans with garlic and olive oil for a flavorful side dish.
* Roasted: Roasting green beans brings out their natural sweetness.
* Pickled: Pickled green beans are a tangy and delicious treat.
* In Salads: Add blanched green beans to salads for a crunchy and nutritious boost.
I personally love to sauté my green beans with garlic, olive oil, and a sprinkle of sea salt. They’re also delicious in salads or as a side dish with grilled chicken or fish.
Growing your own green beans is a rewarding experience that will provide you with fresh, delicious produce all season long. With a little bit of planning and care, you can enjoy a bountiful harvest of homegrown green beans. Happy gardening!
Conclusion
So, there you have it! Transforming your homegrown green beans into a culinary masterpiece is easier than you might think. This simple DIY trick, blanching and freezing, unlocks a world of flavor and convenience, allowing you to savor the taste of summer long after the growing season has ended. No more limp, lifeless green beans from the grocery store – only vibrant, crisp, and delicious vegetables ready to elevate any meal.
Why is this a must-try? Because it’s about more than just preserving food; it’s about preserving the essence of your garden, the fruits (or rather, vegetables!) of your labor. It’s about reducing food waste, saving money, and enjoying the unparalleled taste of fresh, homegrown produce year-round. It’s about taking control of what you eat and knowing exactly where your food comes from.
But don’t stop there! Feel free to experiment with variations. Consider adding a squeeze of lemon juice to the blanching water for a brighter flavor. Or, after blanching, toss the green beans with a little olive oil, garlic powder, and your favorite herbs before freezing for a pre-seasoned treat. You could even blanch and freeze other garden vegetables alongside your green beans, creating a medley of frozen goodness ready for soups, stews, or stir-fries. Think about adding some blanched and frozen carrots, peas, or even corn to your freezer stash. The possibilities are endless!
This DIY trick for preserving your homegrown green beans is a game-changer. It’s simple, effective, and rewarding. So, grab your harvest, follow these easy steps, and prepare to be amazed by the difference it makes. We are confident that you will never go back to store-bought frozen green beans again.
We wholeheartedly encourage you to give this a try. Don’t be intimidated – it’s much easier than it sounds! And most importantly, we want to hear about your experience. Share your photos, tips, and variations in the comments below. Let’s build a community of gardeners and food lovers who are passionate about preserving the taste of summer. What are you waiting for? Get blanching and freezing those homegrown green beans today!
Frequently Asked Questions
1. Why do I need to blanch green beans before freezing them?
Blanching is a crucial step in the freezing process for several reasons. Firstly, it deactivates enzymes that cause vegetables to deteriorate in flavor, color, and texture during frozen storage. These enzymes are naturally present in green beans and continue to function even at freezer temperatures, leading to undesirable changes over time. Blanching essentially stops this enzymatic activity, preserving the quality of your green beans. Secondly, blanching helps to clean the surface of the green beans, removing any dirt or debris that may be present. Finally, it helps to set the color and texture of the green beans, ensuring that they retain their vibrant green hue and crispness after thawing. Skipping the blanching step will result in mushy, discolored, and less flavorful green beans.
2. How long should I blanch the green beans?
The ideal blanching time for green beans is typically 2-3 minutes. This timeframe is sufficient to deactivate the enzymes without overcooking the beans. Over-blanching can lead to a loss of nutrients and a mushy texture, while under-blanching may not effectively stop enzymatic activity. Start timing as soon as the green beans are submerged in boiling water. It’s important to maintain a rolling boil throughout the blanching process.
3. What’s the best way to cool the green beans after blanching?
Immediately after blanching, transfer the green beans to an ice bath. This rapid cooling process is essential to stop the cooking process and prevent the beans from becoming overcooked. The ice bath should be prepared with plenty of ice and cold water. Keep the green beans in the ice bath for approximately the same amount of time they were blanched (2-3 minutes). Once cooled, drain the green beans thoroughly and pat them dry with paper towels before freezing. Removing excess moisture will help prevent ice crystals from forming, which can affect the texture of the beans.
4. Can I freeze green beans without blanching them?
While it’s technically possible to freeze green beans without blanching, it’s strongly discouraged. As mentioned earlier, blanching is crucial for preserving the quality of the beans during frozen storage. Unblanched green beans will likely develop a mushy texture, lose their vibrant color, and develop off-flavors over time. The enzymatic activity will continue, leading to deterioration even at freezer temperatures. For the best results and long-term storage, always blanch your green beans before freezing.
5. How long can I store frozen green beans?
Properly blanched and frozen green beans can be stored in the freezer for up to 8-12 months without significant loss of quality. To maximize their shelf life, store them in airtight freezer bags or containers. Be sure to remove as much air as possible from the bags before sealing them to prevent freezer burn. Label the bags with the date of freezing so you can easily keep track of how long they’ve been stored.
6. What’s the best way to thaw frozen green beans?
There are several ways to thaw frozen green beans, depending on how you plan to use them. For most recipes, you can add the frozen green beans directly to the dish without thawing. This works well for soups, stews, and stir-fries. If you prefer to thaw them beforehand, you can place them in the refrigerator overnight or run them under cold water for a few minutes. Avoid thawing them at room temperature, as this can encourage bacterial growth.
7. Can I use frozen green beans in any recipe that calls for fresh green beans?
In most cases, yes, you can substitute frozen green beans for fresh green beans in recipes. However, keep in mind that frozen green beans may have a slightly softer texture than fresh green beans. Adjust the cooking time accordingly to avoid overcooking them. Frozen green beans are particularly well-suited for recipes where they are cooked thoroughly, such as soups, stews, casseroles, and stir-fries.
8. What if my homegrown green beans are different varieties? Does that affect the blanching time?
While the general blanching time of 2-3 minutes applies to most green bean varieties, it’s always a good idea to observe the beans closely. Thicker, more mature beans might benefit from a slightly longer blanching time, while thinner, more delicate beans might require a shorter time. The key is to blanch them until they are bright green and slightly tender-crisp. If you have a mix of varieties, consider blanching them in separate batches to ensure they are all cooked to perfection.
9. Can I add salt to the blanching water?
Adding salt to the blanching water is optional, but it can help to enhance the flavor of the green beans. A general guideline is to add about 1 tablespoon of salt per gallon of water. The salt will help to season the beans from the inside out and can also help to preserve their color.
10. What if I don’t have an ice bath? Can I use something else to cool the green beans?
While an ice bath is the most effective way to rapidly cool the green beans, you can use other methods if you don’t have enough ice. You can run the blanched green beans under very cold running water until they are completely cooled. Make sure the water is as cold as possible to stop the cooking process quickly. You can also place the blanched green beans in a colander and set it over a bowl of ice water. The key is to cool them down as quickly as possible to prevent overcooking.
Leave a Comment