

Home Hacks for Daily Tasks: Ever feel like you’re constantly battling the clock, wishing you had a magic wand to make everyday chores disappear? I know I do! We’re all searching for ways to streamline our lives, and that’s where clever home hacks come in. For centuries, people have been developing ingenious shortcuts to simplify their routines, from ancient civilizations using natural remedies to modern-day tech innovations. These aren’t just about saving time; they’re about reclaiming your energy and enjoying your space more fully.
Think about it: how much time do you spend searching for lost keys, struggling with stubborn zippers, or battling a perpetually messy fridge? These small frustrations add up, impacting your mood and productivity. That’s why I’m so excited to share these easy and effective home hacks for daily tasks. They’re designed to tackle those everyday annoyances head-on, transforming your home into a more efficient and enjoyable space. Get ready to discover simple solutions that will make a big difference in your daily life!
DIY Home Hacks to Simplify Your Life
Hey everyone! I’m always on the lookout for clever ways to make life a little easier around the house. I’ve compiled some of my favorite DIY home hacks that have seriously streamlined my daily routines. These are all relatively simple, inexpensive, and, most importantly, effective! Let’s dive in!
Decluttering and Organizing Like a Pro
One of the biggest sources of stress for me is clutter. These hacks have helped me keep things tidy and organized without spending a fortune on fancy storage solutions.
Hack 1: DIY Drawer Dividers from Cereal Boxes
Tired of your drawers being a jumbled mess? This is a super cheap and easy way to create custom dividers!
Materials You’ll Need:
* Empty cereal boxes (or any sturdy cardboard boxes)
* Ruler
* Pencil
* Scissors or a craft knife
* Packing tape or hot glue gun
* Decorative paper or fabric (optional)
Step-by-Step Instructions:
1. Measure Your Drawer: The first step is crucial! Carefully measure the inside dimensions of your drawer – length, width, and height. Write these measurements down; you’ll need them to determine the size of your dividers.
2. Plan Your Dividers: Decide how you want to divide your drawer. Think about the items you’ll be storing and how many compartments you need. Sketch a quick diagram on a piece of paper to visualize the layout.
3. Cut the Cardboard: Using your measurements and diagram, cut the cereal boxes into strips of cardboard. The height of the strips should be slightly shorter than the height of your drawer to allow for easy insertion and removal. Remember to use a ruler and pencil to draw straight lines before cutting. A craft knife and cutting mat will give you the cleanest cuts, but scissors work too!
4. Assemble the Dividers: Now it’s time to assemble the dividers. Use packing tape or a hot glue gun to connect the cardboard strips, forming the compartments you planned in step 2. Make sure the joints are secure and sturdy. If you’re using hot glue, be careful not to burn yourself!
5. Reinforce the Edges: For added durability, reinforce the edges of the dividers with packing tape. This will prevent them from bending or tearing over time.
6. Decorate (Optional): If you want to make your dividers look a little nicer, you can cover them with decorative paper or fabric. Use Mod Podge or spray adhesive to attach the paper or fabric to the cardboard. Trim any excess material for a clean finish.
7. Place in Drawer: Once the glue is dry (if you used any), carefully place the dividers into your drawer. Arrange them according to your plan and start organizing your items!
Hack 2: Hanging Shoe Organizer for Pantry Storage
This is one of my favorite hacks because it’s so versatile! A hanging shoe organizer isn’t just for shoes; it’s perfect for storing snacks, cleaning supplies, toiletries, and more.
Materials You’ll Need:
* Over-the-door hanging shoe organizer
* Door or hook to hang it on
Step-by-Step Instructions:
1. Choose Your Location: Decide where you want to hang the shoe organizer. A pantry door, closet door, or even a hook on the wall will work.
2. Hang the Organizer: Simply hang the organizer over the door or hook. Make sure it’s securely attached.
3. Fill the Pockets: Start filling the pockets with your desired items. Group similar items together for easy access. For example, you could dedicate one row to snacks, another to cleaning supplies, and so on. I like to use clear plastic containers inside the pockets for smaller items like tea bags or spice packets.
Cleaning Hacks for a Sparkling Home
Cleaning doesn’t have to be a chore! These hacks make cleaning faster, easier, and even a little bit fun.
Hack 3: DIY All-Purpose Cleaner
Store-bought cleaners can be expensive and full of harsh chemicals. This DIY all-purpose cleaner is effective, eco-friendly, and smells amazing!
Materials You’ll Need:
* Spray bottle
* 1 cup white vinegar
* 1 cup water
* 10-20 drops essential oil (lemon, lavender, tea tree, or eucalyptus are great choices)
Step-by-Step Instructions:
1. Combine Ingredients: Pour the white vinegar and water into the spray bottle.
2. Add Essential Oils: Add your chosen essential oils. The essential oils not only add a pleasant scent but also have antibacterial and antiviral properties.
3. Shake Well: Shake the bottle well to combine all the ingredients.
4. Use and Enjoy: Spray the cleaner onto surfaces and wipe clean with a cloth. This cleaner is safe to use on most surfaces, but it’s always a good idea to test it on a small, inconspicuous area first.
Hack 4: Cleaning Microwave with Lemon
Microwaves can get pretty gross, pretty quickly. This hack uses the power of steam and lemon to loosen grime and make cleaning a breeze.
Materials You’ll Need:
* Microwave-safe bowl
* 1 cup water
* 1 lemon, cut in half
Step-by-Step Instructions:
1. Prepare the Lemon Water: Fill the microwave-safe bowl with water. Squeeze the juice from the lemon halves into the water and then drop the lemon halves into the bowl.
2. Microwave: Place the bowl in the microwave and heat on high for 3-5 minutes, or until the water boils and the microwave is filled with steam.
3. Let it Sit: Leave the door closed for another 5-10 minutes to allow the steam to loosen the grime.
4. Wipe Clean: Carefully remove the bowl (it will be hot!). Use a cloth or sponge to wipe down the inside of the microwave. The grime should come off easily.
Kitchen Hacks for Culinary Convenience
These kitchen hacks will save you time and effort in the kitchen, making cooking and meal prep a little less daunting.
Hack 5: Keep Herbs Fresh Longer
Fresh herbs can wilt quickly, but this hack will keep them fresh for up to two weeks!
Materials You’ll Need:
* Fresh herbs
* Glass jar or container
* Water
* Plastic bag (optional)
Step-by-Step Instructions:
1. Trim the Stems: Trim the ends of the herb stems.
2. Place in Water: Fill the glass jar or container with a few inches of water. Place the herbs in the jar, making sure the stems are submerged in the water.
3. Cover (Optional): Loosely cover the herbs with a plastic bag. This will help to retain moisture.
4. Refrigerate: Store the herbs in the refrigerator. Change the water every 1-2 days.
Hack 6: Prevent Avocado Browning
Avocados are delicious, but they brown quickly once cut. This hack will keep your avocado green and fresh for longer.
Materials You’ll Need:
* Cut avocado
* Lemon juice or olive oil
* Airtight container or plastic wrap
Step-by-Step Instructions:
1. Apply Lemon Juice or Olive Oil: Brush the cut surface of the avocado with lemon juice or olive oil. The acid in the lemon juice and the oil in the olive oil will help to prevent oxidation.
2. Store Properly: Place the avocado in an airtight container or wrap it tightly in plastic wrap. Make sure the plastic wrap is pressed directly against the cut surface of the avocado to minimize air exposure.
3. Refrigerate: Store the avocado in the refrigerator.
Bathroom Hacks for a Spa-Like Experience
Transform your bathroom into a relaxing oasis with these simple hacks.
Hack 7: DIY Shower Cleaner
Soap scum and mildew can be a pain to remove. This DIY shower cleaner is effective and easy to make.
Materials You’ll Need:
* Spray bottle
* 1 cup white vinegar
* 1 cup dish soap
Step-by-Step Instructions:
1. Heat the Vinegar: Heat the white vinegar in the microwave for about 1-2 minutes, or until it’s warm but not boiling.
2. Combine Ingredients: Pour the warm vinegar into the spray bottle. Add the dish soap.
3. Gently Mix: Gently swirl the bottle to combine the ingredients. Avoid shaking vigorously, as this can create excessive suds.
4. Spray and Let Sit: Spray the cleaner onto the shower walls, floor, and fixtures. Let it sit for 30 minutes to an hour.
5. Rinse and Wipe: Rinse the shower with water and wipe clean with a sponge or cloth.
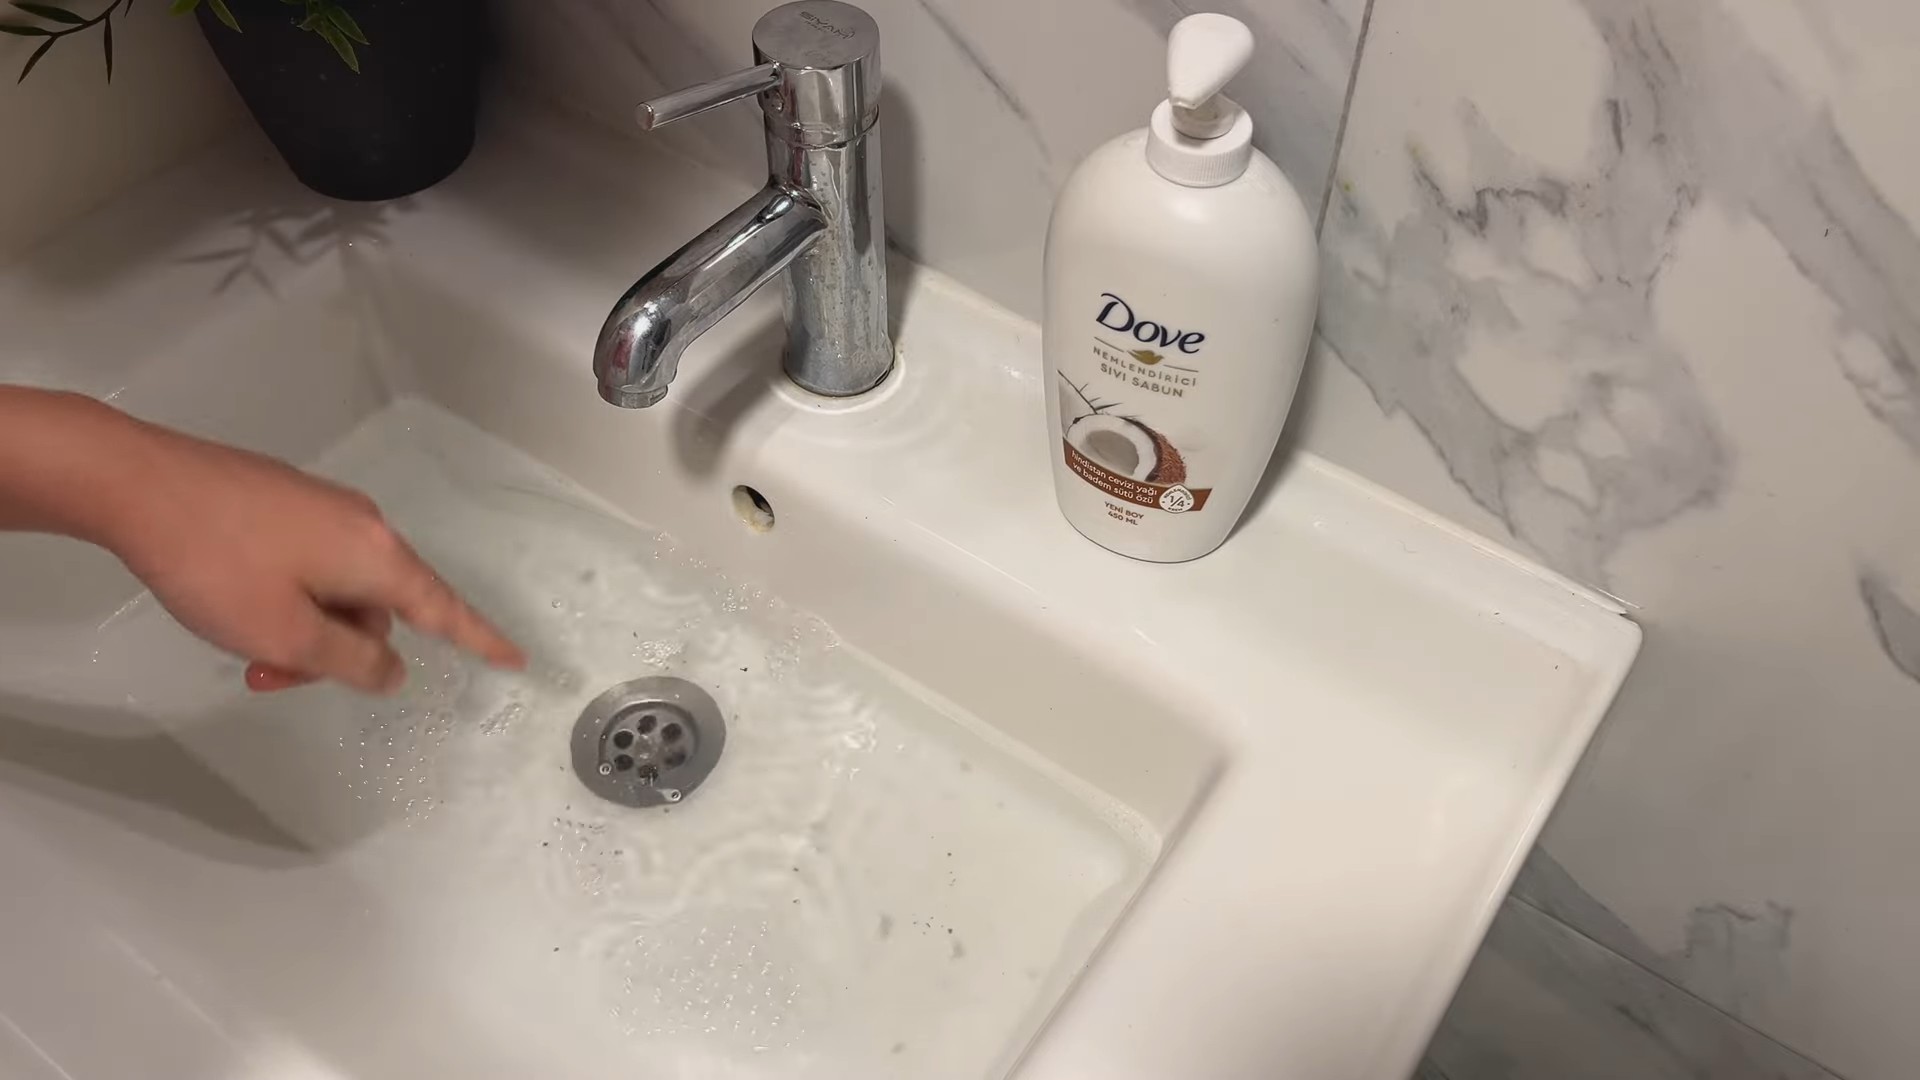
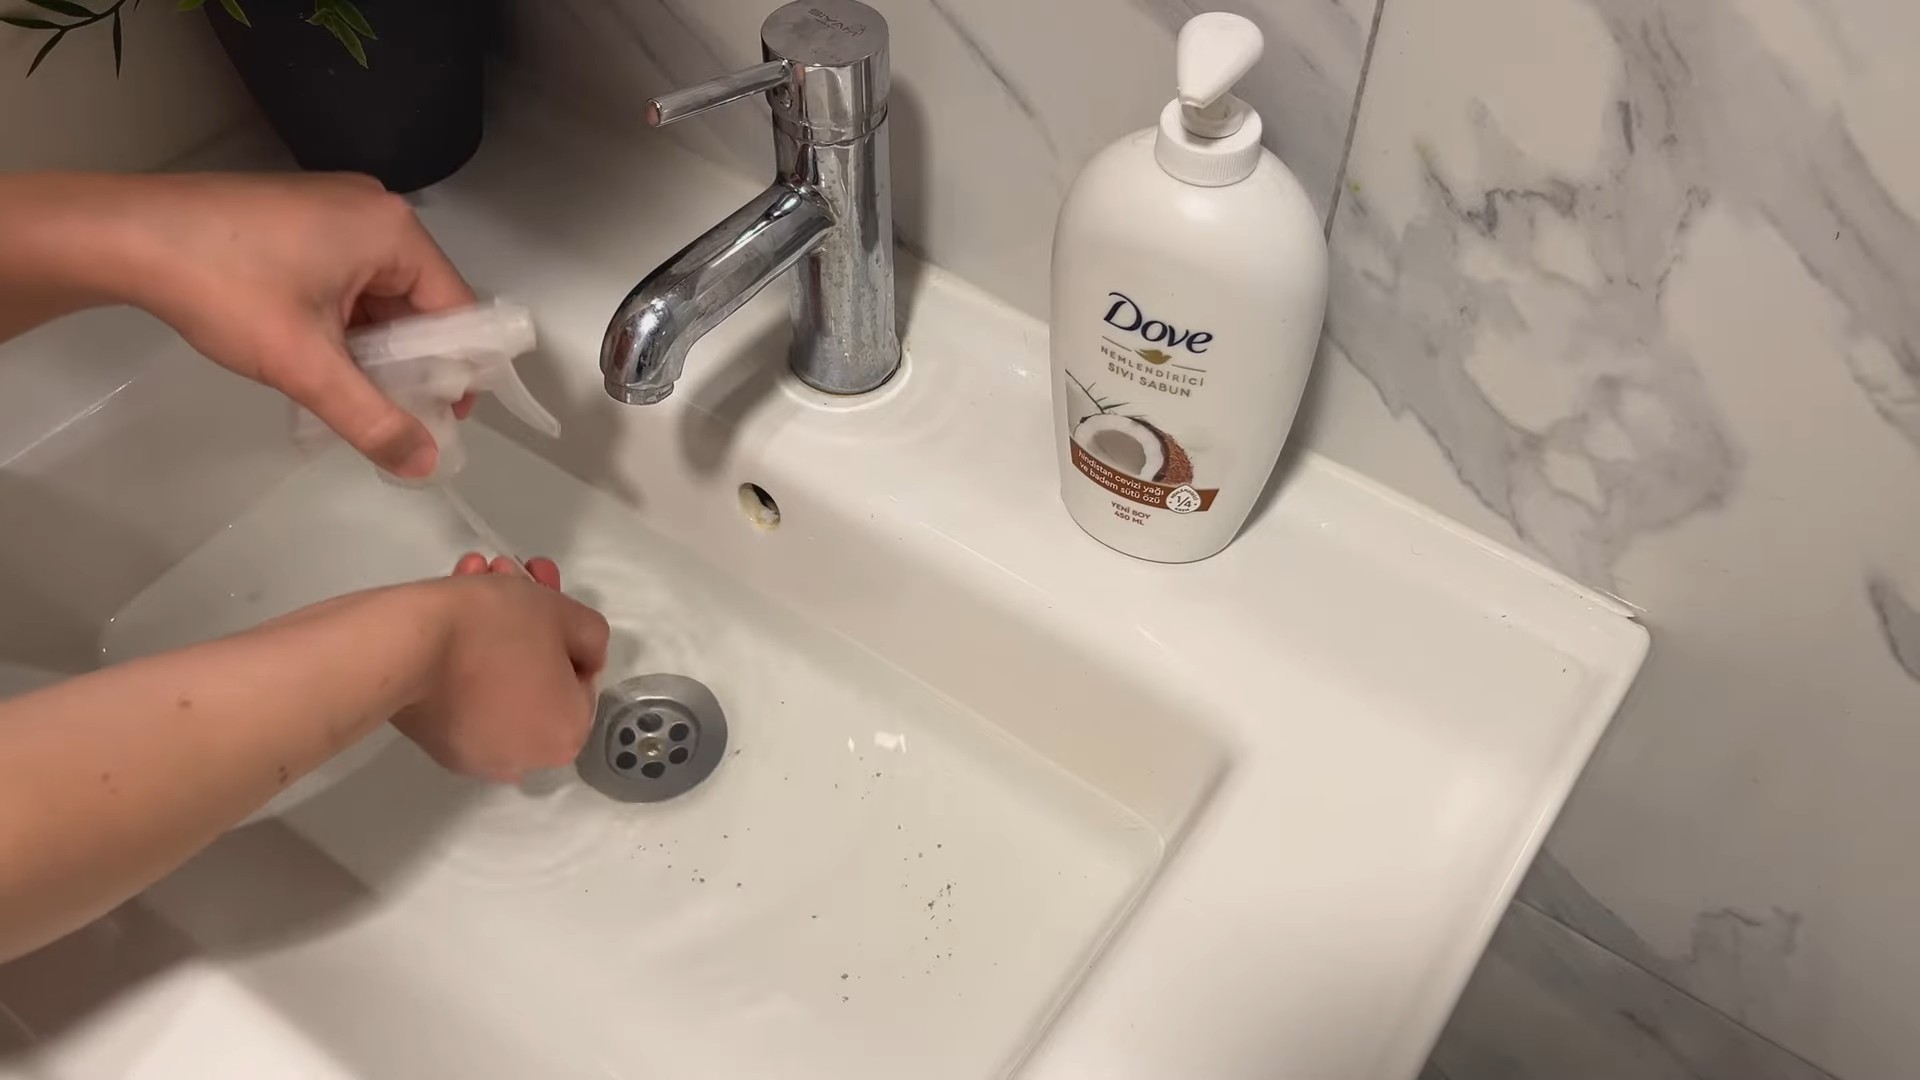
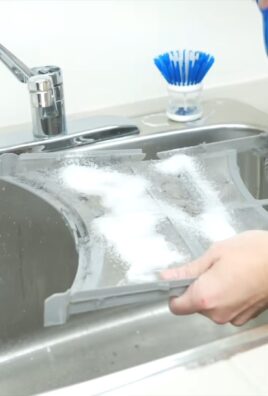
Hack 8: Unclog a Showerhead
Conclusion
So, there you have it! These simple yet effective home hacks for daily tasks are more than just clever tricks; they’re a pathway to a more efficient, enjoyable, and less stressful life. We’ve explored how to transform everyday challenges into opportunities for innovation and resourcefulness. From decluttering your space with repurposed containers to creating your own natural cleaning solutions, each hack is designed to save you time, money, and effort.
But why is this DIY approach a must-try? Because it empowers you to take control of your environment and customize solutions to perfectly fit your needs. Store-bought products often come with hidden costs – both financial and environmental. By embracing these home hacks, you’re not only saving money but also reducing your reliance on harsh chemicals and contributing to a more sustainable lifestyle. Plus, there’s a certain satisfaction that comes from creating something yourself, knowing that you’ve put your personal touch on it.
Consider these variations to further personalize your experience. For example, when creating your own all-purpose cleaner, experiment with different essential oil combinations to find a scent that you love. Lavender, lemon, and tea tree oil are all excellent choices, each offering unique benefits beyond just fragrance. If you’re repurposing containers for storage, get creative with labeling and decorating them to match your home décor. Think beyond the basics and explore how you can adapt these hacks to address specific challenges in your own home.
Don’t be afraid to experiment and adapt these techniques to suit your individual needs and preferences. The beauty of DIY lies in its flexibility and potential for customization. Maybe you discover a new and improved way to tackle a common household chore, or perhaps you find a unique application for one of these hacks that we haven’t even considered.
We wholeheartedly encourage you to try these home hacks for daily tasks and discover the transformative power of DIY. Start with one or two that resonate with you the most, and gradually incorporate others into your routine. You might be surprised at how quickly these small changes can add up to a significant improvement in your overall quality of life.
But the journey doesn’t end here! We want to hear about your experiences. Did these hacks work for you? Did you discover any variations or improvements? Share your stories, tips, and insights in the comments below. Let’s create a community of DIY enthusiasts who are passionate about making life easier, more sustainable, and more enjoyable. Your feedback is invaluable, and it will help us continue to refine and expand our collection of home hacks. Together, we can unlock the full potential of DIY and transform our homes into havens of efficiency and creativity. So go ahead, give these hacks a try, and let us know what you think! Embrace the power of DIY and experience the difference it can make in your daily life.
Frequently Asked Questions (FAQs)
What if I don’t have all the ingredients for a specific DIY cleaner?
Don’t worry! The beauty of DIY is its flexibility. Many cleaning recipes can be adapted based on what you have on hand. For example, if you don’t have vinegar, you can often substitute lemon juice. If you’re missing a specific essential oil, you can either omit it or try a different one with similar properties. The key is to understand the purpose of each ingredient and find a suitable alternative. For instance, vinegar is a great disinfectant, while baking soda is a mild abrasive. Experiment and see what works best for you. Just be sure to research any potential interactions between ingredients before mixing them.
Are these DIY cleaning solutions safe for all surfaces?
Not necessarily. It’s always a good idea to test any new cleaning solution on a small, inconspicuous area first, especially on delicate surfaces like wood, marble, or granite. Some ingredients, like vinegar, can be acidic and may damage certain materials. Avoid using abrasive cleaners on surfaces that scratch easily. When in doubt, consult the manufacturer’s instructions for your specific surfaces. For example, you might want to avoid using vinegar on natural stone countertops, as it can etch the surface.
How long do homemade cleaning solutions last?
The shelf life of homemade cleaning solutions can vary depending on the ingredients. Solutions containing water are more prone to bacterial growth and should be used within a few weeks. Solutions with a high concentration of vinegar or alcohol tend to last longer. It’s always a good idea to label your solutions with the date you made them. If you notice any changes in color, odor, or consistency, it’s best to discard the solution and make a fresh batch. Storing your solutions in a cool, dark place can also help extend their shelf life.
Can I use these hacks if I have allergies or sensitivities?
If you have allergies or sensitivities, it’s crucial to be extra cautious when trying new DIY hacks. Always read the ingredient list carefully and avoid using anything that you know you’re allergic to. When working with essential oils, start with a very small amount and test it on a small area of skin before using it more widely. If you experience any irritation or allergic reaction, discontinue use immediately. You may also want to consult with your doctor or an allergist before trying new DIY recipes. Consider wearing gloves and a mask when handling potentially irritating ingredients.
How can I make these hacks more eco-friendly?
There are many ways to make these hacks even more eco-friendly. Start by using reusable containers for storage and cleaning. Avoid using disposable paper towels and opt for reusable cloths instead. When purchasing ingredients, choose organic and sustainably sourced options whenever possible. Consider composting food scraps and other organic waste to reduce your environmental impact. You can also look for ways to reduce your overall consumption and waste by buying less and repurposing more. Every small step you take can make a big difference in protecting the environment.
What are some other creative ways to repurpose items around the house?
The possibilities for repurposing items around the house are endless! Old t-shirts can be cut up and used as cleaning rags. Glass jars can be used for storing food or organizing small items. Empty toilet paper rolls can be used to organize cords or start seedlings. Old newspapers can be used for packing or wrapping gifts. Broken dishes can be used to create mosaics. Get creative and think outside the box! Look at everyday items with a fresh perspective and see how you can give them a new life.
Where can I find more information about DIY home hacks?
There are many resources available online and in libraries that can provide you with more information about DIY home hacks. Search for blogs, websites, and social media accounts that focus on DIY, sustainable living, and home organization. Look for books and articles that offer detailed instructions and tips for specific projects. You can also join online communities and forums where you can connect with other DIY enthusiasts and share your experiences. Don’t be afraid to experiment and learn from your mistakes. The more you explore, the more confident you’ll become in your DIY abilities.
Leave a Comment