

Harvest More Watermelons: Dreaming of juicy, homegrown watermelons bursting with flavor? I know I am! There’s nothing quite like the satisfaction of biting into a watermelon you’ve nurtured from a tiny seed. But let’s be honest, sometimes getting those watermelons to actually *grow* and thrive can feel like a real challenge.
For centuries, watermelon cultivation has been a cherished practice, dating back to ancient Africa. Egyptians even depicted watermelons in their art, showcasing their importance as a source of sustenance and refreshment. Today, we still crave that sweet, hydrating taste, but modern gardening can present its own set of hurdles.
That’s where these DIY tricks and hacks come in! Are you tired of small, bland watermelons, or worse, plants that just don’t produce? I’ve compiled a collection of simple, yet effective techniques that will help you harvest more watermelons than ever before. From soil preparation secrets to pollination power-ups, these tips are designed to boost your watermelon yield and ensure a bountiful harvest. So, grab your gardening gloves, and let’s unlock the secrets to watermelon success!
Harvest More Watermelons: Your DIY Guide for a Bountiful Harvest
Hello dear garden friends! Who doesn’t dream of a lush watermelon harvest? I’ll show you how you can significantly increase your yield with a few simple tips and tricks. Don’t worry, it’s easier than you think! Let’s get started and get your watermelons growing!
The Basics for a Successful Watermelon Harvest
Before we get to the actual tricks, it’s important to understand the basics for a successful watermelon harvest. Watermelons are little divas that love specific conditions.
- Sun, Sun, Sun: Watermelons need at least 6-8 hours of direct sunlight per day. So, choose a sunny spot in your garden.
- Warm Soil: Watermelons love warmth. The soil should be at least 18°C (65°F) before you plant them. So, it’s better to wait a little longer until the temperatures are really stable.
- Well-Draining Soil: Waterlogging is the enemy of the watermelon. Make sure the soil is well-draining and excess water can run off.
- Nutrient-Rich Soil: Watermelons are heavy feeders. Prepare the soil with compost or well-rotted manure before planting.
- Sufficient Space: Watermelon plants need a lot of space to spread out. Plan for enough distance between the plants.
Trick 1: The Right Soil Preparation
Good soil is the key to a bountiful harvest. I swear by the following method:
- Conduct a Soil Test: Before you start, you should conduct a soil test to determine the pH and nutrient content of your soil. Watermelons prefer a pH between 6.0 and 6.8.
- Soil Improvement: If your soil is too acidic, you can amend it with lime. If it is too alkaline, you can acidify it with sulfur.
- Incorporate Compost: Generously work compost or well-rotted manure into the soil. This improves the soil structure, water retention, and nutrient content.
- Add Slow-Release Fertilizer: I also like to add a slow-release fertilizer that supplies the plants with nutrients throughout the season. Be sure to choose a fertilizer that is rich in phosphorus and potassium.
- Create a Mound: I like to plant my watermelons on mounds. This improves drainage and warms the soil faster.
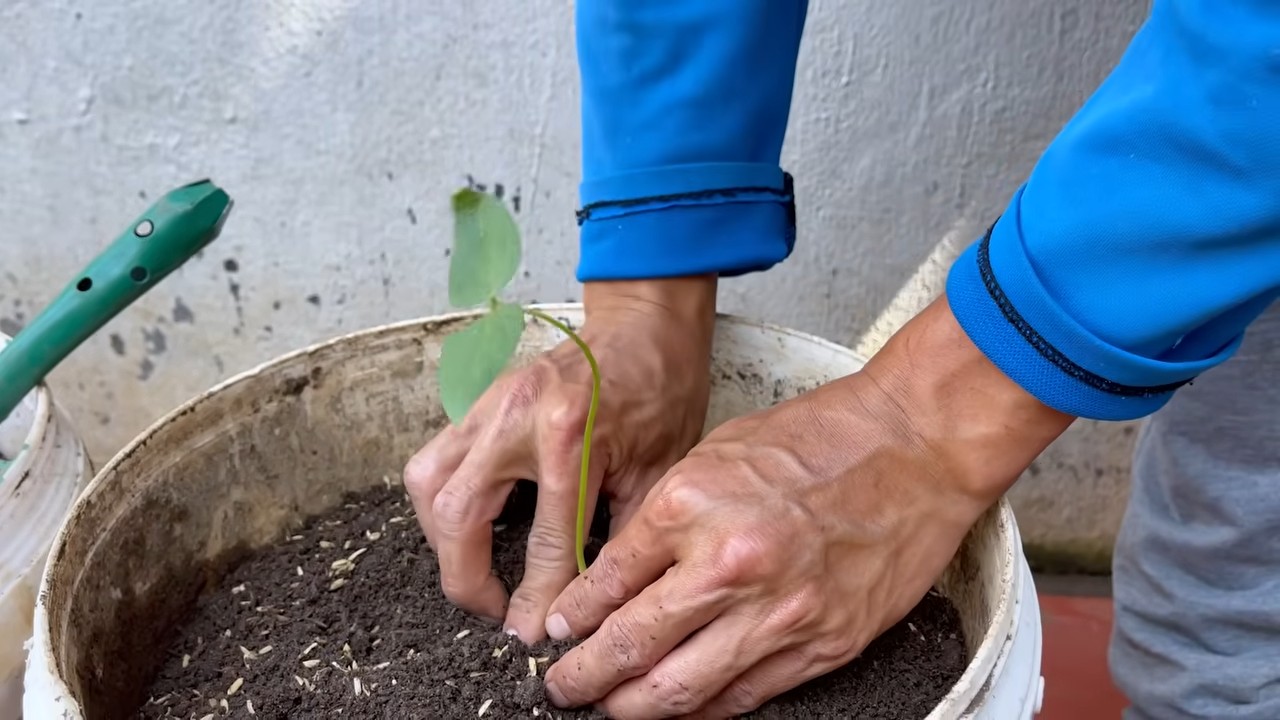
Trick 2: The Right Sowing and Planting
You can either sow watermelons directly outdoors or start them indoors. I prefer starting them indoors as it gives the plants a head start.
- Sowing Indoors: Start sowing indoors about 4-6 weeks before the last frost. Use seed pots and seed-starting mix.
- Sow Seeds: Place the seeds about 2 cm (1 inch) deep in the soil and keep the soil moist.
- Keep Warm and Bright: Place the seed pots in a warm and bright location. A heating mat can help speed up germination.
- Pricking Out: Once the seedlings have their first true leaves, you can prick them out into larger pots.
- Hardening Off: Before planting the plants outdoors, you should harden them off. To do this, place them outdoors for a few hours during the day and bring them back in at night.
- Planting Outdoors: Plant the watermelons outdoors only when there is no more danger of frost and the soil is warm. Ensure a distance of at least 1 meter (3 feet) between the plants.
- Mulching: Mulch the soil around the plants with straw or wood chips. This keeps the soil moist, suppresses weeds, and warms the soil.
Trick 3: The Right Watering and Fertilizing
Watermelons need a lot of water, especially during fruit development.
- Water Regularly: Water the plants regularly, especially in dry weather. Make sure the soil is always moist, but not wet.
- Water Deeply: Water deeply so that the water reaches the roots. Avoid wetting the leaves, as this can promote fungal diseases.
- Fertilizing During the Season: Fertilize the plants regularly during the season with a liquid fertilizer that is rich in potassium. Potassium promotes fruit development.
- Foliar Feeding: I also like to spray my watermelons with a foliar fertilizer that contains trace elements. This helps to prevent deficiency symptoms.
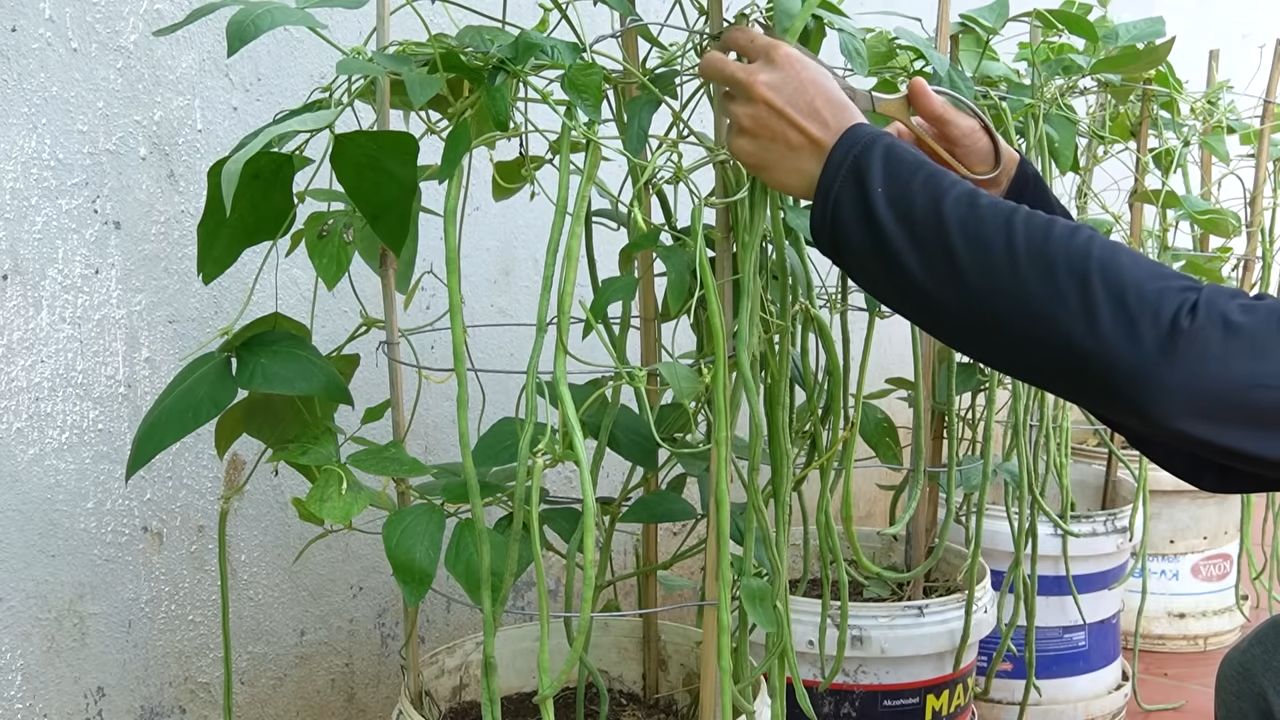
Trick 4: Pruning for More Yield
Pruning watermelons can significantly increase the yield. It may seem counterintuitive, but it works!
- Select the Main Vine: Choose the strongest main vine and remove all other side shoots.
- Shorten Side Shoots: Once the main vine is about 1 meter (3 feet) long, you can shorten the side shoots to 2-3 leaves.
- Promote Fruit Set: Allow only 1-2 fruits to grow on each side shoot. Remove all other fruit sets.
- Remove Leaves: Remove yellow or damaged leaves to improve air circulation and prevent diseases.
Trick 5: Assisting Pollination
Watermelons rely on pollination by bees and other insects.
- Bee-Friendly Plants: Plant bee-friendly plants near your watermelons to attract pollinators.
- Hand Pollination: If you have few bees in your garden, you can also pollinate the flowers by hand. To do this, use a brush to transfer pollen from the male flowers to the female flowers. You can recognize female flowers by the small fruit set directly below the blossom.
- Protection from Insecticides: Avoid using insecticides, as they can harm pollinators.
Trick 6: Protection from Pests and Diseases
Watermelons can be affected by various pests and diseases.
- Regular Inspection: Check your plants regularly for pests and diseases.
- Combat Aphids: Aphids can be controlled with a jet of water or with soapy water.
- Combat Squash Vine Borers: Squash vine borers lay their eggs in the stems of the plants. Remove infested stems and use yellow sticky traps to catch the flies.
- Prevent Fungal Diseases: Fungal diseases like powdery mildew can be prevented by good air circulation and avoiding waterlogging. You can use a fungicide if necessary.
Trick 7: The Right Harvest Time
The right time to harvest is crucial for the taste of the watermelon.
- Dry Tendril: The tendril closest to the watermelon’s stem should be dry and brown.
- Yellow Spot: The spot on the underside of the watermelon that was on the ground should be yellow.
- Hollow Sound: Tap the watermelon. If it sounds hollow, it’s ripe.
- Pressure Test: Press lightly on the rind. If it gives slightly, the watermelon is ripe.
Conclusion
So, there you have it! This simple yet incredibly effective DIY trick to harvest more watermelons is a game-changer for any gardener, whether you’re a seasoned pro or just starting out. We’ve shown you how easy it is to implement, the science behind why it works, and the potential rewards – a significantly larger and more abundant watermelon harvest.
But why is this a must-try? Because it empowers you to take control of your garden’s productivity. Instead of passively waiting and hoping for the best, you’re actively intervening to optimize your plants’ growth and fruit production. This method isn’t just about getting more watermelons; it’s about understanding your plants better and fostering a thriving garden ecosystem.
Think about the satisfaction of biting into a juicy, perfectly ripe watermelon that you nurtured and helped flourish using this technique. Imagine sharing that bounty with friends and family, knowing you played a direct role in bringing that deliciousness to their table. That’s the power of this DIY trick.
And the best part? It’s adaptable! Feel free to experiment with variations to suit your specific growing conditions and preferences. For example:
* Different Fertilizers: While we recommended a balanced fertilizer, you can tailor the nutrient mix based on your soil test results. A fertilizer slightly higher in phosphorus might encourage even more flower production.
* Companion Planting: Consider planting companion plants like marigolds or basil near your watermelons to deter pests naturally and further enhance their growth.
* Watering Techniques: Adjust your watering schedule based on the weather and your soil type. Water deeply but infrequently to encourage strong root growth.
* Pollination Assistance: If you’re experiencing pollination issues, consider hand-pollinating your watermelon flowers, especially in the early morning hours.
Don’t be afraid to get creative and personalize this technique to fit your unique gardening style. The key is to observe your plants closely, pay attention to their needs, and adjust your approach accordingly.
We are confident that this DIY trick will transform your watermelon harvest. But we also want to hear from you! We encourage you to try this method in your own garden and share your experiences with us. Did you notice a significant increase in watermelon production? Did you experiment with any variations? What challenges did you encounter, and how did you overcome them?
Your feedback is invaluable, not only to us but also to the entire gardening community. By sharing your successes and challenges, you can help others learn and grow, creating a more vibrant and knowledgeable gardening community.
So, grab your gardening tools, gather your supplies, and get ready to harvest more watermelons than ever before! We can’t wait to hear about your success stories. Happy gardening!
Frequently Asked Questions (FAQ)
What exactly does this DIY trick entail?
This DIY trick focuses on optimizing the growing conditions for your watermelon plants to maximize fruit production. It typically involves a combination of strategic pruning, targeted fertilization, and careful watering techniques, all designed to encourage healthy growth, abundant flowering, and successful fruit development. The core idea is to provide the watermelon plant with the resources it needs at the right time to produce a larger and more plentiful harvest.
Why is this DIY trick better than just letting my watermelons grow naturally?
While watermelons can certainly grow naturally, this DIY trick provides a significant advantage by actively managing the plant’s resources. Natural growth can be limited by factors like poor soil quality, insufficient nutrients, inadequate watering, or pest infestations. This trick addresses these limitations by providing targeted support, ensuring the plant has everything it needs to thrive and produce a bumper crop. It’s like giving your watermelons a personalized growth plan, leading to a more predictable and abundant harvest.
Is this DIY trick suitable for all types of watermelons?
Yes, this DIY trick is generally suitable for all types of watermelons, including seeded, seedless, and various varieties. However, you might need to make slight adjustments based on the specific needs of your chosen variety. For example, some varieties might be more susceptible to certain pests or diseases, requiring additional preventative measures. Always research the specific requirements of your watermelon variety to ensure optimal results.
How often should I apply the fertilizer mentioned in the DIY trick?
The frequency of fertilizer application depends on the type of fertilizer you’re using and the specific needs of your watermelon plants. As a general guideline, apply a balanced fertilizer every 2-3 weeks during the active growing season. However, it’s crucial to monitor your plants closely and adjust the frequency based on their growth and appearance. If you notice signs of nutrient deficiency, such as yellowing leaves, you might need to increase the frequency of fertilization. Conversely, if you see signs of over-fertilization, such as excessive leaf growth, reduce the frequency. Always follow the instructions on the fertilizer packaging.
What if I don’t see results immediately after trying this DIY trick?
Patience is key! It takes time for watermelon plants to respond to changes in their growing conditions. Don’t get discouraged if you don’t see immediate results. Continue to follow the instructions consistently and monitor your plants closely. Factors like weather conditions, soil quality, and the overall health of your plants can influence the speed at which you see results. In most cases, you should start to notice improvements in fruit production within a few weeks.
Can I use organic fertilizers instead of synthetic ones?
Absolutely! Organic fertilizers are a great alternative to synthetic fertilizers and can be just as effective. Options like compost tea, fish emulsion, and bone meal are excellent sources of nutrients for watermelon plants. When using organic fertilizers, it’s important to choose products that are specifically formulated for fruiting plants and to follow the instructions on the packaging carefully. Organic fertilizers tend to release nutrients more slowly than synthetic fertilizers, so you might need to apply them more frequently.
What are some common mistakes to avoid when trying this DIY trick?
Some common mistakes to avoid include over-fertilizing, under-watering, neglecting pest control, and failing to provide adequate support for the growing watermelons. Over-fertilizing can lead to nutrient imbalances and damage to the plants. Under-watering can stress the plants and reduce fruit production. Neglecting pest control can allow pests to damage the plants and reduce the harvest. Failing to provide adequate support for the growing watermelons can cause them to rot on the ground.
How do I know when my watermelons are ripe and ready to harvest?
Determining when a watermelon is ripe can be tricky, but there are several indicators to look for. The most reliable indicator is the ground spot, which is the area where the watermelon rests on the ground. When the watermelon is ripe, the ground spot will turn from white to a creamy yellow color. Other indicators include a dull thud when you tap the watermelon, a dried-up tendril near the stem, and a slight give when you press on the watermelon.
What if I have limited space for growing watermelons?
Even if you have limited space, you can still try this DIY trick by growing watermelons in containers or raised beds. Choose a compact variety of watermelon that is well-suited for container gardening. Ensure that the container is large enough to accommodate the plant’s root system and that it has good drainage. Provide adequate support for the growing watermelons, such as a trellis or cage.
Where can I find more information about growing watermelons and implementing this DIY trick?
There are many resources available online and in libraries that can provide more information about growing watermelons and implementing this DIY trick. Search for articles, videos, and books on watermelon cultivation, fertilization techniques, and pest control methods. You can also consult with local gardening experts or join a gardening club to learn from experienced growers. Remember to always adapt the information to your specific growing conditions and needs.

Leave a Comment