

Harpic Toilet Cleaning Guide: Your Guide to a Sparkling Clean Throne
Let’s be honest, cleaning the toilet isn’t anyone’s favorite chore. But a sparkling clean bathroom is essential for a healthy and comfortable home. That’s why I’ve put together this Harpic Toilet Cleaning Guide, packed with easy DIY tricks and hacks to make this dreaded task a breeze. Forget about harsh chemicals and endless scrubbing – I’ll show you how to achieve professional-level toilet cleaning results with minimal effort and readily available products.
For centuries, maintaining a clean and hygienic bathroom has been a cornerstone of household upkeep across various cultures. From ancient Roman public baths to modern-day minimalist designs, the importance of a clean toilet remains constant. However, the methods have evolved. This Harpic Toilet Cleaning Guide isn’t just about cleaning; it’s about embracing efficient and effective techniques that save you time and energy.
Why do you need this guide? Because tackling toilet grime shouldn’t be a battle! This guide will equip you with the knowledge and simple steps to conquer even the toughest stains and build-ups. You’ll learn how to prevent future problems, saving you from the frustration of scrubbing away stubborn marks. We’ll explore various Harpic products and their best uses, along with clever DIY solutions that complement them perfectly. Ultimately, this Harpic Toilet Cleaning Guide will empower you to maintain a sparkling clean toilet with ease, leaving you with more time to enjoy the rest of your day.
Ready to transform your bathroom cleaning routine? Let’s dive in!
My Harpic-Powered Toilet Cleaning Deep Dive: A DIY Guide
Let’s get those toilets sparkling! This guide will walk you through my favorite Harpic-enhanced cleaning routine. I’ve been using this method for years, and it consistently delivers amazing results. Get ready for a seriously clean toilet!
Phase 1: Preparation is Key
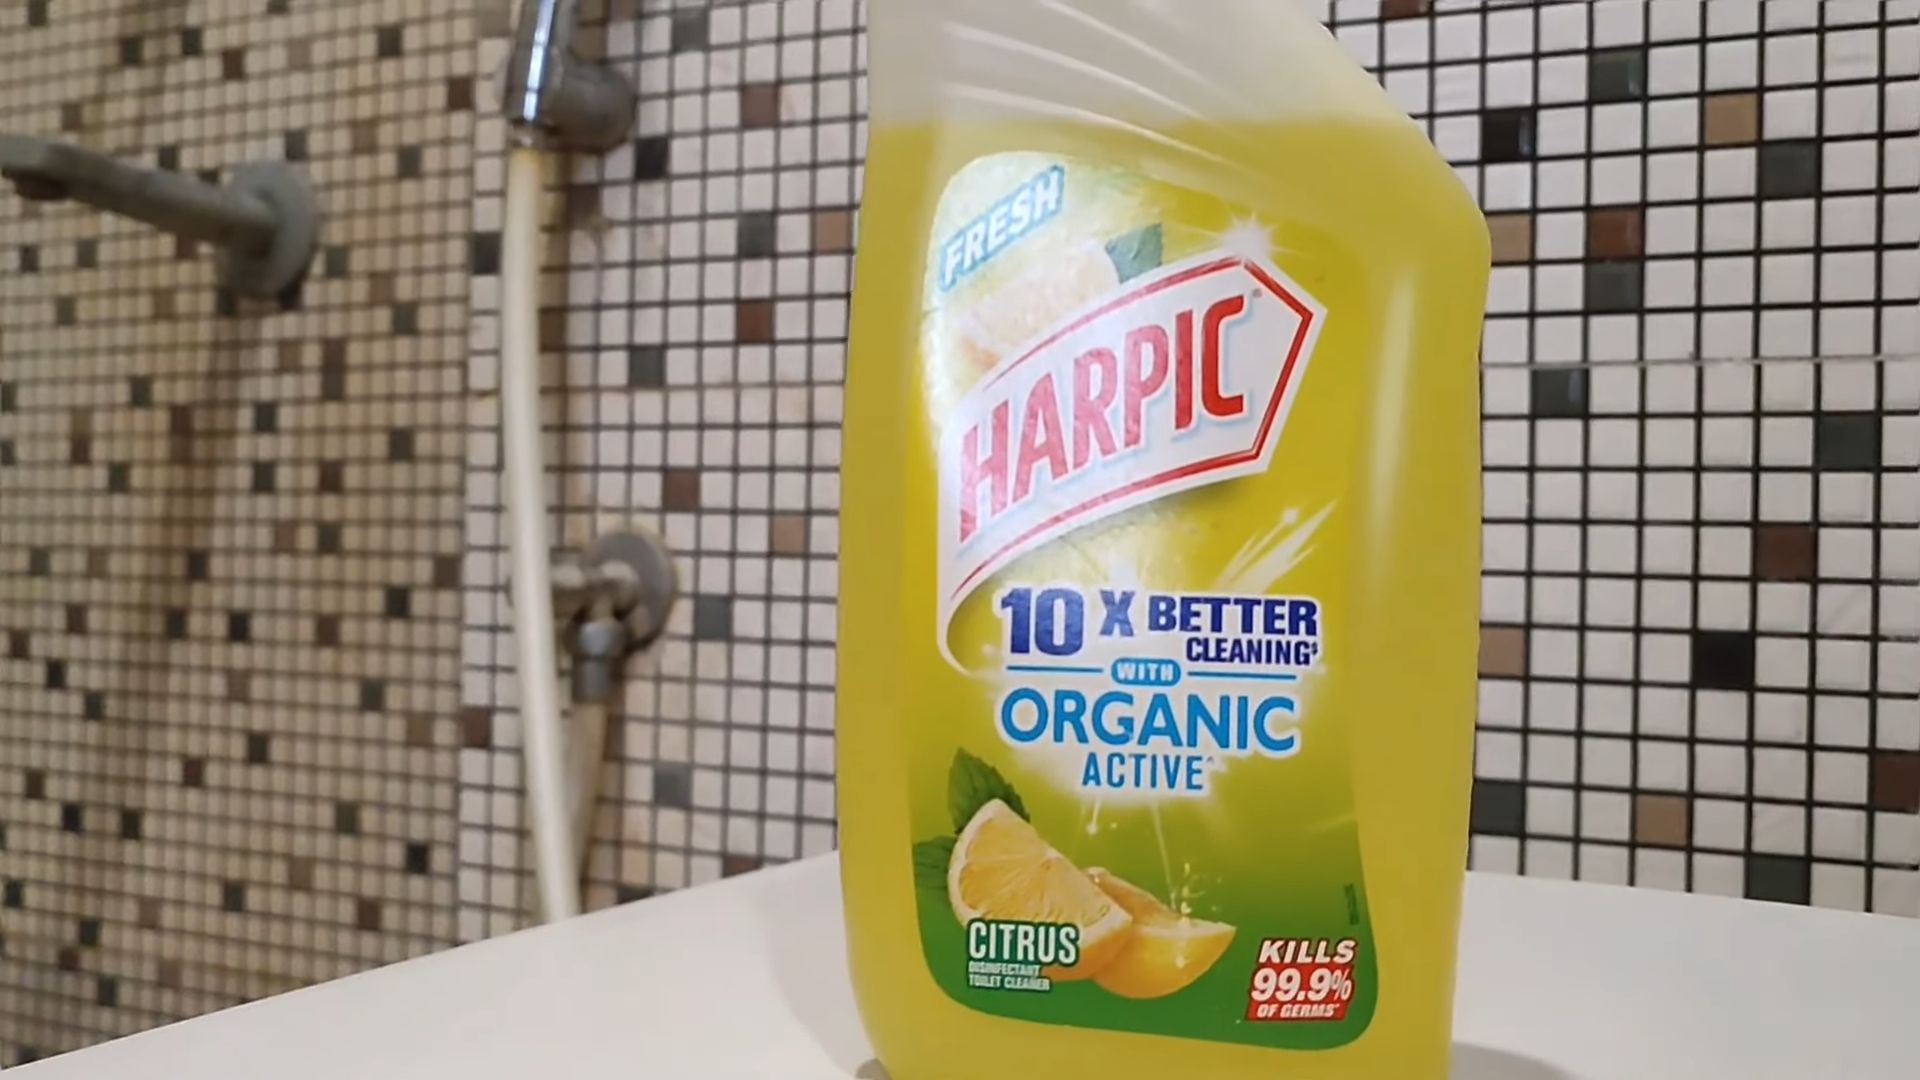
- Gather your supplies: You’ll need a bottle of Harpic (your favorite scent!), a toilet bowl brush, rubber gloves (trust me on this!), a spray bottle filled with water, and some old rags or paper towels. Optional: a pumice stone for stubborn stains.
- Protect yourself: Put on those rubber gloves! Toilet cleaner can be harsh on your skin.
- Clear the area: Remove anything from around the toilet that could get splashed or damaged.
- Ventilation: Open a window or turn on your bathroom fan. Good ventilation is crucial when working with cleaning chemicals.
Phase 2: The Harpic Application
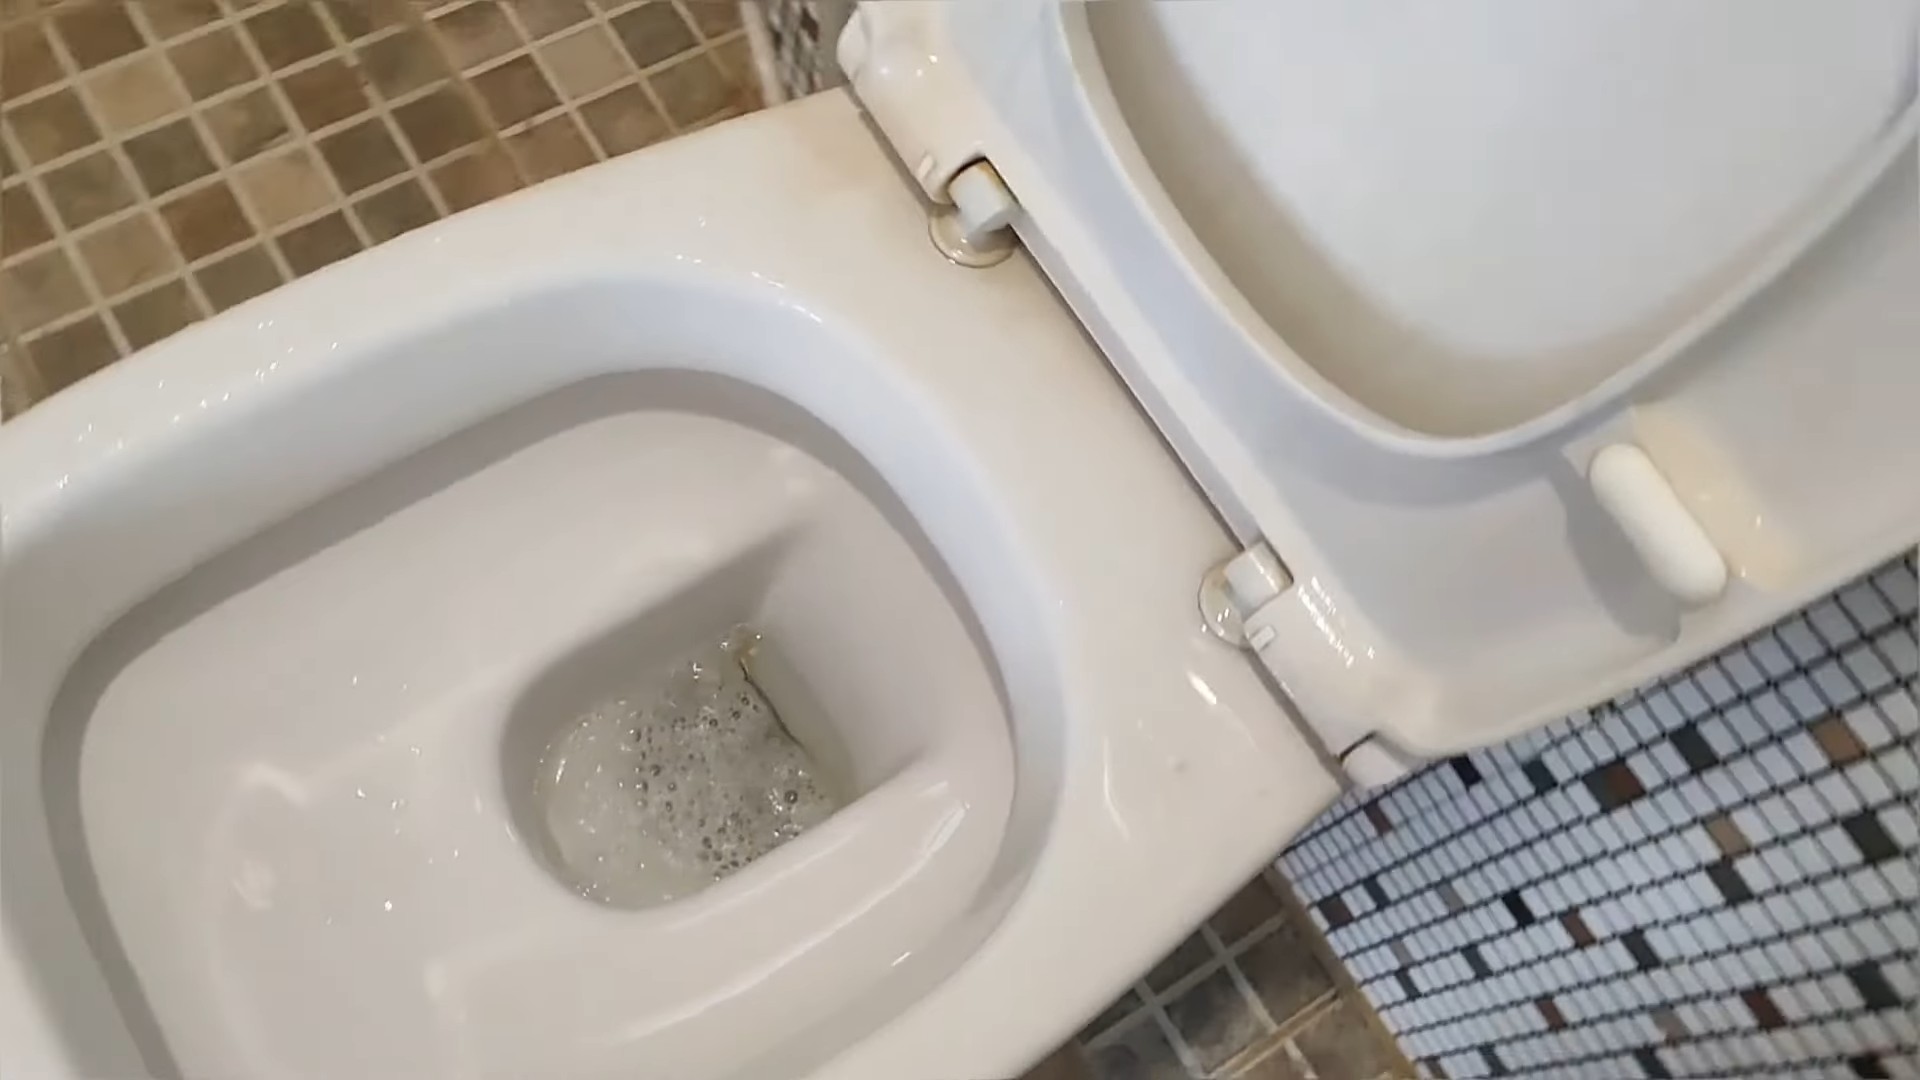
- Initial Application: Pour the recommended amount of Harpic into the toilet bowl. Follow the instructions on the bottle – the amount will vary depending on the size of your bowl and the severity of the stains.
- Let it Sit: Allow the Harpic to sit in the bowl for the recommended time. Usually, this is around 15-20 minutes, but check the bottle for specific instructions. This allows the cleaner to break down the grime and stains effectively. Don’t rush this step!
- Scrub-a-dub-dub: After the recommended time has passed, use your toilet brush to scrub the entire bowl thoroughly. Pay special attention to the areas under the rim and any stubborn stains. Get in there and really work the Harpic into the porcelain.
- Under the Rim: This is often overlooked, but it’s a breeding ground for bacteria. Make sure to get the brush under the rim and scrub vigorously.
- Water Spray: If you encounter particularly stubborn stains, lightly spray the area with water from your spray bottle. This can help to loosen the grime and make scrubbing easier. Don’t overdo it, though, as too much water can dilute the Harpic.
Phase 3: Tackling Tough Stains
Sometimes, even with Harpic, you might encounter stubborn stains. This is where a little extra elbow grease (and maybe a pumice stone) comes in handy.
- Identify the Stain: Locate the stubborn stain(s). Are they mineral deposits, rust, or something else?
- Pumice Stone Application (Optional): If you’re dealing with mineral deposits or rust stains, a pumice stone can be incredibly effective. Gently rub the pumice stone against the stain in a circular motion. Be careful not to apply too much pressure, as you could scratch the porcelain. Always test it on an inconspicuous area first.
- Reapply Harpic (If Necessary): After using the pumice stone, you might want to reapply Harpic to the affected area and let it sit for a few more minutes before scrubbing again.
- Patience is Key: Stubborn stains often require multiple applications of Harpic and some serious scrubbing. Don’t get discouraged if it doesn’t come clean immediately.
Phase 4: The Final Flush and Polish
- Flush the Toilet: Once you’re satisfied with the cleanliness of the bowl, flush the toilet thoroughly. This will remove any remaining Harpic and debris.
- Wipe Down the Exterior: Don’t forget to wipe down the exterior of the toilet with a damp cloth or paper towel. This will remove any splashes or smudges.
- Final Inspection: Take a moment to admire your sparkling clean toilet! Check for any remaining stains or areas that need further attention.
- Proper Disposal: Dispose of your used cleaning supplies responsibly.
Phase 5: Maintaining that Sparkle
To keep your toilet sparkling between deep cleans, consider these tips:
- Regular Cleaning: Give your toilet a quick scrub with Harpic once a week to prevent buildup.
- Preventative Measures: Avoid flushing things like wipes or feminine hygiene products, as these can clog your toilet and contribute to staining.
- Harpic Toilet Blocks: Consider using Harpic toilet blocks for continuous cleaning and freshness. These release cleaner with every flush.
- Regularly Check for Leaks: A leaky toilet can lead to mineral deposits and staining. Address any leaks promptly.
Important Note: Always follow the safety instructions on your Harpic bottle. Keep the product out of reach of children and pets. If you experience any skin irritation, rinse the affected area with plenty of water and seek medical advice if necessary.
Conclusion
This Harpic toilet cleaning guide has shown you how easy it is to achieve a sparkling clean toilet using readily available ingredients and simple techniques. Forget expensive, harsh chemicals! This DIY approach offers a cost-effective, eco-friendly, and surprisingly effective way to tackle even the toughest toilet stains and grime. The power of this method lies in its simplicity and effectiveness; you’ll be amazed at how quickly and easily you can transform your toilet from dingy to dazzling. This Harpic-inspired cleaning method is a must-try for anyone looking to improve their cleaning routine while minimizing their environmental impact. It’s a game-changer for maintaining a consistently clean and fresh bathroom.
Beyond the basic method outlined, there are numerous ways to personalize your cleaning experience. For a more intense clean, consider pre-soaking the toilet bowl with hot water and a generous amount of baking soda before applying the paste. This allows the baking soda to work its magic, loosening stubborn stains and grime. Experiment with different essential oils to customize the scent of your cleaning solution. Lavender, lemon, and tea tree oil are all excellent choices, adding a refreshing aroma to your bathroom. If you prefer a more abrasive cleaning action, you can add a small amount of pumice powder to the paste, but be sure to use a soft brush to avoid scratching the porcelain. Remember to always test any new additions on an inconspicuous area of the toilet first to ensure they don’t damage the finish. For those with particularly stubborn stains, a second application might be necessary, allowing the paste to sit for a longer period before scrubbing. Ultimately, the best approach is the one that works best for you and your toilet’s specific needs.
We strongly encourage you to try this DIY Harpic toilet cleaning method and share your experience with us! Let us know in the comments below how it worked for you, what variations you tried, and any tips you discovered along the way. Your feedback will help other readers and inspire further improvements to this already effective cleaning solution. Remember to always prioritize safety and follow the instructions carefully. With a little effort and this simple technique, you can enjoy a sparkling clean toilet every time, saving money and reducing your environmental footprint. Don’t hesitate – give it a try today and experience the difference!
Frequently Asked Questions
What if I don’t have all the ingredients listed?
Don’t worry! The beauty of this method is its flexibility. While the combination of baking soda, vinegar, and Harpic (or a similar toilet cleaner) is highly effective, you can adapt the recipe based on what you have available. For instance, if you don’t have Harpic, you can substitute it with another toilet bowl cleaner or even just use extra baking soda and vinegar. The key is to create a paste that’s abrasive enough to scrub away stains but gentle enough not to scratch the porcelain.
How often should I use this DIY cleaning method?
The frequency of cleaning depends on your individual needs and usage. For most households, a weekly cleaning is sufficient to maintain a clean and fresh toilet. However, if you have a larger family or experience heavier usage, you may need to clean more frequently. Regular cleaning prevents the buildup of stains and grime, making the cleaning process much easier and faster in the long run.
Is this method safe for all types of toilets?
While this method is generally safe for most toilets, it’s always advisable to test it on a small, inconspicuous area first, especially if you have a particularly delicate or antique toilet. The ingredients used are generally non-abrasive, but excessive scrubbing or the use of harsh additives could potentially damage the finish. If you have any concerns, consult your toilet’s manufacturer’s instructions or contact a professional cleaning service.
Can I use this method on other bathroom surfaces?
While this specific recipe is designed for toilet bowls, the principles can be adapted for other bathroom surfaces. However, always exercise caution and test the cleaning solution on a small, hidden area first. Baking soda and vinegar are generally safe for most surfaces, but some materials may be more sensitive than others. For example, you might want to avoid using this method on delicate marble or granite countertops.
What should I do if I have particularly stubborn stains?
For stubborn stains, you can try pre-soaking the toilet bowl with hot water and baking soda for a few hours before applying the cleaning paste. This allows the baking soda to penetrate the stains and loosen them, making them easier to remove. You can also let the cleaning paste sit for a longer period, even overnight, before scrubbing. If the stains persist, you may need to repeat the process or consider using a stronger toilet bowl cleaner as a last resort. Remember to always follow the safety instructions on any cleaning product you use.
Are there any environmental benefits to using this method?
Yes! This DIY Harpic toilet cleaning method is significantly more environmentally friendly than using commercial toilet bowl cleaners. Commercial cleaners often contain harsh chemicals that can pollute waterways and harm the environment. This DIY method uses readily available, natural ingredients, reducing your environmental impact and promoting a more sustainable cleaning routine. It’s a small change that can make a big difference!
Leave a Comment