

Hanging mustard greens gardening: Imagine stepping onto your balcony or into your backyard and being greeted by a lush, vibrant curtain of edible greens. Sounds dreamy, right? Well, it doesn’t have to be just a dream! For centuries, cultures around the world have utilized vertical gardening techniques to maximize space and bring nature closer to home. From the Hanging Gardens of Babylon to the modern-day urban farmer, the desire to cultivate our own food in limited spaces has always been strong.
But why should you consider hanging mustard greens gardening? Let’s face it, not everyone has acres of land to dedicate to a traditional garden. Apartment dwellers, those with limited mobility, or anyone simply looking to add a unique and beautiful element to their outdoor space can benefit immensely. This DIY guide will walk you through the process of creating your own hanging mustard greens garden, offering a simple, cost-effective, and incredibly rewarding way to enjoy fresh, homegrown produce. I’m so excited to share these tips and tricks with you, so you can experience the joy of harvesting your own delicious mustard greens, right outside your door!
DIY Hanging Mustard Green Gardens: A Beginner’s Guide
Hello garden friends! Do you have limited space but a craving for fresh, spicy mustard green leaves right on your doorstep? Then you’ve come to the right place! I’ll show you how to easily make your own hanging mustard green gardens. This is not only space-saving but also a great way to green up your patio, balcony, or even your kitchen. And the best part: it’s super easy and fun!
What you need for your hanging mustard green garden
Before we get started, here is a list of all the materials and tools you will need. Don’t worry, you probably have many of them at home already!
- Hanging baskets or planters: Choose baskets or containers that are large enough to give the mustard green plants enough space to grow. I recommend a diameter of at least 25 cm. Make sure they have drainage holes so that water can drain away.
- Coconut fiber liners or jute linings: These help to keep the soil in the basket and prevent it from being washed out when watering.
- High-quality potting soil: Mustard greens need well-draining, nutrient-rich soil. I like to use a mixture of potting soil, compost, and a little perlite.
- Mustard green seeds: You can try different varieties, depending on the flavor you prefer. There are mild, spicy, and even slightly sweet varieties.
- Watering can or garden hose: For regularly watering your plants.
- Scissors or garden shears: For harvesting the leaves.
- Hanging chains or ropes: To hang the baskets. Make sure they are strong enough to support the weight of the planted baskets.
- Optional: Slow-release fertilizer: For an additional supply of nutrients.
Step-by-Step Guide: How to build your hanging mustard green garden
Now let’s get down to it! Follow these steps to create your own hanging mustard green garden:
1. Preparing the hanging baskets:
- Place the coconut fiber liners or jute linings in the hanging baskets. Make sure they fit well and do not cover the drainage holes.
- If your baskets do not have built-in hangers, attach the hanging chains or ropes to the baskets. Make sure they are evenly distributed and can support the weight well.
2. Filling the baskets with soil:
- Fill the baskets with the potting soil mixture. Leave about 2-3 cm of space to the rim so that the water does not overflow when watering.
- Press the soil down lightly, but not too firmly. It should remain loose and airy.
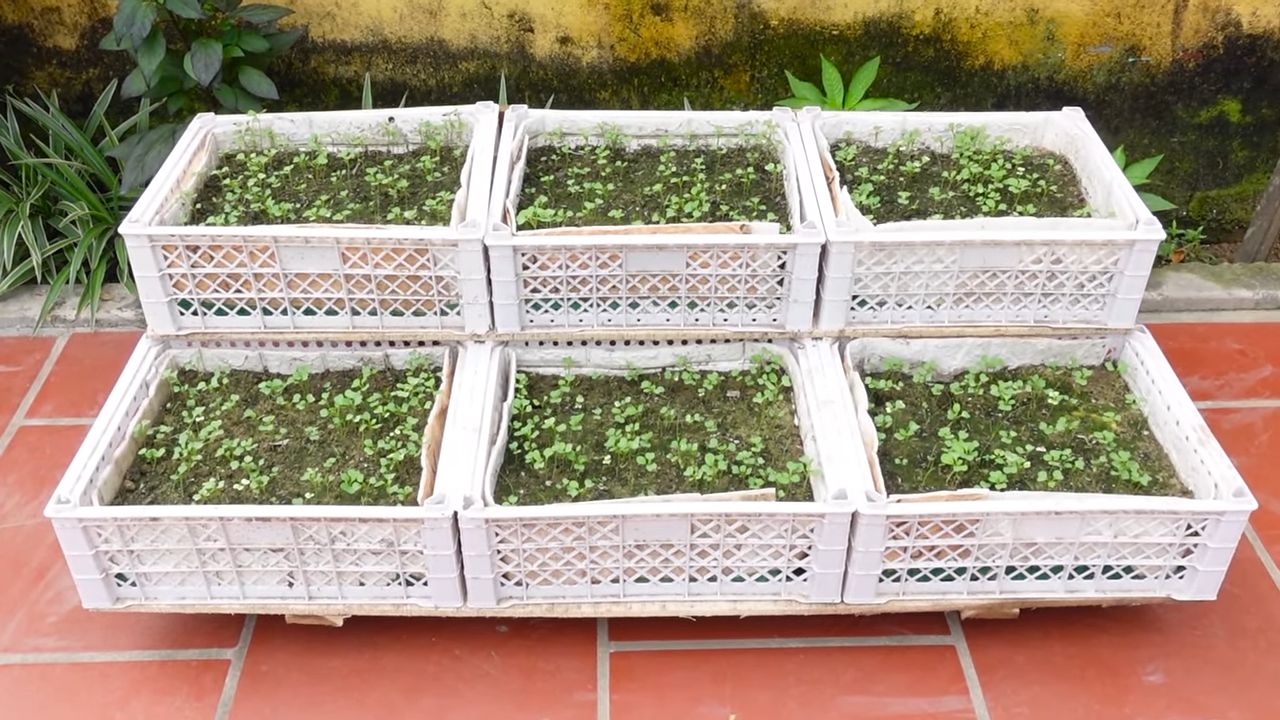
3. Sowing the mustard green seeds:
- Distribute the mustard green seeds evenly on the soil. Make sure they are not too close together, as the plants will not have enough space to grow otherwise.
- Cover the seeds with a thin layer of soil (approx. 0.5 cm).
- Water the soil gently to moisten the seeds. It is best to use a watering can with a sprinkler head so as not to wash the seeds away.
4. Hanging the baskets:
- Find a suitable place for your hanging mustard green gardens. They should get at least 4-6 hours of sunlight per day.
- Hang the baskets on sturdy hooks or on a suitable device. Make sure they are securely fastened and cannot fall down.
5. Caring for your mustard green plants:
- Watering: Water your mustard green plants regularly, especially in warm weather. The soil should always be slightly moist, but not wet. Avoid waterlogging, as this can lead to root rot.
- Fertilizing: If you have not used a slow-release fertilizer, you can fertilize your plants every 2-3 weeks with a liquid fertilizer for vegetables. Follow the instructions on the packaging.
- Pruning: Regularly remove wilted or yellow leaves to promote the health of the plants.
- Pest control: Check your plants regularly for pests such as aphids or caterpillars. If necessary, you can use natural pesticides.
Harvest time: How to enjoy your fresh mustard green leaves
After about 4-6 weeks, you can harvest your first mustard green leaves.
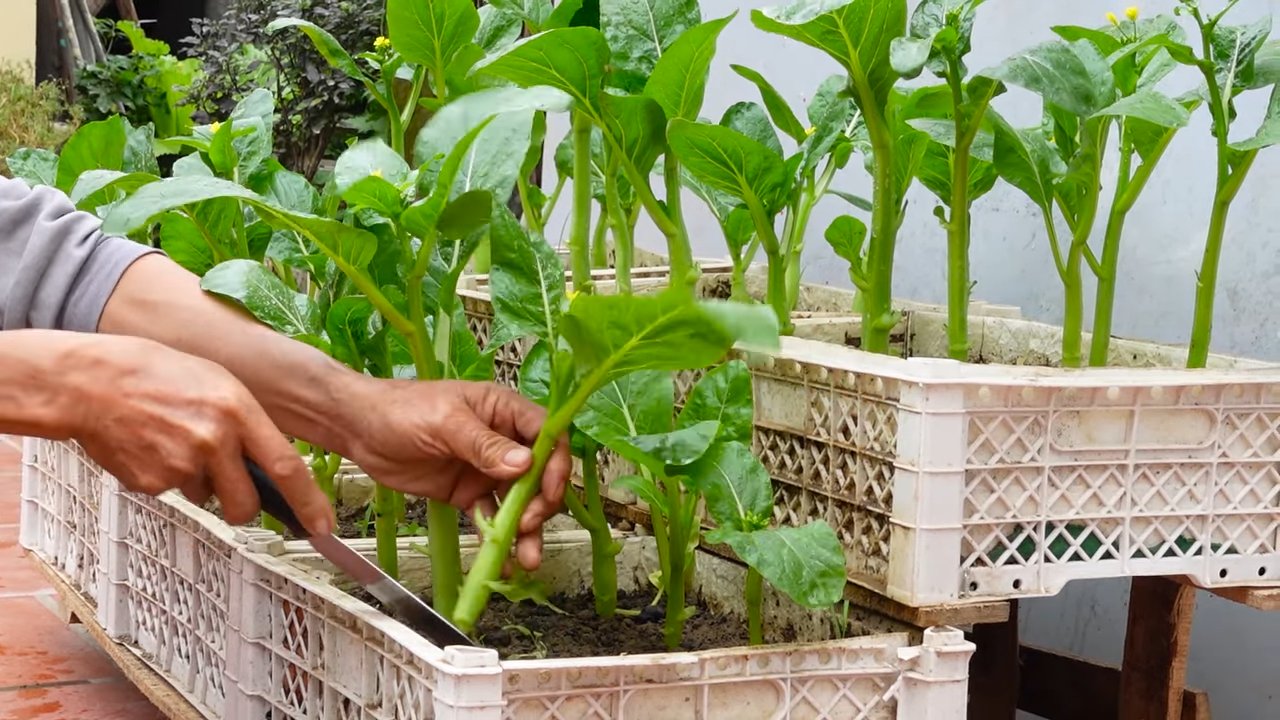
- Harvesting method: Cut the outer leaves with scissors or garden shears. Leave the inner leaves so that the plant can continue to grow.
- Frequency of harvest: You can harvest your mustard green plants several times. The more often you harvest, the more leaves they will produce.
- Use: Mustard green leaves are versatile. You can eat them raw in salads, use them as a side dish with meat or fish, or cook them in soups and stews. They have a spicy, slightly sharp taste.
Additional tips and tricks for your hanging mustard green garden
Here are a few more tips that can help you make your hanging mustard green garden even more successful:
- Variety selection: Try different mustard green varieties to find your favorite. There are varieties with different flavors, colors, and leaf textures.
- Location: Make sure your plants get enough sunlight. If they get too little light, they will become long and thin and produce fewer leaves.
- Watering: Check the moisture of the soil regularly. Stick your finger in the soil to feel if it is dry. Water when the soil feels dry.
- Protection from frost: Mustard greens are relatively frost-hardy, but in severe frost you should protect your plants. You can, for example, cover them with a fleece or bring them to a sheltered place.
- Successive sowing: If your plants produce fewer leaves after a while, you can sow new seeds to extend the harvest.
Common Problems and Solutions
Problems can also occur when growing mustard greens. Here are some common problems and how you can solve them:
- Yellow leaves: Yellow leaves can be a sign of a nutrient deficiency. Fertilize your plants with a liquid fertilizer for vegetables.
- Aphids: Aphids can infest the leaves of your plants. Spray the plants with a solution of water and dish soap.
- Root rot: Root rot is caused by waterlogging. Make sure the soil is well-draining and the plants do not get too much water.
- Slugs: Slugs can eat the leaves of your plants. Hand-pick the slugs or use slug pellets.
I hope this guide has helped you to create your own hanging mustard green garden. Happy gardening and enjoy your meal! Enjoy!
Conclusion
So, there you have it! Transforming your gardening space with hanging mustard greens is not just a visually appealing project; it’s a practical and rewarding way to cultivate fresh, flavorful greens right at your fingertips. We’ve explored the simple steps, from selecting the right containers and soil to ensuring proper watering and sunlight, all designed to make your hanging garden thrive.
Why is this DIY trick a must-try? Because it revolutionizes how you think about gardening, especially if you’re limited on space. Imagine stepping outside your door and snipping fresh mustard greens for a vibrant salad, a spicy stir-fry, or a flavorful addition to your favorite soup. The convenience is unparalleled. Beyond the culinary benefits, hanging mustard greens add a touch of natural beauty to your balcony, patio, or even indoors near a sunny window. It’s a living, breathing piece of art that you can actually eat!
But the beauty of this project lies in its adaptability. Feel free to experiment with different container types. Upcycled buckets, repurposed baskets, or even specially designed hanging planters – the choice is yours. Consider adding companion plants like marigolds or nasturtiums to deter pests and add a splash of color. For a spicier kick, try growing different varieties of mustard greens, such as ‘Red Giant’ or ‘Osaka Purple’. You can even incorporate other leafy greens like spinach or kale into the same hanging container for a diverse and bountiful harvest.
Don’t be afraid to get creative with your hanging mustard greens garden!
We’ve also touched upon the importance of proper care. Remember to water regularly, especially during hot weather, and fertilize every few weeks to keep your plants healthy and productive. Keep an eye out for common pests like aphids or cabbage worms and take action promptly to prevent them from damaging your crop. With a little attention and care, your hanging mustard greens will reward you with a continuous supply of fresh, delicious greens throughout the growing season.
This isn’t just about growing food; it’s about connecting with nature, fostering a sense of accomplishment, and enjoying the simple pleasures of homegrown goodness. The vibrant green foliage cascading from your hanging containers will brighten your day, and the fresh, peppery flavor of your mustard greens will elevate your meals.
We wholeheartedly encourage you to give this DIY trick a try. It’s a simple, affordable, and incredibly rewarding project that will transform your gardening experience. And most importantly, we want to hear about your journey! Share your photos, tips, and experiences with us. What challenges did you face? What successes did you celebrate? What unique variations did you try? Your insights will inspire others to embark on their own hanging mustard greens adventure.
So, grab your containers, soil, and seeds, and get ready to create a stunning and productive hanging garden. We can’t wait to see what you create! Happy gardening!
Frequently Asked Questions (FAQ)
What are the best varieties of mustard greens to grow in hanging baskets?
While most mustard green varieties will thrive in hanging baskets, some are particularly well-suited due to their compact growth habit and attractive foliage. ‘Green Wave’ is a popular choice for its frilly leaves and mild flavor. ‘Red Giant’ offers a beautiful contrast with its deep purple leaves and slightly spicier taste. ‘Osaka Purple’ is another excellent option with its vibrant purple color and robust flavor. Consider your taste preferences and the aesthetic you’re aiming for when selecting your mustard green varieties. Experimenting with different types can also be a fun way to discover your favorites. Remember to check the seed packet for specific growing instructions and maturity times.
How often should I water my hanging mustard greens?
Watering frequency is crucial for the success of your hanging mustard greens. Because hanging baskets tend to dry out more quickly than in-ground gardens, regular watering is essential. As a general rule, check the soil moisture daily. If the top inch of soil feels dry to the touch, it’s time to water. Water thoroughly until water drains from the bottom of the container. During hot, sunny weather, you may need to water your hanging mustard greens twice a day. Avoid overwatering, as this can lead to root rot. A good way to gauge watering needs is to observe the plants themselves. Wilting leaves are a sign that the plants are thirsty, while yellowing leaves can indicate overwatering. Adjust your watering schedule accordingly.
What type of soil is best for hanging mustard greens?
The ideal soil for hanging mustard greens is a well-draining potting mix that is rich in organic matter. Avoid using garden soil, as it can be too heavy and compact, hindering drainage and root growth. A good quality potting mix will provide the necessary nutrients and aeration for healthy plant growth. You can also amend your potting mix with compost or other organic materials to further improve its fertility and drainage. Consider adding a slow-release fertilizer to the soil at planting time to provide a steady supply of nutrients throughout the growing season.
How much sunlight do hanging mustard greens need?
Mustard greens thrive in full sun, which means they need at least six hours of direct sunlight per day. However, they can also tolerate partial shade, especially during the hottest part of the day. If you live in a particularly hot climate, providing some afternoon shade can help prevent the leaves from scorching. When choosing a location for your hanging mustard greens, consider the amount of sunlight it receives throughout the day. A south-facing location is generally ideal, but an east- or west-facing location can also work well. If you’re growing your mustard greens indoors, place them near a sunny window or use grow lights to supplement natural light.
How do I fertilize my hanging mustard greens?
Fertilizing your hanging mustard greens is essential for promoting healthy growth and abundant harvests. Use a balanced fertilizer that is specifically formulated for leafy greens. You can use either a liquid fertilizer or a slow-release granular fertilizer. Liquid fertilizers should be applied every two to three weeks, while slow-release fertilizers can be applied at planting time and then again every few months. Follow the instructions on the fertilizer packaging carefully to avoid over-fertilizing, which can damage your plants. Organic fertilizers, such as compost tea or fish emulsion, are also excellent options for feeding your mustard greens.
How do I protect my hanging mustard greens from pests?
Hanging mustard greens can be susceptible to various pests, such as aphids, cabbage worms, and flea beetles. Regularly inspect your plants for signs of infestation. If you spot any pests, take action promptly to prevent them from spreading. You can use insecticidal soap or neem oil to control aphids and other soft-bodied insects. Handpicking cabbage worms is also an effective method. To prevent flea beetles, try covering your plants with row covers. Companion planting with marigolds or nasturtiums can also help deter pests. Maintaining healthy plants by providing adequate water, sunlight, and nutrients will also make them less susceptible to pests.
How do I harvest my hanging mustard greens?
You can begin harvesting your mustard greens when the leaves are about 4-6 inches long. Simply snip off the outer leaves with scissors or a knife, leaving the inner leaves to continue growing. This cut-and-come-again harvesting method allows you to enjoy a continuous supply of fresh greens throughout the growing season. Avoid harvesting more than one-third of the plant at a time, as this can stress the plant and reduce its productivity. Harvest your mustard greens in the morning, when the leaves are at their peak freshness.
Can I grow mustard greens indoors in hanging baskets?
Yes, you can absolutely grow mustard greens indoors in hanging baskets, provided you can meet their light requirements. Place your hanging baskets near a sunny window that receives at least six hours of direct sunlight per day. If you don’t have enough natural light, you can supplement with grow lights. Choose a well-draining potting mix and water regularly, keeping the soil consistently moist but not soggy. Monitor for pests and diseases, and take action promptly if you notice any problems. Growing mustard greens indoors can be a great way to enjoy fresh greens year-round, regardless of the weather outside.
What are some creative ways to display my hanging mustard greens?
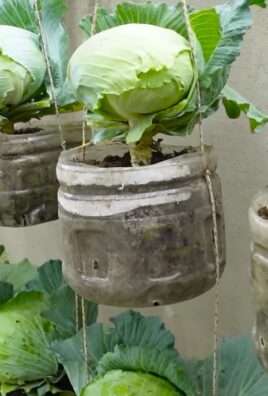
Beyond the standard hanging basket, there are numerous creative ways to display your hanging mustard greens. Consider using repurposed materials like old buckets, tin cans, or even fabric planters. You can also create a vertical garden by attaching multiple hanging baskets to a wall or fence. Experiment with different colors and textures to create a visually appealing display. Add decorative elements like fairy lights or colorful ribbons to enhance the aesthetic. The possibilities are endless! Let your creativity shine and create a unique and eye-catching display for your hanging mustard greens.

Leave a Comment