

Hanging gardens for small homes – sounds like a dream, right? Well, get ready to wake up because I’m about to show you how to transform even the tiniest of spaces into a lush, green paradise! Forget sprawling acres; we’re going vertical!
The concept of hanging gardens isn’t new. Think back to the legendary Hanging Gardens of Babylon, one of the Seven Wonders of the Ancient World! While we might not be building anything quite *that* extravagant, the spirit of bringing nature into our living spaces remains the same. For centuries, cultures around the globe have used vertical gardening techniques to maximize space and cultivate beauty.
But why do you *need* these DIY tricks and hacks? Simple! In today’s world, many of us are living in apartments, condos, or homes with limited outdoor space. We crave that connection to nature, that touch of green, but feel restricted by our surroundings. That’s where hanging gardens for small homes come to the rescue! They’re not just aesthetically pleasing; they can also improve air quality, reduce stress, and even provide fresh herbs and vegetables right at your fingertips.
This article is your ultimate guide to creating stunning hanging gardens, no matter how small your home may be. I’ll share my favorite DIY projects, clever space-saving tips, and plant recommendations that thrive in vertical environments. So, grab your gardening gloves, and let’s get started on transforming your space into a verdant oasis!
DIY Hanging Garden for Small Apartments: More Greenery in a Small Space
Hello, dears! Do you dream of a lush garden but have little space? Don’t worry, I’ll show you how to create a beautiful hanging garden that will transform even the smallest apartment into a green oasis. The best part: it’s super easy and a lot of fun!
What you need for your hanging garden:
- Plants: Choose plants that don’t need much space and grow well in pots. Hanging strawberries, herbs, succulents, ivy, or small flowers are ideal. Make sure the plants are suited to the light conditions in your apartment.
- Pots or containers: There are no limits to your creativity here! You can use terracotta pots, plastic pots, old cans, baskets, or even recycled materials. It’s important that the containers have holes in the bottom so that water can drain.
- Soil: Use high-quality potting soil that is tailored to the needs of your plants.
- Hangers: There are many options here: macrame holders, chains, ropes, wire, or even old belts. Choose a hanger that is sturdy and matches the style of your apartment.
- Tools: Scissors, pliers (if you’re using wire), possibly a drill (if you need to drill holes in containers).
- Optional: Decorative elements like stones, shells, or small figurines.
Step-by-Step Guide: How to build your hanging garden
1. Planning is everything: Before you get started, think carefully about where you want to hang your hanging garden. Pay attention to the light conditions and the load-bearing capacity of the ceiling or wall. Make a sketch of what you want your hanging garden to look like and which plants you want to use.
2. Prepare the containers: If your pots or containers don’t have holes in the bottom, you need to drill them now. Make sure the holes are large enough for the water to drain well. I recommend placing a layer of clay shards or gravel at the bottom of the pots to improve drainage.
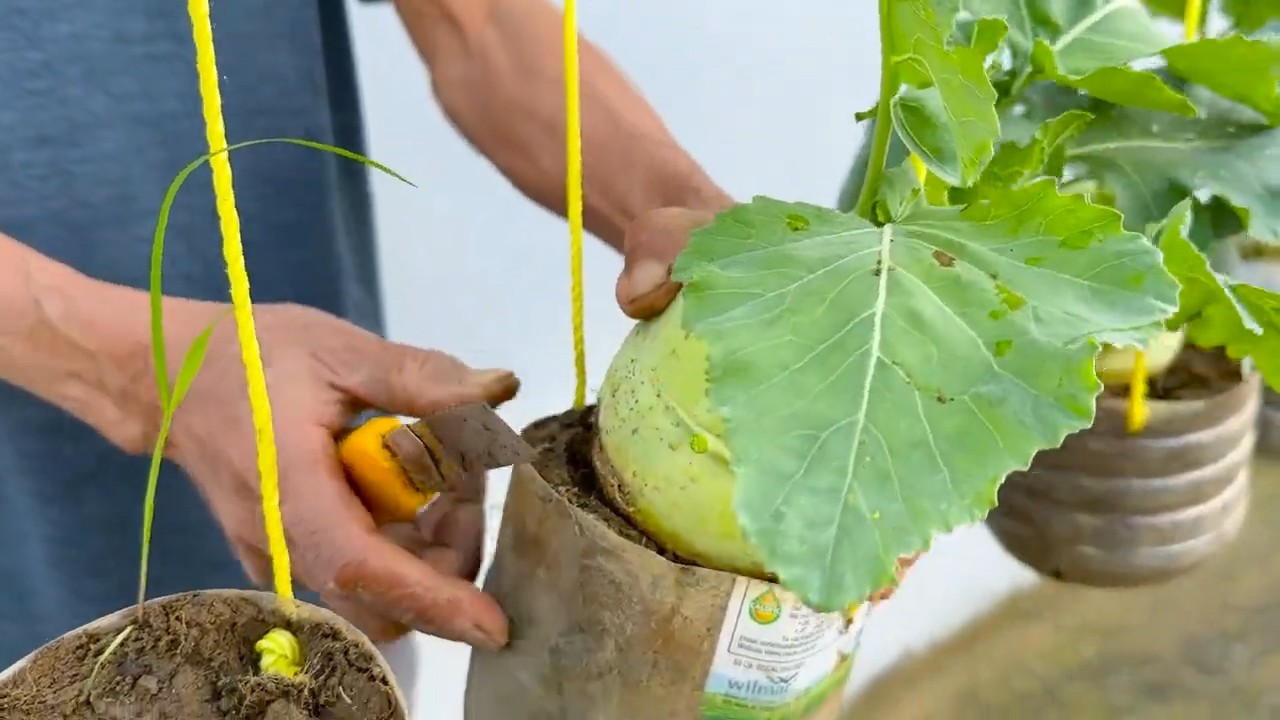
3. Select and prepare the plants: Choose your favorite plants and carefully remove any old leaves or damaged roots. Loosen the root balls a little so the plants can take root better.
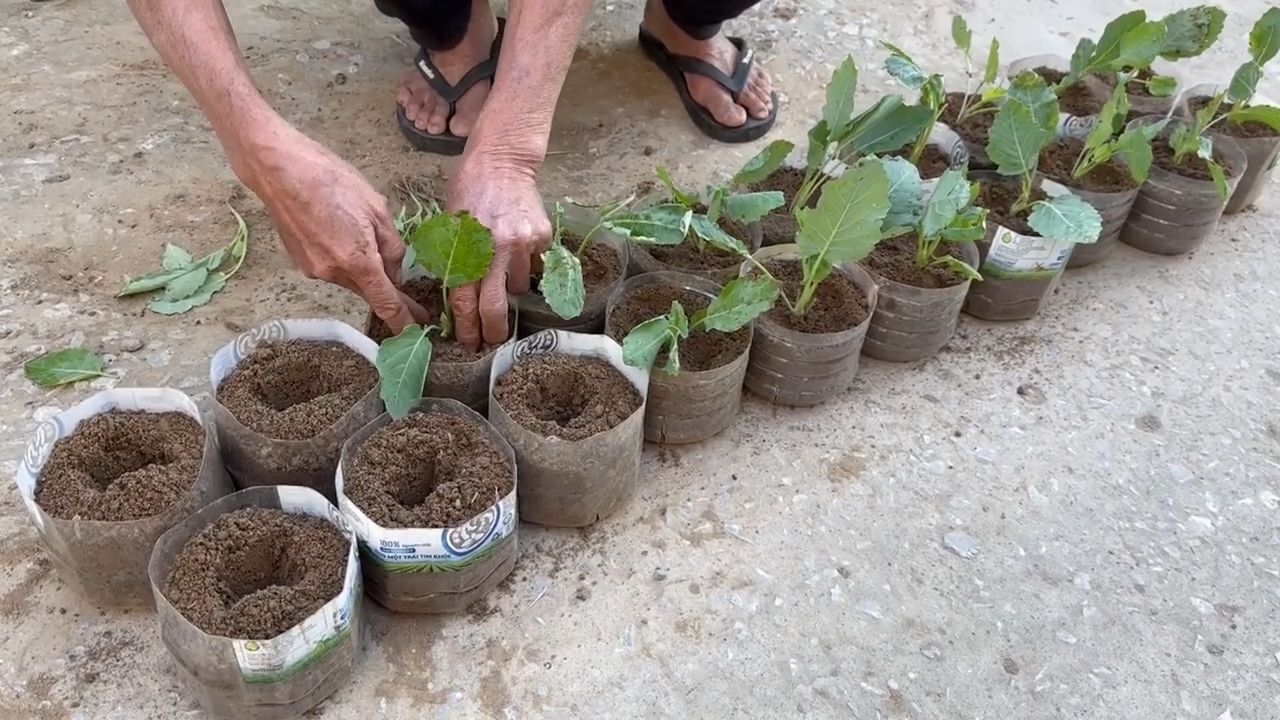
4. Plant the pots: Fill the pots with soil and insert the plants. Make sure the roots are well covered and the plants have enough space. Press the soil down lightly and water the plants carefully.
5. Attach the hangers: Attach the hangers to the pots or containers. Make sure the hanger is sturdy and holds the pots securely. Here are a few ideas:
- Macrame holders: Macrame is a great way to create individual and decorative holders for your pots. There are many tutorials online that show you how to tie different knots.
- Chains: Chains are a simple and sturdy solution. Attach the chains to the pots and hang them from a hook on the ceiling or wall.
- Ropes: Ropes are a natural and versatile option. Tie the ropes around the pots or use special rope holders.
- Wire: Wire is a flexible and inexpensive solution. Wrap the wire around the pots and form a stable hanger.
- Old belts: Upcycling is in! Cut old belts into strips and attach them to the pots. This looks particularly cool and individual.
6. Hang the hanging garden: Find a suitable place for your hanging garden and hang it up. Make sure the ceiling or wall can support the weight of the pots. Use sturdy hooks or dowels.
7. Decorate and enjoy: Now you can decorate your hanging garden to your heart’s content. Use stones, shells, small figurines, or other decorative elements to give your hanging garden a personal touch. And then: Enjoy your green oasis!
Special Techniques for Special Hanging Gardens
Sometimes you want something more than just hanging individual pots. Here are a few ideas on how you can make your hanging garden even more creative:
- Vertical garden on the wall: For this, you need a special wall bracket or a grid to which you can attach the pots. This is ideal for greening an entire wall.
- Hanging shelves: Attach shelves to ropes or chains and hang them from the ceiling. You can then place your pots on the shelves.
- Mobile hanging gardens: Use an old clothes hanger or a branch as a base and hang various pots on it. This is a great idea for the balcony or terrace.
- Upcycling hanging gardens: Use old pallets, wine crates, or other recycled materials to design your hanging garden. This is not only sustainable but also super individual.
Care Tips for Your Hanging Garden
To keep your hanging garden beautiful for a long time, you should care for it regularly:
- Watering: Water your plants regularly, but not too much. Make sure the water can drain well to avoid waterlogging.
- Fertilizing: Fertilize your plants regularly to provide them with sufficient nutrients. Use a liquid fertilizer or slow-release fertilizer.
- Pruning: Regularly cut off withered leaves and flowers to keep the plants healthy and vital.
- Repotting: Repot your plants regularly when the pots become too small.
- Pests: Regularly check your plants for pests and combat them if necessary.
Plant Recommendations for Your Hanging Garden
Here are a few plants that are particularly well-suited for hanging gardens:
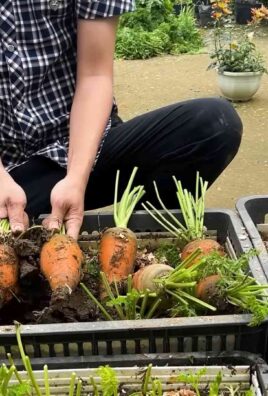
- Hanging strawberries: They are not only decorative but also provide delicious fruit.
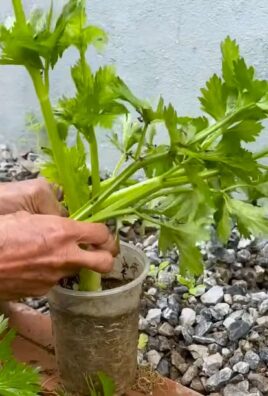
- Herbs: Basil, parsley, chives, mint – herbs are not only useful but also smell wonderful.
- Succulents: They are easy to care for and look great.
- Ivy: Ivy is a robust and evergreen plant that is well-suited for hanging gardens.
- Petunias: They bloom profusely and in many different colors.
- Fuchsias: They have beautiful, hanging flowers.
- Lobelias: They are small and delicate and bloom in bright colors.
- Hanging geraniums: They are robust and bloom all summer long.
I hope this guide has inspired you to create your own hanging garden. It’s a really great way to bring more greenery into your home and at the same time let your creativity run wild. Happy gardening!
Conclusion
So, there you have it! Transforming your small home with a DIY hanging garden is not just a trend; it’s a practical, beautiful, and space-saving solution that brings the joy of nature indoors. We’ve explored how even the most compact living spaces can be revitalized with a touch of greenery suspended from above. From maximizing vertical space to creating a calming and aesthetically pleasing environment, the benefits of embracing this DIY project are undeniable.
But why is this DIY trick a must-try? Beyond the obvious aesthetic appeal, a hanging garden offers a unique opportunity to connect with nature, even within the confines of a small apartment or condo. It’s a chance to cultivate your own little oasis, a personal sanctuary where you can nurture plants and enjoy the therapeutic benefits of gardening. Furthermore, it’s a fantastic way to purify the air, adding a breath of fresh air to your indoor environment. And let’s not forget the cost-effectiveness! Creating your own hanging garden is significantly cheaper than purchasing pre-made vertical gardens, allowing you to personalize your space without breaking the bank.
Looking for variations to make your hanging garden truly unique? Consider incorporating different types of plants to create a diverse and visually appealing display. Trailing plants like pothos, spider plants, and string of pearls are excellent choices for cascading beauty. Herbs like mint, basil, and oregano can add a fragrant and functional element to your garden, providing fresh ingredients for your culinary creations. Succulents, with their low-maintenance nature and striking forms, are also a great option for those seeking a hassle-free gardening experience.
Experiment with different containers to match your personal style and home decor. Macrame plant hangers offer a bohemian touch, while sleek metal planters provide a modern and minimalist aesthetic. Repurposed materials like mason jars, tin cans, and even old shoes can be transformed into charming and eco-friendly planters. Don’t be afraid to get creative and let your imagination run wild!
Lighting is another crucial factor to consider. Ensure that your hanging garden receives adequate sunlight, either through natural light or artificial grow lights. Different plants have different light requirements, so research the specific needs of your chosen plants to ensure their optimal growth and health.
Finally, remember that maintenance is key to a thriving hanging garden. Regularly water your plants, fertilize them as needed, and prune them to maintain their shape and encourage new growth. With a little care and attention, your hanging garden will flourish and bring you joy for years to come.
We wholeheartedly encourage you to embark on this rewarding DIY project and create your own stunning hanging garden. It’s a simple yet transformative way to elevate your living space and connect with the natural world. We are confident that you will be amazed by the positive impact it has on your home and your well-being.
Once you’ve created your masterpiece, we would love to see it! Share your photos and experiences with us on social media using #DIYHangingGarden and inspire others to embrace the beauty of vertical gardening. We can’t wait to see your creative and unique hanging garden designs! Let’s transform small homes, one hanging garden at a time.
FAQ
What types of plants are best for a hanging garden in a small home?
The best plants for a hanging garden in a small home are those that thrive in indoor conditions, require minimal maintenance, and don’t take up too much space. Excellent choices include:
* **Trailing Plants:** Pothos (Devil’s Ivy), Spider Plants, String of Pearls, English Ivy, and Wandering Jew are all great options for creating a cascading effect. They are relatively easy to care for and add a touch of elegance to any space.
* **Herbs:** Mint, Basil, Oregano, and Chives are not only fragrant and beautiful but also provide fresh ingredients for cooking. They typically require more sunlight than other indoor plants, so ensure they are placed near a window or under a grow light.
* **Succulents:** Echeveria, Sedum, and Haworthia are low-maintenance and come in a variety of shapes and colors. They are drought-tolerant and require minimal watering, making them ideal for busy individuals.
* **Air Plants (Tillandsia):** These unique plants don’t require soil and can be hung in glass globes or mounted on driftwood. They need to be soaked in water periodically to stay hydrated.
* **Ferns:** Boston Ferns and Maidenhair Ferns add a lush, tropical feel to your hanging garden. They prefer humid environments, so consider misting them regularly or placing them in a bathroom.
How do I water plants in a hanging garden without making a mess?
Watering plants in a hanging garden can be tricky, but with a few precautions, you can avoid making a mess:
* **Use a Watering Can with a Long Spout:** This allows you to reach the plants without having to remove them from their hangers.
* **Water Slowly and Carefully:** Avoid overwatering, as this can lead to water dripping from the bottom of the pots.
* **Place a Saucer Underneath the Pots:** This will catch any excess water and prevent it from dripping onto your floor or furniture.
* **Remove the Plants for Watering:** If you’re concerned about making a mess, you can remove the plants from their hangers and water them in a sink or bathtub. Allow the excess water to drain before returning them to their hangers.
* **Consider Self-Watering Planters:** These planters have a reservoir that slowly releases water to the plants, reducing the need for frequent watering.
How much sunlight do my hanging garden plants need?
The amount of sunlight your hanging garden plants need depends on the specific species. However, as a general rule:
* **High Light:** Plants that require high light need at least 6 hours of direct sunlight per day. Place them near a south-facing window or under a grow light. Examples include herbs, succulents, and some flowering plants.
* **Medium Light:** Plants that require medium light need 4-6 hours of indirect sunlight per day. Place them near an east- or west-facing window. Examples include pothos, spider plants, and ferns.
* **Low Light:** Plants that require low light can tolerate shade and need less than 4 hours of indirect sunlight per day. Place them in a room with minimal natural light. Examples include snake plants and ZZ plants.
If your plants are not getting enough sunlight, they may become leggy, pale, or stop growing. Consider supplementing with artificial grow lights to ensure they receive adequate light.
What type of containers are best for a hanging garden?
The best type of containers for a hanging garden depends on your personal style, budget, and the type of plants you’re growing. Here are some popular options:
* **Plastic Pots:** Lightweight, durable, and affordable. They come in a variety of sizes and colors.
* **Terracotta Pots:** Porous and allow for good drainage. They are also aesthetically pleasing and add a rustic touch to your garden.
* **Metal Planters:** Sleek and modern. They are durable and can withstand the elements.
* **Macrame Plant Hangers:** Add a bohemian touch to your garden. They are made from natural fibers and can be used to hang a variety of pots.
* **Repurposed Materials:** Mason jars, tin cans, and old shoes can be transformed into charming and eco-friendly planters.
When choosing containers, make sure they have drainage holes to prevent waterlogging. Also, consider the weight of the containers and the strength of your hanging system.
How do I prevent pests and diseases in my hanging garden?
Preventing pests and diseases is crucial for maintaining a healthy hanging garden. Here are some tips:
* **Inspect Plants Regularly:** Check your plants for signs of pests or diseases, such as yellowing leaves, spots, or webbing.
* **Use Well-Draining Soil:** This will prevent root rot and other fungal diseases.
* **Provide Adequate Air Circulation:** This will help to prevent the growth of mold and mildew.
* **Water Properly:** Avoid overwatering, as this can create a breeding ground for pests and diseases.
* **Use Organic Pest Control Methods:** If you do find pests, try using organic pest control methods, such as neem oil or insecticidal soap.
* **Quarantine New Plants:** Before introducing new plants to your hanging garden, quarantine them for a few weeks to ensure they are pest-free.
By following these tips, you can keep your hanging garden healthy and thriving for years to come.

Leave a Comment