

Growing Strawberries from Seed might seem like a daunting task, but trust me, the reward of plucking your own sun-ripened berries straight from your garden is absolutely worth the effort! Forget those bland, store-bought strawberries – imagine the burst of flavor from a strawberry you nurtured from a tiny seed.
For centuries, strawberries have been cherished for their sweet taste and vibrant color. From ancient Roman gardens to the fields of colonial America, these little red gems have held a special place in our hearts (and stomachs!). While traditionally propagated through runners, growing strawberries from seed opens up a whole new world of possibilities, allowing you to cultivate unique varieties and expand your garden with ease.
Why should you bother with this DIY project? Well, for starters, it’s incredibly satisfying to watch something grow from virtually nothing. Plus, starting from seed often gives you access to varieties that aren’t readily available as starter plants. And let’s be honest, who doesn’t love a good gardening hack that saves money and reduces reliance on nurseries? I’m going to show you some simple tricks and tips that will make growing strawberries from seed a breeze, even if you’re a complete beginner. Get ready to embark on a rewarding gardening adventure!
Growing Strawberries From Seed: A Comprehensive DIY Guide
Okay, so you want to grow strawberries from seed? Awesome! It’s a bit more challenging than buying starter plants, but the satisfaction of nurturing those tiny seeds into juicy red berries is totally worth it. Plus, you have access to a wider variety of strawberry types this way. Let’s dive in!
Choosing Your Strawberry Variety
Before we even think about planting, let’s talk strawberries. There are three main types:
* June-bearing: These produce one large crop, usually in June (hence the name!). They’re great if you want a big batch for jam or freezing.
* Everbearing: These produce two or three smaller crops throughout the spring, summer, and fall. Perfect for a continuous supply of fresh berries.
* Day-neutral: Similar to everbearing, these produce fruit continuously as long as the temperature is right (between 35°F and 85°F).
Think about what you want to use your strawberries for and choose accordingly! I personally love everbearing varieties for snacking right off the plant.
Phase 1: Starting Your Seeds Indoors
Starting strawberry seeds indoors is crucial, especially if you live in a colder climate. It gives them a head start before the outdoor growing season.
1. Gather Your Supplies: You’ll need:
* Strawberry seeds (obviously!). Make sure they’re from a reputable source.
* Seed starting trays or small pots. I prefer trays with individual cells.
* Seed starting mix. This is lighter and more sterile than regular potting soil.
* A spray bottle filled with water.
* A clear plastic dome or plastic wrap to cover the trays.
* A heat mat (optional, but highly recommended).
* A grow light (also optional, but helps prevent leggy seedlings).
2. Prepare the Seed Starting Trays: Fill each cell or pot with the seed starting mix. Gently tap the tray to settle the soil.
3. Sow the Seeds: Strawberry seeds are tiny, so this can be a bit fiddly. Sprinkle a few seeds (2-3) on top of the soil in each cell. Don’t bury them too deep; they need light to germinate. A light dusting of vermiculite over the seeds can help retain moisture.
4. Water Gently: Use your spray bottle to mist the soil thoroughly. You want it to be moist, but not soaking wet.
5. Create a Humid Environment: Cover the trays with the clear plastic dome or plastic wrap. This will help keep the humidity high, which is essential for germination.
6. Provide Warmth and Light: Place the trays on a heat mat, if you’re using one. The ideal temperature for germination is around 70-75°F (21-24°C). Place the trays under a grow light, or in a very bright, sunny window. If using a window, rotate the trays regularly to prevent the seedlings from leaning towards the light.
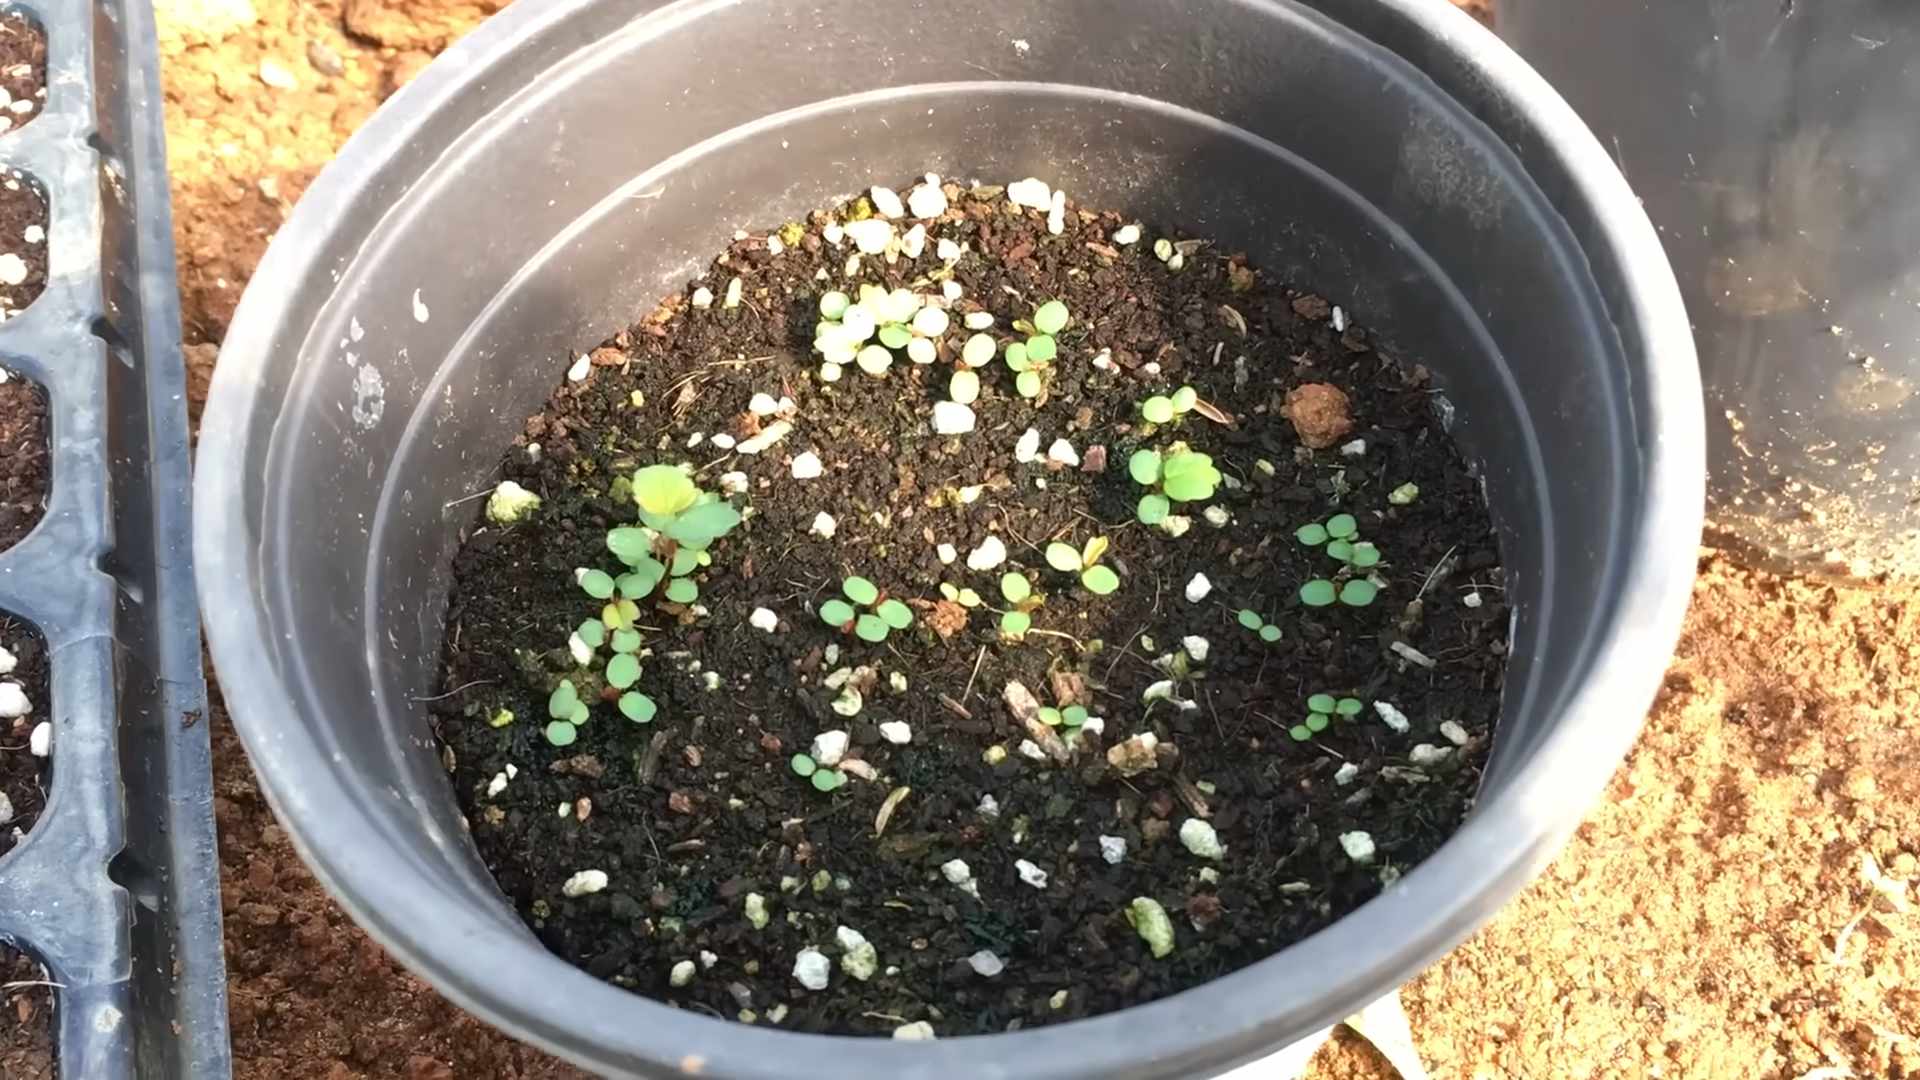
7. Be Patient: Strawberry seeds can take anywhere from 1 to 4 weeks to germinate, so don’t get discouraged if you don’t see anything right away. Keep the soil consistently moist and the temperature warm.
8. Ventilate: Once you see seedlings emerge, remove the plastic dome or plastic wrap for a few hours each day to allow for air circulation. This will help prevent fungal diseases. Gradually increase the ventilation time over the next few days until you can remove the cover completely.
Phase 2: Caring for Your Seedlings
Once your seedlings have sprouted, it’s time to focus on providing them with the right conditions to grow strong and healthy.
1. Watering: Continue to water the seedlings regularly, but be careful not to overwater. The soil should be moist, but not soggy. Water from the bottom by placing the tray in a shallow dish of water and allowing the soil to absorb the moisture. This will help prevent damping off, a fungal disease that can kill young seedlings.
2. Light: Ensure your seedlings are getting plenty of light. If you’re using a grow light, keep it a few inches above the plants. If you’re using a window, make sure it’s a south-facing window that gets at least 6 hours of sunlight per day.
3. Thinning: Once the seedlings have their first true leaves (the leaves that appear after the initial seed leaves), thin them out to one seedling per cell. Choose the strongest, healthiest-looking seedling and snip off the others at the soil line. I know it’s hard to do, but it’s necessary to give the remaining seedling enough space and nutrients to thrive.
4. Fertilizing: Start fertilizing your seedlings with a diluted liquid fertilizer (half-strength) every 2 weeks. Look for a fertilizer that’s specifically formulated for seedlings or vegetables.
5. Hardening Off: Before transplanting your seedlings outdoors, you need to “harden them off.” This means gradually acclimating them to the outdoor conditions. Start by placing the trays outdoors in a sheltered location for an hour or two each day. Gradually increase the amount of time they spend outdoors over the course of a week or two. This will help them adjust to the sun, wind, and temperature changes.
Phase 3: Transplanting Outdoors
Now for the exciting part – planting your strawberry seedlings in their permanent home!
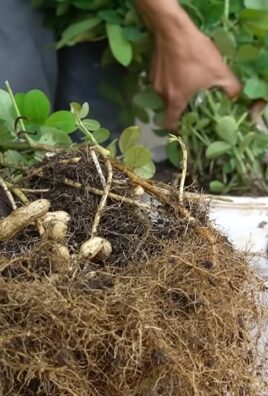
1. Choose a Location: Strawberries need at least 6-8 hours of sunlight per day. They also prefer well-drained soil that’s rich in organic matter. Avoid planting them in areas where tomatoes, peppers, or eggplants have recently grown, as these plants can harbor diseases that can affect strawberries.
2. Prepare the Soil: Amend the soil with compost or other organic matter to improve drainage and fertility. Strawberries like slightly acidic soil, so you can also add some peat moss or sulfur to lower the pH. Aim for a pH of around 5.5-6.5.
3. Planting Time: The best time to transplant strawberry seedlings is in the spring, after the last frost. Make sure the soil has warmed up to at least 50°F (10°C).
4. Planting Technique: Dig holes that are large enough to accommodate the root balls of the seedlings. Gently remove the seedlings from their trays or pots and place them in the holes. Make sure the crown of the plant (the point where the roots meet the stem) is level with the soil surface. Backfill the holes with soil and gently firm the soil around the plants.
5. Spacing: Space June-bearing strawberries about 18-24 inches apart in rows that are 3-4 feet apart. Everbearing and day-neutral strawberries can be planted closer together, about 12 inches apart in rows that are 2-3 feet apart.
6. Watering: Water the newly transplanted seedlings thoroughly.
7. Mulching: Apply a layer of mulch around the plants to help retain moisture, suppress weeds, and keep the berries clean. Straw, pine needles, or wood chips are all good options.
Phase 4: Ongoing Care
Congratulations, you’ve successfully transplanted your strawberry seedlings! Now it’s time to provide them with the ongoing care they need to thrive and produce delicious berries.
1. Watering: Water your strawberry plants regularly, especially during dry periods. Aim to keep the soil consistently moist, but not soggy. Water deeply and less frequently, rather than shallowly and more often.
2. Fertilizing: Fertilize your strawberry plants every 4-6 weeks with a balanced fertilizer. Follow the instructions on the fertilizer package.
3. Weeding: Keep the area around your strawberry plants free of weeds. Weeds compete with the plants for water and nutrients.
4. Pest and Disease Control: Monitor your strawberry plants regularly for pests and diseases. Common pests include aphids, spider mites, and slugs. Common diseases include powdery mildew and gray mold. Treat any problems promptly with appropriate organic pesticides or fungicides.
5. Renovating June-Bearing Strawberries: After June-bearing strawberries have finished fruiting, it’s important to renovate them to keep them productive. This involves mowing the plants down to about 1 inch above the ground and thinning out the runners. This will encourage new growth and improve air circulation.
6. Removing Runners: Everbearing and day-neutral strawberries produce runners (stems that grow horizontally and produce new plants). If you want to maximize fruit production, remove the runners as they appear. However, if you want to propagate new plants, you can allow the runners to root in the soil.
7. Protecting from Birds: Birds love strawberries just as much as we do! To protect your berries, you can cover the plants with netting.
8. Winter Protection: In colder climates, it’s important to protect your strawberry plants from the winter cold. After the first frost, cover the plants with a thick layer of straw or other mulch.
Conclusion
So, there you have it! Growing strawberries from seed might seem like a daunting task at first, but with a little patience and the right approach, you can cultivate your own patch of delicious, homegrown berries. This DIY trick isn’t just about saving money; it’s about experiencing the satisfaction of nurturing life from its very beginning and enjoying the unparalleled flavor of strawberries you’ve grown yourself. Store-bought strawberries simply can’t compare to the burst of sweetness and freshness you get from a berry picked straight from your own garden.
Why is this a must-try? Because it empowers you to control the entire process, from seed selection to harvest. You can choose heirloom varieties that are rarely found in supermarkets, experiment with different growing techniques, and ultimately, tailor your strawberry patch to your specific tastes and climate. Imagine the joy of sharing your homegrown strawberries with friends and family, knowing that you nurtured them from tiny seeds into plump, juicy fruits.
But the fun doesn’t stop there! Consider these variations to personalize your strawberry-growing journey:
* Vertical Strawberry Gardens: If you’re short on space, try growing your strawberries in a vertical garden. This is a great way to maximize your yield in a small area and adds a beautiful aesthetic element to your patio or balcony. You can use stacked planters, hanging baskets, or even repurposed pallets to create your vertical strawberry oasis.
* Hydroponic Strawberries: For a more advanced approach, explore hydroponic strawberry cultivation. This soilless method allows you to precisely control the nutrient supply and growing environment, potentially leading to faster growth and higher yields.
* Companion Planting: Enhance your strawberry patch by incorporating companion plants like basil, thyme, or borage. These herbs can help deter pests, attract beneficial insects, and even improve the flavor of your strawberries.
* Different Strawberry Varieties: Don’t limit yourself to just one type of strawberry! Experiment with different varieties like everbearing, June-bearing, or day-neutral strawberries to extend your harvest season and enjoy a wider range of flavors and textures. Alpine strawberries are also a great choice for a unique, intensely flavored berry.
Ultimately, the best way to learn is by doing. Don’t be afraid to experiment, make mistakes, and learn from your experiences. Growing strawberries from seed is a rewarding journey that will connect you with nature and provide you with a delicious bounty.
We encourage you to embark on this adventure and discover the joys of growing your own strawberries from seed. Once you’ve tried it, we’d love to hear about your experience! Share your tips, successes, and challenges in the comments below. Let’s build a community of strawberry enthusiasts and learn from each other. Happy growing!
Frequently Asked Questions (FAQ)
What are the best strawberry varieties to grow from seed?
While many strawberry varieties are propagated through runners, some are well-suited for growing from seed. Alpine strawberries, such as ‘Mignonette’ and ‘Yellow Wonder,’ are particularly popular choices due to their reliable germination and delicious flavor. Day-neutral varieties, like ‘Tristan’ and ‘Temptation,’ can also be grown from seed and offer a longer harvest season. Research the specific varieties that thrive in your local climate and consider your personal taste preferences when making your selection. Remember that hybrid varieties may not produce true-to-type offspring from seed, so heirloom or open-pollinated varieties are generally preferred for seed saving.
How long does it take to grow strawberries from seed to harvest?
Growing strawberries from seed requires patience, as it typically takes several months to reach harvest. After germination, the seedlings need time to develop a strong root system and foliage. Generally, you can expect to wait around 6-12 months from sowing the seeds to harvesting your first strawberries. Starting the seeds indoors in late winter or early spring can give you a head start and allow you to transplant the seedlings outdoors once the weather warms up. Be patient and provide the plants with proper care, and you’ll be rewarded with a bountiful harvest.
What are the most common challenges when growing strawberries from seed, and how can I overcome them?
One of the biggest challenges is achieving successful germination. Strawberry seeds require a period of cold stratification to break dormancy, so be sure to chill them in the refrigerator for several weeks before sowing. Another challenge is damping-off, a fungal disease that can kill young seedlings. To prevent damping-off, use a sterile seed-starting mix, provide good air circulation, and avoid overwatering. Pests like slugs and snails can also be a problem, so take preventative measures such as using copper tape or diatomaceous earth. Finally, be prepared to thin out the seedlings to provide adequate space for each plant to grow.
What kind of soil and fertilizer do strawberries need?
Strawberries thrive in well-drained, slightly acidic soil with a pH between 5.5 and 6.5. Amend your soil with compost or other organic matter to improve drainage and fertility. When fertilizing, use a balanced fertilizer with equal amounts of nitrogen, phosphorus, and potassium during the early stages of growth. Once the plants start to flower and produce fruit, switch to a fertilizer that is higher in phosphorus and potassium to promote fruit development. Avoid over-fertilizing, as this can lead to excessive foliage growth at the expense of fruit production.
How often should I water my strawberry plants?
Strawberries need consistent moisture, especially during flowering and fruiting. Water deeply whenever the top inch of soil feels dry to the touch. Avoid overhead watering, as this can increase the risk of fungal diseases. Drip irrigation or soaker hoses are ideal for delivering water directly to the roots. During hot, dry weather, you may need to water your strawberry plants more frequently. Mulching around the plants can help to retain moisture and suppress weeds.
Can I grow strawberries from seed in containers?
Yes, growing strawberries from seed in containers is a great option, especially if you have limited space. Choose containers that are at least 6 inches deep and have good drainage holes. Use a high-quality potting mix and provide the plants with plenty of sunlight. Container-grown strawberries may require more frequent watering and fertilizing than those grown in the ground. Consider using self-watering containers to simplify the watering process.
How do I protect my strawberry plants from pests and diseases?
Regularly inspect your strawberry plants for signs of pests and diseases. Common pests include aphids, spider mites, and slugs. Control aphids and spider mites with insecticidal soap or neem oil. Use copper tape or diatomaceous earth to deter slugs. Prevent fungal diseases by providing good air circulation, avoiding overhead watering, and removing any infected leaves. Consider using organic fungicides if necessary. Bird netting can also be used to protect your strawberries from birds.
How do I overwinter my strawberry plants?
In colder climates, strawberry plants need protection during the winter months. After the first frost, mulch around the plants with straw or pine needles to insulate the roots. In very cold areas, you may need to cover the plants with a row cover or move them to a sheltered location. Container-grown strawberries are more susceptible to cold damage, so it’s best to move them to a garage or shed that stays above freezing. Remove the mulch in the spring once the weather warms up.
How do I harvest strawberries?
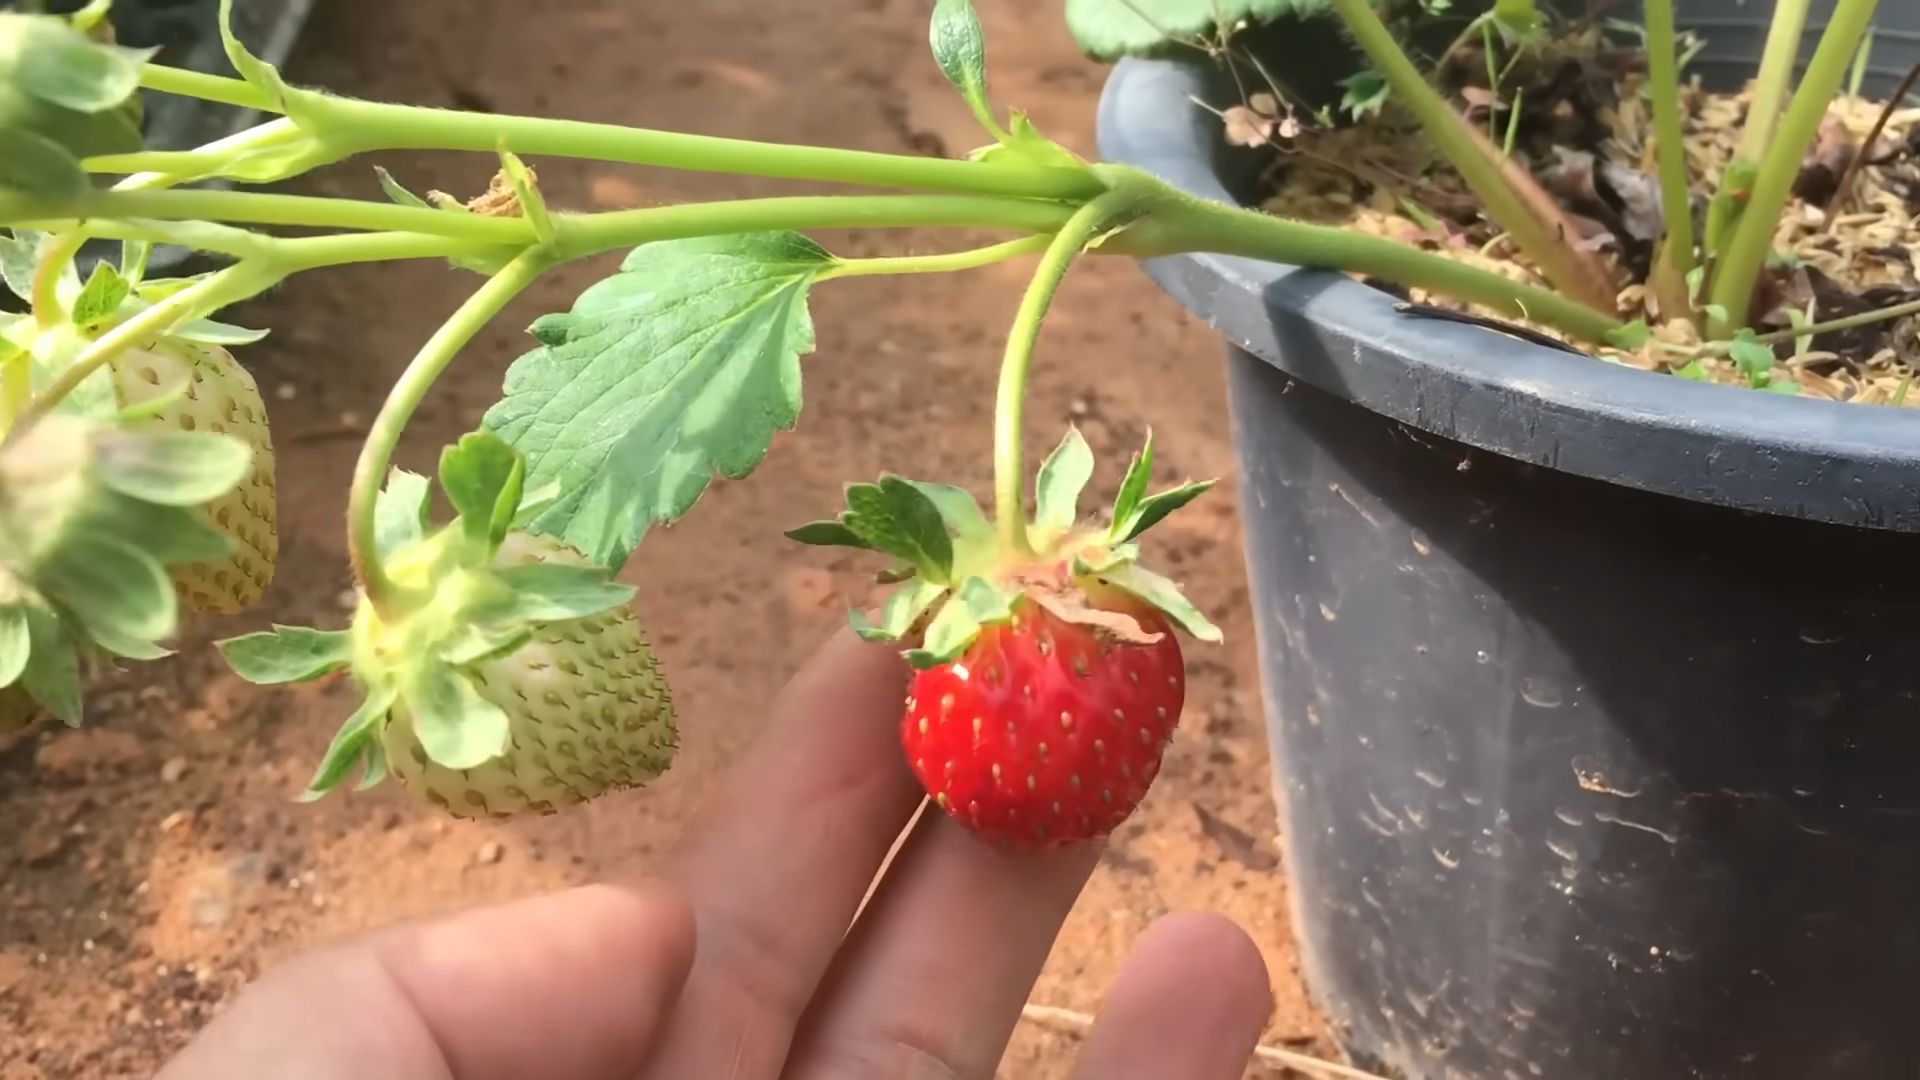
Strawberries are ready to harvest when they are fully red and easily detach from the plant. Gently grasp the berry and twist it off the stem. Harvest strawberries in the morning when they are cool and dry. Avoid bruising the berries during harvest. Store harvested strawberries in the refrigerator and use them within a few days.
Can I save seeds from my homegrown strawberries?
Yes, you can save seeds from your homegrown strawberries, but keep in mind that hybrid varieties may not produce true-to-type offspring. To save seeds, allow the strawberries to fully ripen on the plant. Then, remove the seeds from the surface of the berry and dry them thoroughly. Store the dried seeds in an airtight container in a cool, dark place. Remember that strawberry seeds require cold stratification before they will germinate, so be sure to chill them in the refrigerator for several weeks before sowing.
Leave a Comment