

Growing radishes in small spaces might seem like a challenge, but trust me, it’s totally achievable and incredibly rewarding! Have you ever dreamed of snipping fresh, peppery radishes right from your own tiny balcony garden? Imagine adding that vibrant crunch to your salads, knowing you grew them yourself, even without a sprawling backyard. This article is your ultimate guide to making that dream a reality.
Radishes have a surprisingly rich history, dating back to ancient times. They were cultivated in Egypt before the pyramids were even built! Throughout history, they’ve been valued not only for their taste but also for their medicinal properties. Today, in our increasingly urbanized world, the need for accessible and space-saving gardening solutions is greater than ever. Many of us crave that connection to nature and the satisfaction of growing our own food, but lack the space to do so.
That’s where these DIY tricks and hacks come in. Growing radishes in small spaces allows you to enjoy fresh, homegrown produce regardless of your living situation. I’m going to share simple, effective techniques that will help you maximize your yield, choose the right varieties, and troubleshoot common problems. Get ready to transform your balcony, patio, or even a sunny windowsill into a thriving radish patch!
Growing Radishes in Small Spaces: A DIY Guide
Hey there, fellow gardening enthusiasts! So, you’re itching to grow something, but you’re short on space? Don’t worry, I’ve got you covered! Radishes are your answer. These little guys are super fast growers, incredibly versatile, and perfect for containers, balconies, or even a sunny windowsill. I’m going to walk you through everything you need to know to successfully grow radishes in small spaces. Let’s get our hands dirty!
Choosing the Right Radish Variety
First things first, let’s talk about radish varieties. Not all radishes are created equal, especially when it comes to small-space gardening. Some varieties get quite large, which isn’t ideal for containers. Here are a few of my favorites that thrive in limited space:
* Cherry Belle: This is a classic, round, bright red radish. It’s quick to mature (about 22 days) and has a mild flavor.
* French Breakfast: These are elongated, red radishes with a white tip. They have a slightly milder, sweeter flavor than Cherry Belle and mature in about 25 days.
* Easter Egg: This variety is a mix of different colored radishes (red, pink, purple, white) and adds a fun touch to your garden. They mature in about 28 days.
* Sparkler: Similar to Cherry Belle, but with a white tip. They are quick to mature and have a crisp, mild flavor.
Gathering Your Supplies
Okay, now that we’ve picked our radish variety, let’s gather our supplies. Here’s what you’ll need:
* Container: Choose a container that’s at least 6 inches deep and wide. Radishes don’t need a ton of space, but they do need enough room for their roots to develop. A wider container will allow you to plant more radishes.
* Potting Mix: Use a high-quality potting mix that drains well. Avoid using garden soil, as it can compact in containers and hinder root growth. I like to use a mix that includes compost for added nutrients.
* Radish Seeds: Of course! Make sure you buy fresh seeds from a reputable source.
* Watering Can or Hose: You’ll need a way to water your radishes regularly.
* Fertilizer (Optional): A balanced liquid fertilizer can help boost growth, but it’s not essential.
* Trowel or Small Shovel: For planting the seeds.
* Sunlight: Radishes need at least 6 hours of sunlight per day. Choose a sunny spot for your container.
Planting Your Radish Seeds
Alright, let’s get planting! This is the fun part.
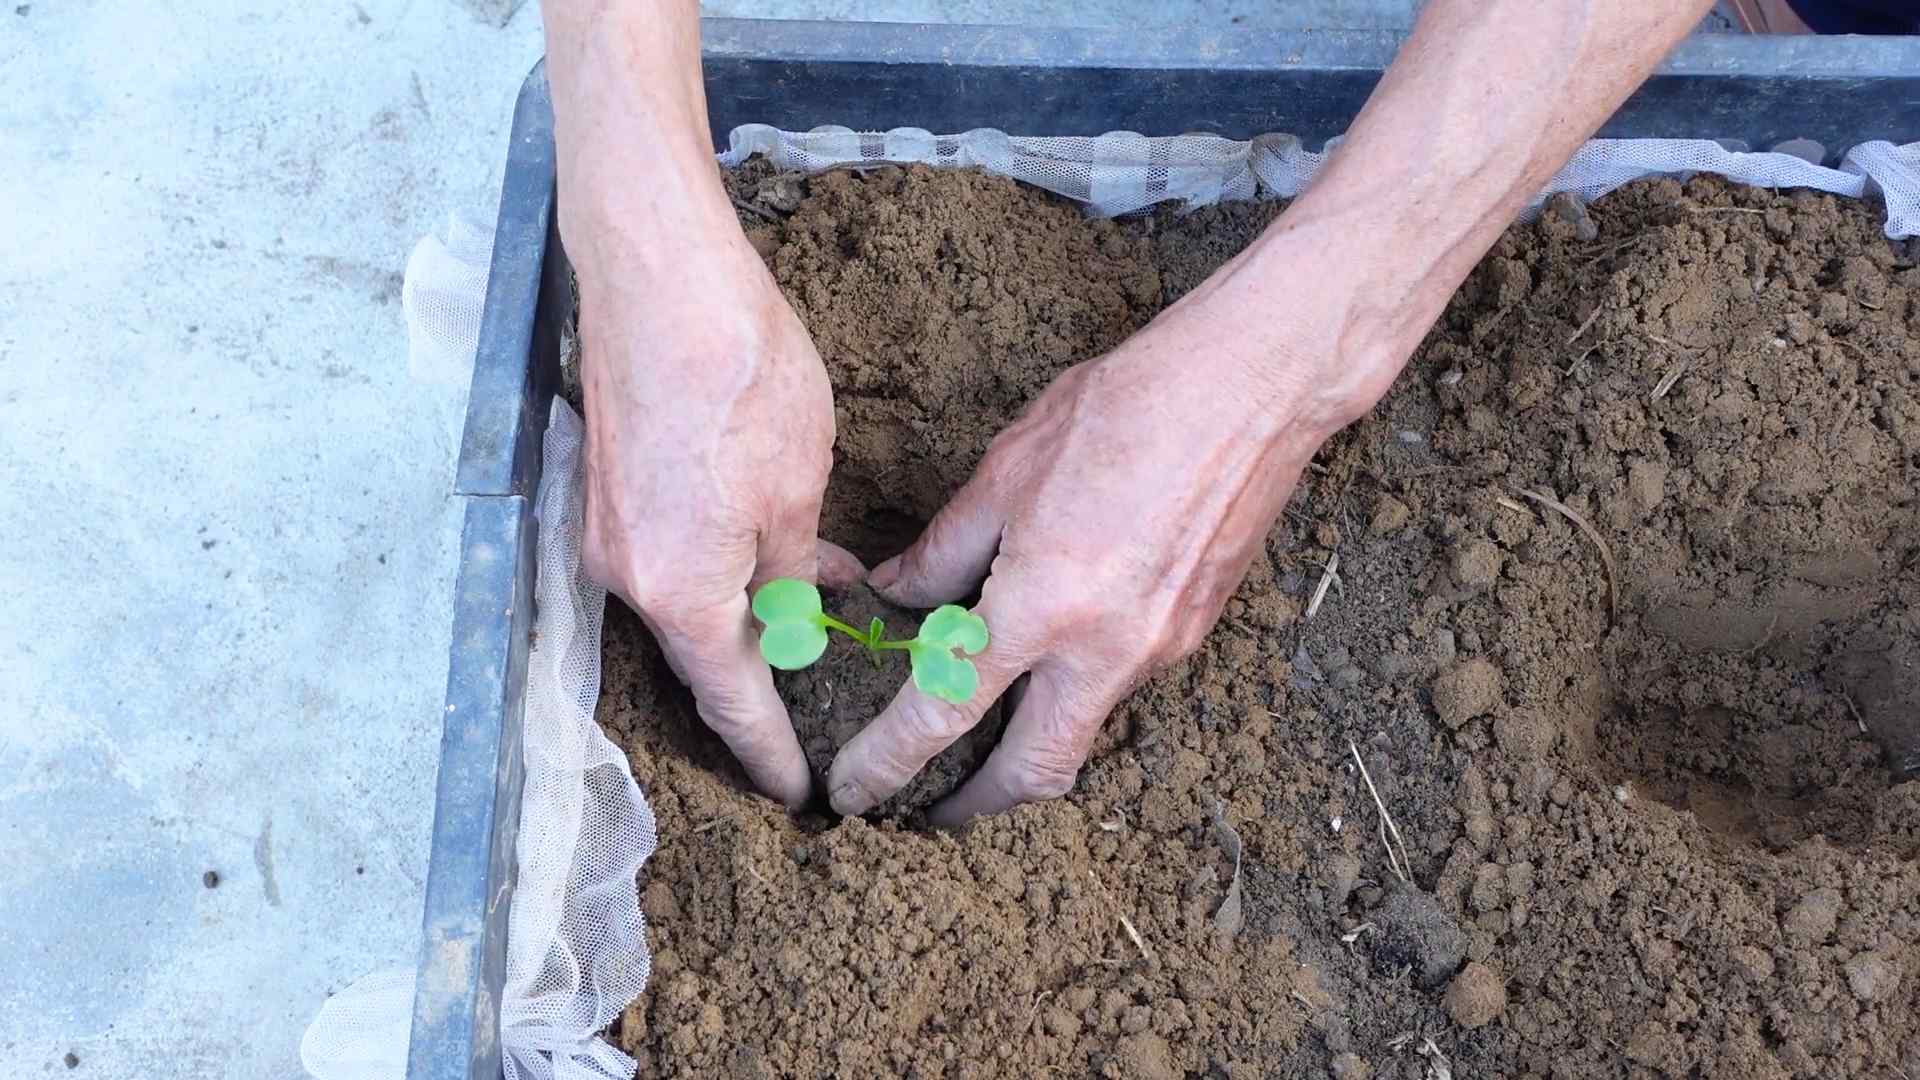
1. Prepare the Container: Fill your container with potting mix, leaving about an inch of space at the top. Gently pat down the soil to remove any air pockets.
2. Sow the Seeds: Radish seeds are small, so you don’t need to plant them too deep. Sow the seeds about 陆 inch deep and 1 inch apart. If you’re planting in rows, space the rows about 2 inches apart.
3. Cover the Seeds: Gently cover the seeds with potting mix.
4. Water Thoroughly: Water the container thoroughly until the soil is moist but not soggy.
5. Label Your Container: It’s always a good idea to label your container with the radish variety and the date you planted them. This will help you keep track of your progress.
Caring for Your Radishes
Now that your radishes are planted, it’s time to take care of them. Here’s what you need to do:
1. Water Regularly: Radishes need consistent moisture to grow quickly and develop a good flavor. Water them regularly, especially during hot, dry weather. The soil should be moist but not waterlogged. I usually check the soil moisture every day and water when the top inch feels dry.
2. Thin Seedlings (If Necessary): If your seedlings are too close together, thin them out to about 1 inch apart. This will give them enough room to grow. You can use small scissors to snip off the extra seedlings at the soil line.
3. Fertilize (Optional): If you want to give your radishes a boost, you can fertilize them with a balanced liquid fertilizer every two weeks. Follow the instructions on the fertilizer label. I personally don’t always fertilize, but it can help if your soil is lacking nutrients.
4. Weed Regularly: Keep your container free of weeds. Weeds can compete with your radishes for nutrients and water.
5. Monitor for Pests and Diseases: Radishes are generally pest-resistant, but they can sometimes be affected by flea beetles or aphids. If you notice any pests, you can try spraying them with insecticidal soap. Diseases are rare, but good air circulation and proper watering can help prevent them.
Harvesting Your Radishes
The best part! Radishes are quick growers, so you won’t have to wait long to harvest them.
1. Check for Maturity: Radishes are typically ready to harvest in 20-30 days, depending on the variety. Check the seed packet for the specific maturity date. You can also check the size of the radishes. They should be about 1 inch in diameter.
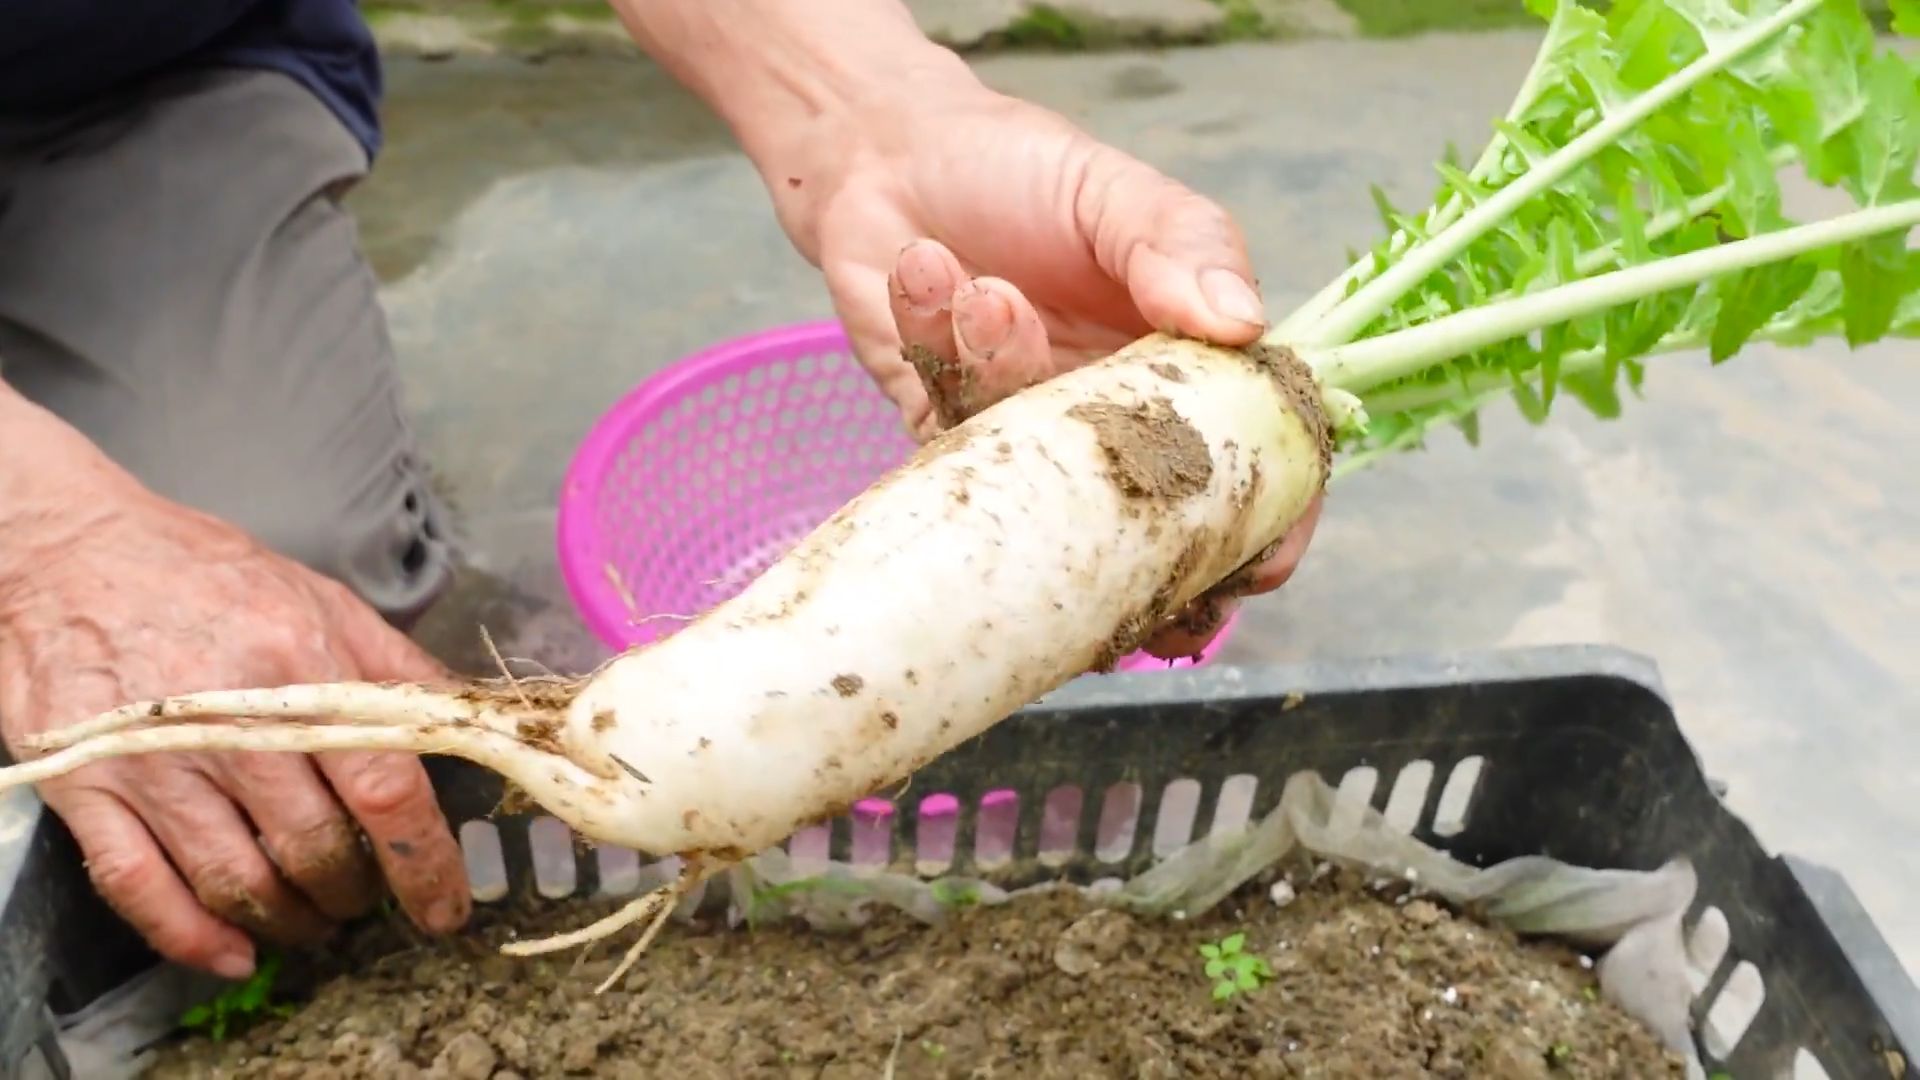
2. Harvest Carefully: To harvest your radishes, gently pull them from the soil. If the soil is dry, you may need to loosen it with a trowel first.
3. Wash and Enjoy: Wash your radishes thoroughly and enjoy them fresh. They’re delicious in salads, sandwiches, or as a crunchy snack.
Troubleshooting
Even with the best care, you might encounter a few problems along the way. Here are some common issues and how to fix them:
* Radishes are too spicy: This is often caused by hot weather or inconsistent watering. Make sure to water your radishes regularly and provide some shade during the hottest part of the day.
* Radishes are small and stunted: This could be due to poor soil, lack of nutrients, or overcrowding. Make sure you’re using a good quality potting mix, fertilize if necessary, and thin your seedlings properly.
* Radishes are cracking: This is usually caused by inconsistent watering. Water your radishes regularly and avoid letting the soil dry out completely.
* Radishes are all leaves and no root: This can be caused by too much nitrogen in the soil. Avoid using fertilizers that are high in nitrogen.
Succession Planting
To enjoy a continuous harvest of radishes, try succession planting. This means planting a new batch of seeds every week or two. This way, you’ll always have fresh radishes to harvest. I usually plant a small handful of seeds every week to keep the harvest coming.
Extra Tips for Small-Space Radish Growing
Here are a few extra tips to help you succeed:
* Choose the right container: Make sure your container is large enough for the number of radishes you want to grow.
* Use high-quality potting mix: This will provide your radishes with the nutrients they need to grow.
* Water regularly: Radishes need consistent moisture to grow quickly and develop a good flavor.
* Provide plenty of sunlight: Radishes need at least 6 hours of sunlight per day.
* Harvest promptly: Radishes can become woody and bitter if they’re left in the ground too long.
* Consider companion planting: Radishes are said to grow well alongside carrots, lettuce, and spinach.
Enjoy Your Homegrown Radishes!
Growing radishes in small spaces is a rewarding and easy way to enjoy fresh, homegrown produce. With a little care and attention, you can have a bountiful harvest of delicious radishes in just a few weeks. So, grab your seeds, get planting, and enjoy the fruits (or rather, roots!) of your labor! Happy gardening!
Conclusion
So, there you have it! Growing radishes in small spaces is not only achievable but also incredibly rewarding. We’ve walked you through the simple steps, from choosing the right container and soil to ensuring proper watering and sunlight. But why should you bother with this DIY project when you can simply buy radishes at the store? The answer lies in the unparalleled freshness and flavor you’ll experience with homegrown radishes. Imagine the crisp, peppery bite of a radish you harvested just moments before adding it to your salad or enjoying it as a crunchy snack. That’s a taste you simply can’t replicate with store-bought produce.
Beyond the superior taste, growing your own radishes offers a sense of accomplishment and connection to nature, even in the smallest of urban environments. It’s a fantastic way to introduce children to gardening and teach them about where their food comes from. Plus, it’s a sustainable practice that reduces your reliance on commercially grown produce and minimizes your carbon footprint.
But the best part? The possibilities are endless! Experiment with different radish varieties to discover your favorites. Try French Breakfast radishes for their mild flavor and elongated shape, or opt for Cherry Belle radishes for their classic round appearance and vibrant red color. You can even grow colorful varieties like Easter Egg radishes, which come in a mix of red, pink, purple, and white.
Don’t be afraid to get creative with your container gardening setup. Use repurposed containers like old buckets, plastic tubs, or even fabric grow bags. Just make sure they have adequate drainage to prevent waterlogging. You can also companion plant your radishes with other vegetables like carrots, lettuce, or spinach to maximize space and deter pests.
And if you’re feeling adventurous, why not try growing radishes indoors during the colder months? With a grow light and a sunny windowsill, you can enjoy fresh radishes year-round.
Growing radishes in small spaces is a must-try for anyone who loves fresh, flavorful produce and enjoys the satisfaction of growing their own food. It’s a simple, affordable, and rewarding project that can bring a touch of nature to even the most urban of settings.
We encourage you to give this DIY trick a try and share your experience with us! Let us know what varieties you grew, what challenges you faced, and what tips you discovered along the way. Share your photos and stories on social media using #SmallSpaceRadishes and inspire others to join the fun. We can’t wait to see what you create! Happy gardening!
Frequently Asked Questions (FAQ)
What is the best time of year to plant radishes?
Radishes are cool-season crops, meaning they thrive in cooler temperatures. The best time to plant them is in early spring or late summer/early fall. In the spring, plant them as soon as the soil is workable, typically a few weeks before the last expected frost. For a fall harvest, plant them about 4-6 weeks before the first expected frost. Avoid planting radishes during the hottest months of summer, as they tend to bolt (go to seed) in high temperatures, resulting in poor-quality roots.
How much sunlight do radishes need?
Radishes need at least 6 hours of sunlight per day to grow properly. If you’re growing them indoors, supplement natural light with a grow light to ensure they receive adequate illumination. Insufficient sunlight can lead to leggy growth and small, underdeveloped roots.
What kind of soil is best for growing radishes?
Radishes prefer loose, well-drained soil that is rich in organic matter. Amend heavy clay soil with compost or other organic materials to improve drainage and aeration. A slightly acidic to neutral soil pH (around 6.0 to 7.0) is ideal. Avoid soils that are compacted or rocky, as they can hinder root development.
How often should I water my radishes?
Radishes need consistent moisture to grow quickly and develop plump, juicy roots. Water them regularly, especially during dry spells. Aim to keep the soil consistently moist but not waterlogged. Overwatering can lead to root rot, while underwatering can cause the roots to become tough and bitter. Check the soil moisture regularly and water when the top inch feels dry to the touch.
How long does it take for radishes to mature?
One of the great things about radishes is that they mature very quickly. Most varieties are ready to harvest in just 3-4 weeks from planting. Check the seed packet for specific maturity times for the variety you’re growing.
How do I know when my radishes are ready to harvest?
The best way to tell if your radishes are ready to harvest is to check their size. Most varieties are ready when the roots are about 1 inch in diameter. You can also gently brush away some of the soil around the base of the plant to get a better look at the root. If the roots are the desired size, pull them up carefully. Don’t let them get too big, as they can become woody and bitter.
What are some common pests and diseases that affect radishes?
Radishes are generally easy to grow and are not prone to many serious pests or diseases. However, some common problems include flea beetles, root maggots, and fungal diseases like damping-off. Flea beetles can chew small holes in the leaves, while root maggots can damage the roots. Damping-off is a fungal disease that can kill seedlings. To prevent these problems, practice good garden hygiene, such as removing plant debris and avoiding overwatering. You can also use row covers to protect your plants from pests.
Can I eat the radish greens?
Yes, radish greens are edible and nutritious! They have a peppery flavor similar to the roots. You can add them to salads, stir-fries, or soups. Just be sure to wash them thoroughly before eating.
What are some good companion plants for radishes?
Radishes are good companion plants for many other vegetables, including carrots, lettuce, spinach, and cucumbers. They can help to deter pests and improve soil health. Avoid planting radishes near hyssop, as it can inhibit their growth.
Can I grow radishes in containers indoors?
Yes, you can absolutely grow radishes in containers indoors. Choose a container that is at least 6 inches deep and wide, and fill it with well-draining potting mix. Place the container in a sunny location or under a grow light. Water regularly and fertilize with a balanced fertilizer.

Leave a Comment