

Regrow Green Onions From Scraps: Tired of tossing those little green onion ends in the trash? I know I was! It felt like such a waste, especially when fresh green onions add that perfect zing to so many dishes. But what if I told you that you could have a never-ending supply of these flavorful alliums, right from your own kitchen?
The practice of propagating vegetables, like regrowing green onions, has roots that stretch back centuries. Historically, resourceful gardeners have always sought ways to maximize their yields and minimize waste. It’s a testament to human ingenuity and our deep connection to the land. Think about it – our ancestors didn’t have supermarkets; they relied on their resourcefulness to feed their families. This simple act of regrowing is a nod to that tradition.
These days, with rising grocery costs and a growing awareness of food waste, learning how to regrow green onions from scraps is more relevant than ever. Imagine the satisfaction of snipping fresh green onions from a container on your windowsill, knowing you’ve saved money and reduced your environmental impact. Plus, it’s incredibly easy and a fantastic way to introduce kids to the magic of gardening. This DIY trick is not just about saving a few bucks; it’s about connecting with nature, reducing waste, and enjoying the freshest possible ingredients. So, let’s dive in and discover how you can easily transform those kitchen scraps into a thriving green onion patch!
Regrowing Green Onions From Scraps: A Gardener’s Delight!
Hey there, fellow plant enthusiasts! Are you tired of constantly buying green onions at the grocery store? I have a fantastic, super easy DIY hack for you: regrowing them from the scraps you’d normally toss in the compost! It’s a fun, sustainable way to have fresh green onions readily available, and trust me, it’s incredibly rewarding to watch them sprout back to life. Let’s dive in!
What You’ll Need
Before we get started, gather these simple supplies:
* Green onion scraps (the white part with the roots attached)
* A glass or jar
* Water
* A sunny windowsill
* Potting soil (optional, for long-term growth)
* A small pot (optional, for long-term growth)
* Scissors or a knife
The Basic Water Method: Quick and Easy
This is the simplest method, perfect for beginners. It’s a great way to quickly regrow your green onions and have them ready for cooking in no time.
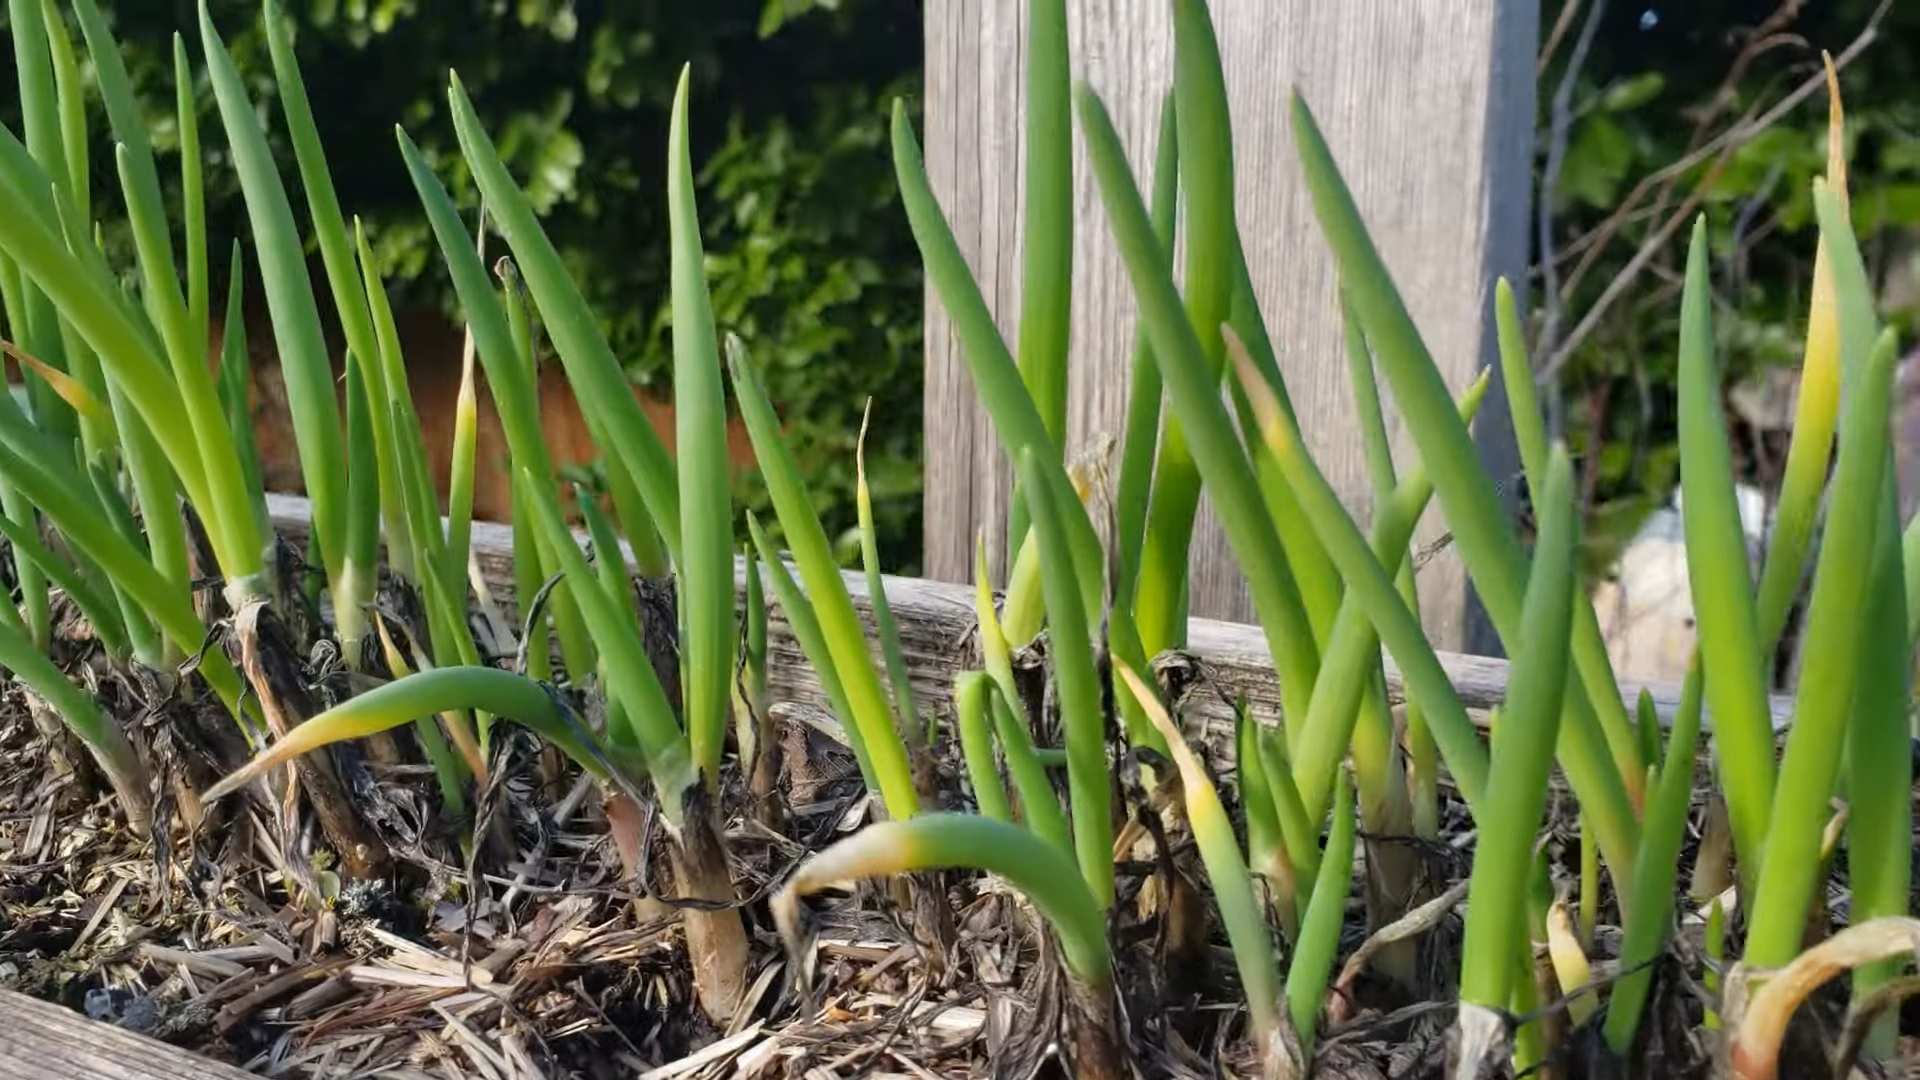
1. Prepare the Scraps: After using your green onions, don’t throw away the white bulbous ends with the roots! Cut off the green parts, leaving about 1-2 inches of the white base intact. Make sure the roots are still attached. If the roots are excessively long, you can trim them slightly to about an inch. This encourages new root growth.
2. Find the Perfect Glass: Grab a small glass or jar. It should be wide enough to hold the green onion scraps upright without them tipping over. A shot glass, small mason jar, or even a recycled yogurt container works perfectly.
3. Add Water: Fill the glass with enough water to cover the roots, but not so much that it submerges the entire white part of the onion. You want the very bottom of the white part to be in the water, but the majority of it should be above the waterline. This prevents rotting.
4. Place in a Sunny Spot: Find a sunny windowsill where your green onions will receive plenty of light. A south-facing window is ideal, but an east or west-facing window will also work. Sunlight is crucial for photosynthesis and healthy growth.
5. Change the Water Regularly: This is important! Change the water every 1-2 days to prevent bacteria growth and keep the water fresh. Stale water can lead to rot and hinder growth.
6. Watch Them Grow! Within a few days, you’ll start to see new green shoots emerging from the top of the white base. It’s amazing how quickly they grow!
7. Harvest and Enjoy: Once the green shoots have grown to a usable length (usually a few inches), you can harvest them by cutting them with scissors. Leave about an inch or two of the green shoots so they can continue to grow. You can repeat this process several times before the green onion scraps lose their vigor.
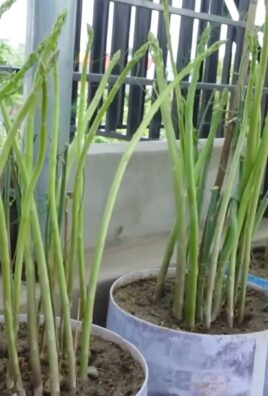
Transplanting to Soil: For a More Permanent Solution
While the water method is great for quick regrowth, transplanting your green onions to soil will give them a more stable environment and allow them to grow larger and stronger. This is my preferred method for a continuous supply.
1. Follow Steps 1-7 of the Water Method: Start by regrowing your green onions in water until they have established roots and new green shoots. This usually takes about a week or two.
2. Prepare Your Pot: Choose a small pot with drainage holes. Fill it with good-quality potting soil. I like to use a mix of potting soil, compost, and perlite for good drainage and nutrient content.
3. Create a Hole: Use your finger or a small tool to create a hole in the soil deep enough to accommodate the roots of your green onion scrap.
4. Carefully Transplant: Gently remove the green onion scrap from the water and carefully place it in the hole. Make sure the roots are spread out and covered with soil. The white part of the onion should be mostly buried, with only the green shoots exposed.
5. Water Thoroughly: Water the soil thoroughly after transplanting. Make sure the water drains out of the drainage holes.
6. Place in a Sunny Spot: Just like with the water method, place your potted green onion in a sunny windowsill.
7. Water Regularly: Keep the soil consistently moist, but not soggy. Water when the top inch of soil feels dry to the touch. Overwatering can lead to root rot.
8. Fertilize (Optional): To encourage even more growth, you can fertilize your green onions every few weeks with a diluted liquid fertilizer. I like to use a balanced fertilizer or a fertilizer specifically formulated for vegetables.
9. Harvest and Enjoy: You can harvest the green shoots as needed, just like with the water method. Cut them with scissors, leaving about an inch or two of the green shoots to continue growing.
Tips and Tricks for Green Onion Success
Here are some extra tips to help you get the most out of your green onion regrowing adventure:
* Choose Healthy Scraps: Start with healthy-looking green onion scraps. Avoid scraps that are mushy, discolored, or have a foul odor. The healthier the scrap, the better the chances of successful regrowth.
* Root Development: If your green onion scraps don’t have roots, don’t worry! They will usually develop roots within a few days of being placed in water.
* Sunlight is Key: Green onions need plenty of sunlight to thrive. If you don’t have a sunny windowsill, you can supplement with a grow light.
* Pest Control: Green onions are generally pest-resistant, but occasionally they may be affected by aphids or other small pests. If you notice any pests, you can try spraying them with a mixture of water and dish soap.
* Successive Planting: To ensure a continuous supply of green onions, start new scraps every week or two. This way, you’ll always have some green onions ready to harvest.
* Experiment with Varieties: There are many different varieties of green onions, so experiment with different types to see which ones you like best.
* Don’t Overwater: Overwatering is a common mistake that can lead to root rot. Make sure the soil is well-draining and only water when the top inch of soil feels dry.
* Rotate Your Crops: If you’re growing green onions in the same pot for a long time, it’s a good idea to rotate them with other crops to prevent nutrient depletion.
* Enjoy the Process! Regrowing green onions is a fun and rewarding experience. Don’t be afraid to experiment and learn as you go.
Troubleshooting Common Issues
Even with the best intentions, sometimes things don’t go as planned. Here are some common issues you might encounter and how to address them:
* Yellowing Leaves: Yellowing leaves can be a sign of overwatering, underwatering, or nutrient deficiency. Check the soil moisture and adjust your watering accordingly. If the soil is dry, water thoroughly. If the soil is soggy, allow it to dry out before watering again. You can also try fertilizing with a balanced fertilizer.
* Slow Growth: Slow growth can be caused by lack of sunlight, poor soil, or nutrient deficiency. Make sure your green onions are getting plenty of sunlight and that the soil is well-draining and nutrient-rich. You can also try fertilizing with a balanced fertilizer.
* Root Rot: Root rot is a fungal disease that can be caused by overwatering. If you suspect root rot, carefully remove the green onion from the pot and inspect the roots. If the roots are brown and mushy, trim them off with clean scissors. Repot the green onion in fresh, well-draining soil and water sparingly.
* Pests: As mentioned earlier, green onions can occasionally be affected by aphids or other small pests. If you notice any pests, you can try spraying them with a mixture of water and dish soap. You can also try introducing beneficial insects, such as ladybugs, to your garden.
Beyond Green Onions: Expanding Your Regrowing Skills
Once you’ve mastered regrowing green onions, you can try regrowing other vegetables from scraps! Some other easy vegetables to regrow include:
* Lettuce: Place the lettuce stump in a bowl of water and watch it regrow.
* Celery: Place the celery base in a bowl of water and watch it regrow.
* Garlic: Plant a garlic clove in soil and watch it grow into a new garlic plant.
* Ginger: Plant a piece of ginger root in soil and watch it grow into a new ginger plant.
* Basil: Place basil cuttings in water and watch them root.
Regrowing vegetables from scraps is a great way to reduce food waste, save money, and enjoy fresh, homegrown produce. So, get started today and see what you can grow! I hope you found this guide helpful. Happy gardening!

Conclusion
So, there you have it! Regrowing green onions from scraps isn’t just a fun kitchen experiment; it’s a genuinely practical way to reduce food waste, save money, and always have fresh green onions on hand. Think about it: no more last-minute trips to the grocery store when you realize you’re out of this essential ingredient. No more throwing away those perfectly good green onion bottoms. It’s a small change that makes a surprisingly big difference.
This simple DIY trick is a must-try for anyone who loves to cook, enjoys gardening (even on a small scale), or is simply looking for ways to be more sustainable. It’s incredibly easy, requires minimal effort, and yields impressive results. The satisfaction of watching those little green shoots sprout and grow is surprisingly rewarding.
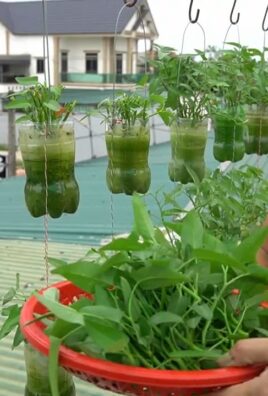
Beyond the basic water method, there are so many ways to customize this process. Try planting your regrown green onions in soil for even more robust growth and a longer lifespan. Experiment with different containers – from repurposed jars to dedicated herb planters. You can even try feeding your green onions with diluted liquid fertilizer every few weeks to boost their growth. Consider planting them in a sunny spot outdoors during warmer months for an even bigger harvest.
Don’t be afraid to get creative! You can even try regrowing other vegetables from scraps, like celery, lettuce, or even ginger. The possibilities are endless.
We truly believe that once you try this simple method for regrowing green onions, you’ll be hooked. It’s a game-changer for your kitchen and a small step towards a more sustainable lifestyle.
So, what are you waiting for? Grab those green onion scraps, give this DIY trick a try, and let us know how it goes! Share your experiences, tips, and photos in the comments below. We can’t wait to see your thriving green onion gardens! We are confident that you will find that regrowing green onions from scraps is a rewarding and sustainable practice.
Frequently Asked Questions (FAQs)
How long does it take for green onions to regrow?
Generally, you’ll start to see noticeable regrowth within a few days, usually around 3-5 days. Within a week or two, you’ll have enough green onion to harvest. The speed of regrowth depends on factors like temperature, sunlight, and the initial health of the green onion scraps. Warmer temperatures and ample sunlight will encourage faster growth.
What part of the green onion do I need to regrow it?
You only need the white bulb end with the roots attached. Cut off the green tops, leaving about 1-2 inches of the white part intact. Make sure the roots are still present and healthy. If the roots are dried out, soak the bulb in water for a few hours before starting the regrowing process.
Can I regrow green onions in water indefinitely?
While you can regrow green onions in water for a while, they will eventually deplete the nutrients in the water and their growth will slow down. For long-term growth and a more substantial harvest, it’s best to transplant them into soil after a few weeks of regrowing in water. This will provide them with the necessary nutrients for continued growth.
What kind of soil is best for regrowing green onions?
Green onions prefer well-draining soil that is rich in organic matter. A good potting mix or a blend of garden soil, compost, and perlite will work well. Ensure the soil is loose and not compacted to allow the roots to spread easily.
How often should I water green onions regrowing in soil?
Water your green onions regularly, keeping the soil consistently moist but not waterlogged. Check the soil moisture by sticking your finger about an inch deep. If it feels dry, it’s time to water. Avoid overwatering, as this can lead to root rot.
How much sunlight do green onions need to regrow?
Green onions thrive in full sun, which means at least 6 hours of direct sunlight per day. However, they can also tolerate partial shade, especially during the hottest part of the day. If you’re growing them indoors, place them near a sunny window or use a grow light.
Can I use fertilizer to help my green onions grow?
Yes, fertilizing your green onions can help them grow faster and produce a larger harvest. Use a balanced liquid fertilizer diluted to half strength every few weeks. Avoid over-fertilizing, as this can burn the roots.
How do I harvest regrown green onions?
You can harvest your regrown green onions by snipping off the green tops as needed. Leave about an inch or two of the green part intact to allow the plant to continue growing. Avoid pulling the entire plant out of the soil, as this will prevent further regrowth.
Are there any pests or diseases that affect regrown green onions?
Green onions are generally pest-resistant, but they can be susceptible to certain pests like aphids or thrips. If you notice any pests, you can try spraying them with insecticidal soap or neem oil. Overwatering can lead to fungal diseases, so ensure proper drainage and avoid overwatering.
Can I regrow other types of onions from scraps?
While you can’t regrow a whole new bulb onion from scraps, you can regrow scallions (which are very similar to green onions) and leeks from their white bulb ends. The process is similar to regrowing green onions.
What if my green onions start to flower?
If your green onions start to flower, it means they are reaching the end of their life cycle. While you can still eat the green tops, they may become a bit tougher and more pungent. You can prevent flowering by regularly harvesting the green tops.
Is regrowing green onions from scraps worth it?
Absolutely! Regrowing green onions from scraps is a simple, sustainable, and cost-effective way to always have fresh green onions on hand. It’s a fun kitchen experiment that can save you money and reduce food waste. Plus, it’s incredibly rewarding to watch those little green shoots sprout and grow. Give it a try and see for yourself!
Leave a Comment