

Growing mushrooms at home might sound like something reserved for seasoned mycologists, but trust me, it’s more accessible than you think! Forget trekking through damp forests – you can cultivate these fascinating fungi right in your own kitchen.
For centuries, mushrooms have been revered across cultures, not just for their unique flavor but also for their medicinal properties. From ancient Chinese remedies to Roman banquets, mushrooms have held a special place in human history. Now, you can tap into that rich tradition by becoming a mushroom grower yourself!
Why should you embark on this DIY adventure? Well, imagine the satisfaction of harvesting fresh, organic mushrooms whenever you need them. No more relying on expensive supermarket varieties! Plus, growing mushrooms at home is a fantastic way to reduce your carbon footprint and connect with nature, even in a small space. This article will guide you through simple, effective techniques and hacks to ensure a bountiful harvest, even if you’re a complete beginner. Get ready to unlock the secrets of the mushroom kingdom and enjoy the delicious rewards!
Growing Mushrooms at Home: A Beginner’s Guide
Okay, so you want to grow mushrooms at home? Awesome! It’s a surprisingly rewarding and relatively simple process, and nothing beats the taste of freshly grown, homegrown fungi. I’m going to walk you through a straightforward method using a monotub, which is a popular and effective way to cultivate mushrooms indoors.
What You’ll Need
Before we dive in, let’s gather our supplies. This is crucial, so make sure you have everything on hand before you start. Trust me, you don’t want to be scrambling for something mid-process!
* A Monotub: This is your fruiting chamber. A clear plastic storage tub with a lid works perfectly. Size depends on how much you want to grow, but a 50-70 quart tub is a good starting point.
* Substrate: This is the food source for your mushrooms. Coco coir (coconut fiber) is a popular and easy-to-use option. You can also use a mix of coco coir, vermiculite, and gypsum.
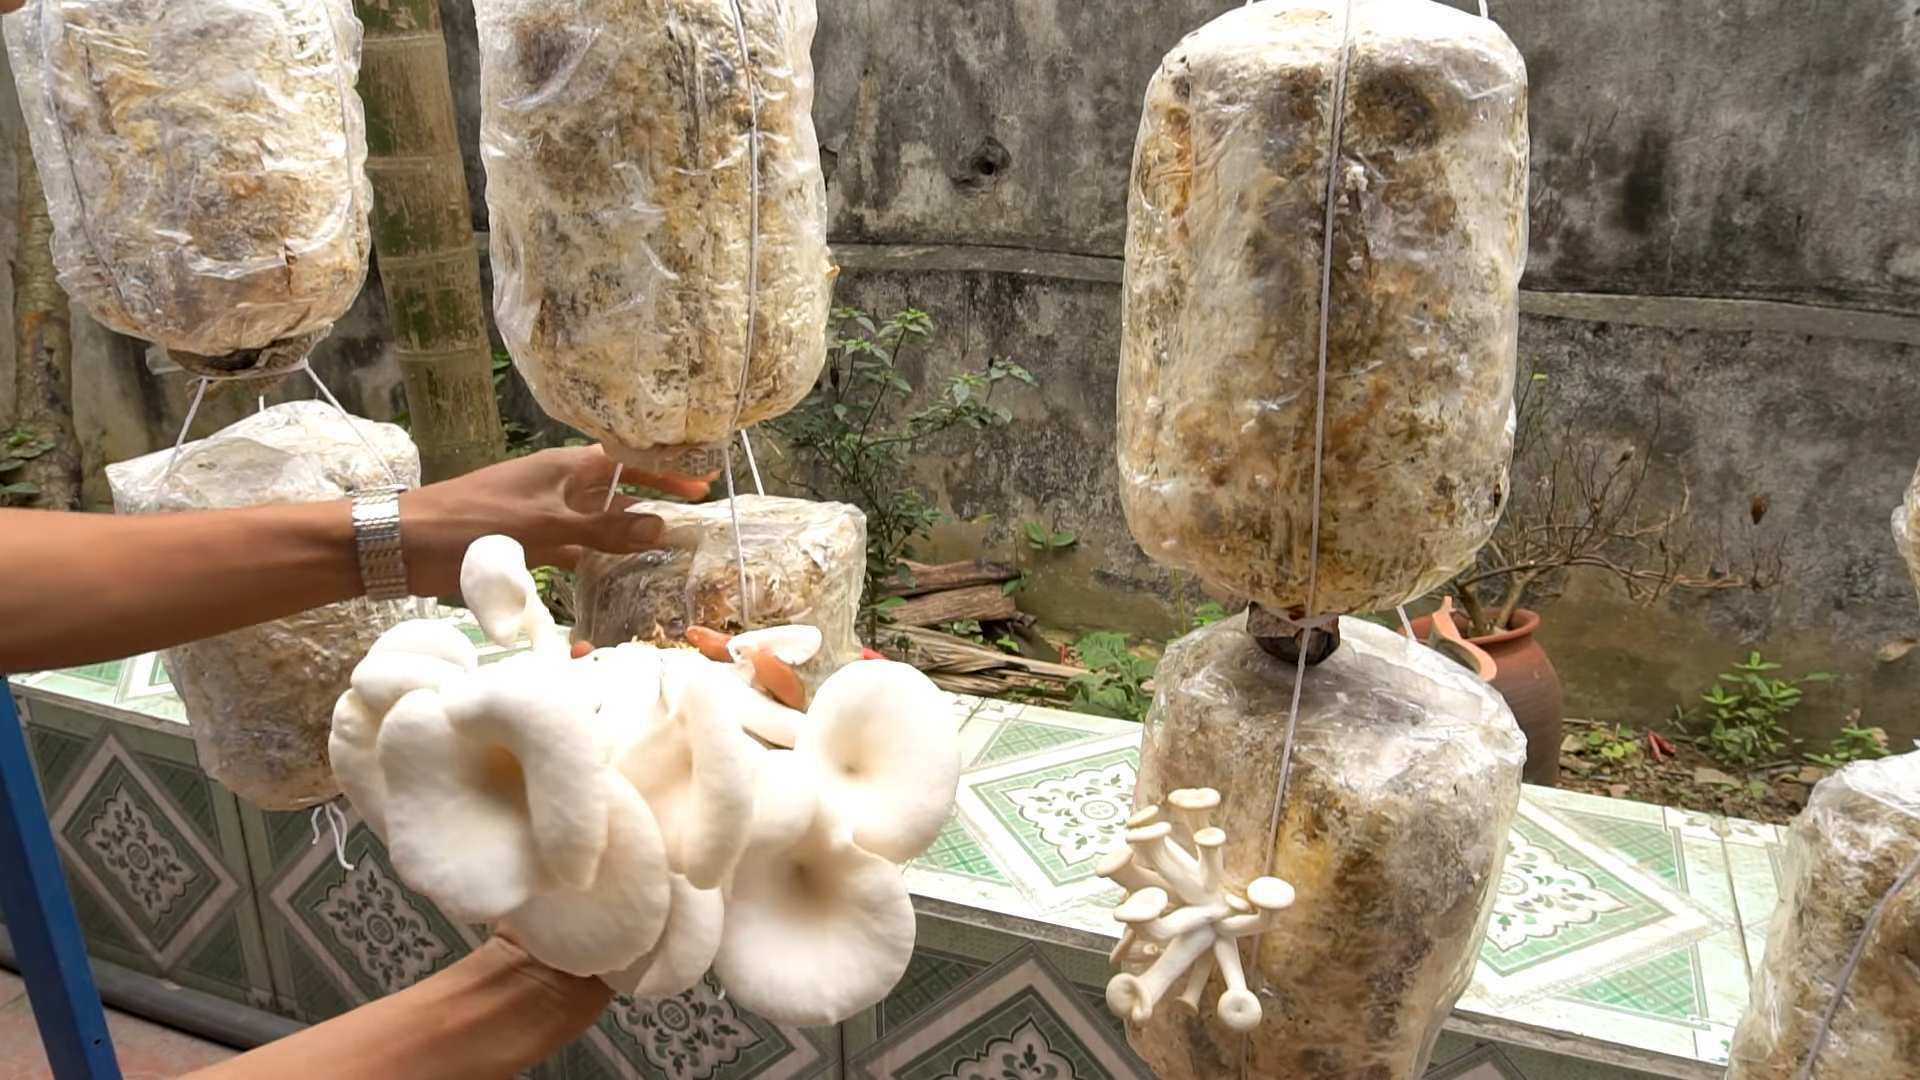
* Spawn: This is the mushroom culture that will colonize your substrate. You can buy pre-inoculated grain spawn (rye, millet, etc.) from a reputable vendor. Oyster mushrooms, shiitake, and button mushrooms are all great choices for beginners.
* Spray Bottle: For misting your tub to maintain humidity.
* Rubbing Alcohol (70%): For sanitizing everything! This is super important to prevent contamination.
* Latex Gloves: To keep your hands clean and prevent contamination.
* Micropore Tape: To cover any holes you drill in your monotub for ventilation.
* Drill (Optional): If you want to add ventilation holes to your monotub.
* Large Pot or Bucket: For pasteurizing your substrate.
* Thermometer: To monitor the temperature of your substrate during pasteurization.
* Filter Patch or Polyfill: To allow air exchange while preventing contaminants from entering your monotub.
Preparing Your Monotub
The first step is to get your monotub ready. This involves cleaning and potentially adding ventilation holes.
1. Clean the Tub: Thoroughly wash the monotub and lid with soap and water. Rinse well and then wipe down the entire inside with rubbing alcohol. Let it air dry completely. This is a critical step to minimize the risk of contamination.
2. Drill Ventilation Holes (Optional): If you choose to add ventilation holes, drill 4-6 holes around the upper sides of the tub, about 2-3 inches from the top. The size of the holes should be about 1-2 inches in diameter. These holes will allow for air exchange, which is essential for mushroom growth.
3. Cover the Holes: Cover the ventilation holes with micropore tape or stuff them with polyfill. This will allow air to pass through while preventing contaminants from entering. Filter patches are also a great option.
Pasteurizing Your Substrate
Pasteurization kills off any unwanted microorganisms in your substrate, giving your mushroom spawn a head start.
1. Hydrate the Coco Coir: Place your coco coir brick (or loose coco coir) in a large pot or bucket. Add boiling water until the coco coir is fully saturated. You’ll want it to be field capacity, which means it’s moist but not dripping wet. A good test is to squeeze a handful of the substrate; you should only get a few drops of water.
2. Pasteurize the Substrate: Place a lid on the pot or bucket and let the coco coir sit for at least 1-2 hours, or until it cools down to below 170°F (77°C). The goal is to heat the substrate enough to kill off competing organisms without sterilizing it completely (which would kill beneficial microbes as well).
3. Check the Temperature: Use a thermometer to ensure the substrate has cooled down sufficiently before moving on to the next step.
4. Drain Excess Water: If there’s excess water in the bottom of the pot or bucket, carefully drain it off. Again, you want the substrate to be at field capacity.
Inoculating Your Substrate
This is where the magic happens! You’re introducing the mushroom spawn to the substrate, allowing it to colonize and eventually produce mushrooms.
1. Sanitize Everything: Before you start, put on your latex gloves and wipe down your work surface with rubbing alcohol. Also, sanitize the bag of grain spawn with rubbing alcohol.
2. Mix the Spawn and Substrate: In a clean container (or directly in the monotub), mix the pasteurized coco coir with the grain spawn. A good ratio is about 1 part spawn to 4-5 parts substrate. Break up the grain spawn as you add it to the coco coir, ensuring it’s evenly distributed throughout the mixture.
3. Layering Method (Optional): Some growers prefer to use a layering method, where they place a layer of coco coir on the bottom of the tub, then a layer of spawn, then another layer of coco coir, and so on. This can help with even colonization.
4. Level the Surface: Once the spawn and substrate are mixed, gently level the surface of the mixture in the monotub.
5. Casing Layer (Optional): A casing layer is a thin layer of pasteurized coco coir that’s placed on top of the colonized substrate. It helps retain moisture and can promote pinning (the formation of baby mushrooms). If you choose to use a casing layer, spread a thin (about 1/2 inch) layer of pasteurized coco coir over the surface of the substrate.
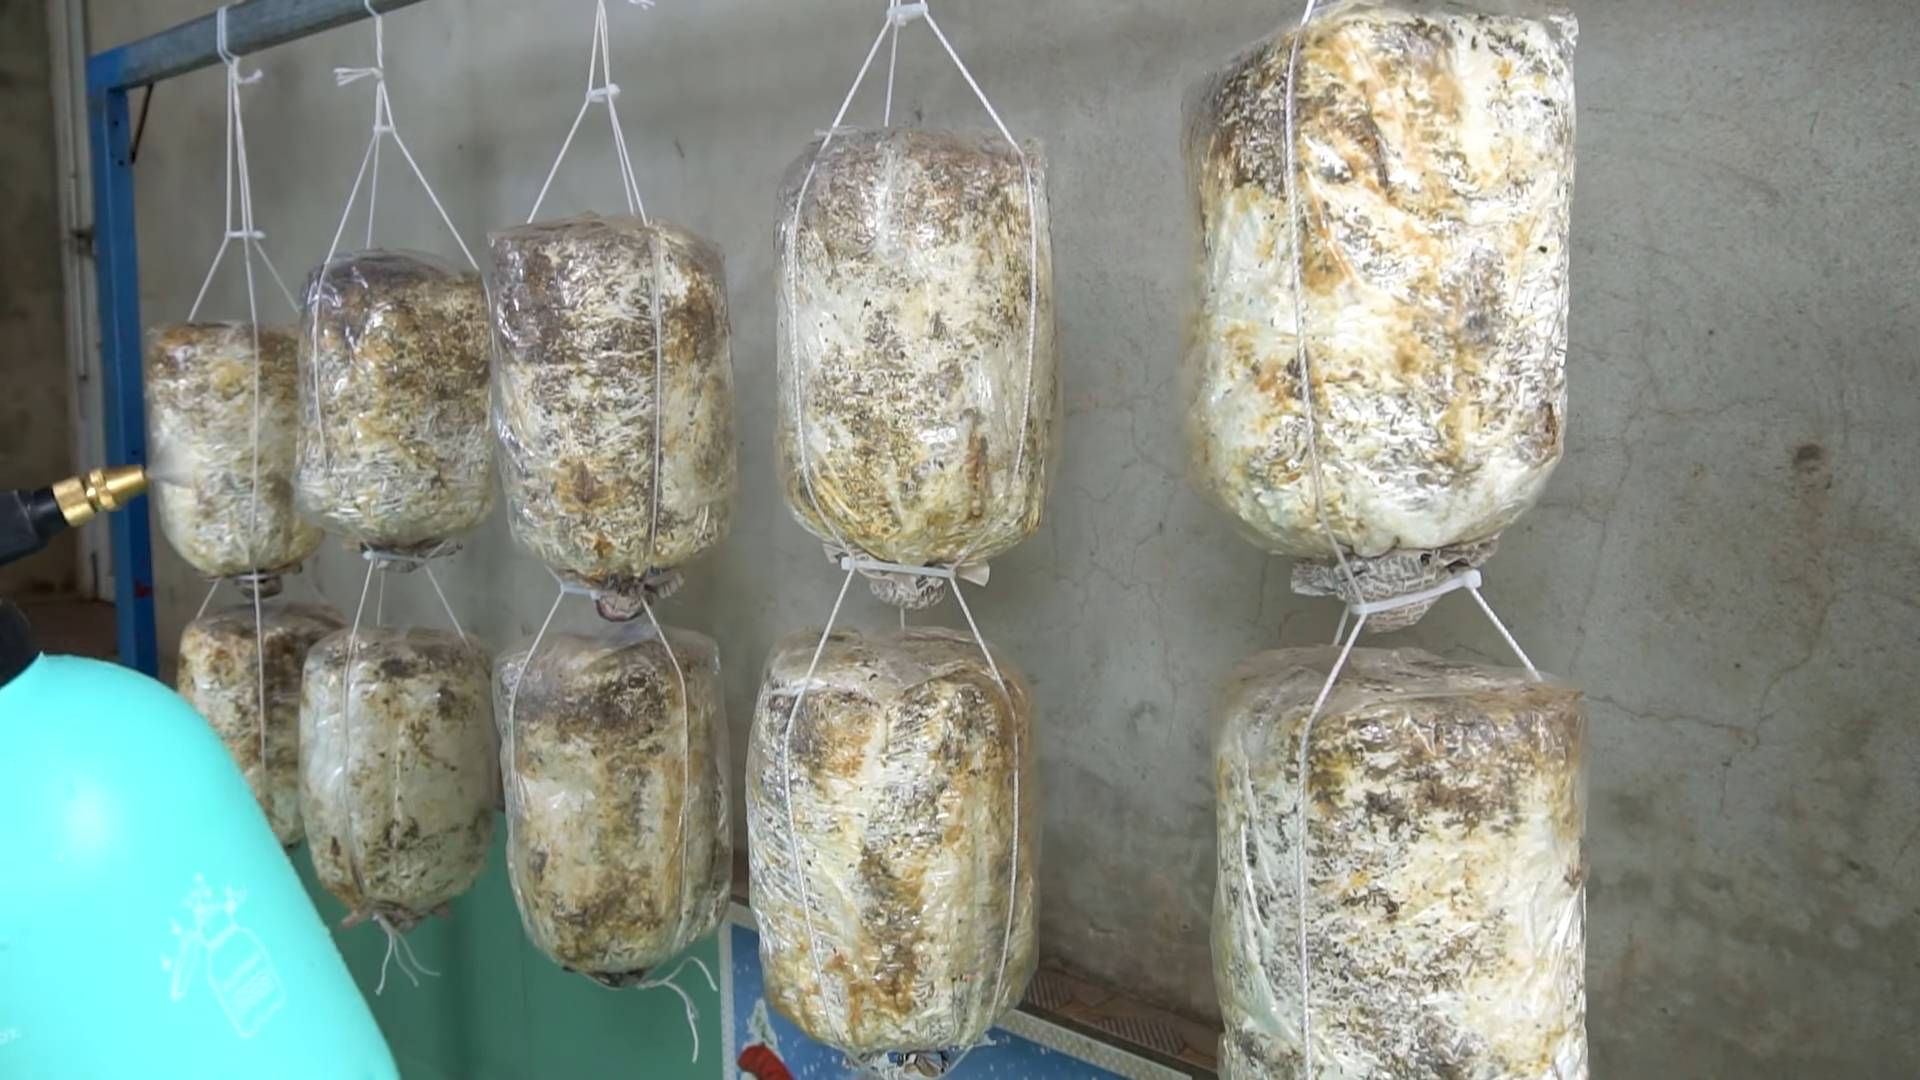
Colonization Phase
During this phase, the mushroom mycelium (the vegetative part of the fungus) will spread throughout the substrate.
1. Close the Lid: Place the lid on the monotub, ensuring it’s not completely airtight. You want some air exchange to occur.
2. Incubation: Place the monotub in a dark, warm place with a temperature between 70-75°F (21-24°C). A closet or cupboard works well.
3. Patience is Key: Leave the monotub undisturbed for 1-3 weeks, or until the substrate is fully colonized with white mycelium. You should see a thick, white, fuzzy growth covering the entire surface of the substrate.
4. Check for Contamination: Keep an eye out for any signs of contamination, such as green, blue, or black mold. If you see any contamination, carefully remove the affected area with a spoon and spray the area with hydrogen peroxide. If the contamination is widespread, it’s best to discard the entire tub.
Fruiting Phase
Once the substrate is fully colonized, it’s time to initiate fruiting, which means creating the conditions that will encourage the mushrooms to form.
1. Introduce Light: Move the monotub to a location with indirect light. Direct sunlight can dry out the substrate.
2. Increase Air Exchange: If you have ventilation holes, remove the micropore tape or polyfill to increase air exchange. If you don’t have ventilation holes, you’ll need to manually fan the tub 2-3 times a day. This helps to remove excess carbon dioxide and encourages pinning.
3. Maintain Humidity: Mist the inside of the monotub with a spray bottle 2-3 times a day to maintain high humidity. The walls of the tub should be covered in small droplets of water. Be careful not to over-mist, as this can lead to bacterial contamination.
4. Monitor for Pinning: After a few days to a week, you should start to see small pins (baby mushrooms) forming on the surface of the substrate.
5. Maintain Conditions: Continue to maintain high humidity and adequate air exchange throughout the fruiting phase.
Harvesting Your Mushrooms
Harvesting at the right time is crucial for optimal flavor and yield.
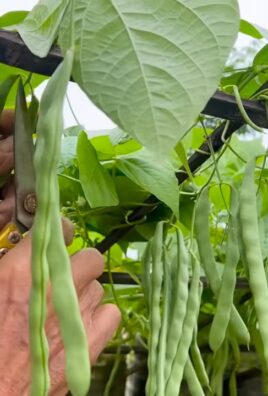
1. Harvest When Mature: Harvest your mushrooms when the caps are fully opened and the veil (the membrane that connects the cap to the stem) has just broken or is about to break.
2. Harvesting Technique: Gently twist and pull the mushroom from the substrate. Try to remove the entire mushroom, including the base of the stem.
3. Clean Up: After harvesting, clean up any loose substrate or mushroom remnants from the surface of the tub.
4. Second Flush: After harvesting the first flush of mushrooms, rehydrate the substrate by misting it heavily or even dunking it in water for a few hours. Then, return the tub to the fruiting conditions and wait for a second flush of mushrooms to grow. You can usually get 2-3 flushes of mushrooms from a single substrate.
Troubleshooting
Sometimes things don’t go exactly as planned. Here are a few common problems and how to address them:
* Contamination: As mentioned earlier, contamination
Conclusion
So, there you have it! Growing mushrooms at home, while it might seem like a complex endeavor at first glance, is surprisingly achievable with this simple DIY trick. We’ve demystified the process, breaking it down into manageable steps that even a novice gardener can follow. The benefits extend far beyond just having fresh, delicious mushrooms at your fingertips. You’re gaining control over the quality and source of your food, reducing your reliance on commercially grown options, and engaging in a rewarding and sustainable practice.
This isn’t just about saving money on your grocery bill, although that’s certainly a perk. It’s about connecting with nature, learning a new skill, and experiencing the satisfaction of nurturing something from start to finish. Imagine the pride you’ll feel serving a dish featuring mushrooms you cultivated yourself!
But the real magic lies in the adaptability of this DIY approach. Feel free to experiment with different substrates. While straw and coffee grounds are excellent starting points, you can also explore using hardwood sawdust, cardboard, or even agricultural waste products. Each substrate will impart a slightly different flavor profile to your mushrooms, allowing you to tailor your harvest to your specific culinary preferences.
Consider also experimenting with different mushroom varieties. While oyster mushrooms are a popular and easy-to-grow choice, don’t be afraid to branch out and try shiitake, lion’s mane, or even wine cap mushrooms once you’ve gained some experience. Each variety offers a unique texture, flavor, and nutritional profile.
Don’t be intimidated by the initial setup. The beauty of this DIY trick is its simplicity and affordability. You don’t need expensive equipment or specialized knowledge to get started. With a few readily available materials and a little patience, you can be harvesting your own mushrooms in a matter of weeks.
We strongly encourage you to give this DIY mushroom growing trick a try. It’s a fun, educational, and ultimately rewarding experience that will transform the way you think about food. And most importantly, it allows you to enjoy the unparalleled flavor and freshness of homegrown mushrooms.
Once you’ve embarked on your mushroom growing journey, we’d love to hear about your experiences! Share your successes, your challenges, and any variations you’ve tried in the comments below. Let’s build a community of home mushroom growers and learn from each other. Your insights could inspire others to take the plunge and discover the joys of cultivating their own fungi. So, grab your supplies, get your hands dirty, and prepare to be amazed by the wonders of home mushroom cultivation!
Frequently Asked Questions (FAQ)
What are the best types of mushrooms to grow at home for beginners?
Oyster mushrooms (Pleurotus ostreatus) are generally considered the easiest and most forgiving mushrooms for beginners. They are fast-growing, relatively resistant to contamination, and can thrive on a variety of substrates, including straw, coffee grounds, and even cardboard. Shiitake mushrooms (Lentinula edodes) are another popular choice, but they require a bit more patience and attention to detail. They typically grow on hardwood logs or sawdust. Wine cap mushrooms (Stropharia rugosoannulata) are also relatively easy to grow and can be cultivated in outdoor garden beds.
What is the best substrate to use for growing mushrooms at home?
The best substrate depends on the type of mushroom you’re growing. For oyster mushrooms, straw and coffee grounds are excellent choices. Straw should be pasteurized before use to kill off any competing organisms. Coffee grounds are already partially sterilized during the brewing process, making them a convenient option. Shiitake mushrooms prefer hardwood sawdust or logs. Wine cap mushrooms thrive in wood chips and compost. Experimenting with different substrates can lead to interesting results and unique flavor profiles.
How do I pasteurize straw for mushroom growing?
Pasteurizing straw is crucial to eliminate competing organisms that could hinder mushroom growth. There are several methods you can use. One common method involves soaking the straw in hot water (around 160-180°F or 71-82°C) for at least an hour. You can use a large pot or container and a heat source like a propane burner or stovetop. Another method involves steaming the straw in a large container with a lid. The goal is to heat the straw sufficiently to kill off unwanted organisms without completely sterilizing it, as some beneficial microbes can actually aid in mushroom growth.
How long does it take to grow mushrooms at home?
The time it takes to grow mushrooms at home varies depending on the mushroom variety, the substrate used, and the environmental conditions. Oyster mushrooms are among the fastest-growing, typically fruiting within 2-3 weeks after inoculation. Shiitake mushrooms can take several months to fruit, especially when grown on logs. Wine cap mushrooms usually fruit within a few weeks to a few months, depending on the climate and growing conditions. Patience is key!
What are the ideal environmental conditions for growing mushrooms?
Mushrooms generally prefer cool, humid, and dark environments. The ideal temperature range varies depending on the mushroom variety, but most thrive in temperatures between 60-75°F (15-24°C). Humidity is crucial for mushroom growth, so you’ll need to maintain a humidity level of around 80-90%. This can be achieved by misting the growing area regularly or using a humidifier. While mushrooms don’t need direct sunlight, they do require some indirect light for proper development.
How do I prevent contamination when growing mushrooms at home?
Contamination is a common challenge in mushroom growing, but there are several steps you can take to minimize the risk. Start with clean materials and equipment. Pasteurize or sterilize your substrate properly. Work in a clean environment and avoid introducing contaminants. Use a filter patch on your grow bags or containers to allow for gas exchange while preventing contaminants from entering. Monitor your grow for signs of contamination, such as mold or unusual odors. If you detect contamination, remove the affected area immediately to prevent it from spreading.
What are some common problems encountered when growing mushrooms at home?
Some common problems include contamination, slow growth, and small or deformed mushrooms. Contamination can be caused by a variety of factors, including improper sterilization, poor hygiene, and unfavorable environmental conditions. Slow growth can be due to insufficient humidity, low temperatures, or inadequate nutrients. Small or deformed mushrooms can be caused by poor air circulation, insufficient light, or genetic factors. Troubleshooting these problems often involves adjusting the environmental conditions, improving hygiene practices, and selecting high-quality mushroom spawn.
Can I grow mushrooms indoors without a dedicated grow room?
Yes, you can definitely grow mushrooms indoors without a dedicated grow room. A basement, closet, or even a spare room can work well, as long as you can control the temperature, humidity, and light levels. You can also use a fruiting chamber, which is a simple enclosure designed to maintain optimal growing conditions. A fruiting chamber can be as simple as a plastic tub with holes for ventilation or a more elaborate setup with a humidifier and temperature controller.
Are there any health benefits to eating homegrown mushrooms?
Yes, homegrown mushrooms offer numerous health benefits. They are a good source of protein, fiber, vitamins, and minerals. They also contain antioxidants and other beneficial compounds that can boost the immune system and protect against chronic diseases. Growing your own mushrooms allows you to control the quality and freshness of your food, ensuring that you’re getting the maximum nutritional value. Plus, you can avoid the pesticides and other chemicals that are often used in commercial mushroom production.
How do I harvest mushrooms properly?
Harvest mushrooms when the caps are fully developed but before they start to release spores. Gently twist or cut the mushrooms from the substrate, being careful not to damage the surrounding mycelium. Harvesting mushrooms at the right time will encourage further flushes and maximize your yield. Store harvested mushrooms in the refrigerator in a paper bag or container with a lid. They should be consumed within a few days for optimal flavor and freshness.
Leave a Comment