

Growing Carrots Indoors Soil Free might sound like something out of a sci-fi movie, but trust me, it’s totally achievable and a game-changer for any gardening enthusiast! Forget battling unpredictable weather, pesky pests, or limited outdoor space. Imagine plucking fresh, sweet carrots right from your indoor setup, any time of the year.
For centuries, humans have cultivated carrots in soil, a practice deeply rooted in agricultural history. But, as our world evolves, so do our gardening techniques. The desire for sustainable, space-saving solutions has led to innovative methods like hydroponics and other soil-free approaches. This isn’t just about convenience; it’s about taking control of our food source and embracing a more eco-friendly lifestyle.
Why should you ditch the dirt and try growing carrots indoors soil free? Well, for starters, it’s incredibly rewarding! You’ll have complete control over the growing environment, resulting in healthier, more consistent yields. Plus, it’s a fantastic way to introduce kids to the wonders of gardening and teach them about sustainable practices. I’m excited to share some simple, effective DIY tricks that will have you harvesting delicious, soil-free carrots in no time. Let’s get started!
Growing Carrots Indoors: A Soil-Free Adventure!
Hey there, fellow plant enthusiasts! Ever dreamt of harvesting fresh, crunchy carrots right from your kitchen, even when the weather outside is frightful? Well, dream no more! I’m going to walk you through a super cool DIY project: growing carrots indoors, completely soil-free! It might sound a bit like science fiction, but trust me, it’s totally doable and incredibly rewarding. Get ready to ditch the dirt and embrace the hydroponic carrot revolution!
What You’ll Need: Your Carrot-Growing Arsenal
Before we dive in, let’s gather our supplies. Don’t worry, you probably have a lot of this stuff lying around already.
* Carrot Seeds: Obviously! Choose a variety that’s known for shorter roots, like ‘Thumbelina’ or ‘Paris Market’. These are perfect for container growing.
* A Deep Container: Think tall and sturdy! A plastic storage bin, a large bucket, or even a repurposed laundry basket will work. The key is depth – carrots need room to grow downwards. Aim for at least 12 inches deep, but deeper is better.
* Expanded Clay Pebbles (Hydroton): These are our soil substitute! They provide support for the roots and excellent drainage. You can find these at most garden centers or online.
* Net Pots: These are small, mesh pots that will hold our carrot seedlings and allow the roots to access the nutrient solution. 3-inch net pots are a good size.
* Nutrient Solution: This is the food for our carrots! You’ll need a hydroponic nutrient solution specifically formulated for vegetables. Look for a balanced formula with nitrogen, phosphorus, and potassium.
* Air Pump and Air Stone: These are crucial for oxygenating the nutrient solution. The air stone creates bubbles that increase oxygen levels, preventing root rot and promoting healthy growth.
* Timer: To control the air pump.
* pH Meter and pH Up/Down: Maintaining the correct pH of the nutrient solution is essential for nutrient absorption. A pH meter will help you monitor the pH, and pH up/down solutions will allow you to adjust it as needed.
* Grow Lights: Carrots need plenty of light to thrive. If you don’t have a sunny windowsill, you’ll need to supplement with grow lights. LED grow lights are energy-efficient and work great.
* Water: Distilled or reverse osmosis (RO) water is ideal, as it’s free of minerals and chemicals that can interfere with nutrient absorption. Tap water can work, but let it sit out for 24 hours to allow chlorine to evaporate.
* Seed Starting Tray and Seed Starting Mix: For germinating the seeds.
* Spray Bottle: For misting the seedlings.
Getting Started: Germinating Your Carrot Seeds
Okay, let’s get those carrot seeds sprouting! This is the first crucial step to our soil-free carrot adventure.
1. Prepare Your Seed Starting Tray: Fill your seed starting tray with a good quality seed starting mix. Moisten the mix thoroughly, but don’t let it get soggy.
2. Sow the Seeds: Sprinkle the carrot seeds evenly over the surface of the mix. Carrot seeds are tiny, so don’t overcrowd them. Gently press them into the mix.
3. Cover Lightly: Cover the seeds with a very thin layer of seed starting mix.
4. Water Gently: Use a spray bottle to mist the surface of the mix. Avoid pouring water directly onto the seeds, as this can dislodge them.
5. Create a Humid Environment: Cover the seed starting tray with a clear plastic dome or plastic wrap to create a humid environment. This will help the seeds germinate.
6. Provide Warmth: Place the seed starting tray in a warm location, around 70-75°F (21-24°C). A heat mat can be helpful if your home is cool.
7. Monitor and Mist: Check the seed starting tray daily and mist the surface of the mix as needed to keep it moist.
8. Wait for Germination: Carrot seeds typically germinate in 7-14 days. Once the seedlings emerge, remove the plastic dome or wrap.
9. Provide Light: Once the seedlings have emerged, they need plenty of light. Place the seed starting tray under grow lights or in a sunny windowsill.
Setting Up Your Hydroponic System
Now for the fun part – building our soil-free carrot haven! This is where we transform our container into a thriving hydroponic garden.
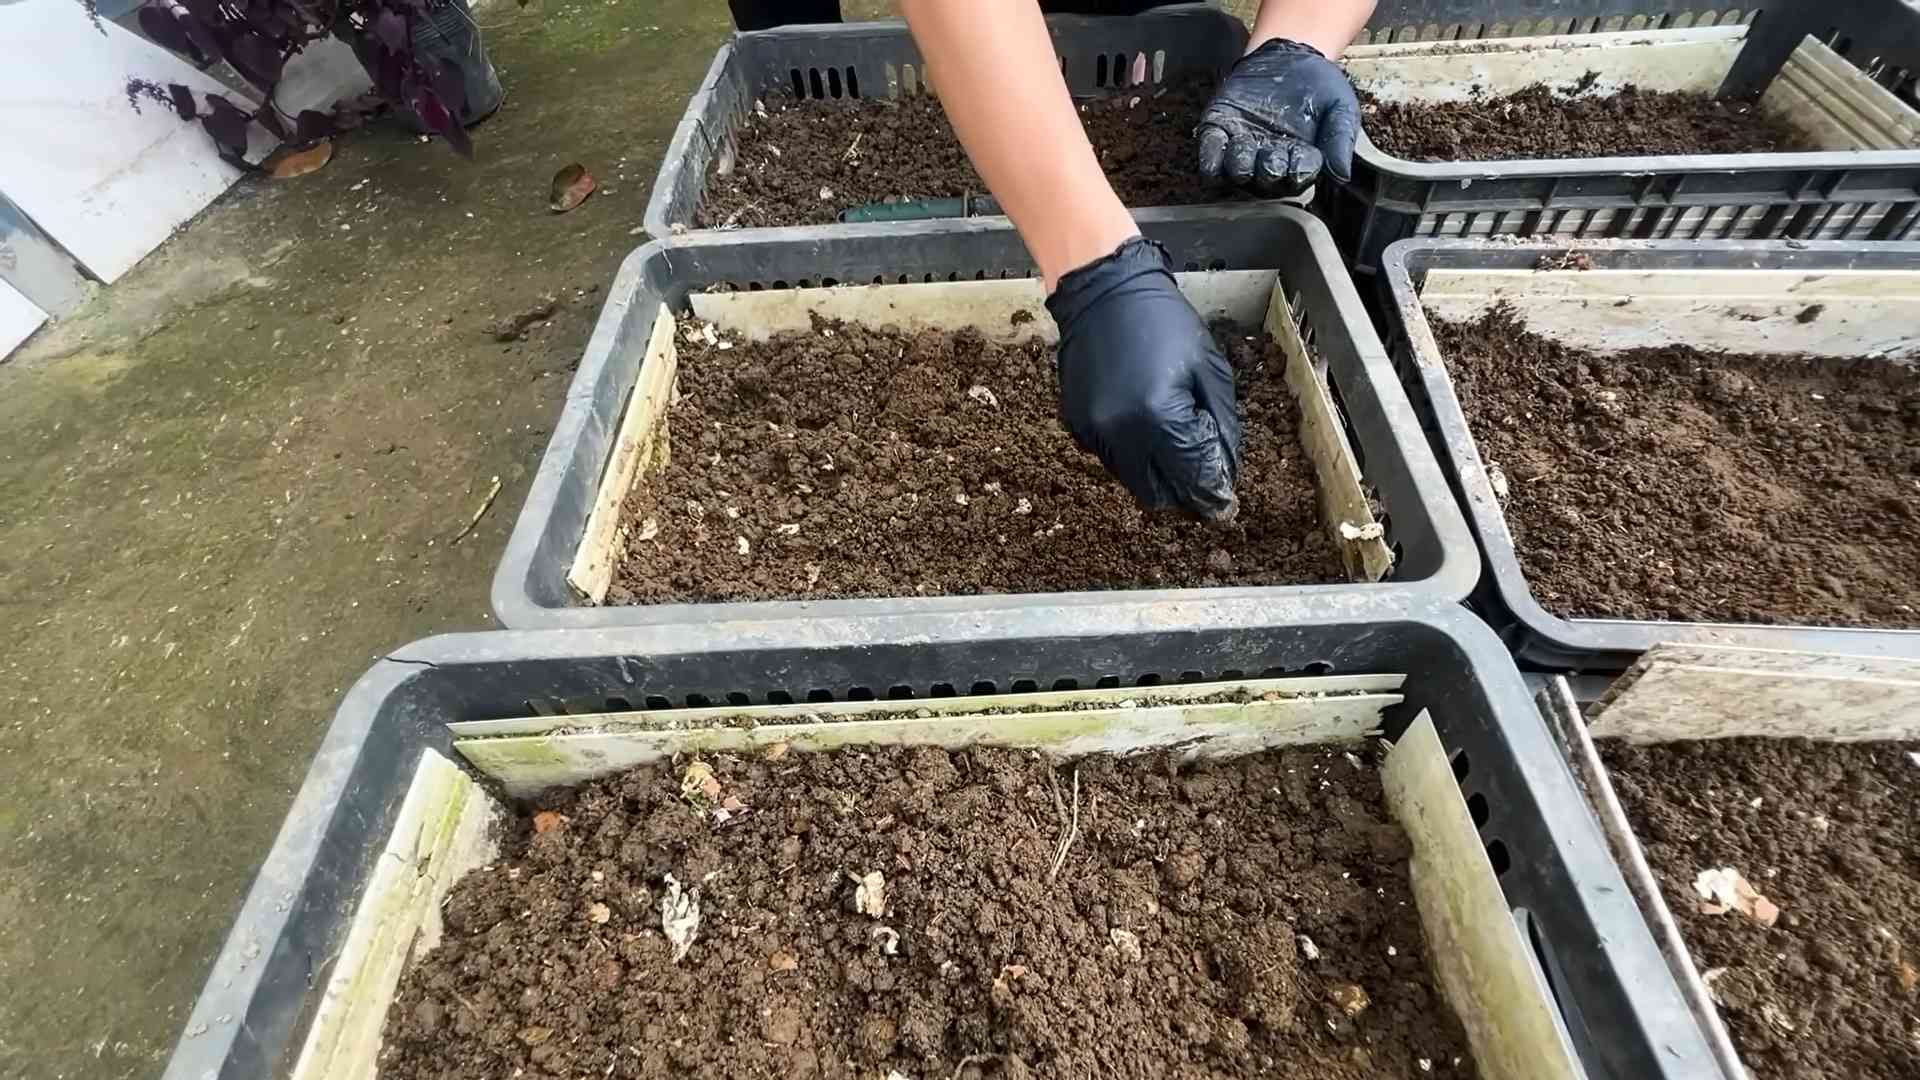
1. Prepare the Container: Clean your container thoroughly with soap and water. Rinse it well to remove any soap residue.
2. Add the Expanded Clay Pebbles: Fill the container with expanded clay pebbles, leaving about 2-3 inches of space at the top.
3. Prepare the Nutrient Solution: Follow the instructions on your hydroponic nutrient solution to mix it with water. Use distilled or RO water for best results.
4. Check and Adjust the pH: Use your pH meter to check the pH of the nutrient solution. The ideal pH for carrots is between 6.0 and 6.5. Use pH up or pH down solutions to adjust the pH as needed.
5. Fill the Container with Nutrient Solution: Pour the nutrient solution into the container, filling it to just below the bottom of the net pots. You don’t want the clay pebbles to be completely submerged, just moist.
6. Place the Air Stone: Place the air stone at the bottom of the container. Connect it to the air pump with tubing.
7. Set Up the Air Pump Timer: Set the timer to run the air pump for 15 minutes every hour. This will provide adequate oxygenation to the nutrient solution.
Transplanting Your Carrot Seedlings
Time to move our little carrot seedlings into their new soil-free home! This is a delicate process, so handle them with care.
1. Gently Remove Seedlings: Carefully remove the carrot seedlings from the seed starting tray. Try to keep as much of the root system intact as possible.
2. Place Seedlings in Net Pots: Gently place each seedling into a net pot. You can use a small amount of expanded clay pebbles to help support the seedling in the pot.
3. Position Net Pots in Container: Place the net pots on top of the expanded clay pebbles in the container. Make sure the bottom of the net pots is just touching the nutrient solution.
4. Provide Support (Optional): As the carrots grow, they may need some support. You can use bamboo stakes or plant ties to help keep them upright.
Caring for Your Soil-Free Carrots
Now that our carrots are planted, it’s time to nurture them and watch them grow! Consistent care is key to a successful harvest.
1. Monitor the Nutrient Solution: Check the nutrient solution level regularly and add more as needed. Replace the nutrient solution every 2-3 weeks to prevent nutrient imbalances.
2. Check and Adjust the pH: Check the pH of the nutrient solution regularly and adjust it as needed to maintain a pH between 6.0 and 6.5.
3. Provide Adequate Light: Carrots need at least 6-8 hours of light per day. If you’re using grow lights, position them about 6-12 inches above the plants.
4. Maintain Proper Temperature: Carrots prefer temperatures between 60-70°F (15-21°C).
5. Monitor for Pests and Diseases: Keep an eye out for pests and diseases. If you notice any problems, address them promptly.
6. Thinning (Optional): If you planted multiple seedlings in each net pot, you may need to thin them out to allow the remaining plants to grow properly.
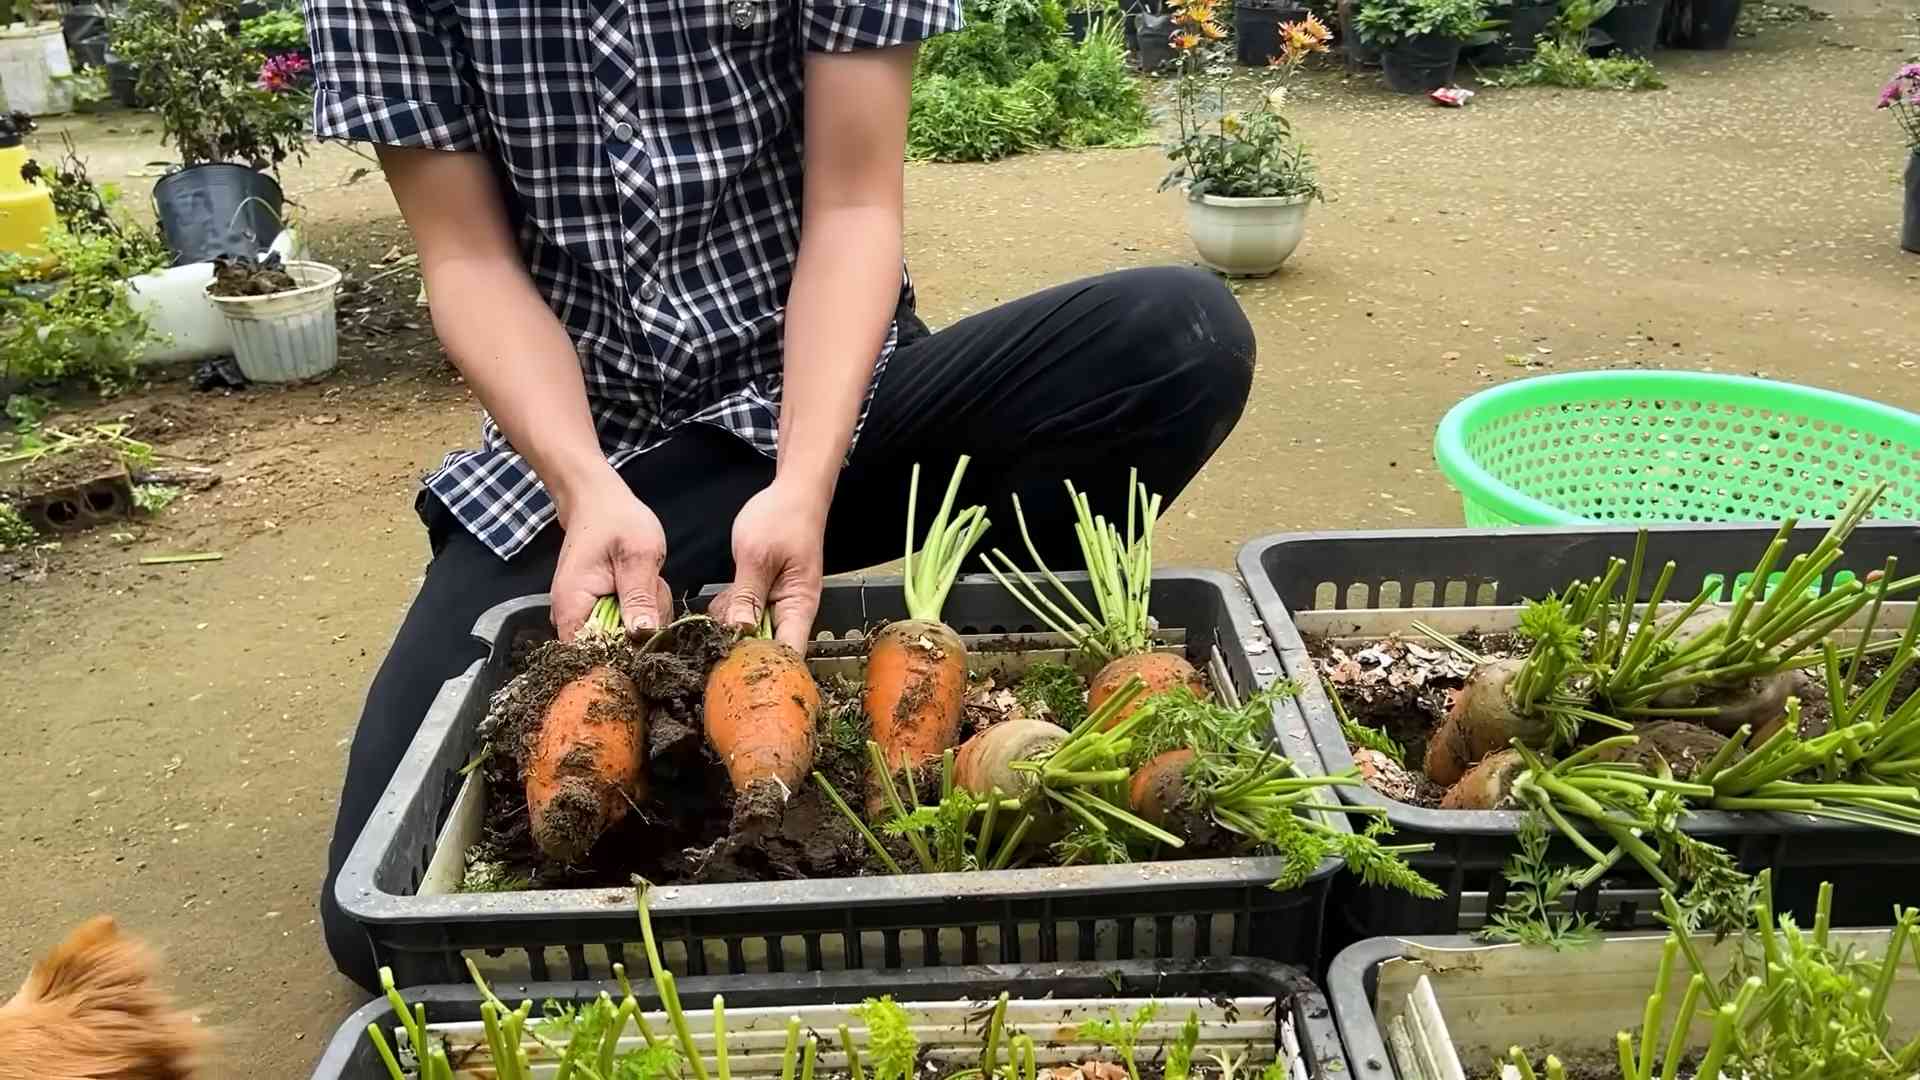
Harvesting Your Soil-Free Carrots
The moment we’ve all been waiting for – harvest time! This is the most rewarding part of the whole process.
1. Check for Maturity: Carrots are typically ready to harvest in 60-80 days, depending on the variety. You can check for maturity by gently pulling back some of the expanded clay pebbles to expose the top of the carrot. If the carrot is the desired size and color, it’s ready to harvest.
2. Harvest Carefully: Gently pull the carrot out of the net pot. You may need to wiggle it a bit to loosen it from the expanded clay pebbles.
3. Rinse and Enjoy: Rinse the carrots with water to remove any remaining expanded clay pebbles. Now you can enjoy your fresh, soil-free carrots!
Troubleshooting Tips
Even with the best planning, things can sometimes go awry. Here are a few common issues you might encounter and how to fix them:
* Yellowing Leaves: This could indicate a nutrient deficiency. Make sure you’re using a balanced hydroponic nutrient solution and that the pH
Conclusion
So, there you have it! Growing carrots indoors, completely soil-free, might sound like something out of a science fiction novel, but it’s surprisingly achievable and incredibly rewarding. We’ve walked you through the process, from selecting the right carrot tops to providing the ideal nutrient solution and light. But why should you bother with this unconventional method?
Simply put, this DIY trick offers a unique blend of convenience, sustainability, and sheer fascination. Imagine having a constant supply of fresh carrot greens right on your windowsill, ready to add a burst of flavor and nutrients to your salads, soups, and smoothies. No more trips to the grocery store for wilted, overpriced greens! Plus, you’re reducing food waste by repurposing carrot tops that would otherwise end up in the compost bin. It’s a win-win for your taste buds and the planet.
Beyond the practical benefits, there’s a certain magic to watching these discarded tops spring back to life, sending out vibrant green shoots. It’s a tangible connection to the natural world, even within the confines of your home. It’s a fantastic project for kids, teaching them about plant growth and resourcefulness. And let’s be honest, it’s just plain cool!
Variations and Suggestions:
While we’ve focused on water propagation, you can experiment with different nutrient solutions. Some gardeners swear by diluted seaweed extract or compost tea to provide extra nourishment. You can also try different types of carrots. While standard orange carrots work well, consider using rainbow carrots for a more colorful display.
Another fun variation is to use different containers. While glass jars are ideal for observing root growth, you can also use ceramic pots or even repurposed plastic containers. Just make sure they are clean and opaque to prevent algae growth.
Don’t be afraid to get creative with your setup. You can create a mini indoor garden by grouping several carrot tops together, along with other herbs and vegetables that thrive in water. Think about adding some chives, green onions, or even lettuce to the mix.
A Word of Caution:
Remember that while you can harvest the greens repeatedly, the carrot itself will not regrow from the top. This method is primarily for enjoying the flavorful and nutritious greens.
Your Turn!
Now it’s your turn to give this DIY trick a try. Gather your carrot tops, prepare your water or nutrient solution, and find a sunny spot. Follow the steps outlined in this article, and watch the magic unfold.
We’re confident that you’ll be amazed by the results. But don’t just take our word for it. Try it yourself and see the difference.
Share Your Experience:
We’d love to hear about your experience growing carrots indoors soil free! Share your photos, tips, and challenges in the comments section below. Let’s create a community of indoor gardeners and learn from each other. What worked for you? What didn’t? What creative variations did you try? Your feedback will help other readers succeed and inspire us all to explore the possibilities of indoor gardening.
So, what are you waiting for? Grab those carrot tops and get growing! You might just discover your new favorite hobby.
Frequently Asked Questions (FAQ)
1. What kind of carrots are best for regrowing the greens?
Any type of carrot will work, but it’s best to use carrots that are fresh and have a healthy-looking top. Organic carrots are often preferred as they are less likely to have been treated with chemicals that could inhibit growth. Look for carrots with about an inch or two of the top still attached. The fresher the carrot, the better the chances of successful regrowth. Avoid carrots that are soft, mushy, or have mold on the top.
2. How much of the carrot top should I leave when cutting it off?
Leave about 1-2 inches of the carrot top attached. This provides enough of the carrot’s structure to support new growth. Make sure the cut is clean and even to prevent rotting. You can use a sharp knife or scissors to make the cut.
3. What kind of water should I use?
Tap water is generally fine, but it’s best to let it sit out for 24 hours to allow chlorine to evaporate. Filtered water or spring water are also good options. Avoid using distilled water, as it lacks the minerals that plants need to grow. Change the water every 1-2 days to prevent algae growth and keep the water fresh.
4. How often should I change the water?
Change the water every 1-2 days. This helps to prevent the growth of bacteria and algae, which can harm the carrot top. When you change the water, gently rinse the carrot top to remove any debris.
5. What kind of light do the carrot tops need?
Carrot tops need bright, indirect light to thrive. A sunny windowsill is ideal, but avoid direct sunlight, which can scorch the leaves. If you don’t have a sunny windowsill, you can use a grow light. Place the grow light about 6-12 inches above the carrot tops and leave it on for 12-16 hours per day.
6. How long does it take for the greens to start growing?
You should start to see new growth within a few days to a week. The exact time will depend on the variety of carrot, the temperature, and the amount of light. Be patient, and don’t give up if you don’t see results immediately.
7. Can I plant the carrot top in soil after it starts growing in water?
Yes, you can transplant the carrot top to soil after it has developed roots in water. Choose a pot that is large enough to accommodate the roots and fill it with well-draining potting mix. Gently remove the carrot top from the water and plant it in the soil, making sure to cover the roots completely. Water the soil thoroughly and place the pot in a sunny location.
8. How often can I harvest the greens?
You can harvest the greens as soon as they are large enough to use. Use scissors to cut off the outer leaves, leaving the inner leaves to continue growing. You can harvest the greens repeatedly, but eventually, the carrot top will stop producing new growth.
9. Are the carrot greens edible?
Yes, carrot greens are edible and nutritious. They have a slightly bitter taste, similar to parsley. You can use them in salads, soups, smoothies, or as a garnish. They are a good source of vitamins A and C, as well as potassium and fiber.
10. Why is my carrot top turning yellow or brown?
Yellowing or browning leaves can be a sign of several problems, including overwatering, underwatering, lack of light, or nutrient deficiency. Make sure you are changing the water regularly, providing adequate light, and using a nutrient solution if necessary. If the problem persists, try moving the carrot top to a different location or adjusting the amount of water you are using.
11. Can I grow a whole carrot from the top?
No, you cannot grow a whole carrot from the top. This method is primarily for regrowing the greens. The carrot itself will not regrow from the top.
12. What if my carrot top starts to rot?
If your carrot top starts to rot, it’s likely due to bacteria or fungus. Remove the rotting portion of the carrot top and change the water immediately. Make sure the container is clean and that you are using fresh water. If the rot persists, it’s best to discard the carrot top and start with a fresh one.
13. Can I use a nutrient solution to help the greens grow faster?
Yes, you can use a diluted nutrient solution to help the greens grow faster. Use a balanced liquid fertilizer that is specifically designed for vegetables. Dilute the fertilizer to half strength and add it to the water when you change it. Be careful not to over-fertilize, as this can damage the carrot top.
14. Is growing carrots indoors soil free a sustainable practice?
Yes, growing carrots indoors soil free can be a sustainable practice. It reduces food waste by repurposing carrot tops that would otherwise be discarded. It also reduces the need to purchase fresh greens from the grocery store, which can save money and reduce your carbon footprint.
15. What are some other vegetables I can regrow in water?
Besides carrots, you can also regrow other vegetables in water, such as lettuce, celery, green onions, and bok choy. The process is similar to regrowing carrot tops. Simply place the base of the vegetable in a shallow dish of water and wait for new roots to develop. Once the roots have grown, you can transplant the vegetable to soil or continue growing it in water.
Leave a Comment