

Grow Mini Carrots at Home? Absolutely! Imagine plucking perfectly petite, sweet carrots straight from your own garden – a delightful addition to salads, snacks, or even a charming garnish. Forget those bland, store-bought carrots; we’re talking about vibrant, flavorful mini carrots bursting with freshness, cultivated with your own two hands.
Gardening, in its essence, is an age-old practice, connecting us to the earth and providing sustenance. While large-scale agriculture feeds nations, the humble home garden offers a more personal and rewarding experience. Growing your own food, even in a small space, is incredibly empowering. And when it comes to carrots, the mini variety offers a unique appeal. Their smaller size makes them ideal for container gardening, perfect for those with limited space or even just a sunny balcony.
But why should you specifically learn to grow mini carrots at home? Well, let’s be honest, who doesn’t love a good DIY project? Beyond the satisfaction of nurturing something from seed to harvest, growing your own mini carrots allows you to control what goes into your food. No pesticides, no questionable fertilizers – just pure, organic goodness. Plus, let’s face it, they’re just plain adorable! This article will guide you through simple, effective techniques to cultivate these miniature marvels, ensuring a bountiful harvest of sweet, crunchy mini carrots right at your doorstep. Get ready to dig in and discover the joy of homegrown goodness!
Grow Your Own Adorable Mini Carrots: A DIY Guide
Hey there, fellow gardening enthusiasts! Ever dreamt of plucking perfectly petite, sweet mini carrots straight from your own backyard (or balcony!)? Well, dream no more! I’m going to walk you through the surprisingly simple process of growing these delightful little veggies at home. It’s easier than you think, and the reward of fresh, homegrown mini carrots is absolutely worth it.
Choosing the Right Carrot Variety
Not all carrots are created equal, especially when we’re aiming for miniature perfection. Some varieties are naturally smaller and mature quickly, making them ideal for our mini-carrot mission.
* ‘Thumbelina’: This is a classic choice for mini carrots. They’re round, almost like little radishes, and incredibly sweet.
* ‘Paris Market’: Similar to Thumbelina, these are round and mature quickly. They’re also known for their excellent flavor.
* ‘Short n Sweet’: As the name suggests, this variety is short, sweet, and perfect for smaller spaces.
* ‘Little Finger’: These are more traditionally carrot-shaped, but stay small and slender.
I personally love ‘Thumbelina’ because they’re just so darn cute, but feel free to experiment and find your favorite!
Preparing Your Growing Space
Mini carrots might be small, but they still need the right environment to thrive. Here’s what you need to consider:
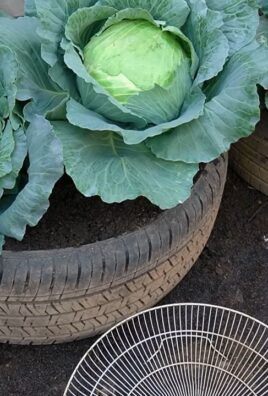
* Container Choice: You don’t need a huge garden! A container at least 6-8 inches deep is ideal. Make sure it has drainage holes – carrots hate soggy feet! I’ve had success with everything from large pots to repurposed plastic tubs.
* Soil is Key: Carrots need loose, well-draining soil. Rocky or compacted soil will result in stunted or misshapen carrots. I highly recommend using a soilless potting mix or amending your garden soil with plenty of compost and sand. Avoid using soil that’s been heavily fertilized, as this can lead to forked roots.
* Sunlight: Carrots need at least 6 hours of sunlight per day. Choose a sunny spot on your balcony, patio, or in your garden. If you’re growing indoors, consider using grow lights.
Planting Your Mini Carrot Seeds
Now for the fun part! Getting those tiny seeds into the soil.
1. Moisten the Soil: Before planting, thoroughly moisten your potting mix. You want it damp, but not soaking wet.
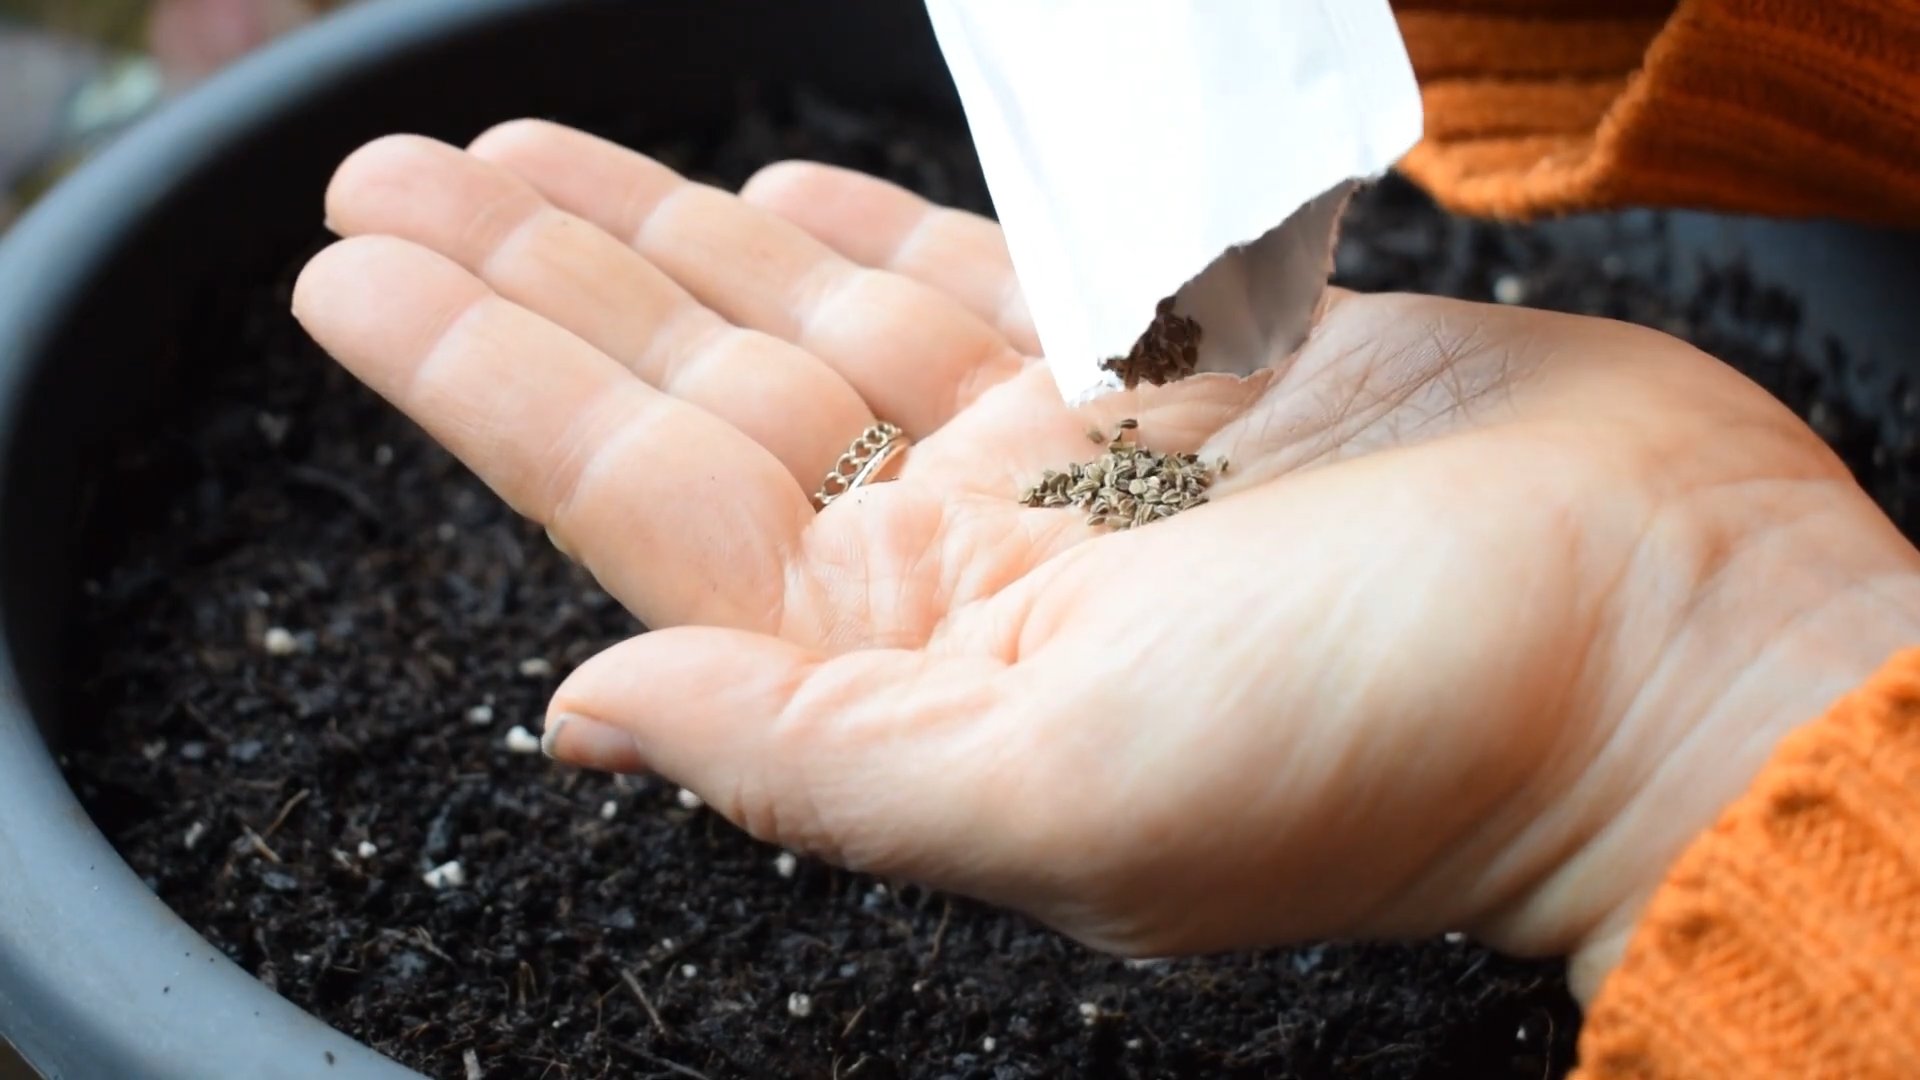
2. Sowing the Seeds: Carrot seeds are tiny, so it’s easy to over-sow. Sprinkle the seeds thinly over the surface of the soil. Aim for about 1/2 inch spacing between seeds. Don’t worry if you’re not perfect – we’ll thin them out later.
3. Cover Lightly: Gently cover the seeds with a very thin layer of soil (about 1/4 inch). Carrot seeds need light to germinate, so don’t bury them too deep.
4. Water Gently: Use a spray bottle or a watering can with a gentle rose to water the seeds. You don’t want to dislodge them.
5. Keep it Moist: The key to successful germination is keeping the soil consistently moist. You can cover the container with plastic wrap or a humidity dome to help retain moisture. Just be sure to remove it once the seedlings emerge.
Caring for Your Mini Carrot Patch
Once your seeds have sprouted, it’s time to nurture your little carrot patch.
1. Thinning the Seedlings: This is crucial! Once the seedlings have a few true leaves (the second set of leaves that appear after the initial seed leaves), it’s time to thin them out. This gives the remaining carrots enough space to grow. Gently pull out the weaker seedlings, leaving about 1-2 inches between each plant. I know it feels brutal, but it’s necessary!
2. Watering: Water regularly, keeping the soil consistently moist but not waterlogged. Check the soil moisture by sticking your finger in – if the top inch feels dry, it’s time to water.
3. Fertilizing: Carrots aren’t heavy feeders, but a light feeding of a balanced organic fertilizer every few weeks can help them thrive. I like to use a diluted fish emulsion or seaweed extract.
4. Weed Control: Keep your carrot patch free of weeds. Weeds compete with carrots for nutrients and water. Gently hand-pull any weeds that pop up.
5. Sunlight: Ensure your carrots are getting at least 6 hours of sunlight per day. If you’re growing indoors, supplement with grow lights.
6. Pest Control: Carrots are generally pest-resistant, but keep an eye out for common garden pests like aphids or carrot rust flies. If you spot any pests, treat them with an organic insecticide like neem oil or insecticidal soap.
Harvesting Your Mini Carrots
The moment we’ve all been waiting for! Harvesting your adorable mini carrots.
1. Maturity Time: Mini carrots typically mature in 50-70 days, depending on the variety. Check the seed packet for specific maturity times.
2. Signs of Readiness: You’ll know your carrots are ready to harvest when the tops are visible above the soil and the carrots have reached the desired size. For ‘Thumbelina’ carrots, they should be about 1 inch in diameter. For ‘Little Finger’ carrots, they should be about 3-4 inches long.
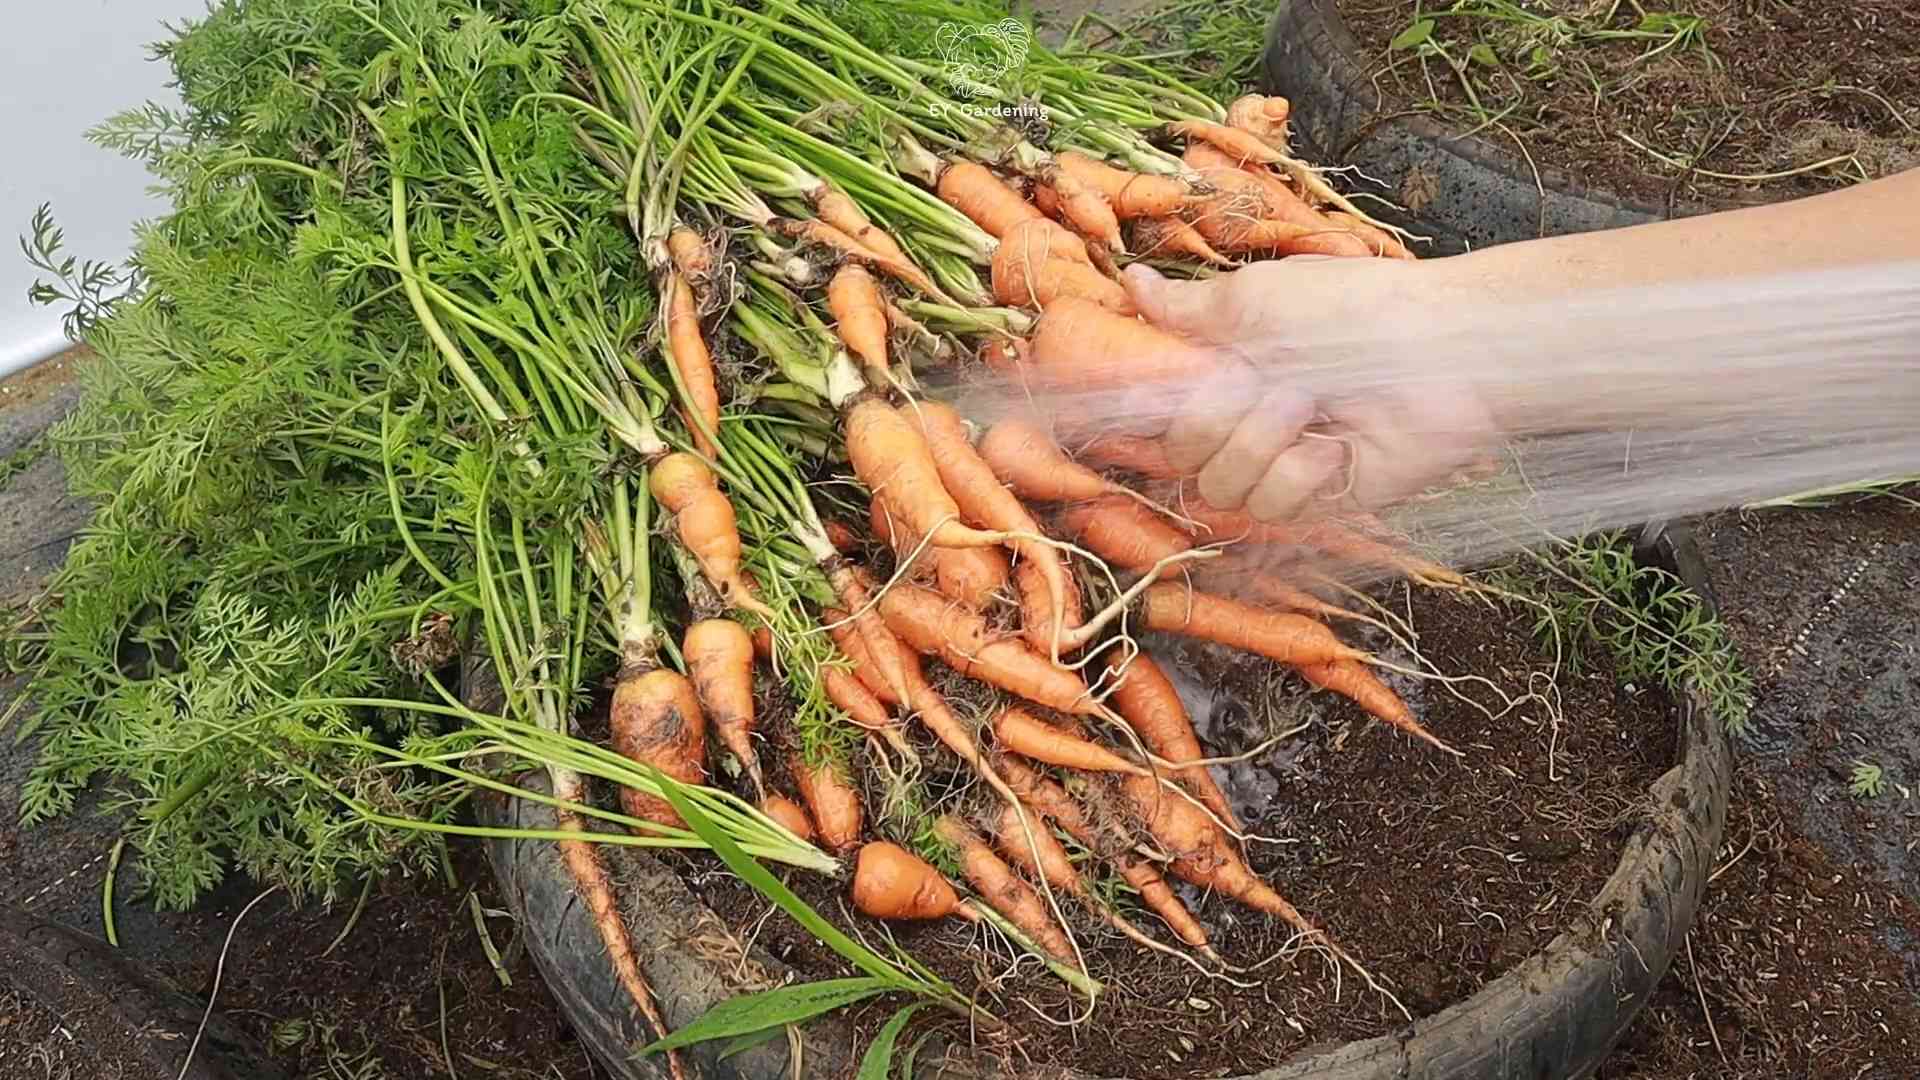
3. Harvesting Technique: Gently loosen the soil around the carrot with a trowel or fork. Then, grasp the carrot tops firmly and pull straight up. If the soil is very dry, you may need to water it beforehand to make harvesting easier.
4. Enjoy! Wash your freshly harvested mini carrots and enjoy them raw, roasted, or steamed. They’re delicious in salads, as a snack, or as a colorful addition to any dish.
Troubleshooting Common Carrot Growing Problems
Even with the best care, you might encounter a few challenges along the way. Here are some common problems and how to fix them:
* Poor Germination: If your seeds aren’t germinating, it could be due to several factors:
* Old Seeds: Carrot seeds have a relatively short shelf life. Make sure you’re using fresh seeds.
* Dry Soil: Keep the soil consistently moist during germination.
* Soil Too Deep: Carrot seeds need light to germinate, so don’t bury them too deep.
* Forked Roots: Forked roots are usually caused by compacted or rocky soil. Amend your soil with plenty of compost and sand to improve drainage and texture. Avoid using soil that’s been heavily fertilized.
* Stunted Growth: Stunted growth can be caused by several factors:
* Lack of Sunlight: Ensure your carrots are getting at least 6 hours of sunlight per day.
* Poor Soil: Carrots need loose, well-draining soil.
* Overcrowding: Thin your seedlings to give them enough space to grow.
* Lack of Nutrients: Fertilize your carrots with a balanced organic fertilizer every few weeks.
* Pests: Keep an eye out for common garden pests like aphids or carrot rust flies. Treat them with an organic insecticide like neem oil or insecticidal soap.
Extra Tips for Mini Carrot Success
Here are a few extra tips to help you grow the best mini carrots ever:
* Succession Planting: Plant a new batch of seeds every few weeks to ensure a continuous harvest.
* Companion Planting: Plant carrots alongside other vegetables like onions, garlic, or rosemary. These plants can help deter pests and improve the flavor of your carrots.
* Watering in the Morning: Water your carrots in the morning to allow the foliage to dry before nightfall. This helps prevent fungal diseases.
* Don’t Overwater: While carrots need consistent moisture, overwatering can lead to root rot.
* Have Fun! Gardening should be enjoyable. Don’t be afraid to experiment and learn from your mistakes.
Growing mini carrots at home is a rewarding experience. With a little bit of care and attention, you can enjoy fresh, homegrown carrots all season long. So, grab your seeds, get your hands dirty, and start growing! Happy gardening!
Conclusion
So, there you have it! Growing mini carrots at home is not only achievable, but it’s also a deeply rewarding experience. Forget those bland, pre-packaged baby carrots from the supermarket. Imagine the vibrant color, the intense sweetness, and the satisfying crunch of carrots you’ve nurtured from seed to snack, right in your own space. This DIY project is a must-try for several compelling reasons.
First, it’s incredibly accessible. You don’t need acres of land or a green thumb of mythical proportions. A simple container, some quality soil, carrot seeds, and a sunny spot are all you need to embark on this miniature gardening adventure. This makes it perfect for apartment dwellers, balcony gardeners, or anyone looking to add a touch of homegrown goodness to their lives.
Second, the taste is simply superior. Homegrown mini carrots burst with flavor that store-bought varieties can only dream of. The freshness is unparalleled, and you have complete control over the growing process, ensuring that your carrots are free from unwanted chemicals and pesticides.
Third, it’s a fantastic learning experience. Whether you’re a seasoned gardener or a complete novice, growing mini carrots offers a hands-on lesson in plant life cycles, soil science, and the simple joy of nurturing something from seed to harvest. It’s a great project to share with children, fostering a love for nature and healthy eating habits.
But the benefits don’t stop there. Growing your own food, even on a small scale, promotes sustainability and reduces your reliance on industrial agriculture. You’ll be contributing to a healthier planet while enjoying delicious, nutritious snacks.
Ready to take your mini carrot game to the next level? Consider these variations:
* Rainbow Carrots: Plant a mix of colorful carrot seeds (purple, yellow, white, and orange) for a visually stunning and nutritionally diverse harvest.
* Herb Infusion: Plant herbs like thyme or rosemary alongside your carrots to subtly infuse them with aromatic flavors.
* Succession Planting: Sow new seeds every few weeks to ensure a continuous supply of fresh mini carrots throughout the growing season.
* Container Choice: Experiment with different container materials (terracotta, plastic, fabric) to see which works best for your environment.
We wholeheartedly encourage you to try this DIY trick and experience the magic of growing mini carrots at home. It’s a simple, satisfying, and delicious way to connect with nature and enjoy the fruits (or rather, vegetables) of your labor. Don’t be afraid to experiment, adapt, and make it your own.
And most importantly, we want to hear about your experience! Share your photos, tips, and challenges in the comments below. Let’s create a community of mini carrot enthusiasts and inspire others to embrace the joy of homegrown goodness. What are you waiting for? Get planting!
Frequently Asked Questions (FAQs)
What kind of container should I use to grow mini carrots?
The ideal container for growing mini carrots should be at least 6-8 inches deep to allow the roots to develop properly. Choose a container with drainage holes to prevent waterlogging, which can lead to root rot. Terracotta pots, plastic containers, and even fabric grow bags can all work well. Consider the size of your growing space and the number of carrots you want to grow when selecting your container. A wider container will allow you to plant more seeds.
What type of soil is best for growing mini carrots?
Mini carrots thrive in loose, well-draining soil that is rich in organic matter. Avoid heavy clay soils, as they can restrict root growth and result in misshapen carrots. A good potting mix specifically formulated for vegetables is an excellent choice. You can also amend your existing soil with compost, aged manure, or peat moss to improve its drainage and fertility. Ensure the soil is free of rocks and debris, as these can also hinder root development.
How often should I water my mini carrots?
Consistent moisture is crucial for healthy carrot growth. Water your mini carrots regularly, keeping the soil consistently moist but not waterlogged. Check the soil moisture level daily, especially during hot or dry weather. Water deeply whenever the top inch of soil feels dry to the touch. Avoid overhead watering, as this can promote fungal diseases. Instead, water at the base of the plants or use a soaker hose.
How much sunlight do mini carrots need?
Mini carrots require at least 6 hours of direct sunlight per day to thrive. Choose a sunny location for your container garden, such as a south-facing balcony or windowsill. If you don’t have access to enough natural sunlight, you can supplement with grow lights. Rotate your container regularly to ensure that all sides of the plants receive adequate sunlight.
How long does it take for mini carrots to grow?
Mini carrots typically take 50-70 days to mature, depending on the variety and growing conditions. Check the seed packet for specific information on the expected maturity time. You can start harvesting your mini carrots when they reach the desired size, typically around 2-3 inches long. Gently loosen the soil around the carrots and pull them out by the greens.
Do I need to fertilize my mini carrots?
While not always necessary, fertilizing your mini carrots can help promote healthy growth and a bountiful harvest. Use a balanced, water-soluble fertilizer specifically formulated for vegetables. Follow the instructions on the fertilizer package carefully, and avoid over-fertilizing, as this can lead to excessive foliage growth at the expense of root development. You can also amend the soil with compost or aged manure before planting to provide a slow-release source of nutrients.
What are some common pests and diseases that affect mini carrots?
Common pests that can affect mini carrots include aphids, carrot rust flies, and nematodes. Regularly inspect your plants for signs of infestation, such as yellowing leaves, stunted growth, or visible pests. Control pests by handpicking them off the plants, using insecticidal soap, or introducing beneficial insects like ladybugs. Diseases that can affect mini carrots include leaf blight and root rot. Prevent diseases by providing good air circulation, avoiding overhead watering, and ensuring proper drainage.
Can I grow mini carrots indoors?
Yes, you can grow mini carrots indoors, but you’ll need to provide them with adequate sunlight or artificial lighting. Place your container near a sunny window or use grow lights to supplement natural light. Ensure that the temperature is consistently warm, around 60-70°F. Indoor growing may require more frequent watering and fertilization, as the plants may dry out more quickly.
How do I know when my mini carrots are ready to harvest?
You can harvest your mini carrots when they reach the desired size, typically around 2-3 inches long. Gently loosen the soil around the carrots and pull them out by the greens. You can also harvest them gradually, thinning out the plants as needed. The taste and texture of the carrots will improve as they mature.
Can I save seeds from my mini carrots?
Saving seeds from carrots is a bit more complex than saving seeds from other vegetables, as carrots are biennials, meaning they typically flower and produce seeds in their second year. To save seeds, you’ll need to overwinter your carrot plants and allow them to flower the following spring. However, for simplicity and to ensure consistent results, it’s generally recommended to purchase fresh carrot seeds each year.

Leave a Comment