

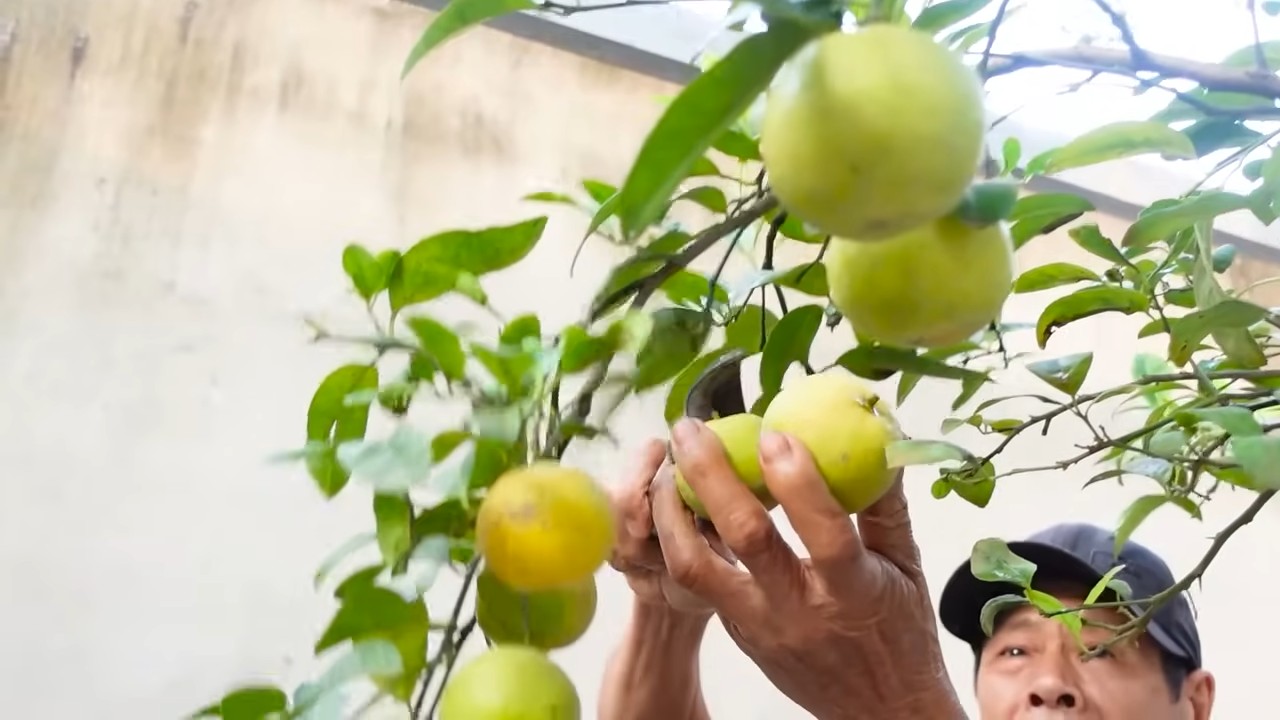
Grow lemons at home, even if you don’t live in a sunny citrus grove! Imagine plucking a perfectly ripe, juicy lemon straight from your own tree, ready to zest into your favorite dish or squeeze into a refreshing glass of lemonade. Sounds dreamy, right? Well, it’s more achievable than you might think, and this DIY guide is your passport to homegrown citrus bliss.
For centuries, lemons have been prized not only for their culinary uses but also for their medicinal properties and symbolic significance. From ancient Rome, where they were a symbol of wealth and status, to their prominent role in traditional medicine across various cultures, lemons have a rich and fascinating history. Now, you can bring a piece of that history into your own home.
But why bother trying to grow lemons at home? Let’s face it, store-bought lemons can be expensive and sometimes lack that vibrant, fresh flavor. Plus, knowing exactly where your food comes from and the satisfaction of nurturing a plant from seedling to fruit is incredibly rewarding. This DIY article will provide you with simple, effective tricks and hacks to successfully cultivate your own lemon tree, regardless of your gardening experience or space constraints. We’ll cover everything from choosing the right variety and potting mix to providing optimal sunlight and care. Get ready to embark on a citrus-filled adventure – your taste buds (and your garden) will thank you!
Successfully Growing Mint Indoors: Your DIY Guide
Hello dear plant friends! Are you also tired of expensive mint from the supermarket that wilts after just a few days? Then you’ve come to the right place! I’ll show you how to easily grow your own mint indoors – fresh, aromatic, and always on hand for tea, cocktails, or delicious dishes. No green thumb needed, I promise!
What You Need: Your Shopping List
Before we get started, here’s a list of everything you’ll need for your indoor mint project:
- Mint seeds or mint cuttings: Seeds are a cheap option, but cuttings yield results faster. You can take cuttings from a purchased mint plant or get them from a friend.
- Seed starting mix or potting soil: Special seed starting mix is ideal for seeds because it’s low in nutrients and loose. But potting soil also works well, especially for cuttings.
- Pots with drainage holes: The size depends on how much mint you want to grow. Small pots (about 10-15 cm in diameter) are sufficient to start with.
- Saucers: To catch excess water.
- Spray bottle: For watering the seeds and young plants.
- Watering can: For later watering.
- Bright windowsill or plant lamp: Mint needs a lot of light!
- Optional: Liquid fertilizer for herbs.
Growing Mint from Seed: Patience Pays Off
Growing mint from seed requires a little more patience, but it’s a great way to try out different mint varieties.
Step-by-Step Guide:
- Prepare the pots: Fill the pots with seed starting mix, leaving about 2 cm of space to the rim. Press the soil down lightly.
- Sow the seeds: Distribute the mint seeds evenly on the soil. Mint is a light germinator, which means the seeds need light to germinate. So only cover them very lightly with soil or just press them down.
- Watering: Moisten the soil carefully with the spray bottle. It should be moist, but not wet.
- Covering: Cover the pots with plastic wrap or a clear plastic bag to increase the humidity. Poke a few holes in the wrap so that the air can circulate.
- Location: Place the pots in a bright, warm place, but not in direct sun. A windowsill is ideal.
- Patience test: Keep the soil moist, but avoid waterlogging. After about 10-14 days, the first seedlings should appear.
- Removing the cover: Once the seedlings are there, remove the wrap or bag.
- Pricking out: When the seedlings are large enough (about 5 cm high), you can prick them out, i.e., transplant them into larger pots. Be careful not to damage the roots.
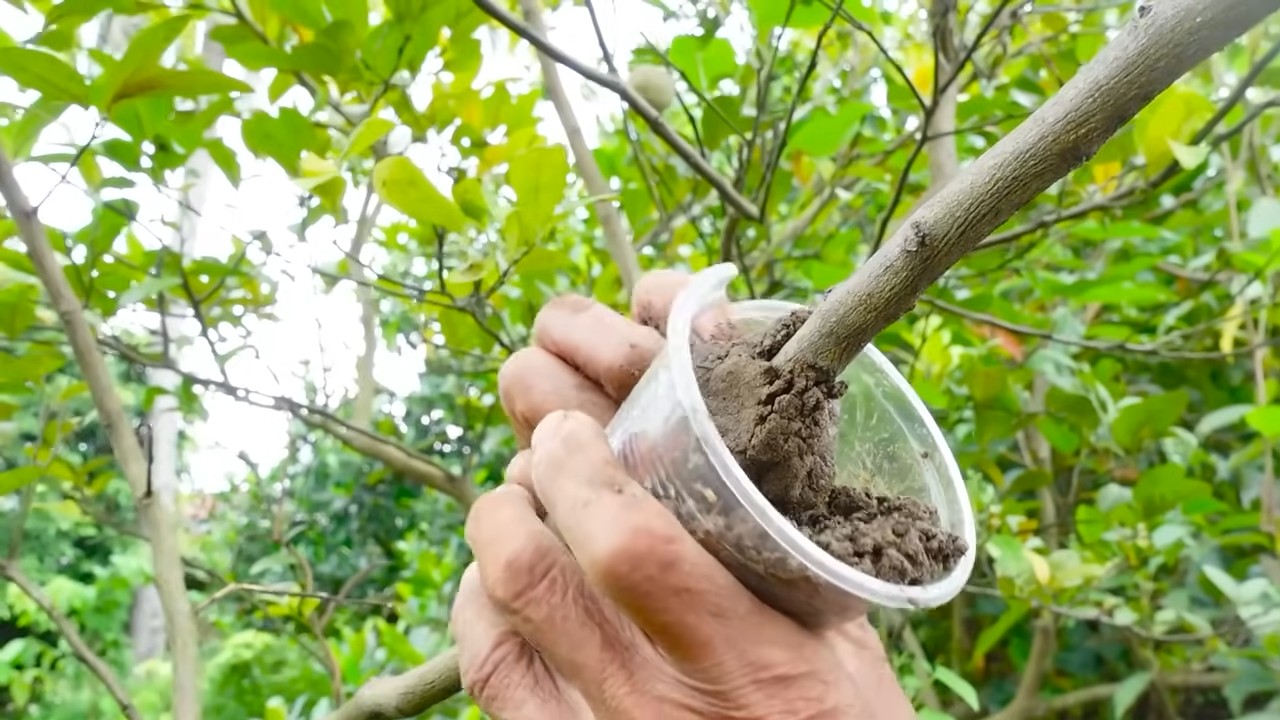
Propagating Mint from Cuttings: Quick and Easy
Propagating mint from cuttings is a faster and easier way to get a new mint plant.
Here’s how:
- Select the cuttings: Look for healthy, strong shoots on an existing mint plant. The shoots should be about 10-15 cm long.
- Cut the cuttings: Cut the shoots just below a leaf node. Remove the lower leaves so they don’t rot in the water.
- Rooting in water: Place the cuttings in a glass of water. Make sure the lower leaf nodes are in the water.
- Location: Place the glass in a bright place, but not in direct sun.
- Patience: Change the water every few days. After about 1-2 weeks, roots should form.
- Planting: Once the roots are about 2-3 cm long, you can plant the cuttings in pots with potting soil.
The Right Care: So Your Mint Thrives
Mint is relatively easy to care for, but you should pay attention to a few things so that it feels at home with you.
Light:
Mint needs a lot of light, at least 6 hours a day. A bright windowsill is ideal. If you don’t have enough natural light, you can use a plant lamp.
Watering:
Keep the soil moist, but avoid waterlogging. Water regularly, especially in summer. The soil should feel slightly moist when you touch it.
Fertilizing:
Mint is not very demanding, but occasional fertilization with liquid fertilizer for herbs can promote growth. Fertilize about every 2-4 weeks during the growing season (spring and summer).
Pruning:
Regular pruning promotes growth and prevents the mint from flowering. Flowering mint loses its aroma. Simply cut the shoots with scissors. You can use the cut leaves immediately or dry them.
Repotting:
Mint grows quickly and can quickly fill the pot with roots. Repotting into a larger pot is therefore necessary regularly, about every 6-12 months.
Common Problems and Solutions:
- Yellow leaves: Can be a sign of overwatering, nutrient deficiency, or too little light. Check your watering habits, fertilize the plant, and move it to a brighter location.
- Brown leaves: Can be caused by air that is too dry or too little water. Spray the leaves regularly with water and water the plant sufficiently.
- Pests: Mint can be infested with aphids or spider mites. Spray the plant with a solution of water and a little dish soap or use a biological pesticide.
Mint Varieties: Variety for Your Garden
There are countless mint varieties with different aromas. Here are a few popular varieties:
- Peppermint: The classic with an intense, refreshing taste.
- Spearmint: Mild and sweet, ideal for mojitos and teas.
- Chocolate mint: With a hint of chocolate, perfect for desserts.
- Strawberry mint: With a fruity strawberry aroma, delicious in salads and drinks.
- Moroccan mint: Popular for traditional Moroccan mint tea.
Harvesting and Using Mint: Freshness for Your Kitchen
You can harvest the mint as soon as the plant is large enough. Simply cut the shoots with scissors. The leaves are most aromatic when you harvest them just before flowering.
Mint is versatile:
- Tea: Fresh or dried mint for a refreshing tea.
- Cocktails: Mojitos, mint juleps, and other cocktails.
- Salads: Fresh mint in salads for a special taste.
- Desserts: Mint in chocolate mousse, ice cream, or other desserts.
- Sauces: Mint sauce with lamb or other dishes.
Drying Mint: For Your Winter Supply
If you have more mint than you can use, you can dry it to preserve it for the winter.
Conclusion
So, there you have it! Growing lemons at home isn’t just a whimsical dream for those with sprawling orchards. It’s an achievable reality, even for apartment dwellers with a sunny windowsill. This DIY trick, focusing on proper soil composition, consistent watering, and strategic fertilization, unlocks the potential for a bountiful harvest of bright, juicy lemons right in your own living space.
Why is this a must-try? Because store-bought lemons, while convenient, often lack the vibrant flavor and zest of homegrown fruit. Plus, there’s an unparalleled satisfaction in nurturing a plant from a tiny seed or sapling to a fruit-bearing tree. Imagine the joy of squeezing freshly picked lemon juice into your morning tea, using the zest to elevate your baking, or gifting a homegrown lemon to a friend. It’s a gift of sunshine, flavor, and a touch of your own green thumb magic.
But the benefits extend beyond just the fruit. Lemon trees are beautiful, fragrant additions to any home. They purify the air, adding a touch of the Mediterranean to your décor. They’re also a fantastic conversation starter, a testament to your dedication and resourcefulness.
Don’t be afraid to experiment with variations! Try different lemon varieties, such as Meyer lemons for their sweeter flavor or Eureka lemons for their classic tartness. Consider using different types of containers, from terracotta pots to self-watering planters. You can even explore hydroponic growing methods for a more advanced approach. The possibilities are endless!
We urge you to embrace this DIY adventure and discover the joys of growing lemons at home. It’s a rewarding experience that will transform your space and your palate. And most importantly, don’t keep your success (or your learning experiences!) to yourself. Share your journey with us! Post photos of your lemon trees, share your tips and tricks, and let us know what worked (and what didn’t) for you. Together, we can cultivate a community of thriving home lemon growers. Let’s turn every home into a mini citrus grove, one lemon at a time!
Frequently Asked Questions (FAQ)
Q: What kind of soil is best for growing lemons at home?
A: The ideal soil for growing lemons at home is a well-draining, slightly acidic potting mix. Avoid heavy clay soils that retain too much water, as this can lead to root rot. A good mix would be a combination of potting soil, perlite, and peat moss or coco coir. The perlite ensures good drainage, while the peat moss or coco coir helps retain moisture and provides essential nutrients. You can also find specialized citrus potting mixes at most garden centers, which are formulated specifically for the needs of citrus trees. Remember to repot your lemon tree every 1-2 years with fresh soil to replenish nutrients and prevent the soil from becoming compacted.
Q: How often should I water my lemon tree?
A: Watering frequency depends on several factors, including the size of the pot, the climate, and the time of year. Generally, you should water your lemon tree when the top inch of soil feels dry to the touch. Water deeply until water drains out of the bottom of the pot. Avoid overwatering, as this can lead to root rot. In the summer months, you may need to water more frequently, perhaps every 2-3 days. In the winter, when the tree is dormant, you can reduce watering to once a week or even less. Always check the soil moisture before watering to ensure that the tree needs it. Using a moisture meter can be helpful in determining the moisture level of the soil.
Q: What kind of fertilizer should I use for my lemon tree?
A: Lemon trees are heavy feeders and require regular fertilization to thrive. Use a fertilizer specifically formulated for citrus trees, which will contain the necessary micronutrients like iron, zinc, and manganese. Fertilize your lemon tree every 4-6 weeks during the growing season (spring and summer). Reduce or stop fertilizing during the dormant season (fall and winter). Follow the instructions on the fertilizer package carefully to avoid over-fertilizing, which can burn the roots. You can also supplement with organic fertilizers like compost tea or fish emulsion.
Q: How much sunlight does a lemon tree need?
A: Lemon trees need at least 6-8 hours of direct sunlight per day to produce fruit. If you’re growing your lemon tree indoors, place it in a south-facing window where it will receive the most sunlight. If you don’t have enough natural light, you can supplement with grow lights. Rotate the tree regularly to ensure that all sides receive equal sunlight. Insufficient sunlight can lead to leggy growth, reduced flowering, and poor fruit production.
Q: How do I pollinate my lemon tree indoors?
A: While lemon trees are self-pollinating, indoor trees may benefit from hand-pollination to ensure fruit set. Use a small, soft brush to transfer pollen from one flower to another. Gently brush the pollen from the stamen (the male part of the flower) onto the pistil (the female part of the flower). Repeat this process for all the flowers on the tree. You can also use a small fan to circulate air around the tree, which can help to distribute pollen. Hand-pollination is especially important if you don’t have bees or other pollinators visiting your indoor lemon tree.
Q: What are some common pests and diseases that affect lemon trees?
A: Common pests that can affect lemon trees include aphids, scale, spider mites, and mealybugs. These pests can suck the sap from the leaves and stems, weakening the tree. Regularly inspect your lemon tree for signs of infestation, such as sticky residue, webbing, or distorted leaves. Treat infestations with insecticidal soap, neem oil, or horticultural oil. Common diseases that can affect lemon trees include root rot, citrus canker, and greasy spot. Prevent these diseases by providing proper drainage, avoiding overwatering, and ensuring good air circulation. If you suspect your lemon tree has a disease, consult with a local nursery or agricultural extension office for diagnosis and treatment options.
Q: How long does it take for a lemon tree to produce fruit?
A: The time it takes for a lemon tree to produce fruit depends on several factors, including the variety of lemon, the age of the tree, and the growing conditions. Seed-grown lemon trees can take 3-6 years to produce fruit, while grafted trees can produce fruit in as little as 1-2 years. Proper care, including adequate sunlight, water, and fertilizer, can help to speed up the fruiting process. Be patient and persistent, and you’ll eventually be rewarded with a bountiful harvest of homegrown lemons.
Q: Can I grow a lemon tree from seed?
A: Yes, you can grow a lemon tree from seed, but it’s important to be aware that the resulting tree may not be identical to the parent tree. This is because lemon trees are often hybrids, and the seeds may not produce true-to-type offspring. To grow a lemon tree from seed, collect seeds from a ripe lemon and wash them thoroughly. Plant the seeds in a well-draining potting mix and keep the soil moist. Germination can take several weeks or even months. Once the seedlings are large enough to handle, transplant them into individual pots. Be prepared to wait several years for the tree to produce fruit. Grafting is a more reliable method of propagating lemon trees, as it ensures that the resulting tree will be identical to the parent tree.
Q: My lemon tree is dropping leaves. What could be the problem?
A: Leaf drop in lemon trees can be caused by a variety of factors, including overwatering, underwatering, nutrient deficiencies, temperature stress, and pest infestations. Check the soil moisture to ensure that you’re not overwatering or underwatering the tree. Make sure the tree is receiving adequate sunlight and is not exposed to extreme temperatures. Fertilize the tree regularly with a citrus-specific fertilizer. Inspect the tree for signs of pests or diseases and treat accordingly. If the leaf drop is severe or persistent, consult with a local nursery or agricultural extension office for diagnosis and treatment options.


Leave a Comment