

Grow gourds at home and transform your garden into a whimsical wonderland! Have you ever dreamed of crafting your own birdhouses, dippers, or even unique musical instruments? Gourds, with their fascinating shapes and textures, offer endless possibilities for DIY projects. For centuries, gourds have been more than just decorative items; they’ve been integral to various cultures, serving as essential tools, containers, and even artistic canvases. From ancient civilizations using them for water vessels to modern artisans creating stunning gourd art, their versatility is undeniable.
But why should you grow gourds at home? Well, imagine the satisfaction of harvesting your own materials for creative projects! Plus, growing gourds is surprisingly rewarding and can add a unique touch to your garden. This DIY guide will equip you with the knowledge and simple tricks you need to successfully grow gourds at home, even if you’re a beginner gardener. We’ll cover everything from seed selection and planting to harvesting and curing, ensuring you have a bountiful crop ready for your next crafting adventure. Let’s get started and unlock the magic of gourds together!

Growing Gourds: A Beginner’s Guide to a Bountiful Harvest
Hey there, fellow gardening enthusiasts! I’m so excited to share my experiences with growing gourds. It’s a rewarding and surprisingly easy project that can add a unique touch to your home decor or even provide you with materials for crafting. Trust me, there’s nothing quite like watching these quirky plants climb and produce their fascinating fruits. So, grab your gardening gloves, and let’s dive in!
Choosing Your Gourd Variety
Before we get our hands dirty, let’s talk about the different types of gourds you can grow. This is a crucial first step because different gourds have different needs and uses.
* Ornamental Gourds: These are the colorful, oddly shaped gourds you often see in fall decorations. They come in a wide variety of shapes, sizes, and colors. Think of the warty gourds, the apple gourds, and the pear gourds. They’re great for crafting and adding a festive touch to your home.
* Luffa Gourds: These are my personal favorites! Luffas, also known as sponge gourds, are grown for their fibrous interior, which makes an excellent natural sponge. Imagine growing your own sustainable bath sponges!
* Bottle Gourds: These are the classic gourds used for making birdhouses, bowls, and other containers. They have a thick shell that hardens as they dry, making them durable and long-lasting.
* Edible Gourds: While not all gourds are edible, some varieties, like the calabash gourd, can be eaten when young. However, it’s crucial to identify edible gourds correctly, as some can be toxic.
Once you’ve decided on the type of gourd you want to grow, it’s time to source your seeds. You can find gourd seeds at most garden centers or online retailers. Make sure to choose seeds from a reputable source to ensure you’re getting the variety you want.
Preparing Your Gourd Garden
Gourds are vigorous growers and need plenty of space and sunlight. Here’s how to prepare your garden for a successful gourd harvest:
* Sunlight: Gourds need at least 6-8 hours of direct sunlight per day. Choose a location in your garden that receives ample sunlight throughout the growing season.
* Soil: Gourds prefer well-drained soil that is rich in organic matter. Amend your soil with compost or aged manure to improve its fertility and drainage. I usually add a generous amount of compost to my gourd patch before planting.
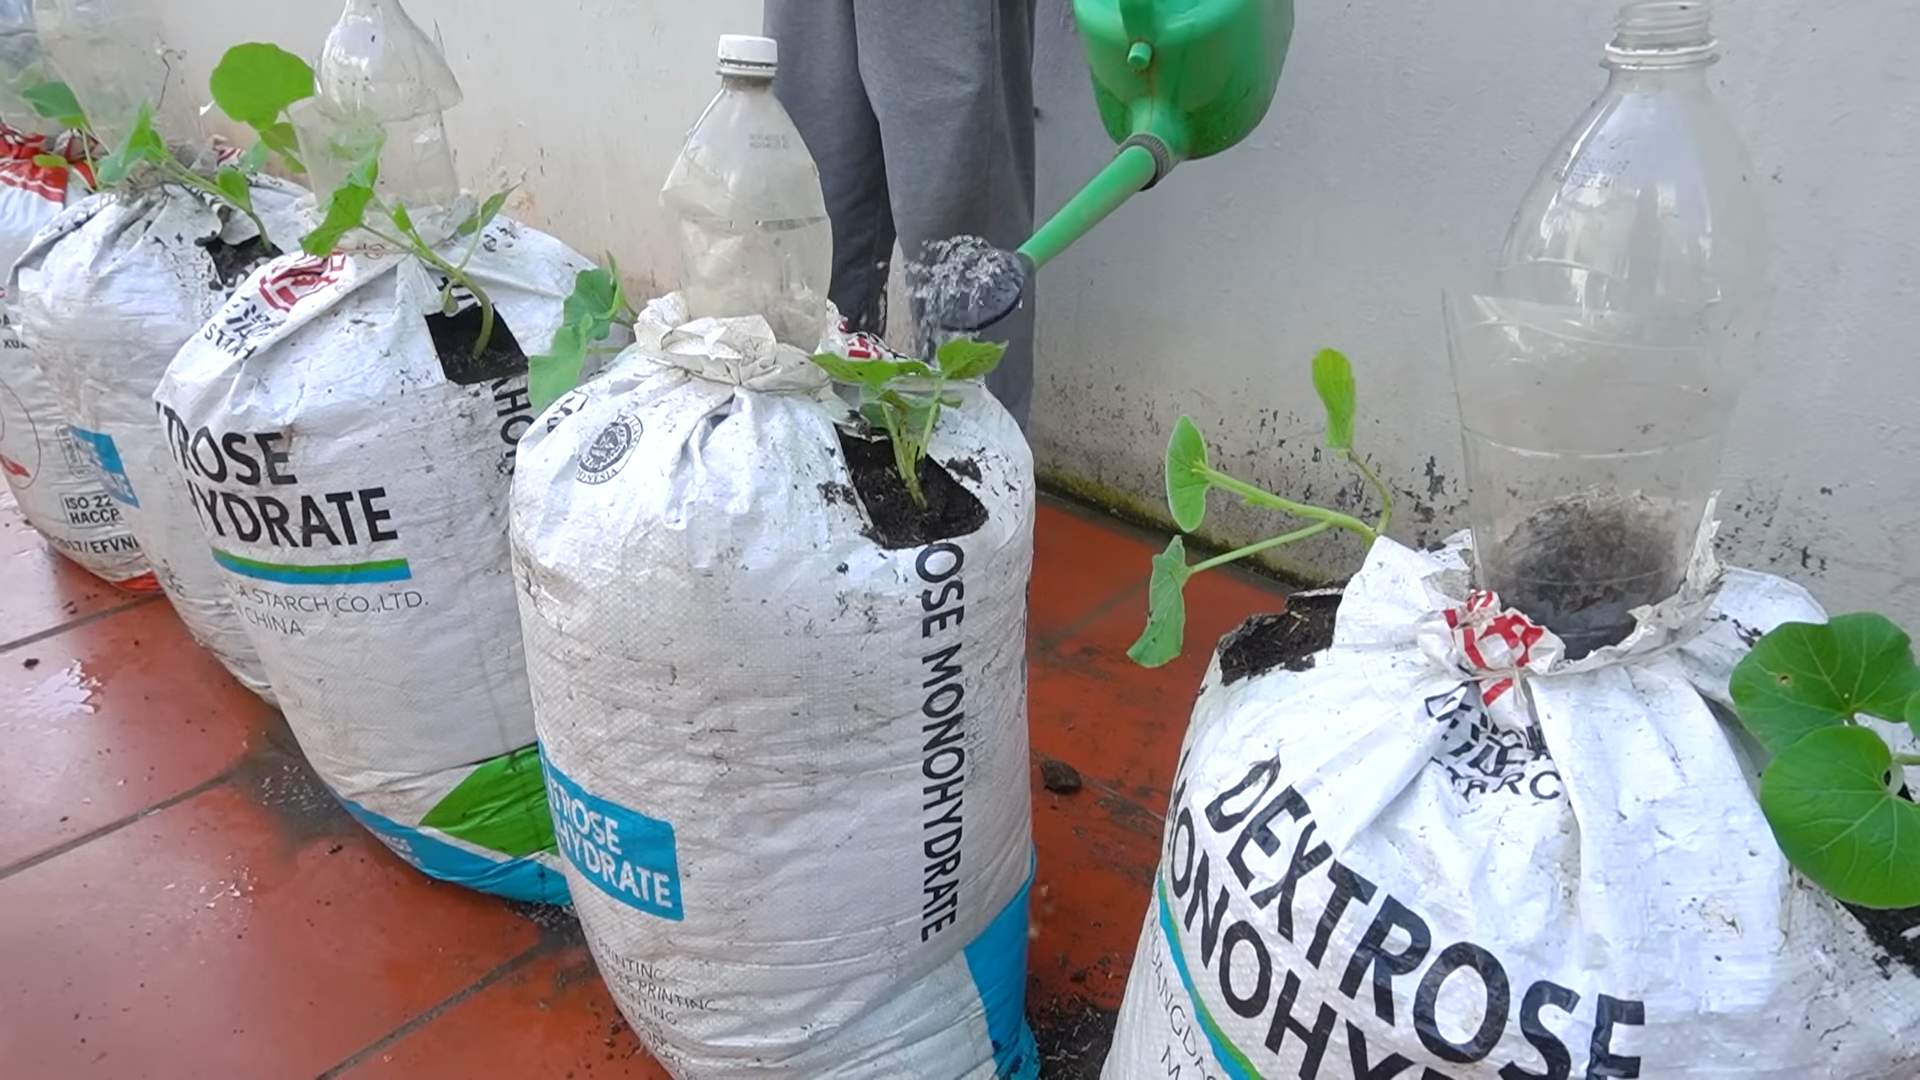
* Support: Gourds are vining plants and need a strong support structure to climb on. You can use a trellis, fence, or even a sturdy pergola. Make sure the support is strong enough to handle the weight of the mature gourds. I’ve used everything from cattle panels to homemade wooden trellises with great success.
* Spacing: Give your gourd plants plenty of space to grow. Depending on the variety, you’ll need to space them 2-4 feet apart. Check the seed packet for specific spacing recommendations.
Planting Your Gourd Seeds
Now for the fun part – planting! You can either start your gourd seeds indoors or direct sow them in your garden. I prefer to start them indoors to get a head start on the growing season, especially in cooler climates.
* Starting Seeds Indoors:
1. Timing: Start your seeds indoors 4-6 weeks before the last expected frost.
2. Containers: Use peat pots or biodegradable pots to avoid disturbing the roots when transplanting.
3. Soil: Fill the pots with a seed-starting mix.
4. Planting: Plant 2-3 seeds per pot, about 1 inch deep.
5. Watering: Water gently to keep the soil moist but not soggy.
6. Warmth: Place the pots in a warm location, such as a sunny windowsill or under grow lights.
7. Thinning: Once the seedlings emerge, thin them to one plant per pot.
* Direct Sowing:
1. Timing: Direct sow your seeds after the last expected frost when the soil has warmed up to at least 60°F (15°C).
2. Soil Preparation: Prepare the soil as described above.
3. Planting: Plant 2-3 seeds per hill, about 1 inch deep.
4. Watering: Water gently to keep the soil moist.
5. Thinning: Once the seedlings emerge, thin them to one plant per hill.
Caring for Your Gourd Plants
Once your gourd plants are established, it’s important to provide them with the care they need to thrive.
* Watering: Water your gourd plants regularly, especially during dry spells. Gourds need consistent moisture to produce healthy fruits. I usually water deeply once or twice a week, depending on the weather.
* Fertilizing: Feed your gourd plants with a balanced fertilizer every 2-3 weeks. Look for a fertilizer that is high in phosphorus and potassium to promote fruit development. I like to use a liquid seaweed fertilizer, which provides essential nutrients and trace minerals.
* Pruning: Prune your gourd plants to encourage branching and fruit production. Remove any dead or diseased leaves and stems. You can also pinch off the tips of the vines to encourage lateral growth.
* Pest and Disease Control: Keep an eye out for common gourd pests, such as squash bugs, squash vine borers, and cucumber beetles. You can use insecticidal soap or neem oil to control these pests. Also, watch out for fungal diseases, such as powdery mildew. Improve air circulation around your plants and apply a fungicide if necessary. I’ve found that regular monitoring and early intervention are key to preventing serious pest and disease problems.
* Training the Vines: As your gourd vines grow, train them to climb the support structure. Gently guide the vines and tie them to the trellis or fence with twine. This will help to keep the vines organized and prevent them from sprawling on the ground.
Harvesting Your Gourds
The timing of your gourd harvest will depend on the type of gourd you’re growing and how you plan to use it.
* Ornamental Gourds: Harvest ornamental gourds when the stems have dried and turned brown. This usually happens in the fall, before the first frost. Cut the gourds from the vine, leaving a few inches of stem attached.
* Luffa Gourds: Harvest luffa gourds when they turn yellow or brown and the skin becomes loose. You can test for ripeness by squeezing the gourd gently. If it feels spongy, it’s ready to harvest.
* Bottle Gourds: Harvest bottle gourds when the stems have dried and turned brown. The gourds should feel hard and lightweight.
* Edible Gourds: Harvest edible gourds when they are young and tender. The skin should be smooth and easily pierced with your fingernail.
Drying and Curing Your Gourds
Once you’ve harvested your gourds, it’s important to dry and cure them properly to prevent them from rotting.
* Cleaning: Wash the gourds with soapy water to remove any dirt or debris.
* Drying: Place the gourds in a well-ventilated area, such as a garage or shed. Make sure the gourds are not touching each other to allow for good air circulation. You can also hang the gourds from a string or wire.
* Curing: Allow the gourds to dry and cure for several weeks or months, depending on the size and type of gourd. The gourds are fully cured when they are lightweight and the seeds rattle inside.
* Mold Prevention: Check the gourds regularly for signs of mold. If you see any mold, wipe it off with a solution of bleach and water.
Making Luffa Sponges: A Step-by-Step Guide
Since I mentioned my love for luffa gourds, I thought I’d share how I turn them into natural sponges. It’s a super satisfying process!
1. Harvesting: As mentioned earlier, harvest when the luffa turns yellow/brown and feels spongy.
2. Peeling: This can be a bit messy! Soak the luffa in water for a few minutes to loosen the skin. Then, using your hands or a knife, peel off the outer skin. It should come off fairly easily.
3. Seed Removal: Shake out the seeds. You can save these for planting next year!
4. Washing: Rinse the luffa thoroughly to remove any remaining pulp or seeds.
5. Drying: Hang the luffa in a well-ventilated area to dry completely. This may take a few days.
6. Cutting (Optional): Once dry, you can cut the luffa into smaller pieces to make individual sponges.
Conclusion
So, there you have it! Growing gourds at home isn’t just a fun gardening project; it’s a gateway to creativity, sustainability, and a deeper connection with nature. We’ve walked you through the process, from selecting the right seeds to harvesting your beautifully unique gourds. But why is this DIY trick a must-try?
Firstly, the satisfaction of nurturing a plant from seed to harvest is unparalleled. Watching those tiny sprouts emerge and transform into sprawling vines laden with gourds is an incredibly rewarding experience. Secondly, you gain access to a diverse range of gourd shapes, sizes, and textures that you simply won’t find in any store. Imagine crafting birdhouses from perfectly rounded gourds, creating whimsical decorations from uniquely shaped ones, or even making musical instruments from dried and cured specimens. The possibilities are truly endless!
Furthermore, growing your own gourds is an environmentally friendly choice. You’re reducing your reliance on commercially produced goods, minimizing transportation emissions, and potentially using organic gardening practices that benefit the soil and local ecosystem. Plus, you can save money by avoiding the inflated prices of decorative gourds during the fall season.
Ready to take your gourd growing to the next level? Consider these variations:
* **Vertical Gardening:** If you’re short on space, train your gourd vines to climb a trellis or fence. This not only saves space but also creates a stunning visual display.
* **Gourd Art:** Before your gourds fully mature, try gently scratching designs into their skin. As they grow, the designs will become more pronounced, creating unique and personalized artwork.
* **Companion Planting:** Plant your gourds alongside beneficial companion plants like marigolds (to deter pests) or beans (to fix nitrogen in the soil).
* **Different Varieties:** Experiment with different gourd varieties! From the classic bottle gourd to the colorful ornamental gourds, there’s a whole world of gourd diversity to explore. Consider growing luffa gourds for natural sponges!
We’ve covered the basics, but the real magic happens when you get your hands dirty and start experimenting. Don’t be afraid to try different techniques, adapt to your local climate, and discover what works best for you. Remember to be patient, as gourd growing requires time and attention. But the rewards – both tangible and intangible – are well worth the effort.
Now, it’s your turn! We wholeheartedly encourage you to embark on this gourd-growing adventure. Start small, learn as you go, and most importantly, have fun! Once you’ve harvested your first crop of homegrown gourds, we’d love to hear about your experience. Share your photos, tips, and creative projects with us in the comments below. Let’s build a community of gourd enthusiasts and inspire others to discover the joys of growing these amazing plants. Happy growing! Let’s see your amazing grow gourds at home results!
Frequently Asked Questions (FAQ)
What is the best time to plant gourd seeds?
The ideal time to plant gourd seeds is after the last frost in your area, when the soil has warmed up to at least 65-70°F (18-21°C). Gourds are warm-season crops and are sensitive to frost. Planting too early can result in poor germination or stunted growth. In most regions, this typically falls between late spring and early summer. You can start seeds indoors 4-6 weeks before the last expected frost to get a head start, but be sure to harden them off gradually before transplanting them outdoors. Check your local weather forecasts and planting guides for specific recommendations for your region.
How much space do gourds need to grow?
Gourds are vigorous vines that require a significant amount of space to grow. Each plant can easily spread 10-20 feet (3-6 meters) or more, depending on the variety. Therefore, it’s crucial to provide ample room for them to sprawl. If growing in rows, space plants 3-5 feet (1-1.5 meters) apart. If using a trellis or fence, ensure it’s sturdy enough to support the weight of the mature vines and gourds. Consider the mature size of the specific gourd variety you’re growing when determining spacing. Crowded plants can lead to reduced yields and increased susceptibility to diseases.
What kind of soil is best for growing gourds?
Gourds thrive in well-drained, fertile soil that is rich in organic matter. Amend your soil with compost, aged manure, or other organic amendments before planting to improve its structure, fertility, and water-holding capacity. The ideal soil pH for gourds is between 6.0 and 6.8. Conduct a soil test to determine your soil’s pH and nutrient levels, and adjust accordingly. Avoid planting in heavy clay soils that retain too much moisture, as this can lead to root rot. If you have clay soil, consider building raised beds or adding sand and organic matter to improve drainage.
How often should I water my gourd plants?
Gourds require consistent moisture, especially during hot, dry weather. Water deeply and regularly, aiming to keep the soil consistently moist but not waterlogged. Water at the base of the plants to avoid wetting the foliage, which can increase the risk of fungal diseases. The frequency of watering will depend on your local climate, soil type, and the size of your plants. As a general rule, water when the top inch of soil feels dry to the touch. During periods of drought, you may need to water daily. Mulching around the plants can help retain moisture and suppress weeds.
What are some common pests and diseases that affect gourds, and how can I control them?
Gourds can be susceptible to various pests and diseases, including squash bugs, squash vine borers, aphids, powdery mildew, and downy mildew. Regularly inspect your plants for signs of infestation or disease. Handpick pests whenever possible. Use insecticidal soap or neem oil to control aphids and other soft-bodied insects. Wrap the base of the stems with aluminum foil to deter squash vine borers. To prevent fungal diseases, ensure good air circulation around the plants, avoid overhead watering, and apply a fungicide if necessary. Choose disease-resistant varieties whenever possible. Crop rotation can also help reduce the buildup of soilborne pathogens.
How do I know when my gourds are ready to harvest?
The timing of gourd harvest depends on the specific variety and your intended use. For ornamental gourds, harvest when the stems have dried and turned brown, and the gourds feel hard and lightweight. For hard-shelled gourds intended for crafting, allow them to mature fully on the vine until the stems are completely dry and brown. The gourds should sound hollow when tapped. Harvest before the first frost to prevent damage. For luffa gourds, harvest when the skin turns yellow or brown and the gourd feels lightweight.
How do I cure gourds after harvesting?
Curing is essential for preserving gourds and preventing them from rotting. After harvesting, gently wash the gourds with mild soap and water to remove any dirt or debris. Place them in a well-ventilated, dry, and dark location, such as a shed or garage. Avoid direct sunlight, which can cause the gourds to crack. Arrange the gourds so that they don’t touch each other to allow for good air circulation. Check them regularly for signs of rot or mold. Discard any gourds that show signs of spoilage. The curing process can take several weeks to several months, depending on the size and thickness of the gourds. The gourds are fully cured when they are lightweight, hard, and the seeds rattle inside.
Can I eat gourds?
While some gourds are edible when young, many ornamental gourds are not safe to eat and can be toxic. Luffa gourds are edible when young and tender. If you are unsure whether a particular gourd is edible, it’s best to err on the side of caution and avoid consuming it. Always research the specific variety you are growing to determine its edibility.
How can I use my homegrown gourds?
The possibilities for using homegrown gourds are endless! Ornamental gourds can be used for fall decorations, centerpieces, and crafts. Hard-shelled gourds can be transformed into birdhouses, bowls, musical instruments, and other functional and decorative items. Luffa gourds can be used as natural sponges for bathing and cleaning. Get creative and explore different ways to incorporate your gourds into your home and garden.
Where can I find gourd seeds?
Gourd seeds are widely available at garden centers, nurseries, and online retailers. Look for reputable seed companies that offer a wide selection of gourd varieties. Consider purchasing seeds from local sources to ensure they are well-suited to your climate. You can also save seeds from your own homegrown gourds for future planting, but be aware that cross-pollination can occur, resulting in unexpected variations.
Leave a Comment