

Grow Crunchy Radishes Home – and say goodbye to those bland, disappointing radishes from the grocery store! Have you ever bitten into a radish expecting that satisfying crunch and peppery zing, only to be met with a soft, mushy texture and a flavor that’s… well, just sad? I know I have, and it’s incredibly frustrating. That’s why I’m so excited to share these simple, yet effective, DIY tricks to help you cultivate the crispiest, most flavorful radishes you’ve ever tasted, right in your own backyard or even on your balcony!
Radishes have been enjoyed for centuries, with evidence suggesting they were cultivated in ancient Egypt and Greece. They were valued not only for their taste but also for their medicinal properties. Today, we might not rely on them for healing, but the joy of harvesting a vibrant, crunchy radish is a reward in itself.
But why bother with these DIY tricks? Because growing radishes isn’t always as straightforward as it seems. Factors like soil quality, watering, and sunlight can significantly impact their texture and taste. Without the right techniques, you might end up with those aforementioned mushy disappointments. This article is your guide to avoiding those pitfalls and unlocking the secrets to grow crunchy radishes home that will add a delightful kick to your salads, snacks, and meals. Let’s get started!
Grow the Crunchiest Radishes You’ve Ever Tasted: A DIY Guide
Hey there, fellow gardening enthusiasts! I’m so excited to share my secrets to growing incredibly crunchy radishes right in your own backyard (or even a container!). Forget those bland, sometimes mushy radishes you find at the grocery store. We’re talking about radishes with a satisfying snap and a peppery bite that will elevate your salads, snacks, and even your tacos!
This guide is all about maximizing crunch, and I’ll walk you through every step, from choosing the right variety to harvesting at the perfect time. Let’s get started!
Choosing the Right Radish Variety
Not all radishes are created equal when it comes to crunch. Some varieties are naturally more prone to becoming pithy (that spongy, less-than-desirable texture) than others. Here are a few of my favorite varieties for guaranteed crunch:
* **French Breakfast:** These elongated radishes are mild, crisp, and perfect for eating raw with a little butter and salt. They mature quickly, making them ideal for impatient gardeners like myself!
* **Cherry Belle:** A classic round, bright red radish that’s known for its crisp texture and slightly spicy flavor. They’re also very easy to grow.
* **Easter Egg:** This mix of colorful radishes (red, pink, purple, white) is not only beautiful but also boasts a fantastic crunch. They’re a fun option for adding visual appeal to your garden and your plate.
* **Sparkler:** Similar to Cherry Belle, but with a white tip. These are reliable and consistently crunchy.
* **White Icicle:** These long, white radishes have a milder flavor than some of the red varieties, but they’re incredibly crisp and refreshing.
Preparing Your Radish Growing Area
Radishes are relatively low-maintenance, but a little preparation goes a long way in ensuring a successful and crunchy harvest.
* **Sunlight:** Radishes need at least 6 hours of sunlight per day. Choose a location in your garden that gets plenty of sunshine.
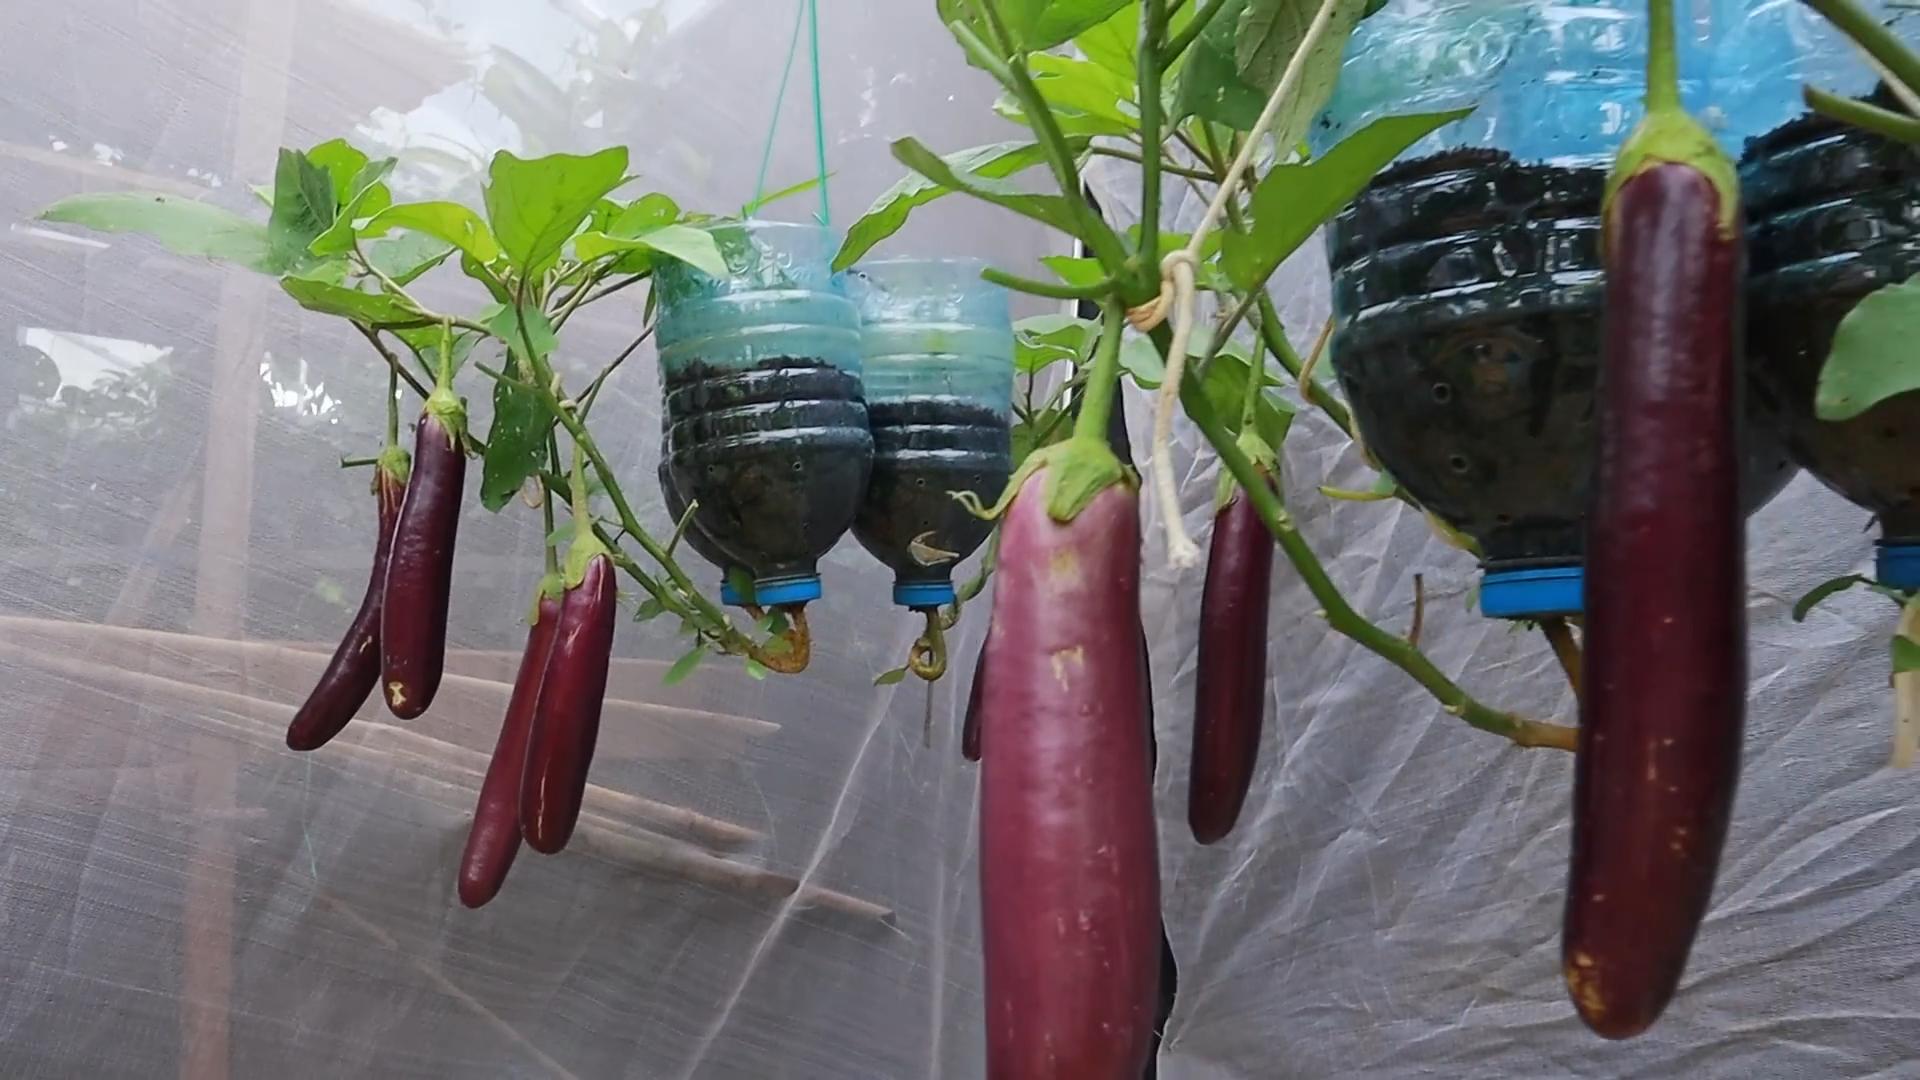
* **Soil:** Well-drained soil is crucial. Radishes don’t like to sit in soggy soil, as this can lead to rot and affect their texture. Amend your soil with compost or other organic matter to improve drainage and fertility. I like to use a mix of compost, peat moss, and perlite for container gardening.
* **pH:** Radishes prefer a slightly acidic to neutral soil pH (around 6.0 to 7.0). You can test your soil pH with a simple soil testing kit.
* **Remove Rocks and Debris:** Clear the area of any rocks, sticks, or other debris that could hinder root growth.
Planting Your Radish Seeds
Radishes are cool-season crops, meaning they thrive in cooler temperatures. The best time to plant them is in early spring or late summer/early fall.
* **Timing is Key:** Plant your radish seeds 4-6 weeks before the last expected frost in spring, or 4-6 weeks before the first expected frost in fall.
* **Direct Sowing:** Radishes are best direct-sown, meaning you plant the seeds directly into the ground (or container) where they will grow. They don’t transplant well.
* **Spacing:** Sow seeds about ½ inch deep and ½ to 1 inch apart.
* **Rows:** If planting in rows, space the rows about 6 inches apart.
* **Watering:** Gently water the soil after planting. Keep the soil consistently moist but not waterlogged.
* **Succession Planting:** For a continuous harvest, plant a new batch of radish seeds every 1-2 weeks. This is especially important because radishes mature so quickly.
Caring for Your Radishes
Once your radish seeds have sprouted, it’s important to provide them with the right care to ensure they grow quickly and develop that desirable crunch.
* **Watering:** Consistent watering is essential for crunchy radishes. Aim to keep the soil evenly moist, especially during dry periods. Irregular watering can cause the radishes to crack or become pithy.
* **Thinning:** Once the seedlings have emerged and have a couple of true leaves, thin them to about 1-2 inches apart. This will give the radishes enough space to develop properly. Don’t be afraid to pull out the weaker seedlings.
* **Weeding:** Keep the area around your radishes free of weeds. Weeds compete with radishes for nutrients and water. Hand-pull weeds carefully to avoid disturbing the radish roots.
* **Fertilizing:** Radishes don’t need a lot of fertilizer, but a light feeding of a balanced fertilizer (like 10-10-10) can help them grow. Avoid over-fertilizing, as this can lead to excessive foliage growth at the expense of root development. I prefer using a liquid seaweed fertilizer diluted according to the package directions.
* **Pest Control:** Radishes are generally pest-resistant, but they can sometimes be bothered by flea beetles or root maggots.
* **Flea Beetles:** These tiny beetles can chew small holes in the leaves. Cover your radishes with row covers to prevent flea beetles from reaching them. You can also use insecticidal soap if necessary.
* **Root Maggots:** These pests can tunnel into the radish roots, causing them to become damaged and unappetizing. Rotate your crops to avoid root maggot infestations. You can also use diatomaceous earth around the base of the plants to deter them.
Harvesting Your Crunchy Radishes
The key to getting the crunchiest radishes is to harvest them at the right time. Radishes mature very quickly, often in as little as 3-4 weeks.
* **Timing is Everything:** Check your seed packet for the specific maturity time of your radish variety. Start checking for readiness a few days before the expected harvest date.
* **Size Matters:** Harvest radishes when they reach the size specified on the seed packet. Overgrown radishes tend to become pithy and lose their crunch.
* **Testing:** Gently loosen the soil around a radish and pull it up to check its size. If it’s the right size, harvest the rest of the radishes.
* **Harvesting Technique:** Gently pull the radishes from the soil, holding them by the base of the leaves.
* **Storage:** Remove the leaves and store the radishes in a plastic bag in the refrigerator. They will keep for about a week.
Troubleshooting Common Radish Problems
Even with the best care, you might encounter a few problems when growing radishes. Here are some common issues and how to address them:
* **Radishes are Pithy:** This is often caused by inconsistent watering, overcrowding, or harvesting too late. Make sure to water regularly, thin your seedlings properly, and harvest radishes when they reach the right size.
* **Radishes are Cracking:** This is usually caused by rapid changes in soil moisture. Water regularly and consistently, especially during dry periods.
* **Radishes are Not Forming Bulbs:** This can be caused by poor soil, lack of sunlight, or planting too late in the season. Make sure your soil is well-drained and fertile, provide plenty of sunlight, and plant at the right time of year.
* **Radishes are Too Spicy:** Some radish varieties are naturally spicier than others. If you prefer a milder flavor, choose a milder variety like French Breakfast or White Icicle. You can also try soaking the radishes in cold water for a few hours before eating them to reduce their spiciness.
Container Gardening with Radishes
Don’t have a garden? No problem! Radishes are perfect for container gardening.
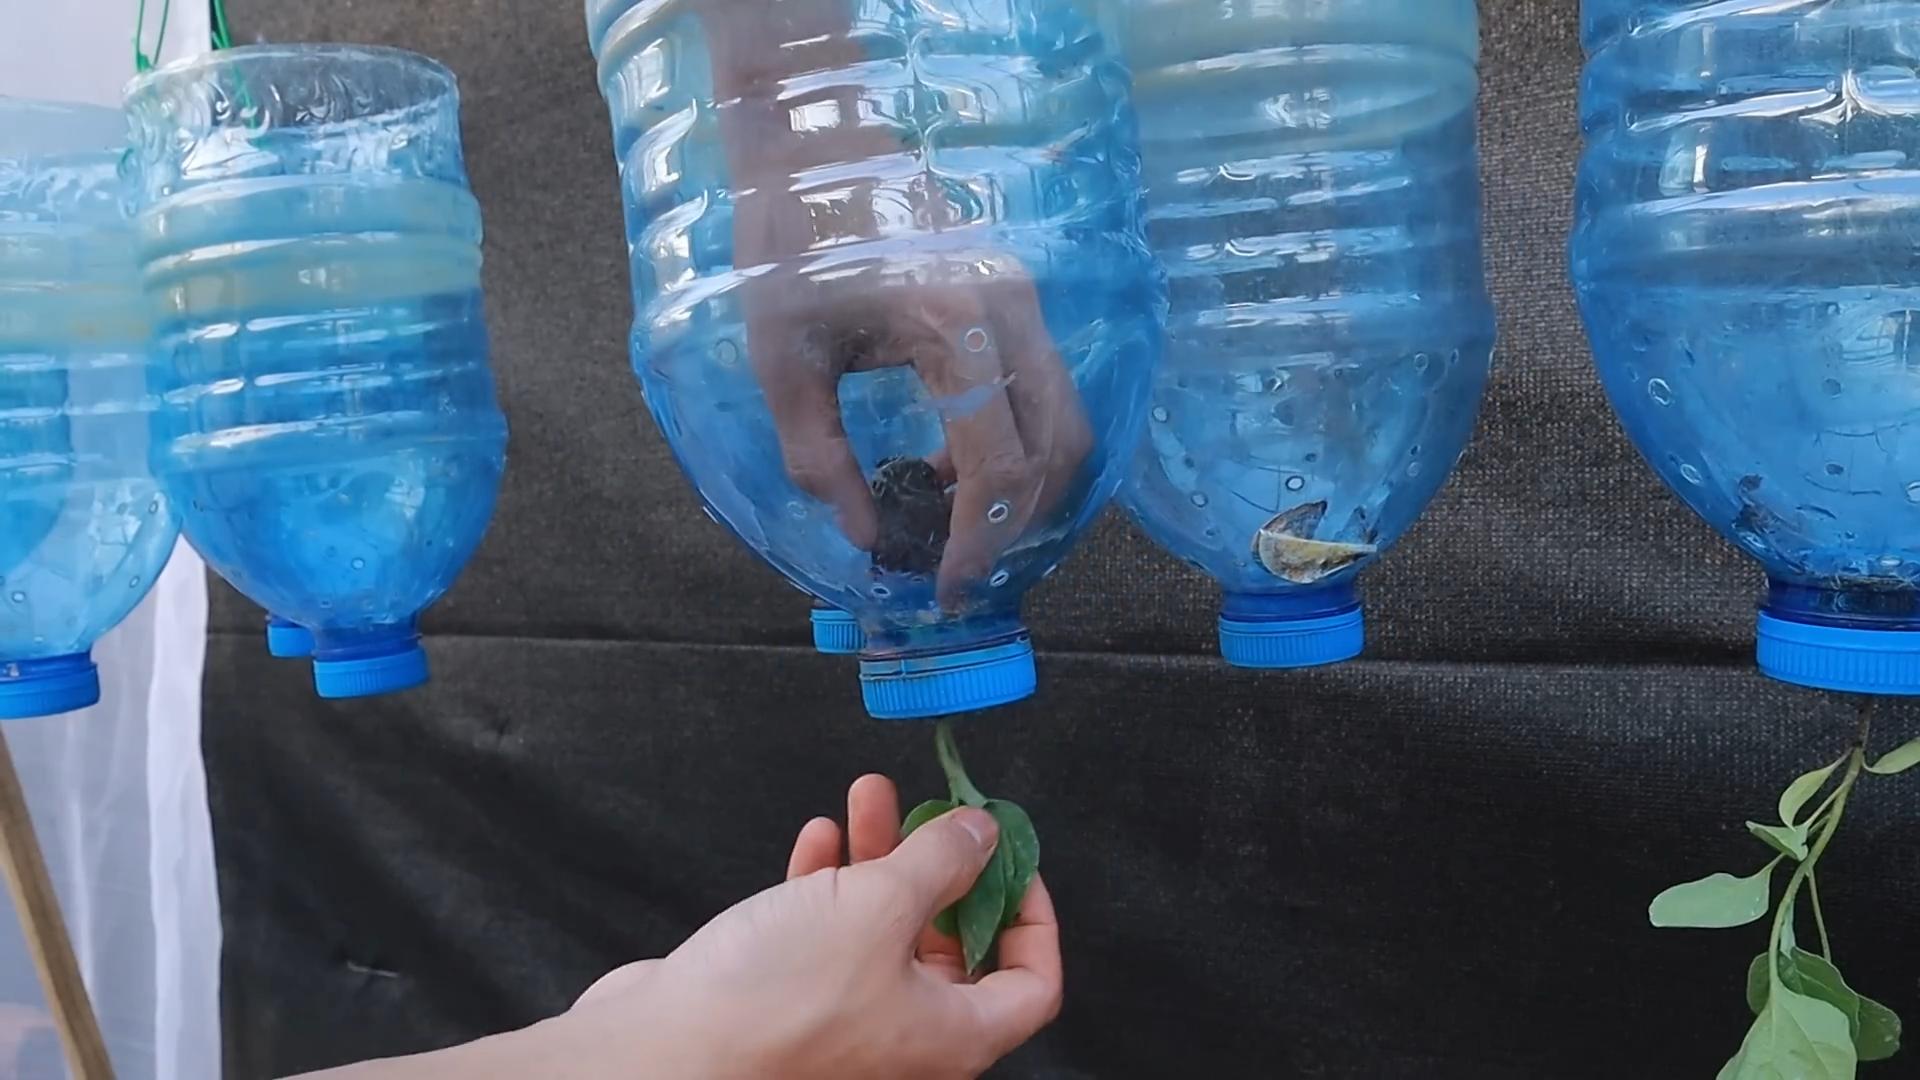
* **Choose the Right Container:** Select a container that is at least 6 inches deep and has drainage holes.
* **Use a Good Quality Potting Mix:** Avoid using garden soil in containers, as it can become compacted and poorly drained. Use a lightweight potting mix that is specifically designed for container gardening.
* **Planting:** Follow the same planting instructions as for in-ground gardening.
* **Watering:** Container-grown radishes will need to be watered more frequently than those grown in the ground, as the soil in containers tends to dry out more quickly.
* **Fertilizing:** Fertilize your container-grown radishes every 2-3 weeks with a liquid fertilizer.
Enjoying Your Crunchy Radishes
Now that you’ve grown your own crunchy radishes, it’s time to enjoy them! Here are a few of my favorite ways to eat them:
* **Raw:** Simply wash and slice the radishes and eat them raw. They’re delicious on their own or with a little butter and salt.
* **In Salads:** Add sliced or chopped radishes to your favorite salads for a peppery crunch.
* **On Sandwiches:** Radishes add a refreshing crunch to sandwiches and wraps.
* **Pickled:** Pickled radishes are a delicious and tangy treat.
* **Roasted:** Roasting radishes mellows their flavor and brings out their sweetness.
* **Radish Greens:** Don’t throw away the radish greens! They
Conclusion
So, there you have it! Growing crunchy radishes at home is not only achievable, but it’s also incredibly rewarding. Forget those bland, sometimes bitter radishes you find at the grocery store. With a few simple adjustments to your gardening routine, you can cultivate radishes bursting with flavor and boasting that satisfying crispness we all crave.
This DIY trick, focusing on consistent moisture, proper soil preparation, and strategic thinning, is a game-changer. It addresses the most common reasons why homegrown radishes fail to live up to expectations. Think about it: no more woody textures or overly spicy bites. Instead, imagine pulling up vibrant, juicy radishes, ready to add a peppery kick to your salads, sandwiches, or even enjoyed as a refreshing snack on their own.
But the beauty of gardening lies in experimentation. Feel free to explore variations to personalize your radish-growing experience. Consider these ideas:
* Radish Variety Exploration: Don’t limit yourself to just one type of radish. Experiment with different varieties like French Breakfast, Cherry Belle, or Watermelon radishes. Each offers a unique flavor profile and texture, adding diversity to your harvest. Some varieties are also more heat-tolerant than others, which can be beneficial depending on your climate.
* Companion Planting: Radishes are excellent companion plants. They deter pests and improve soil conditions for other vegetables. Try planting them alongside carrots, lettuce, or spinach. The radishes will mature quickly, loosening the soil for the slower-growing crops.
* Succession Planting: To enjoy a continuous harvest of crunchy radishes, practice succession planting. Sow a small batch of seeds every week or two. This ensures a steady supply of fresh radishes throughout the growing season, preventing you from being overwhelmed with a large harvest all at once.
* Soil Amendments: While well-draining soil is crucial, consider adding organic matter like compost or well-rotted manure to enrich the soil further. This will provide essential nutrients for healthy radish growth and improve water retention.
* Container Gardening: If you have limited space, don’t despair! Radishes thrive in containers. Choose a pot that is at least 6 inches deep and ensure it has drainage holes. Use a high-quality potting mix and follow the same watering and thinning guidelines as you would for in-ground planting.
Ultimately, the key to success is observation and adaptation. Pay attention to your radishes, monitor the soil moisture, and adjust your approach as needed. Gardening is a learning process, and every season brings new opportunities to refine your skills.
We are confident that this DIY trick will transform your radish-growing endeavors. So, grab your seeds, prepare your soil, and get ready to enjoy the most delicious, crunchy radishes you’ve ever tasted.
Don’t forget to share your experiences with us! We’d love to hear about your successes, challenges, and any variations you’ve tried. Post photos of your harvest on social media using #HomegrownRadishes and let’s inspire others to embark on their own radish-growing adventures. Happy gardening!
Frequently Asked Questions (FAQ)
Why are my radishes not crunchy?
The most common reason for radishes lacking that desirable crunch is inconsistent watering. Radishes need consistently moist soil to develop properly. When the soil dries out, the radishes can become woody and tough. Other factors include overcrowding (not thinning seedlings), poor soil quality, and harvesting radishes when they are too mature. Ensure you are watering regularly, thinning your seedlings to the appropriate spacing, and harvesting your radishes when they reach the recommended size for their variety.
How often should I water my radishes?
The frequency of watering depends on your climate and soil type. Generally, you should aim to keep the soil consistently moist, but not waterlogged. Check the soil moisture daily by sticking your finger about an inch into the soil. If it feels dry, it’s time to water. In hot, dry weather, you may need to water daily, while in cooler, wetter weather, you may only need to water every few days. Using mulch around your radish plants can help retain moisture and reduce the need for frequent watering.
What kind of soil is best for growing radishes?
Radishes prefer loose, well-draining soil that is rich in organic matter. Heavy clay soil can hinder root development and lead to misshapen or stunted radishes. Amend heavy soil with compost, well-rotted manure, or other organic materials to improve drainage and aeration. A slightly acidic to neutral soil pH (around 6.0 to 7.0) is ideal. Before planting, till the soil to a depth of at least 6 inches to loosen it and remove any rocks or debris.
When is the best time to plant radishes?
Radishes are cool-season crops, meaning they thrive in cooler temperatures. The best time to plant radishes is in early spring or late summer/early fall. In spring, plant as soon as the soil can be worked. In fall, plant about 4-6 weeks before the first expected frost. Avoid planting radishes during the hottest months of summer, as high temperatures can cause them to bolt (go to seed) and become bitter.
How do I thin radish seedlings?
Thinning is crucial for ensuring that radishes have enough space to develop properly. Once your seedlings have emerged and have a few true leaves, thin them to about 1-2 inches apart, depending on the variety. Use scissors or small snips to cut off the unwanted seedlings at the soil line, rather than pulling them out, which can disturb the roots of the remaining plants.
Why are my radishes so spicy?
Radishes can become overly spicy if they are stressed due to heat, drought, or poor soil conditions. High temperatures can cause radishes to develop a stronger flavor. Inconsistent watering can also contribute to spiciness. Ensure you are providing consistent moisture, planting at the appropriate time of year, and amending the soil with organic matter to create a healthy growing environment. Some radish varieties are naturally spicier than others, so consider choosing milder varieties if you prefer a less intense flavor.
Can I eat radish greens?
Yes, radish greens are edible and nutritious! They have a peppery flavor similar to the radishes themselves. You can add them to salads, stir-fries, or soups. Choose young, tender greens for the best flavor and texture. Wash them thoroughly before using.
How long does it take for radishes to grow?
Radishes are one of the fastest-growing vegetables. Most varieties mature in just 3-4 weeks. Check the seed packet for the specific days to maturity for the variety you are growing. Harvest your radishes as soon as they reach the recommended size to prevent them from becoming overgrown and woody.
How do I know when to harvest my radishes?
Harvest radishes when they reach the size specified on the seed packet. Gently loosen the soil around the radish and pull it up by the greens. If the radish is too small, leave it in the ground for a few more days. Overgrown radishes can become tough and bitter, so it’s best to harvest them promptly.
Can I grow radishes in containers?
Yes, radishes are well-suited for container gardening. Choose a pot that is at least 6 inches deep and has drainage holes. Use a high-quality potting mix and follow the same watering and thinning guidelines as you would for in-ground planting. Place the container in a sunny location that receives at least 6 hours of sunlight per day.
Leave a Comment