

Grow Crunchy Radishes Home – that’s the dream, isn’t it? Imagine biting into a perfectly crisp, peppery radish, grown with your own two hands, right in your backyard! Forget those limp, bland radishes you find at the grocery store. I’m here to tell you that cultivating these little flavor bombs is easier than you think, and this DIY guide is your secret weapon.
Radishes have a surprisingly long and vibrant history. Believed to have originated in Asia, they were cultivated even before the pyramids were built! The ancient Egyptians valued them so much that they were even used as payment for laborers. Today, radishes are enjoyed worldwide, adding a zesty kick to salads, sandwiches, and countless other dishes.
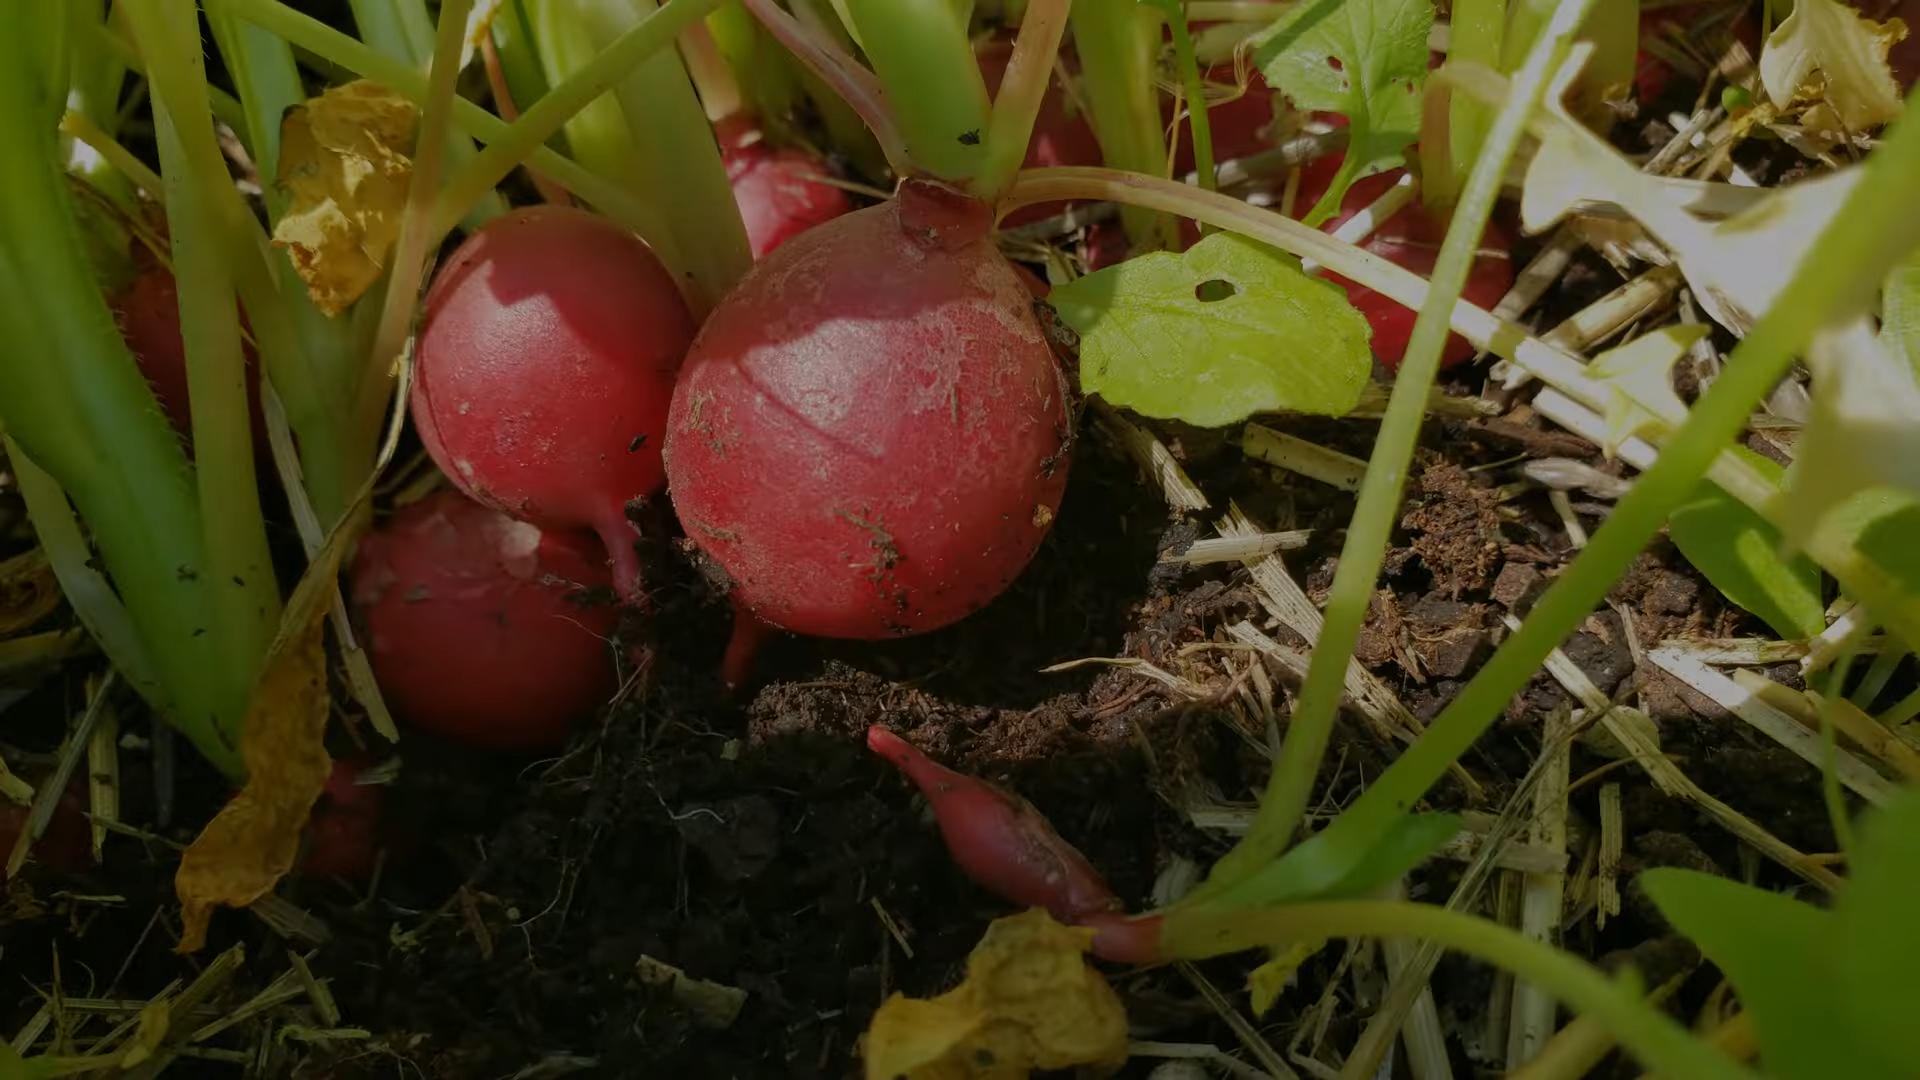
But why bother growing your own? Well, for starters, the taste is incomparable. Freshly harvested radishes have a vibrant flavor and satisfying crunch that you just can’t replicate with store-bought varieties. Plus, growing your own food is incredibly rewarding! It connects you to nature, reduces your carbon footprint, and gives you control over what you’re eating. Many people struggle with getting that perfect crunch, often ending up with woody or overly spicy radishes. That’s where these DIY tricks come in. I’m going to share my tried-and-true methods for ensuring you grow crunchy radishes home every single time. Get ready to impress your friends and family with your radish-growing prowess!
DIY Home Theater Seating: Building Your Dream Couch on a Budget
Okay, so you’re dreaming of a home theater, right? Big screen, awesome sound, and most importantly, comfy seating. But those fancy theater recliners can cost a small fortune! Don’t worry, I’m here to show you how to build your own amazing home theater seating – a custom couch – without breaking the bank. This project is totally doable, even if you’re not a master carpenter. Let’s get started!
Planning and Preparation
Before we even think about picking up a hammer, we need a plan. This is crucial for making sure your couch fits your space and your needs.
* **Measure, Measure, Measure!** Seriously, this is the most important step. Measure the space where you want your couch to go. Consider the width, depth, and height. Think about how many people you want to seat comfortably. I always recommend adding a little extra wiggle room – you never know when you’ll have extra guests!
* **Design Your Couch:** Sketch out your ideal couch. Do you want individual seats? A long, continuous bench? Reclining sections? Cup holders? Now’s the time to get creative! Think about the style you’re going for – modern, rustic, classic? This will influence your material choices.
* **Material Selection:** This is where you can really save money. Pallets are a great option for a rustic look (more on that later). Plywood is another affordable and versatile choice. For cushioning, consider high-density foam, old mattresses (if they’re in good condition!), or even beanbag filling. Fabric is another key decision. Think about durability, comfort, and aesthetics. I personally love using durable canvas or denim for a long-lasting, stylish look.
* **Gather Your Tools:** You’ll need a few essential tools for this project. A circular saw or jigsaw is essential for cutting wood. A drill with various bits will be needed for screwing things together. A staple gun is crucial for attaching fabric. You’ll also need a measuring tape, level, pencil, safety glasses, and work gloves. A sander will come in handy for smoothing rough edges.
* **Safety First!** Always wear safety glasses and work gloves when working with power tools. Make sure you have adequate ventilation when working with paints or adhesives. And if you’re not comfortable using a particular tool, don’t be afraid to ask for help!
Building the Frame
This is the foundation of your awesome home theater couch. We’ll focus on a basic plywood frame, but you can adapt these instructions to use pallets or other materials.
1. **Cut the Base:** Based on your measurements, cut the plywood for the base of your couch. You’ll need pieces for the bottom, sides, and back. I recommend using ¾-inch plywood for strength and stability.
2. **Assemble the Base:** Screw the side pieces to the bottom piece to create a rectangular frame. Make sure the corners are square! Use wood glue in addition to screws for extra strength.
3. **Add Support:** To prevent the base from sagging, add support beams across the bottom of the frame. Space them evenly apart, about 12-18 inches. Screw them securely into the side pieces.
4. **Build the Backrest:** Cut the plywood for the backrest. The height of the backrest is up to you, but I recommend making it at least 24 inches tall for comfortable support.
5. **Attach the Backrest:** Attach the backrest to the back of the base frame. Again, use wood glue and screws for a strong connection. Consider adding angled supports to the backrest for extra stability. These supports should run from the bottom of the backrest to the base frame.
6. **Consider Armrests:** If you want armrests, cut the plywood to the desired size and shape. Attach them to the sides of the base frame using wood glue and screws. You can get creative with the armrest design – add storage compartments, cup holders, or even charging stations!
Adding Comfort: Cushioning and Upholstery
Now for the fun part – making your couch super comfy!
1. **Cut the Foam:** Measure the dimensions of the base and backrest. Cut the high-density foam to these dimensions. You can use an electric knife or a long, sharp blade to cut the foam.
2. **Attach the Foam to the Base:** Use spray adhesive to attach the foam to the base of the frame. Make sure the foam is evenly distributed and covers the entire surface.
3. **Attach the Foam to the Backrest:** Repeat the process for the backrest. Use spray adhesive to attach the foam to the backrest frame.
4. **Prepare the Fabric:** Measure the dimensions of the base and backrest, adding extra fabric for wrapping and stapling. Cut the fabric to these dimensions. I always add at least 6 inches extra on each side to make sure I have enough to work with.
5. **Upholster the Base:** Start by stapling the fabric to the bottom of the base frame. Pull the fabric taut and staple it securely. Work your way around the base, smoothing out any wrinkles or creases.
6. **Upholster the Backrest:** Repeat the process for the backrest. Start by stapling the fabric to the back of the backrest frame. Pull the fabric taut and staple it securely. Work your way around the backrest, smoothing out any wrinkles or creases.
7. **Finishing Touches:** Once you’ve upholstered the base and backrest, trim any excess fabric. You can also add decorative trim or piping to the edges of the couch for a more polished look.
Pallet Couch Variation
If you’re going for a rustic look and want to save even more money, pallets are an excellent option.
1. **Source Pallets:** Find sturdy, clean pallets. Make sure they haven’t been treated with harmful chemicals. You can often find free pallets at local businesses or construction sites.
2. **Prepare the Pallets:** Sand the pallets to remove any splinters or rough edges. You can also paint or stain them to match your desired aesthetic.
3. **Assemble the Base:** Stack the pallets to create the desired height for your couch. You can use screws or nails to secure the pallets together.
4. **Build the Backrest:** You can use additional pallets to create the backrest. Attach them to the base pallets using screws or nails.
5. **Add Cushioning and Upholstery:** Follow the same steps as above to add foam and fabric to the pallet frame.
Adding Extras: Cup Holders, Recliners, and More!
Now that you have the basic couch built, you can customize it to your heart’s content!
* **Cup Holders:** Cut holes in the armrests or add separate cup holder attachments. You can find cup holder inserts online or at your local hardware store.
* **Reclining Sections:** This is a more advanced project, but it’s totally doable! You can purchase reclining mechanisms online and integrate them into your couch frame.
* **Storage Compartments:** Add hinged lids to the armrests or base to create hidden storage compartments. This is a great way to store blankets, pillows, or remote controls.
* **Lighting:** Install LED strip lights under the couch or in the armrests for a cool ambient effect.
* **Charging Stations:** Integrate USB charging ports into the armrests so you can easily charge your devices while relaxing.
Final Touches and Enjoying Your Creation
Once you’ve finished building your home theater couch, it’s time to add the final touches and enjoy your creation!
1. **Add Pillows and Blankets:** Throw pillows and blankets will add extra comfort and style to your couch.
2. **Position Your Couch:** Place your couch in front of your TV or projector screen. Make sure it’s at a comfortable viewing distance.
3. **Invite Your Friends:** Gather your friends and family for a movie night! Enjoy your new home theater seating and all the hard work you put into it.
Building your own home theater seating is a rewarding project that can save you a lot of money. It also allows you to create a custom couch that perfectly fits your space and your needs. So, grab your tools, get creative, and start building your dream couch today! I hope you found this guide helpful, and I can’t wait to see what you create! Remember to have fun with it and don’t be afraid to experiment. Happy building!
Conclusion
So, there you have it! Growing crunchy radishes at home is not only achievable, it’s downright rewarding. Forget those bland, sometimes bitter radishes you find at the grocery store. With a few simple adjustments to your gardening technique, you can cultivate a crop of peppery, crisp, and utterly delicious radishes that will elevate your salads, snacks, and even cooked dishes.
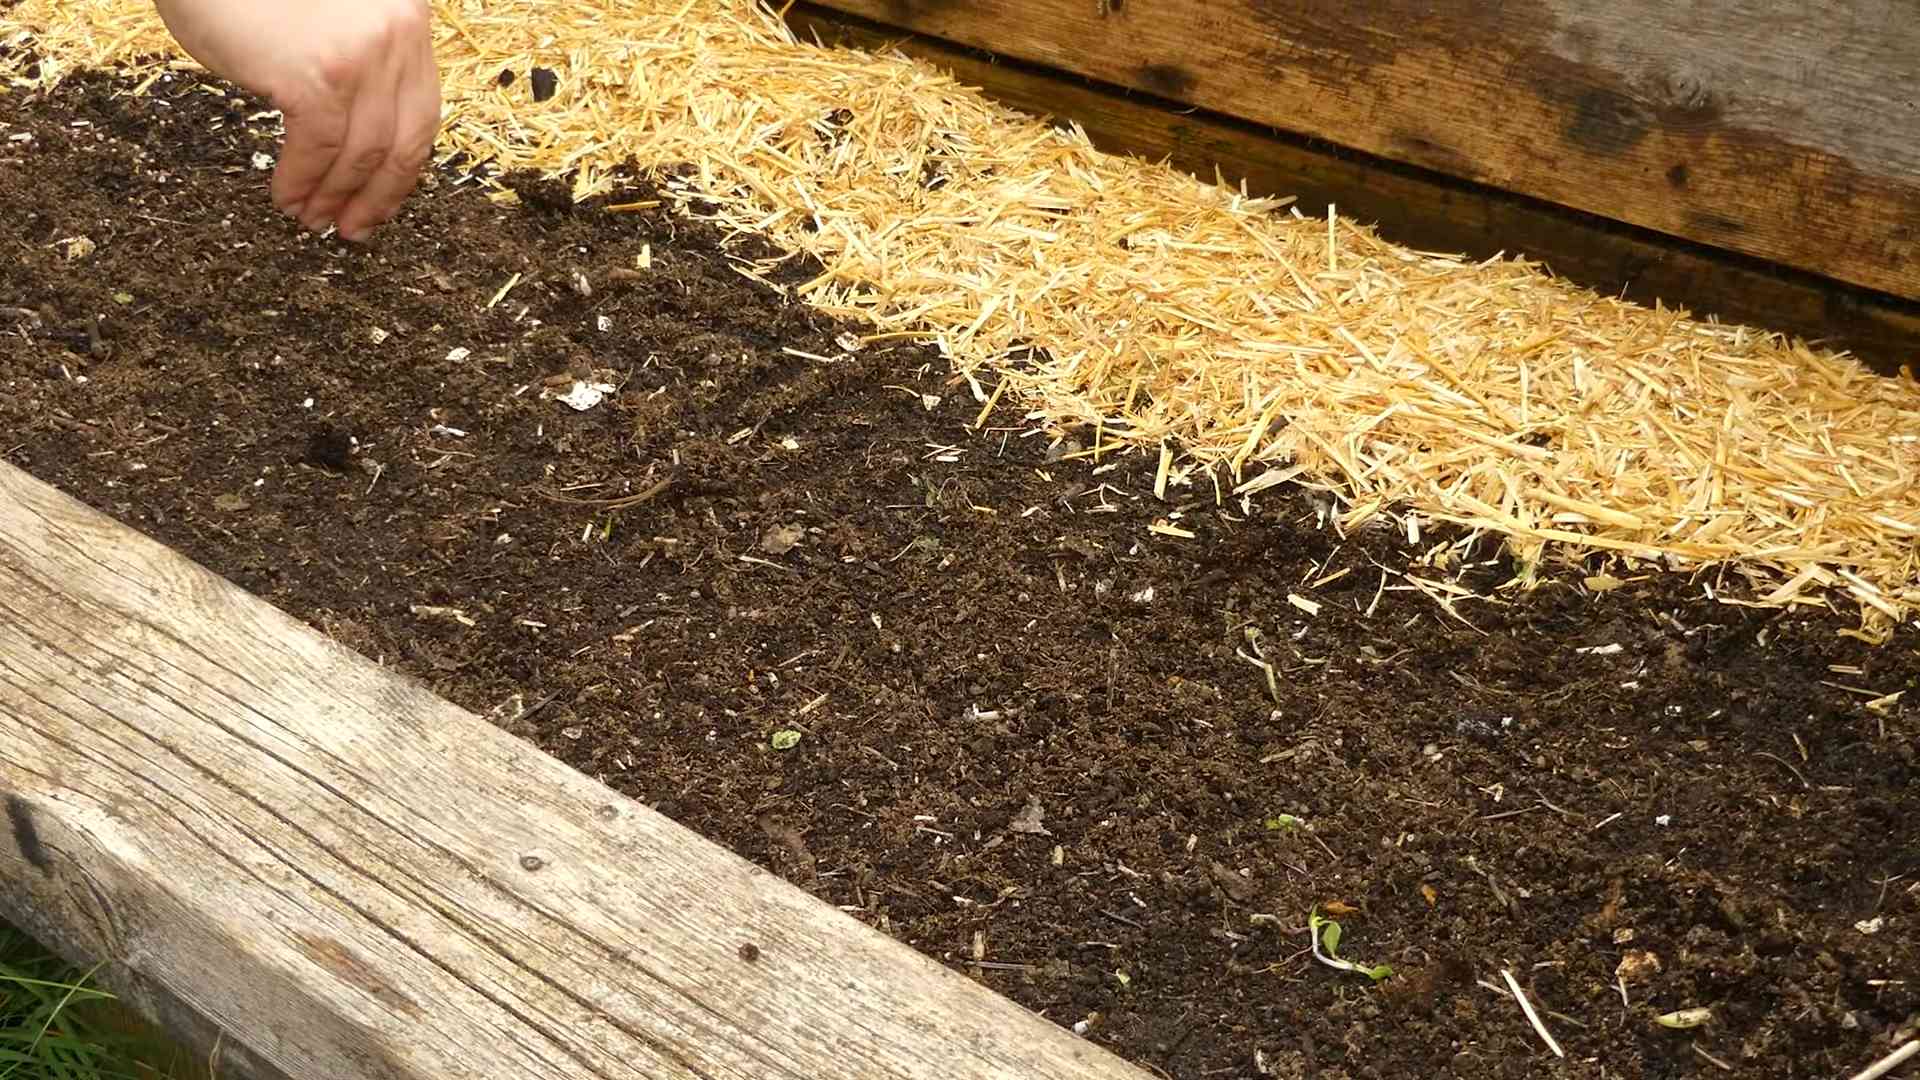
This DIY trick, focusing on consistent moisture, well-drained soil, and strategic thinning, is a game-changer. It addresses the most common reasons why homegrown radishes fail to live up to their potential. By implementing these steps, you’re essentially creating the ideal environment for rapid and even growth, preventing the development of that undesirable pithiness and bitterness.
But don’t stop there! Experimentation is key to unlocking the full potential of your radish patch. Consider these variations:
* Radish Varieties: Explore different radish varieties beyond the classic red globe. French Breakfast radishes offer a milder flavor and elongated shape, while Watermelon radishes boast a stunning pink interior and a slightly sweet taste. Black Spanish radishes provide a pungent kick, perfect for adding depth to cooked dishes.
* Companion Planting: Radishes are excellent companion plants! They deter pests and improve soil conditions for other vegetables. Try planting them alongside carrots (the radishes will be harvested before the carrots need the space), lettuce, or spinach.
* Succession Planting: Extend your radish harvest by planting a new batch every two weeks. This ensures a continuous supply of fresh, crunchy radishes throughout the growing season.
* Radish Greens: Don’t discard the radish greens! They are packed with nutrients and can be used in salads, stir-fries, or even pesto. Just be sure to wash them thoroughly.
* Soil Amendments: While well-drained soil is crucial, consider adding compost or other organic matter to improve soil fertility and water retention. This will provide your radishes with the nutrients they need to thrive.
We wholeheartedly encourage you to try this DIY trick for growing crunchy radishes at home. It’s a simple, effective, and incredibly satisfying way to enjoy the fruits (or rather, roots) of your labor. The taste of a freshly harvested, perfectly crisp radish is an experience you won’t soon forget.
Once you’ve given it a go, we’d love to hear about your experience! Share your tips, tricks, and triumphs in the comments below. Let us know what varieties you tried, what challenges you faced, and what delicious dishes you created with your homegrown radishes. Your insights will help other gardeners on their journey to radish perfection. Happy gardening!
Frequently Asked Questions (FAQ)
Why are my homegrown radishes not crunchy?
This is the most common complaint among home gardeners, and there are several potential reasons. Inconsistent watering is a major culprit. Radishes need consistent moisture to grow quickly and evenly. If the soil dries out, the radishes can become tough and pithy. Overcrowding can also lead to less-than-ideal results. If the radishes are too close together, they will compete for resources and may not develop properly. Finally, harvesting too late can also affect texture. Radishes are best when harvested young and tender.
How often should I water my radishes?
The frequency of watering depends on your climate and soil type. However, a general rule of thumb is to water deeply whenever the top inch of soil feels dry to the touch. Aim for consistent moisture, but avoid overwatering, which can lead to root rot. Using a soaker hose or drip irrigation can help ensure even watering. Mulching around the plants can also help retain moisture in the soil.
What kind of soil is best for growing radishes?
Radishes prefer loose, well-drained soil that is rich in organic matter. Heavy clay soil can hinder root development and lead to misshapen radishes. Amend heavy soil with compost, aged manure, or other organic materials to improve drainage and aeration. A slightly acidic to neutral soil pH (around 6.0 to 7.0) is ideal.
How much sunlight do radishes need?
Radishes need at least six hours of sunlight per day to thrive. However, they can tolerate some shade, especially in hot climates. In fact, providing some afternoon shade can help prevent the radishes from bolting (going to seed) prematurely.
When is the best time to plant radishes?
Radishes are a cool-season crop, meaning they grow best in the spring and fall. Plant them as soon as the soil can be worked in the spring, typically a few weeks before the last frost. For a fall harvest, plant them about a month before the first expected frost. In mild climates, you can even grow radishes throughout the winter.
How do I know when my radishes are ready to harvest?
Radishes are typically ready to harvest in about 3-4 weeks, depending on the variety. Check the seed packet for specific maturity dates. The roots should be about 1 inch in diameter. Gently loosen the soil around the radish and pull it out. If the roots are too small, leave them in the ground for a few more days.
What are some common pests and diseases that affect radishes?
Common pests that affect radishes include flea beetles, root maggots, and aphids. Flea beetles can chew small holes in the leaves, while root maggots can damage the roots. Aphids can suck the sap from the plants. To control these pests, you can use insecticidal soap, neem oil, or row covers. Common diseases that affect radishes include damping-off and clubroot. Damping-off is a fungal disease that can kill seedlings, while clubroot causes swollen and distorted roots. To prevent these diseases, use disease-free seeds, practice crop rotation, and ensure good drainage.
Can I grow radishes in containers?
Yes, radishes are well-suited for container gardening. Choose a container that is at least 6 inches deep and has drainage holes. Use a well-draining potting mix and water regularly. Place the container in a sunny location.
My radishes are bolting (going to seed). What can I do?
Bolting is often caused by heat stress or inconsistent watering. Once radishes bolt, the roots become bitter and inedible. To prevent bolting, plant radishes in the spring or fall, provide consistent moisture, and offer some afternoon shade in hot climates. If your radishes do bolt, you can still harvest the seed pods, which are edible and have a peppery flavor.
How do I store radishes after harvesting?
Remove the greens from the radishes, leaving about an inch of stem. Wash the radishes and store them in a plastic bag in the refrigerator. They will keep for about a week. You can also store radishes in a root cellar or other cool, dark place.


Leave a Comment