

Grow Coconut Trees from Seed: Imagine sipping fresh coconut water straight from a tree you nurtured from a tiny seed! Sounds idyllic, right? Well, it’s more achievable than you might think. For centuries, the coconut palm has been a symbol of tropical paradise, providing sustenance, shelter, and countless other resources to communities across the globe. From the shores of Southeast Asia to the Caribbean islands, the coconut tree holds a special place in many cultures, representing life, prosperity, and abundance.
But you don’t need to live on a tropical island to experience the joy of growing your own coconut tree. Maybe you’re tired of relying on store-bought coconuts, or perhaps you simply crave the satisfaction of watching something grow from scratch. Whatever your reason, this DIY guide will walk you through the surprisingly simple process of how to grow coconut trees from seed. I’ll share my tried-and-true tips and tricks, ensuring you have the best chance of success. Get ready to embark on a rewarding gardening adventure and bring a touch of the tropics to your own backyard!
Growing Coconut Trees from Seed: A Tropical DIY Adventure!
Okay, so you want to grow your own coconut tree from a seed? Awesome! It’s a bit of a journey, but trust me, the satisfaction of seeing that little sprout emerge is totally worth it. I’m going to walk you through the whole process, step-by-step, so you can have your own little piece of paradise growing right at home.
Choosing the Right Coconut
First things first, you can’t just grab any coconut from the grocery store. You need a mature, viable coconut that’s ready to sprout. Here’s what to look for:
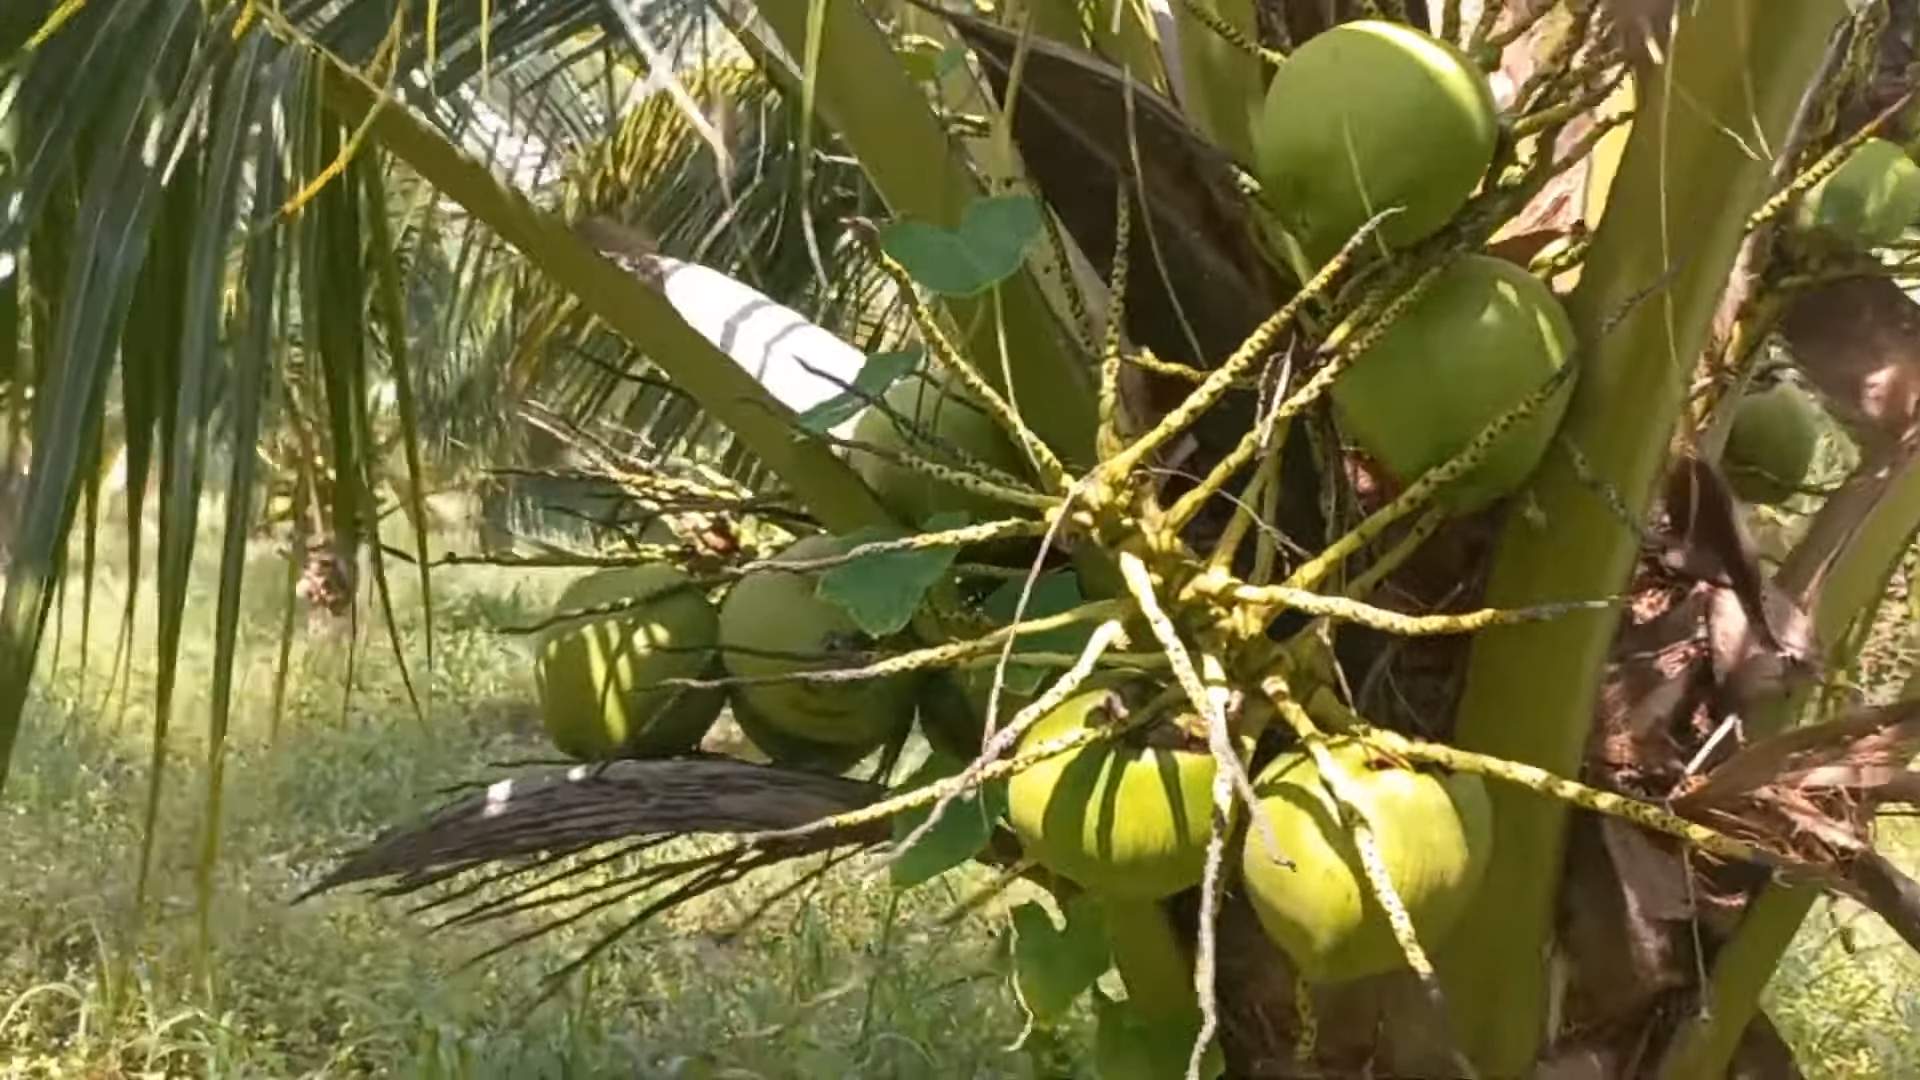
* Maturity: The coconut should be brown and feel heavy for its size. Avoid green coconuts, as they are not mature enough.
* Water Sloshing: Give the coconut a good shake. You should hear the water sloshing around inside. This indicates that the coconut is still fresh and hasn’t dried out.
* No Cracks or Damage: Inspect the coconut for any cracks, bruises, or signs of damage. These can make the coconut susceptible to rot.
* Husk Intact: Ideally, you want a coconut with the husk still intact. The husk provides protection and helps retain moisture during germination.
I usually try to find coconuts at farmers’ markets or specialty stores that sell tropical fruits. They tend to have fresher, more viable coconuts than your average supermarket.
Preparing the Coconut for Germination
Now that you’ve got your perfect coconut, it’s time to get it ready to sprout. This involves creating the ideal environment for germination.
1. Soaking the Coconut: This is a crucial step to rehydrate the husk and encourage germination. Fill a large bucket or container with lukewarm water. Submerge the coconut completely in the water. I usually weigh it down with a brick or a heavy rock to make sure it stays submerged. Let it soak for 2-3 days, changing the water daily to prevent the growth of bacteria or mold.
2. Choosing a Germination Method: There are a couple of ways you can germinate your coconut. I’ll describe both, and you can choose the one that works best for you.
* The Bag Method: This method involves placing the coconut in a large plastic bag with a moist growing medium. It’s a great option if you live in a cooler climate, as it helps retain heat and humidity.
* The Potting Mix Method: This method involves planting the coconut directly in a pot filled with well-draining potting mix. It’s a good option if you live in a warmer climate and want to give the coconut more room to grow.
Germination Method 1: The Bag Method
This is my go-to method, especially during the cooler months. It’s simple and effective.
1. Prepare the Bag: Find a large, heavy-duty plastic bag. A garbage bag works well. Make sure it’s clean and free of any holes.
2. Prepare the Growing Medium: You’ll need a moist growing medium to place around the coconut. I like to use a mixture of coco coir and perlite. Coco coir is a sustainable alternative to peat moss and helps retain moisture. Perlite improves drainage and aeration. Mix equal parts of coco coir and perlite in a bucket. Add water until the mixture is moist but not soggy. You should be able to squeeze a handful of the mixture without any water dripping out.
3. Place the Coconut in the Bag: Place the coconut horizontally in the bag. Bury about two-thirds of the coconut in the moist growing medium, leaving the top third exposed. The “eyes” (the three small indentations on one end of the coconut) should be facing upwards. These are where the sprout will emerge.
4. Seal the Bag: Seal the bag tightly to create a humid environment. You can use a zip tie or tape to seal it.
5. Place in a Warm Location: Place the bag in a warm, sunny location. A temperature of 85-95°F (29-35°C) is ideal for germination. If you don’t have a naturally warm spot, you can use a heat mat designed for seed starting.
6. Monitor and Mist: Check the bag regularly to make sure the growing medium is still moist. If it starts to dry out, mist it with water. Also, check for any signs of mold or fungus. If you see any, remove the affected area and ventilate the bag for a few hours.
7. Be Patient: Germination can take anywhere from 2-6 months, so be patient! Don’t give up if you don’t see any sprouts right away. Just keep monitoring the coconut and maintaining the right conditions.
Germination Method 2: The Potting Mix Method
This method is a bit more straightforward, but it requires a bit more space.
1. Choose a Pot: Select a large pot that is at least 12 inches in diameter and 12 inches deep. Make sure the pot has drainage holes to prevent waterlogging.
2. Prepare the Potting Mix: Use a well-draining potting mix. A mixture of potting soil, perlite, and sand works well. This ensures that the roots don’t sit in soggy soil, which can lead to rot.
3. Plant the Coconut: Fill the pot with the potting mix. Place the coconut horizontally on top of the potting mix. Bury about two-thirds of the coconut in the potting mix, leaving the top third exposed. Again, make sure the “eyes” are facing upwards.
4. Water Thoroughly: Water the potting mix thoroughly until water drains out of the drainage holes.
5. Place in a Warm, Sunny Location: Place the pot in a warm, sunny location. Coconut trees need plenty of sunlight to thrive.
6. Water Regularly: Water the potting mix regularly, keeping it moist but not soggy. Allow the top inch of soil to dry out between waterings.
7. Be Patient: As with the bag method, germination can take several months. Just keep monitoring the coconut and maintaining the right conditions.
Caring for Your Coconut Sprout
Once you see a sprout emerging from the coconut, congratulations! You’re on your way to growing your own coconut tree. Here’s how to care for your little sprout:
1. Provide Plenty of Sunlight: Coconut trees need at least 6-8 hours of direct sunlight per day. Place your sprout in a sunny location, such as a south-facing window or a greenhouse. If you don’t have enough natural sunlight, you can supplement with a grow light.
2. Water Regularly: Water your sprout regularly, keeping the soil moist but not soggy. Allow the top inch of soil to dry out between waterings. Overwatering can lead to root rot, so be careful not to overdo it.
3. Fertilize Regularly: Coconut trees are heavy feeders and need regular fertilization to thrive. Use a balanced fertilizer specifically formulated for palm trees. Follow the instructions on the fertilizer label. I usually fertilize my coconut sprouts every 2-3 months during the growing season (spring and summer).
4. Provide Warm Temperatures: Coconut trees thrive in warm temperatures. The ideal temperature range is 70-90°F (21-32°C). Protect your sprout from cold drafts and freezing temperatures. If you live in a colder climate, you may need to bring your coconut tree indoors during the winter months.
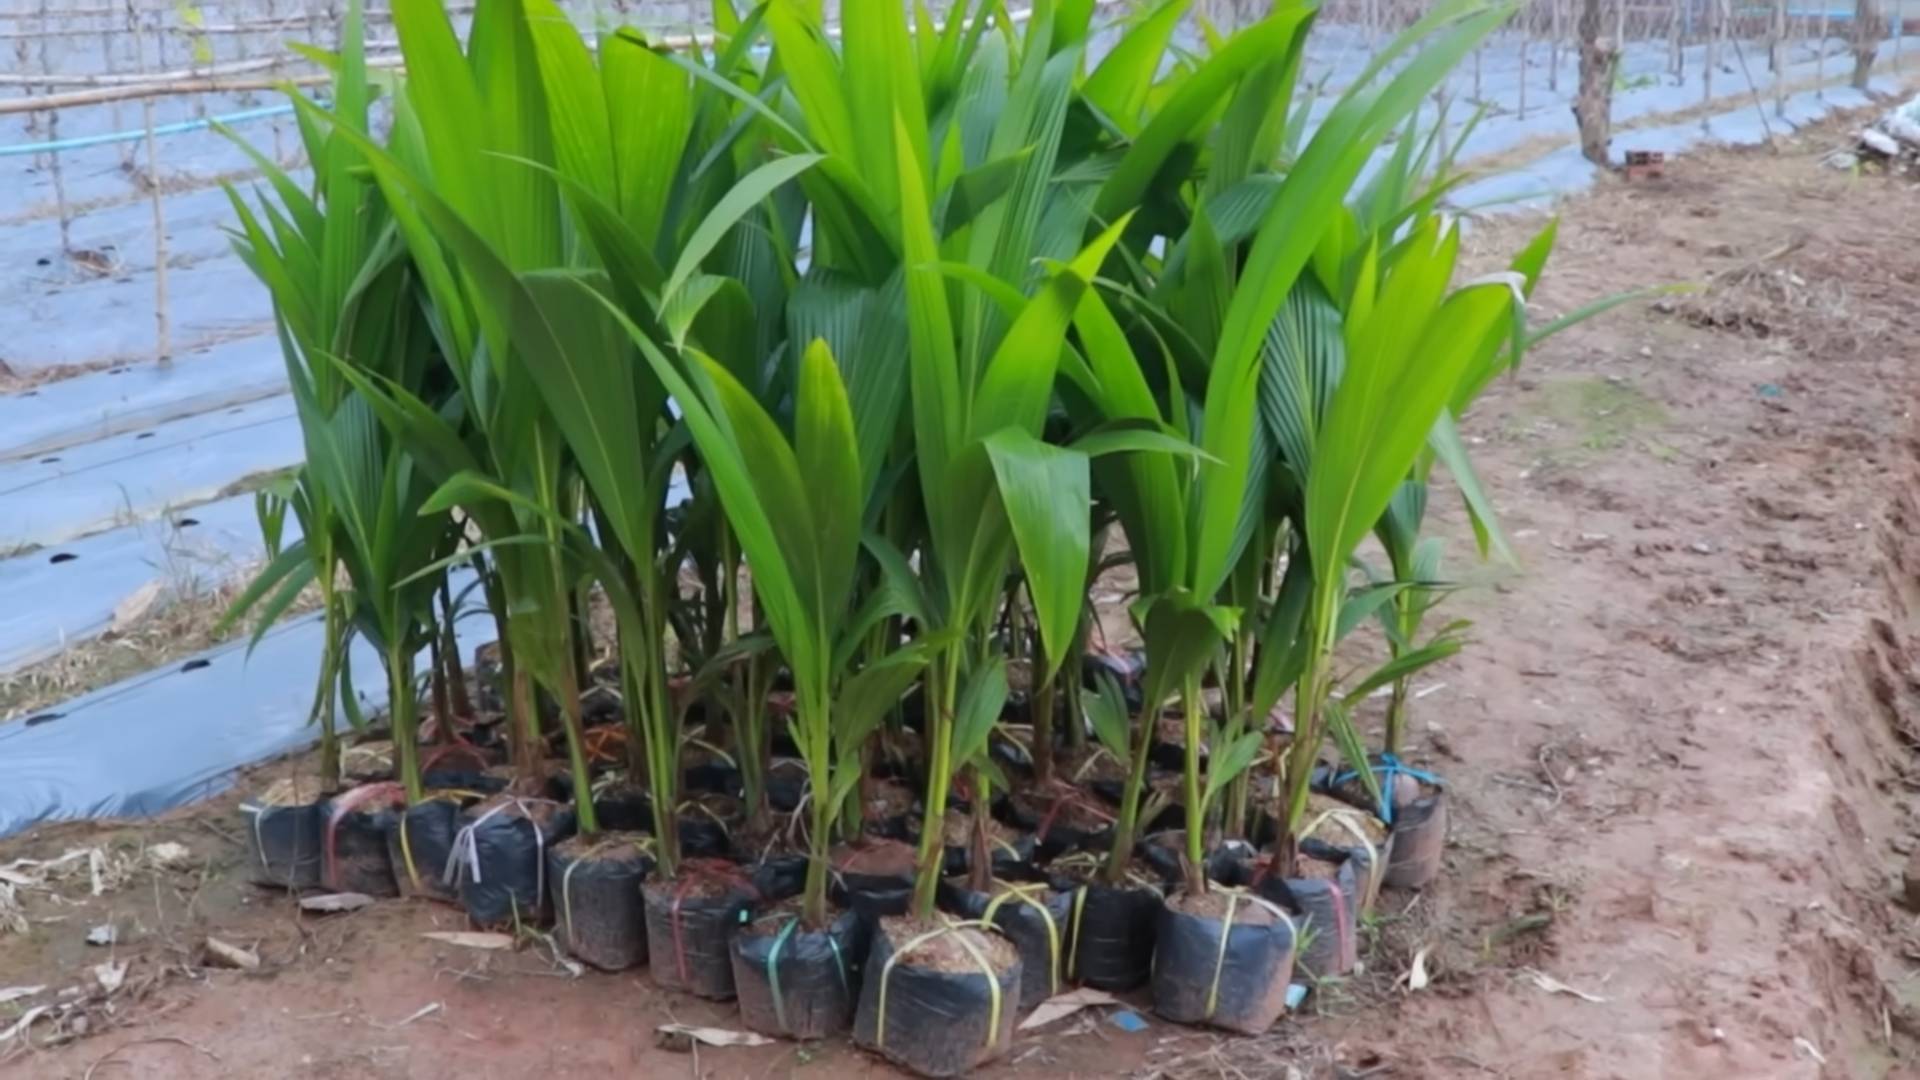
5. Repot as Needed: As your coconut tree grows, it will eventually need to be repotted into a larger container. Choose a pot that is at least 2-3 inches larger in diameter than the current pot. Repot your coconut tree in the spring or summer.
Transplanting Your Coconut Tree (If Applicable)
If you live in a tropical or subtropical climate, you can eventually transplant your coconut tree outdoors. However, it’s important to wait until the tree is large enough and the weather is warm enough.
1. Choose a Location: Select a location that receives plenty of sunlight and has well-draining soil. Coconut trees need plenty of space to grow, so choose a location that is at least 20 feet away from any buildings or other trees.
2. Prepare the Soil: Dig a hole that is twice as wide and as deep as the root ball of your coconut tree. Amend the soil with compost or other organic matter to improve drainage and fertility.
3. Transplant the Tree: Carefully remove the coconut tree from its pot. Gently loosen the roots and place the tree in the hole. Backfill the hole with soil and water thoroughly.
4. Mulch the Area: Apply a layer of mulch around the base of the tree to help retain moisture and suppress weeds.
5. Protect from Wind: Young coconut trees are susceptible to wind damage. If you live in an area with strong winds, you may need to stake the tree to provide support.
Common Problems and Solutions
Even with the best care,
Conclusion
So, there you have it! Growing coconut trees from seed might seem like a tropical dream reserved for those living in exotic locales, but with a little patience and the right approach, it’s an achievable and incredibly rewarding project for anyone, anywhere. This DIY trick isn’t just about cultivating a plant; it’s about nurturing a symbol of paradise, a testament to your green thumb, and a conversation starter that will undoubtedly impress your friends and family.
Why is this a must-try? Because it connects you to the natural world in a profound way. Watching a coconut sprout and slowly transform into a majestic tree is an experience that mass-produced, store-bought plants simply can’t replicate. It’s a journey of growth, both for the plant and for you as a gardener. Plus, you’ll have the satisfaction of knowing you nurtured this tropical beauty from its very beginning.
But the benefits don’t stop there. Growing your own coconut tree allows you to control the environment and ensure it’s free from harmful chemicals and pesticides. You’ll be providing a healthy and sustainable start for your tree, setting it up for a long and fruitful life (pun intended!).
Ready to take your coconut cultivation to the next level? Consider these variations:
* Experiment with different coconut varieties: Not all coconuts are created equal! Explore different types, such as the dwarf varieties that are better suited for container growing, or those known for their sweeter water or thicker meat.
* Play with the sprouting medium: While our method focuses on a simple water-based germination, you can also try using a mixture of coco coir and perlite for a more soil-like environment.
* Get creative with your container: Once your seedling is ready for transplanting, choose a decorative pot that complements your home decor and showcases your tropical treasure.
We’ve provided you with the knowledge and the steps, now it’s your turn to embark on this exciting adventure. Don’t be afraid to experiment, adapt, and learn along the way. Remember, gardening is a journey, not a destination.
We are confident that you can successfully grow coconut trees from seed. We encourage you to try this DIY trick and share your experiences with us! Post pictures of your sprouting coconuts, share your tips and tricks, and let us know what challenges you faced and how you overcame them. Your insights will not only inspire others but also help us refine our method and make it even more accessible to everyone. Let’s create a community of coconut enthusiasts, sharing our passion and knowledge to bring a touch of the tropics to homes around the world. So, grab a coconut, get your hands dirty, and let the growing begin!
Frequently Asked Questions (FAQ)
Q: What kind of coconut should I use to grow a tree?
A: The best coconuts for sprouting are mature, brown coconuts that still have their husk intact. You want a coconut that feels heavy for its size and sloshes when you shake it, indicating there’s still water inside. Avoid coconuts that are cracked, damaged, or show signs of mold. Freshness is key! Coconuts that have been sitting on the shelf for too long may have lost their viability. If possible, source your coconut from a local farmer’s market or a specialty grocery store where you can ensure its freshness.
Q: How long does it take for a coconut to sprout?
A: Sprouting time can vary depending on several factors, including the coconut’s freshness, the ambient temperature, and the humidity levels. Generally, you can expect to see the first signs of sprouting within 2-6 months. However, some coconuts may take longer, so patience is crucial. Maintain consistent warmth and humidity to encourage germination. If you haven’t seen any signs of sprouting after six months, it might be worth trying a different coconut.
Q: What is the best temperature for coconut germination?
A: Coconuts thrive in warm, tropical climates, so maintaining a consistent temperature between 85-95°F (29-35°C) is ideal for germination. You can achieve this by placing the coconut in a warm location in your home, such as near a sunny window or on top of a refrigerator. If you live in a colder climate, you may need to use a heat mat or a seedling heat lamp to provide supplemental warmth. Avoid exposing the coconut to drafts or sudden temperature fluctuations, as this can hinder the sprouting process.
Q: How much light does a coconut seedling need?
A: Once your coconut has sprouted and developed a few leaves, it will need plenty of bright, indirect sunlight. Place the seedling near a sunny window where it can receive at least 6-8 hours of sunlight per day. Avoid direct sunlight, especially during the hottest part of the day, as this can scorch the leaves. If you don’t have access to enough natural light, you can supplement with a grow light. Rotate the seedling regularly to ensure even growth on all sides.
Q: What kind of soil should I use for my coconut seedling?
A: Coconut seedlings prefer well-draining soil that is rich in organic matter. A good potting mix for coconut seedlings would be a combination of coco coir, perlite, and compost. Coco coir provides excellent drainage and aeration, while perlite helps to prevent compaction. Compost adds essential nutrients to the soil. Avoid using heavy clay soils, as these can retain too much moisture and lead to root rot. You can also add a slow-release fertilizer to the potting mix to provide a steady supply of nutrients to the seedling.
Q: How often should I water my coconut seedling?
A: Water your coconut seedling regularly, but avoid overwatering. The soil should be kept consistently moist, but not soggy. Water when the top inch of soil feels dry to the touch. During the warmer months, you may need to water more frequently than during the cooler months. Ensure that the pot has adequate drainage holes to prevent water from accumulating at the bottom. Overwatering can lead to root rot, which can be fatal to the seedling.
Q: Can I grow a coconut tree indoors permanently?
A: While it’s possible to grow a coconut tree indoors, it can be challenging to provide the ideal conditions for long-term growth. Coconut trees require a lot of sunlight, warmth, and humidity, which can be difficult to replicate indoors. Additionally, coconut trees can grow quite large, so you’ll need a very large pot and plenty of space. If you live in a climate with warm summers, you can move your coconut tree outdoors during the warmer months and bring it back indoors during the winter. However, if you live in a colder climate, you may need to consider other options, such as growing a dwarf coconut variety or accepting that your tree may not reach its full potential indoors.
Q: What are some common problems when growing coconut trees from seed, and how can I fix them?
A: Some common problems include:
* Root rot: Caused by overwatering. Ensure good drainage and allow the soil to dry slightly between waterings.
* Leaf scorch: Caused by too much direct sunlight. Move the plant to a location with indirect sunlight.
* Pest infestations: Common pests include spider mites and mealybugs. Treat with insecticidal soap or neem oil.
* Slow growth: Can be caused by insufficient light, nutrients, or warmth. Ensure the plant is receiving adequate sunlight, fertilize regularly, and maintain a warm environment.
Q: How do I fertilize my coconut seedling?
A: Fertilize your coconut seedling regularly with a balanced fertilizer that is specifically formulated for tropical plants. Follow the instructions on the fertilizer label for application rates. You can also use a slow-release fertilizer, which will provide a steady supply of nutrients to the seedling over a longer period. Avoid over-fertilizing, as this can burn the roots. During the growing season (spring and summer), fertilize more frequently than during the dormant season (fall and winter).
Q: When should I transplant my coconut seedling into a larger pot?
A: You should transplant your coconut seedling into a larger pot when it has outgrown its current container. Signs that it’s time to transplant include roots circling the bottom of the pot, slow growth, and the soil drying out quickly. Choose a pot that is at least twice the size of the current pot. Gently remove the seedling from its current pot and loosen the roots before transplanting it into the new pot. Fill the pot with fresh potting mix and water thoroughly.

Leave a Comment