

Grow Carrots Container Gardening: Ever dreamed of harvesting a vibrant bunch of carrots right from your own patio? I know I have! Forget sprawling gardens and back-breaking labor; container gardening is the answer, and growing carrots in containers is surprisingly easy and rewarding.
For centuries, humans have cultivated carrots, with early varieties differing greatly from the sweet, orange roots we know today. From their humble beginnings as medicinal herbs to becoming a culinary staple, carrots have journeyed across cultures and continents. But you don’t need to be a seasoned farmer to enjoy the fruits (or rather, roots!) of your labor.
In today’s busy world, finding time for a traditional garden can be a challenge. That’s where container gardening shines! It’s perfect for apartment dwellers, those with limited space, or anyone who wants to enjoy fresh, homegrown produce without the commitment of a large garden plot. Plus, with the right tricks and hacks, you can grow carrots container gardening successfully, even if you’re a complete beginner. I’m here to share my favorite DIY tips and tricks to help you cultivate a thriving carrot crop in pots, bringing a touch of nature and deliciousness right to your doorstep. Get ready to dig in (pun intended!) and discover the joy of homegrown carrots!
Grow Your Own Delicious Carrots in Containers: A Beginner’s Guide
Hey there, fellow gardening enthusiasts! Ever dreamed of harvesting your own sweet, crunchy carrots right from your patio or balcony? Well, dream no more! Container gardening is a fantastic way to grow carrots, even if you don’t have a sprawling backyard. I’m going to walk you through everything you need to know to successfully grow carrots in containers, from choosing the right pot to harvesting your bounty. Let’s get digging (pun intended!).
Choosing the Right Container and Soil
This is arguably the most important step. Carrots need room to grow downwards, so depth is key!
* Container Depth: Aim for a container that’s at least 12 inches deep, but 18-24 inches is even better, especially if you want to grow longer carrot varieties. Shorter, rounder varieties like ‘Thumbelina’ can get away with a shallower container, but deeper is always safer.
* Container Material: Plastic, terracotta, or even fabric grow bags will work. Just make sure your container has drainage holes! Soggy soil is a carrot’s worst enemy.
* Container Size: The width of your container will determine how many carrots you can grow. A good rule of thumb is to allow about 2-3 inches of space between each carrot. So, a 12-inch wide container could comfortably house 4-6 carrots.
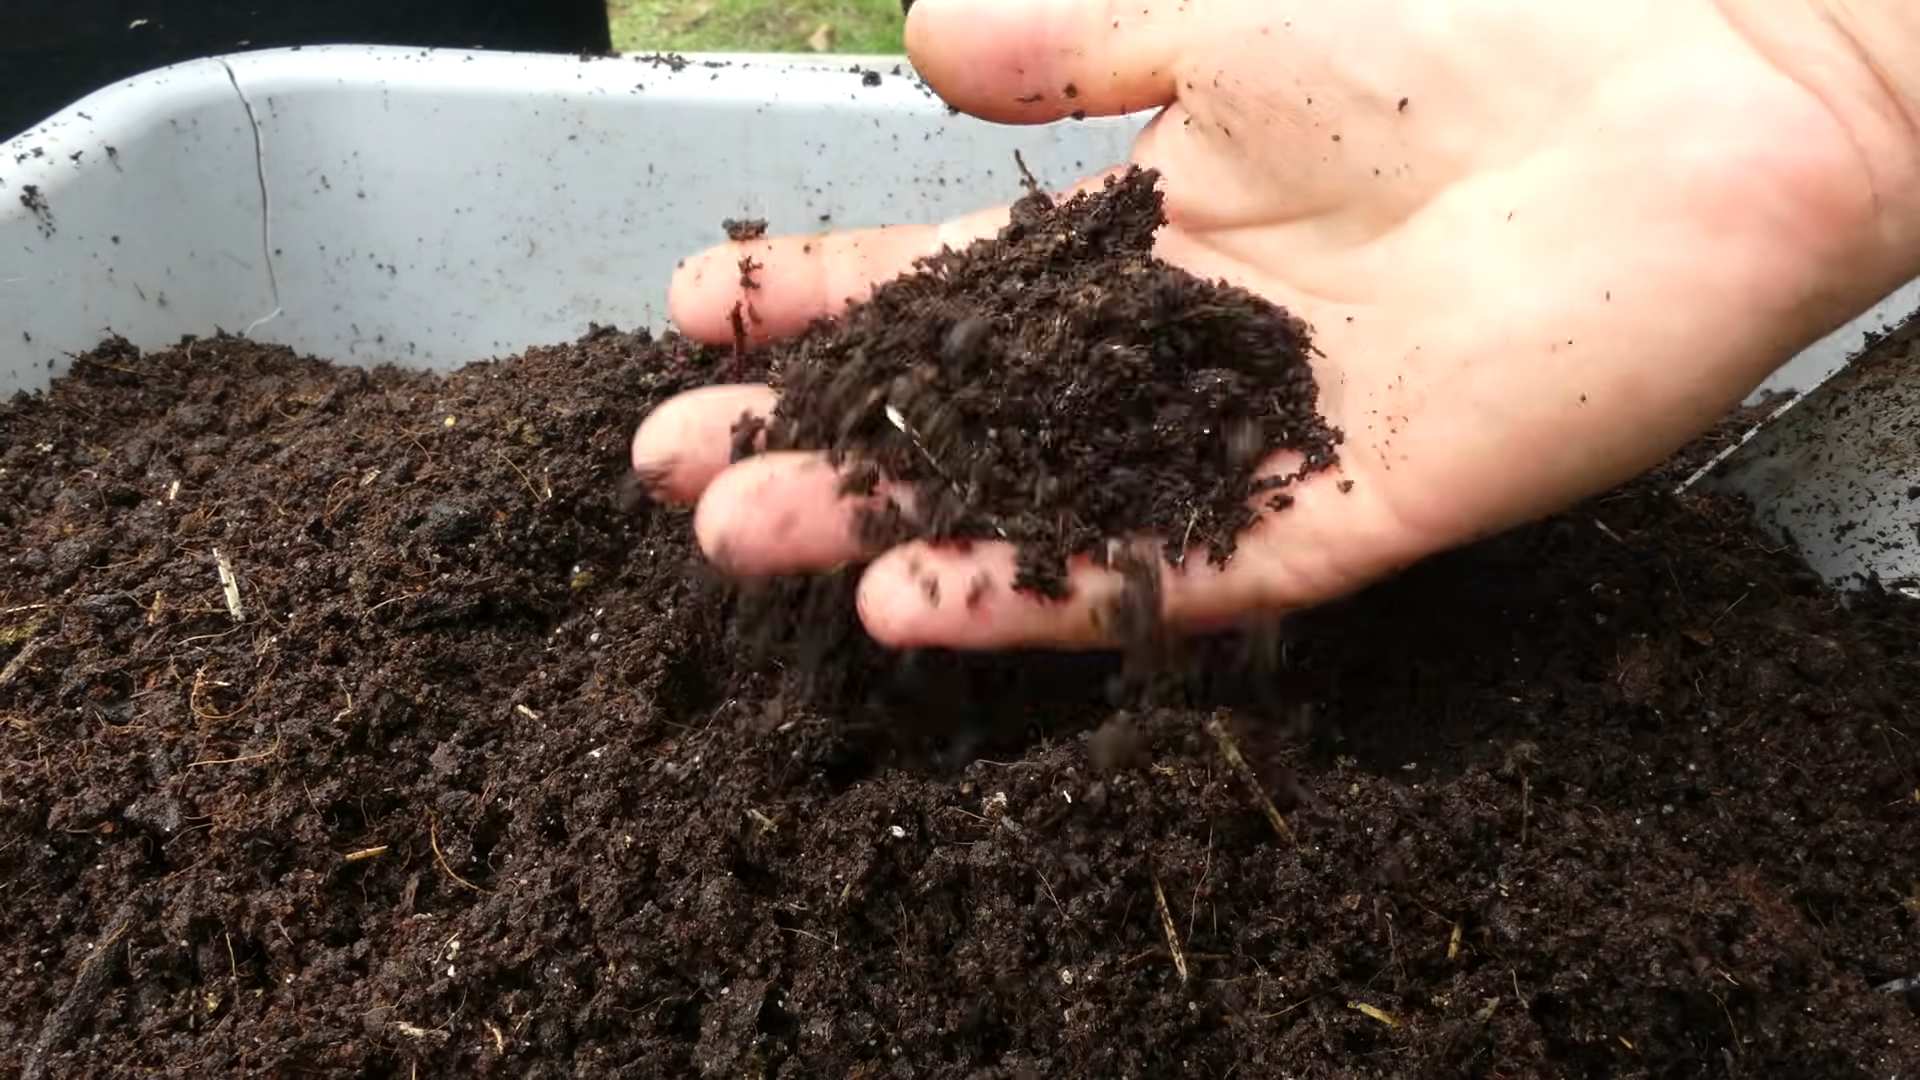
* Soil: Forget garden soil! It’s usually too heavy and compacted for container gardening. You need a light, well-draining potting mix. I highly recommend using a mix specifically formulated for vegetables. You can also make your own by combining equal parts of:
* Peat moss or coconut coir (for moisture retention)
* Perlite or vermiculite (for drainage and aeration)
* Compost (for nutrients)
Planting Your Carrot Seeds
Now for the fun part! Getting those tiny seeds into the soil.
1. Prepare the Soil: Fill your container with your chosen potting mix, leaving about an inch or two of space at the top. Gently pat the soil down to remove any large air pockets.
2. Sow the Seeds: Carrot seeds are tiny, so it’s easy to over-sow. To avoid overcrowding, I like to mix the seeds with a bit of sand before sowing. This helps to distribute them more evenly. Sprinkle the seed/sand mixture thinly over the surface of the soil.
3. Cover the Seeds: Lightly cover the seeds with about ¼ inch of soil. You can use your fingers or a small trowel.
4. Water Gently: Use a watering can with a gentle rose attachment or a spray bottle to water the soil thoroughly. Be careful not to wash the seeds away.
5. Keep it Moist: Carrot seeds need consistent moisture to germinate. Cover the container with plastic wrap or a clear plastic bag to create a mini-greenhouse effect. This will help to retain moisture.
6. Find a Sunny Spot: Place the container in a sunny location that receives at least 6-8 hours of sunlight per day.
7. Be Patient: Carrot seeds can take anywhere from 7 to 21 days to germinate, depending on the temperature and moisture levels. Check the soil moisture daily and water as needed to keep it consistently moist. Once the seedlings emerge, remove the plastic wrap.
Caring for Your Carrot Plants
Once your seedlings have sprouted, it’s time to provide them with the care they need to thrive.
1. Thinning: This is crucial! If you don’t thin your carrot seedlings, they’ll compete for resources and you’ll end up with small, stunted carrots. Once the seedlings are about 1-2 inches tall, thin them to about 2-3 inches apart. Gently pull out the weaker seedlings, being careful not to disturb the roots of the remaining plants. I know it feels brutal, but it’s necessary!
2. Watering: Carrots need consistent moisture, especially during hot weather. Water deeply whenever the top inch of soil feels dry to the touch. Avoid overwatering, as this can lead to root rot.
3. Fertilizing: Carrots are not heavy feeders, but they will benefit from a light feeding every few weeks. Use a balanced liquid fertilizer, diluted to half strength. Avoid fertilizers that are high in nitrogen, as this can promote leafy growth at the expense of root development. I like to use a fertilizer specifically formulated for root vegetables.
4. Weeding: Keep your container free of weeds, as they can compete with your carrots for nutrients and water. Gently pull out any weeds that appear, being careful not to disturb the carrot roots.
5. Sunlight: Ensure your carrots continue to receive at least 6-8 hours of sunlight per day. If you live in a particularly hot climate, you may need to provide some afternoon shade to prevent the soil from drying out too quickly.
6. Pest Control: Carrots are generally pest-resistant, but they can occasionally be bothered by pests like aphids or carrot rust flies. Check your plants regularly for signs of pests and take action if necessary. You can usually control aphids with a strong spray of water or by introducing beneficial insects like ladybugs. Carrot rust flies are more difficult to control, but you can try covering your plants with row covers to prevent them from laying their eggs.
Harvesting Your Carrots
The moment you’ve been waiting for!
1. Check the Maturity Date: Carrot varieties have different maturity dates, so check the seed packet to get an idea of when your carrots will be ready to harvest.
2. Look for Size: You can also gauge maturity by the size of the carrot tops. Once the tops are about 1/2 to 3/4 inch in diameter, the carrots are usually ready to harvest.
3. Gently Loosen the Soil: Before pulling your carrots, gently loosen the soil around them with a trowel or garden fork. This will make it easier to pull them out without breaking them.
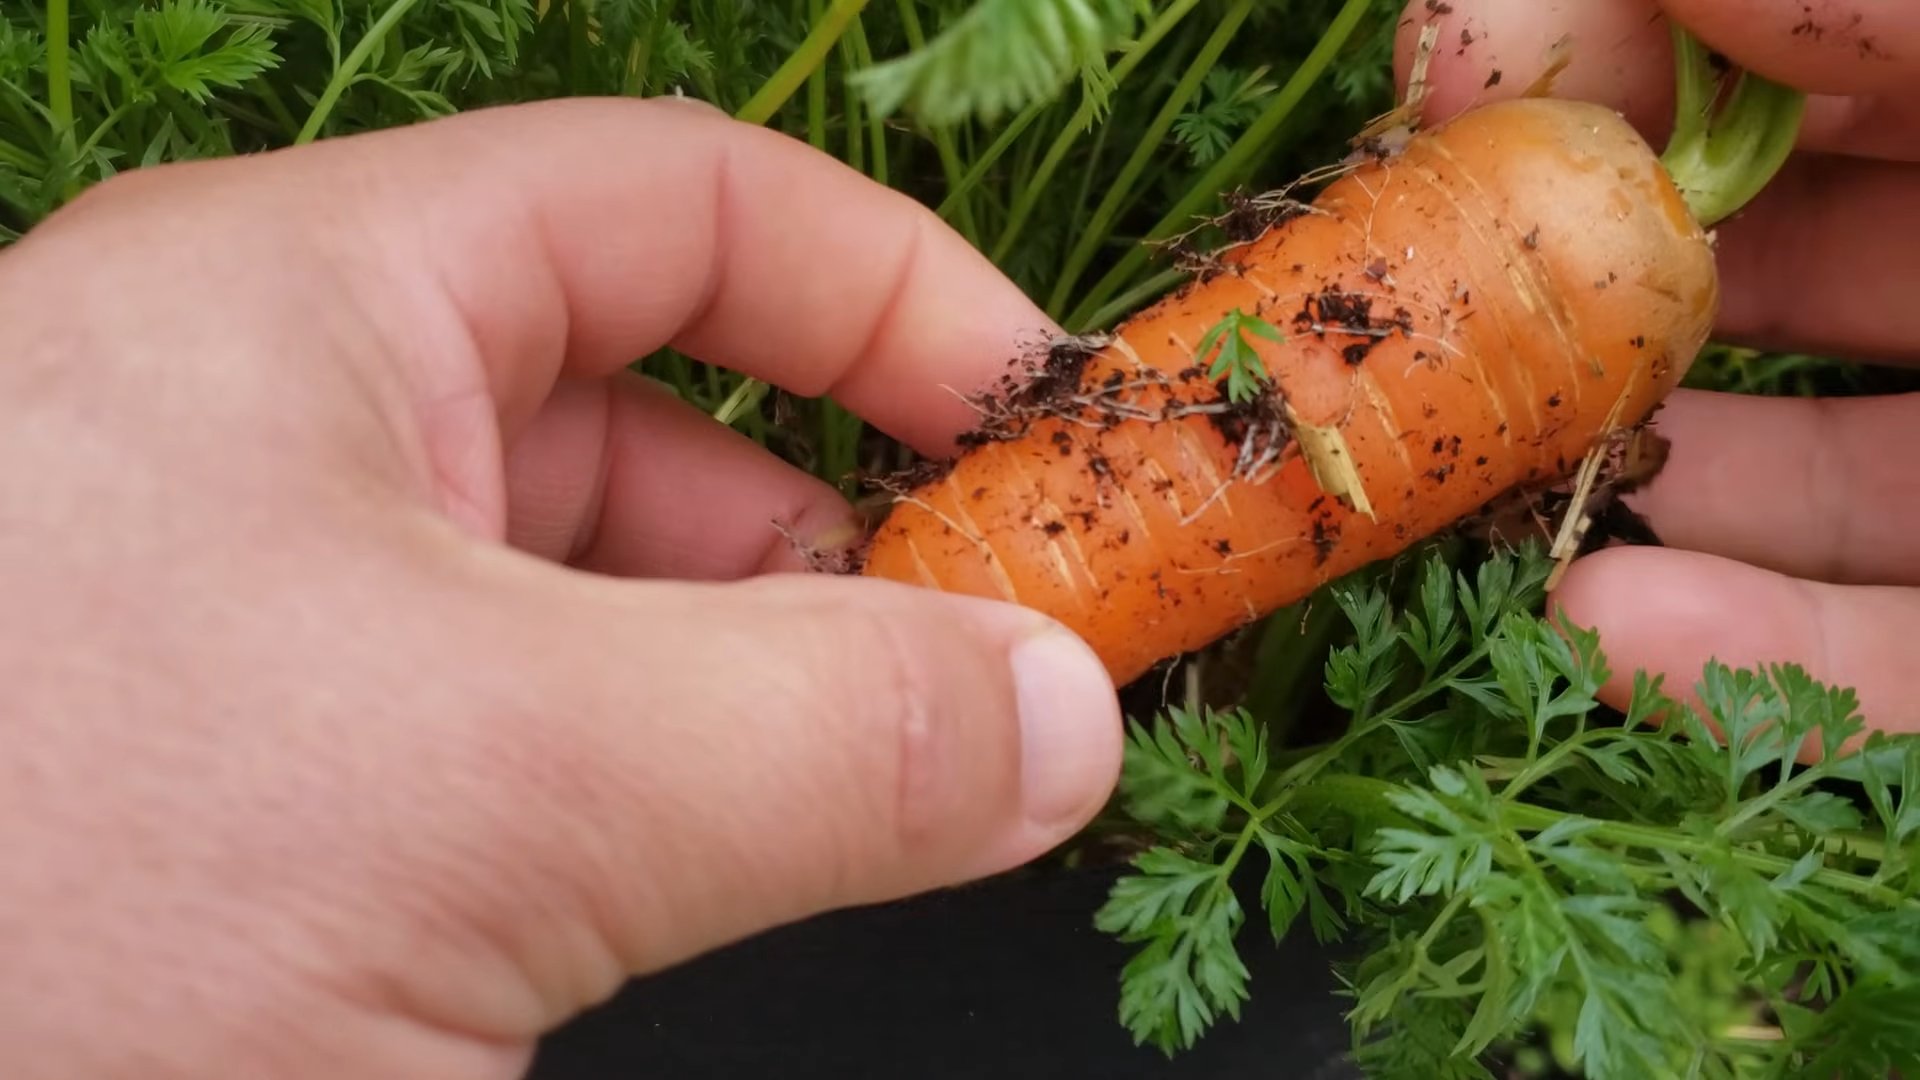
4. Pull Carefully: Grasp the carrot tops firmly and gently pull upwards, twisting slightly as you go. If the carrots are difficult to pull, you may need to loosen the soil further.
5. Enjoy Your Harvest: Once you’ve harvested your carrots, brush off any excess soil and enjoy them fresh from the garden! You can also store them in the refrigerator for several weeks.
Troubleshooting Common Problems
Even with the best care, you might encounter a few challenges along the way. Here are some common problems and how to address them:
* Poor Germination: If your carrot seeds aren’t germinating, it could be due to several factors:
* Old Seeds: Carrot seeds have a relatively short shelf life, so make sure you’re using fresh seeds.
* Dry Soil: Carrot seeds need consistent moisture to germinate. Make sure the soil is consistently moist, but not soggy.
* Cold Temperatures: Carrot seeds germinate best in temperatures between 60-70°F.
* Stunted Growth: If your carrot plants are growing slowly or not at all, it could be due to:
* Poor Soil: Carrots need well-draining soil that’s rich in organic matter. Make sure you’re using a good quality potting mix.
* Lack of Sunlight: Carrots need at least 6-8 hours of sunlight per day.
* Overcrowding: Thin your seedlings to ensure they have enough space to grow.
* Forked or Twisted Roots: This is often caused by rocks or other obstacles in the soil. Make sure your potting mix is free of debris. It can also be caused by inconsistent watering.
* Green Shoulders: This happens when the tops of the carrots are exposed to sunlight. To prevent green shoulders, hill up the soil around the carrots as they grow.
* Pests and Diseases: Keep an eye out for pests and diseases and take action if necessary.
Choosing the Right Carrot Variety for Containers
Not all carrot varieties are created equal when it comes to container gardening. Shorter, rounder varieties tend to do best in containers, but you can also grow longer varieties if you have a deep enough container. Here are a few of my favorite varieties for container gardening:
* ‘Thumbelina’: These are small, round carrots that are perfect for shallow containers.
* ‘Paris Market’: Another round variety that’s easy to grow in containers.
* ‘Little Finger’: These are short, slender carrots that are ideal for snacking.
* ‘Nantes’: A classic carrot variety that’s known for its sweet flavor and smooth texture. Choose a shorter Nantes type for containers.
* ‘Danvers’: A longer carrot variety that can be grown in deep containers.
Extending Your Carrot Harvest
Want to enjoy fresh carrots for as long as possible? Here are a few tips:
* Succession Planting: Sow a
Conclusion
So, there you have it! Mastering the art of grow carrots container gardening is not only achievable, but it’s also incredibly rewarding. We’ve walked through the essential steps, from selecting the right container and soil to nurturing your carrot seedlings and harvesting your vibrant, homegrown bounty.
Why is this DIY trick a must-try? Simply put, it democratizes gardening. No sprawling backyard? No problem! Container gardening allows anyone, regardless of their living situation, to experience the joy of cultivating their own food. Imagine the satisfaction of pulling fresh, crisp carrots from your own container, knowing you nurtured them from seed to table. It’s a connection to nature, a boost to your health, and a sustainable practice all rolled into one.
Beyond the sheer practicality, growing carrots in containers offers unparalleled control. You dictate the soil composition, ensuring optimal drainage and nutrient levels. You can easily move your containers to chase the sun or shelter them from harsh weather. You’re essentially creating the perfect microclimate for your carrots to thrive.
But the beauty of container gardening lies in its adaptability. Feel free to experiment! Try different carrot varieties – Nantes for classic sweetness, Chantenay for shorter, sturdier roots, or even colorful rainbow carrots for a visual treat. Consider companion planting – intersperse your carrots with radishes to deter pests or marigolds to attract beneficial insects. The possibilities are endless.
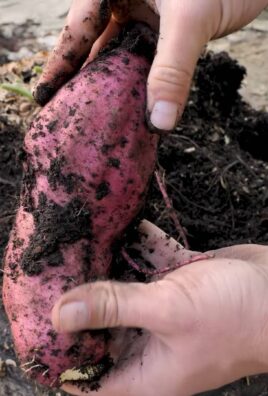
And don’t stop at carrots! Once you’ve mastered the basics, you can expand your container garden to include other root vegetables like beets and radishes, or even leafy greens like lettuce and spinach. Your balcony or patio can become a miniature edible oasis.
We wholeheartedly encourage you to give grow carrots container gardening a try. It’s a fun, educational, and ultimately delicious experience. Don’t be afraid to get your hands dirty, embrace the learning process, and celebrate your successes, no matter how small.
Most importantly, we want to hear about your journey! Share your experiences, tips, and photos with us in the comments below. What challenges did you face? What varieties did you try? What ingenious solutions did you come up with? Let’s build a community of container gardening enthusiasts and learn from each other. Your insights could inspire someone else to take the plunge and discover the joys of growing their own carrots. Happy gardening!
Frequently Asked Questions (FAQ)
What is the best size container for growing carrots?
The ideal container size depends on the carrot variety you choose. For shorter, rounder varieties like ‘Thumbelina’ or ‘Paris Market,’ a container that is at least 8 inches deep and wide will suffice. However, for longer varieties like ‘Nantes’ or ‘Danvers,’ you’ll need a container that is at least 12 inches deep and wide. Remember, carrots need room to grow downwards, so depth is more important than width. A good rule of thumb is to choose a container that is at least twice as deep as the expected length of the mature carrot. Also, consider the number of carrots you want to grow. A larger container will allow you to plant more seeds without overcrowding. Overcrowding can lead to stunted growth and misshapen carrots.
What type of soil is best for container-grown carrots?
Carrots thrive in loose, well-draining soil that is rich in organic matter. Avoid heavy clay soils, as they can hinder root development and result in forked or stunted carrots. A good potting mix for container carrots should consist of a blend of peat moss or coconut coir, perlite or vermiculite, and compost. The peat moss or coconut coir helps retain moisture, while the perlite or vermiculite improves drainage and aeration. Compost provides essential nutrients for healthy growth. You can also add a slow-release fertilizer to the potting mix to provide a steady supply of nutrients throughout the growing season. Before planting, make sure to remove any rocks or debris from the soil, as these can also interfere with root development.
How often should I water my container carrots?
Watering frequency depends on several factors, including the weather, the size of the container, and the type of soil you’re using. Generally, you should water your container carrots whenever the top inch of soil feels dry to the touch. Avoid overwatering, as this can lead to root rot. Carrots prefer consistent moisture, so try to keep the soil evenly moist but not soggy. During hot, dry weather, you may need to water your carrots daily. In cooler, wetter weather, you may only need to water them every few days. A good way to check the moisture level is to insert your finger into the soil. If the soil feels dry an inch below the surface, it’s time to water. When watering, water deeply until water drains out of the bottom of the container. This ensures that the roots are getting adequate moisture.
How much sunlight do carrots need?
Carrots need at least 6 hours of direct sunlight per day to thrive. Choose a location for your container garden that receives plenty of sunlight throughout the day. If you live in a hot climate, you may need to provide some afternoon shade to prevent the soil from drying out too quickly. If you don’t have a sunny spot, you can supplement with grow lights. Position the grow lights a few inches above the plants and keep them on for 12-14 hours per day. Rotate your containers regularly to ensure that all sides of the plants receive equal sunlight. Insufficient sunlight can lead to leggy growth and reduced carrot production.
What are some common pests and diseases that affect carrots, and how can I prevent them?
Common pests that affect carrots include carrot rust flies, aphids, and nematodes. Carrot rust flies lay their eggs near the base of the plants, and the larvae burrow into the roots, causing damage. Aphids suck the sap from the leaves, weakening the plants. Nematodes are microscopic worms that live in the soil and feed on the roots. To prevent these pests, you can use row covers to protect your plants, practice crop rotation, and introduce beneficial insects like ladybugs and lacewings. Diseases that can affect carrots include leaf blight and root rot. Leaf blight causes brown spots on the leaves, while root rot causes the roots to decay. To prevent these diseases, avoid overwatering, ensure good air circulation, and use disease-resistant varieties. You can also apply a fungicide to protect your plants from fungal diseases. Regularly inspect your plants for signs of pests or diseases and take action promptly to prevent them from spreading.
When and how should I harvest my container carrots?
Carrots are typically ready to harvest 60-80 days after planting, depending on the variety. You can tell when your carrots are ready to harvest by checking the size of the roots. Gently brush away some of the soil around the base of the plant to get a better look. The carrots should be the size and color indicated on the seed packet. To harvest, gently loosen the soil around the carrot with a trowel or fork. Then, grasp the base of the plant and pull upwards with a gentle twisting motion. If the carrot is difficult to pull, loosen the soil further. Avoid pulling too hard, as this can break the carrot. After harvesting, brush off any excess soil and store the carrots in a cool, dark place. You can also store them in the refrigerator for several weeks.
Leave a Comment