

Effective cleaning tips are the secret weapon every homeowner needs in their arsenal! Let’s face it, nobody *loves* cleaning, but a sparkling clean home is a sanctuary. I’m sure you’ll agree, right? But what if I told you that you could achieve that pristine paradise without spending hours scrubbing or breaking the bank on expensive products?
For centuries, cultures around the world have developed ingenious cleaning methods, often relying on natural ingredients and clever techniques passed down through generations. Think of your grandmother’s secret lemon juice trick for shining copper, or the age-old wisdom of using vinegar to banish stubborn stains. These aren’t just old wives’ tales; they’re time-tested solutions that still work wonders today!
In our busy modern lives, finding the time and energy for deep cleaning can feel impossible. That’s where these DIY cleaning hacks come in. I’m going to share some of my favorite effective cleaning tips that will save you time, money, and a whole lot of elbow grease. From tackling tough grime to creating your own eco-friendly cleaning solutions, these tricks will transform your cleaning routine from a chore into a breeze. Get ready to unlock the secrets to a cleaner, happier home!
DIY Cleaning Hacks: Sparkling Home, Happy Wallet!
Hey everyone! I’m so excited to share some of my favorite DIY cleaning hacks that have seriously transformed my cleaning routine. Not only are these tips super effective, but they also save me a ton of money and reduce the number of harsh chemicals I use in my home. Let’s get started!
Hack 1: The All-Purpose Citrus Cleaner
This cleaner is my go-to for almost everything! It smells amazing, cuts through grease, and is completely natural.
What you’ll need:
* Citrus peels (lemon, orange, grapefruit – any combination works!)
* White vinegar
* Spray bottle
* Jar or container for infusing
Step-by-step instructions:
1. Gather your citrus peels: After you enjoy your oranges, lemons, or grapefruits, don’t throw away the peels! I usually collect them in a bag in the freezer until I have enough to make a batch of cleaner.
2. Prepare the infusion jar: Place the citrus peels in a clean jar or container. Make sure the jar is large enough to hold all the peels and enough vinegar to cover them completely.
3. Pour in the vinegar: Pour white vinegar over the citrus peels until they are completely submerged. You might need to press them down a bit to ensure they’re covered.
4. Infuse for 2-3 weeks: Seal the jar tightly and store it in a cool, dark place for 2-3 weeks. This allows the vinegar to extract the oils and cleaning power from the citrus peels. The longer it infuses, the stronger the cleaner will be.
5. Strain the mixture: After the infusion period, strain the vinegar through a cheesecloth or fine-mesh sieve into a clean container. This removes the peels and any sediment.
6. Dilute (optional): For a less concentrated cleaner, you can dilute the infused vinegar with water in a 1:1 ratio. I usually don’t dilute it because I like the extra cleaning power.
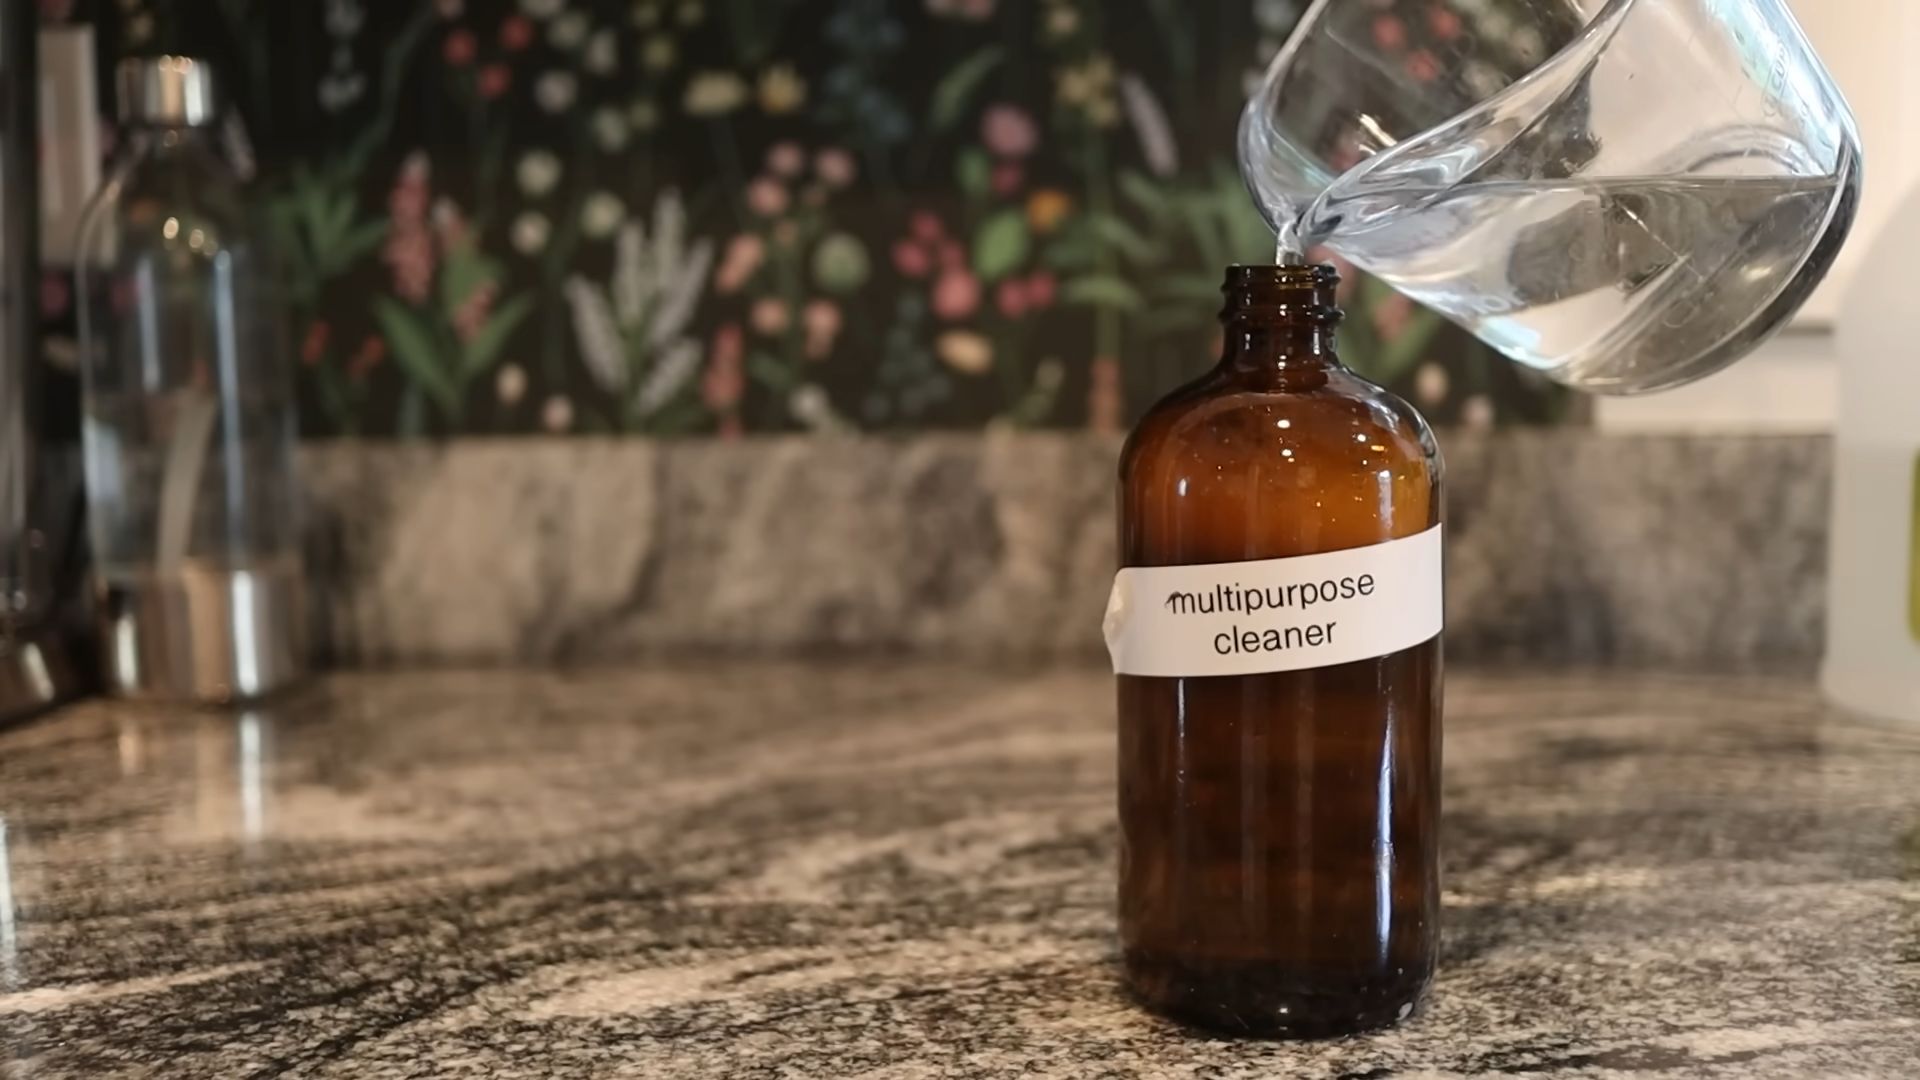
7. Pour into a spray bottle: Pour the strained citrus-infused vinegar into a spray bottle. Label the bottle clearly so you know what it is!
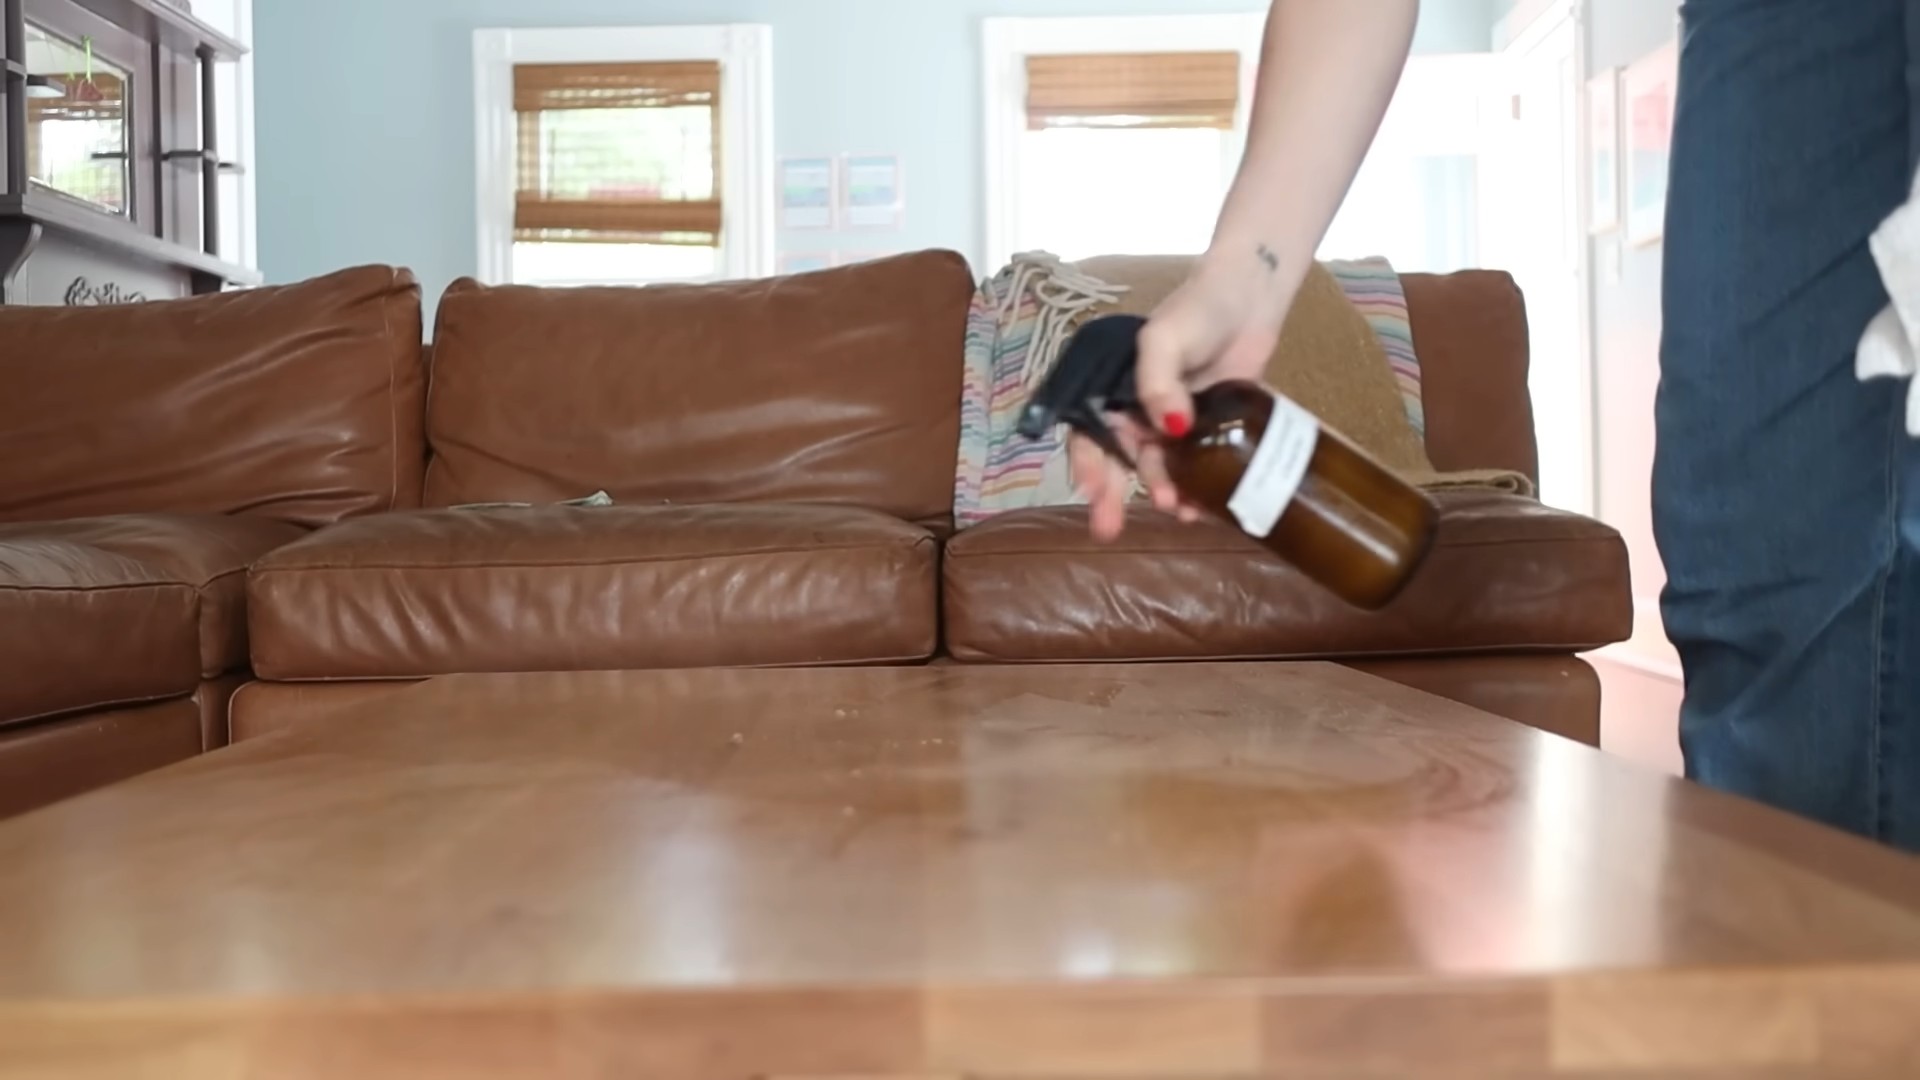
8. Start cleaning! This cleaner is great for countertops, sinks, stovetops, and even floors (test in an inconspicuous area first). Just spray, let it sit for a few seconds, and wipe clean.
Hack 2: Sparkling Toilet Bowl Cleaner
Forget those expensive toilet bowl cleaners! This DIY version uses just two ingredients and works like a charm.
What you’ll need:
* Baking soda
* White vinegar
Step-by-step instructions:
1. Sprinkle baking soda: Sprinkle about 1 cup of baking soda into the toilet bowl, making sure to coat the entire surface.
2. Pour in the vinegar: Slowly pour about 1 cup of white vinegar into the toilet bowl. You’ll see a fizzing reaction – that’s the baking soda and vinegar working together to loosen dirt and grime.
3. Let it fizz: Let the mixture fizz for about 10-15 minutes. This gives it time to break down any stains and buildup.
4. Scrub and flush: Use a toilet brush to scrub the bowl thoroughly, paying attention to any stained areas. Then, flush the toilet.
5. Repeat if necessary: For stubborn stains, you may need to repeat the process.
Hack 3: Microwave Cleaning Made Easy
Cleaning the microwave is one of those chores I always dread, but this hack makes it so much easier!
What you’ll need:
* Lemon (or lime)
* Water
* Microwave-safe bowl
Step-by-step instructions:
1. Prepare the lemon water: Cut a lemon (or lime) in half and squeeze the juice into a microwave-safe bowl. Add the lemon halves to the bowl.
2. Add water: Fill the bowl with about 1 cup of water.
3. Microwave for a few minutes: Microwave the lemon water on high for 3-5 minutes, or until the water is boiling and the microwave is filled with steam.
4. Let it sit: Leave the microwave door closed for another 5-10 minutes to allow the steam to loosen any stuck-on food particles.
5. Wipe clean: Carefully remove the bowl (it will be hot!) and wipe down the inside of the microwave with a clean cloth or sponge. The grime should come off easily.
Hack 4: Grout Whitening Power
Dirty grout can make even the cleanest tiles look dingy. This DIY grout cleaner is a game-changer!
What you’ll need:
* Baking soda
* Hydrogen peroxide
* Old toothbrush or grout brush
Step-by-step instructions:
1. Make a paste: In a small bowl, mix baking soda and hydrogen peroxide to form a thick paste. The consistency should be similar to toothpaste.
2. Apply the paste: Apply the paste to the grout lines, making sure to cover them completely.
3. Let it sit: Let the paste sit on the grout for about 5-10 minutes. This allows the baking soda and hydrogen peroxide to work their magic.
4. Scrub the grout: Use an old toothbrush or grout brush to scrub the grout lines thoroughly. You’ll see the dirt and grime start to lift.
5. Rinse with water: Rinse the grout with clean water to remove the paste and any remaining dirt. You can use a damp cloth or sponge to wipe away the residue.
6. Repeat if necessary: For heavily stained grout, you may need to repeat the process.
Hack 5: Streak-Free Window Cleaner
Say goodbye to streaks with this simple and effective window cleaner!
What you’ll need:
* White vinegar
* Water
* Spray bottle
* Microfiber cloth
Step-by-step instructions:
1. Mix the solution: In a spray bottle, mix equal parts white vinegar and water. For example, you can use 1 cup of vinegar and 1 cup of water.
2. Spray the windows: Spray the window cleaner onto the windows, making sure to cover the entire surface.
3. Wipe with a microfiber cloth: Use a clean microfiber cloth to wipe the windows dry. Microfiber cloths are great for streak-free cleaning because they don’t leave behind lint or residue.
4. Dry the edges: Use a dry microfiber cloth to dry the edges of the windows to prevent water spots.
Hack 6: Unclogging Drains Naturally
Clogged drains are a common household problem, but you don’t need harsh chemicals to fix them! This DIY method is safe, effective, and eco-friendly.
What you’ll need:
* Baking soda
* White vinegar
* Boiling water
Step-by-step instructions:
1. Pour baking soda down the drain: Pour about 1 cup of baking soda down the clogged drain.
2. Pour in the vinegar: Pour about 1 cup of white vinegar down the drain after the baking soda. You’ll see a fizzing reaction.
3. Let it fizz: Let the mixture fizz for about 30 minutes. This allows the baking soda and vinegar to break down the clog.
4. Flush with boiling water: After 30 minutes, carefully pour a pot of boiling water down the drain. The hot water will help to flush away the clog.
5. Repeat if necessary: If the drain is still clogged, repeat the process. For stubborn clogs, you may need to use a plunger after flushing with boiling water.
Hack 7: Freshening Up Your Mattress
We spend a lot of time on our mattresses, so it’s important to keep them clean and fresh. This DIY mattress freshener is easy to make and will leave your mattress smelling great.
What you’ll need:
* Baking soda
* Essential oil (lavender, tea tree, or eucalyptus are good choices)
* Sieve or shaker
* Vacuum cleaner
Step-by-step instructions:
1. Mix baking soda and essential oil: In a bowl, mix about 1 cup of baking soda with 10-15 drops of your favorite essential oil. I love using lavender for its calming scent.
2. Sprinkle the mixture: Sprinkle the baking soda mixture evenly over the entire surface of your mattress.
3. Let it sit: Let the baking soda sit on the mattress for at least 30 minutes, or even longer if possible. This allows the baking soda to absorb odors and moisture.
4. Vacuum the mattress: Use a vacuum cleaner with an upholstery attachment to vacuum the
Conclusion
So, there you have it! This simple yet incredibly effective DIY cleaning trick is more than just a way to save money; it’s a pathway to a cleaner, healthier, and more sustainable home. We’ve walked you through the steps, highlighting the ease and accessibility of the ingredients, and demonstrated how this method can tackle a multitude of cleaning challenges.
Why is this a must-try? Because it’s powerful, versatile, and eco-friendly. Commercial cleaners often contain harsh chemicals that can irritate skin, pollute the air, and leave behind unpleasant residues. This DIY alternative harnesses the natural cleaning power of readily available ingredients, leaving your home sparkling clean without the harmful side effects. Plus, you’ll be amazed at how much money you save by ditching those expensive store-bought products.
But the beauty of this DIY cleaning trick lies in its adaptability. Feel free to experiment with different essential oils to create your own signature scent. Lavender, lemon, tea tree, and eucalyptus are all excellent choices, each offering unique aromatherapy benefits alongside their cleaning properties. For extra stubborn stains, consider adding a tablespoon of borax to the mixture. Just remember to handle borax with care and keep it out of reach of children and pets.
Another variation involves infusing your vinegar with citrus peels. Simply save the peels from your oranges, lemons, or grapefruits and soak them in a jar of vinegar for a few weeks. This will not only add a pleasant citrus scent to your cleaner but also boost its cleaning power. The citrus oils help to cut through grease and grime, leaving your surfaces sparkling.
We understand that trying something new can sometimes feel daunting, but we promise this DIY cleaning trick is worth the effort. It’s a small change that can make a big difference in your home and your overall well-being.
Don’t just take our word for it – try it yourself! We’re confident that you’ll be amazed by the results. Once you’ve experienced the cleaning power of this simple solution, we encourage you to share your experience with us. Let us know what variations you tried, what surfaces you cleaned, and what scents you used. Your feedback will help us refine this recipe and inspire others to embrace the power of DIY cleaning.
Join the growing community of eco-conscious cleaners who are ditching harsh chemicals and embracing natural solutions. Together, we can create a cleaner, healthier, and more sustainable world, one sparkling surface at a time. So, grab your ingredients, roll up your sleeves, and get ready to experience the magic of this incredible DIY cleaning trick. We can’t wait to hear about your success!
Frequently Asked Questions (FAQ)
What exactly makes this DIY cleaning trick so effective?
The effectiveness of this DIY cleaning solution stems from the synergistic action of its ingredients. Vinegar, a key component, is a natural disinfectant and degreaser. Its acidity helps to break down grime, soap scum, and hard water stains. Baking soda, another crucial ingredient, is a mild abrasive that helps to scrub away dirt and deodorize surfaces. When combined, these two ingredients create a powerful cleaning duo that can tackle a wide range of household messes. The addition of essential oils not only adds a pleasant scent but also provides additional antibacterial and antifungal properties.
Is this DIY cleaning solution safe to use on all surfaces?
While this DIY cleaning solution is generally safe for most surfaces, it’s always a good idea to test it in an inconspicuous area first, especially on delicate or porous materials. Avoid using it on natural stone surfaces like marble or granite, as the acidity of the vinegar can etch the stone. It’s also best to avoid using it on waxed wood furniture, as it can strip the wax. For these surfaces, a milder cleaning solution is recommended. Always check the manufacturer’s instructions for specific cleaning recommendations for your surfaces.
Can I use a different type of vinegar besides white vinegar?
While white vinegar is the most commonly used type of vinegar for cleaning due to its high acidity and lack of color, you can experiment with other types of vinegar, such as apple cider vinegar. However, be aware that apple cider vinegar has a lower acidity than white vinegar, so it may not be as effective for tackling tough stains. It also has a distinct smell that some people may find unpleasant. If you choose to use apple cider vinegar, be sure to dilute it properly and test it in an inconspicuous area first.
How long will this DIY cleaning solution last?
This DIY cleaning solution can last for several weeks when stored properly in an airtight container. However, it’s best to use it within a month for optimal effectiveness. Over time, the essential oils may lose their potency, and the baking soda may settle at the bottom of the container. To ensure that your cleaning solution remains fresh and effective, store it in a cool, dark place away from direct sunlight.
What are some other uses for this DIY cleaning solution?
Besides cleaning countertops, sinks, and bathrooms, this DIY cleaning solution can also be used for a variety of other cleaning tasks. It’s great for cleaning windows and mirrors, removing hard water stains from showerheads, and deodorizing garbage disposals. You can also use it to clean your microwave by heating a cup of the solution in the microwave for a few minutes, then wiping down the interior. The steam will help to loosen any stuck-on food particles.
Can I use this DIY cleaning solution to clean my floors?
Yes, you can use this DIY cleaning solution to clean your floors, but it’s important to dilute it properly. For hardwood floors, use a very diluted solution to avoid damaging the finish. For tile and linoleum floors, you can use a slightly stronger solution. Always test the solution in an inconspicuous area first to ensure that it doesn’t damage the flooring. Avoid using it on waxed floors, as it can strip the wax.
What essential oils are best to use in this DIY cleaning solution?
The best essential oils to use in this DIY cleaning solution depend on your personal preferences and the cleaning task at hand. Lavender essential oil is known for its calming and relaxing properties, while lemon essential oil is a powerful degreaser and disinfectant. Tea tree essential oil has antibacterial and antifungal properties, making it ideal for cleaning bathrooms and kitchens. Eucalyptus essential oil has a refreshing scent and can help to clear congestion. Experiment with different essential oils to find your favorite combinations.
Is this DIY cleaning solution safe for pets and children?
While this DIY cleaning solution is generally safer than commercial cleaners, it’s still important to take precautions when using it around pets and children. Keep the solution out of reach of children and pets, and avoid spraying it directly on them. If your pet or child accidentally ingests the solution, contact a veterinarian or poison control center immediately. When cleaning surfaces that pets and children come into contact with, be sure to rinse them thoroughly with water after cleaning.
What if I don’t have all the ingredients on hand? Can I still make this DIY cleaning solution?
While the combination of vinegar, baking soda, and essential oils is the most effective, you can still make a basic cleaning solution with just vinegar and water. Dilute the vinegar with water in a spray bottle and use it to clean surfaces. You can also add a few drops of dish soap for extra cleaning power. However, be aware that this basic solution may not be as effective as the full recipe.
How does this DIY cleaning trick contribute to a more sustainable lifestyle?
This DIY cleaning trick significantly contributes to a more sustainable lifestyle by reducing your reliance on commercially produced cleaning products, which often come in plastic packaging and contain harmful chemicals. By making your own cleaning solution, you can reduce your plastic waste and avoid exposing yourself and your family to potentially toxic ingredients. Furthermore, the ingredients used in this DIY solution are readily available, biodegradable, and less harmful to the environment. Embracing this simple change can have a positive impact on the planet and promote a more eco-conscious way of living.

Leave a Comment