

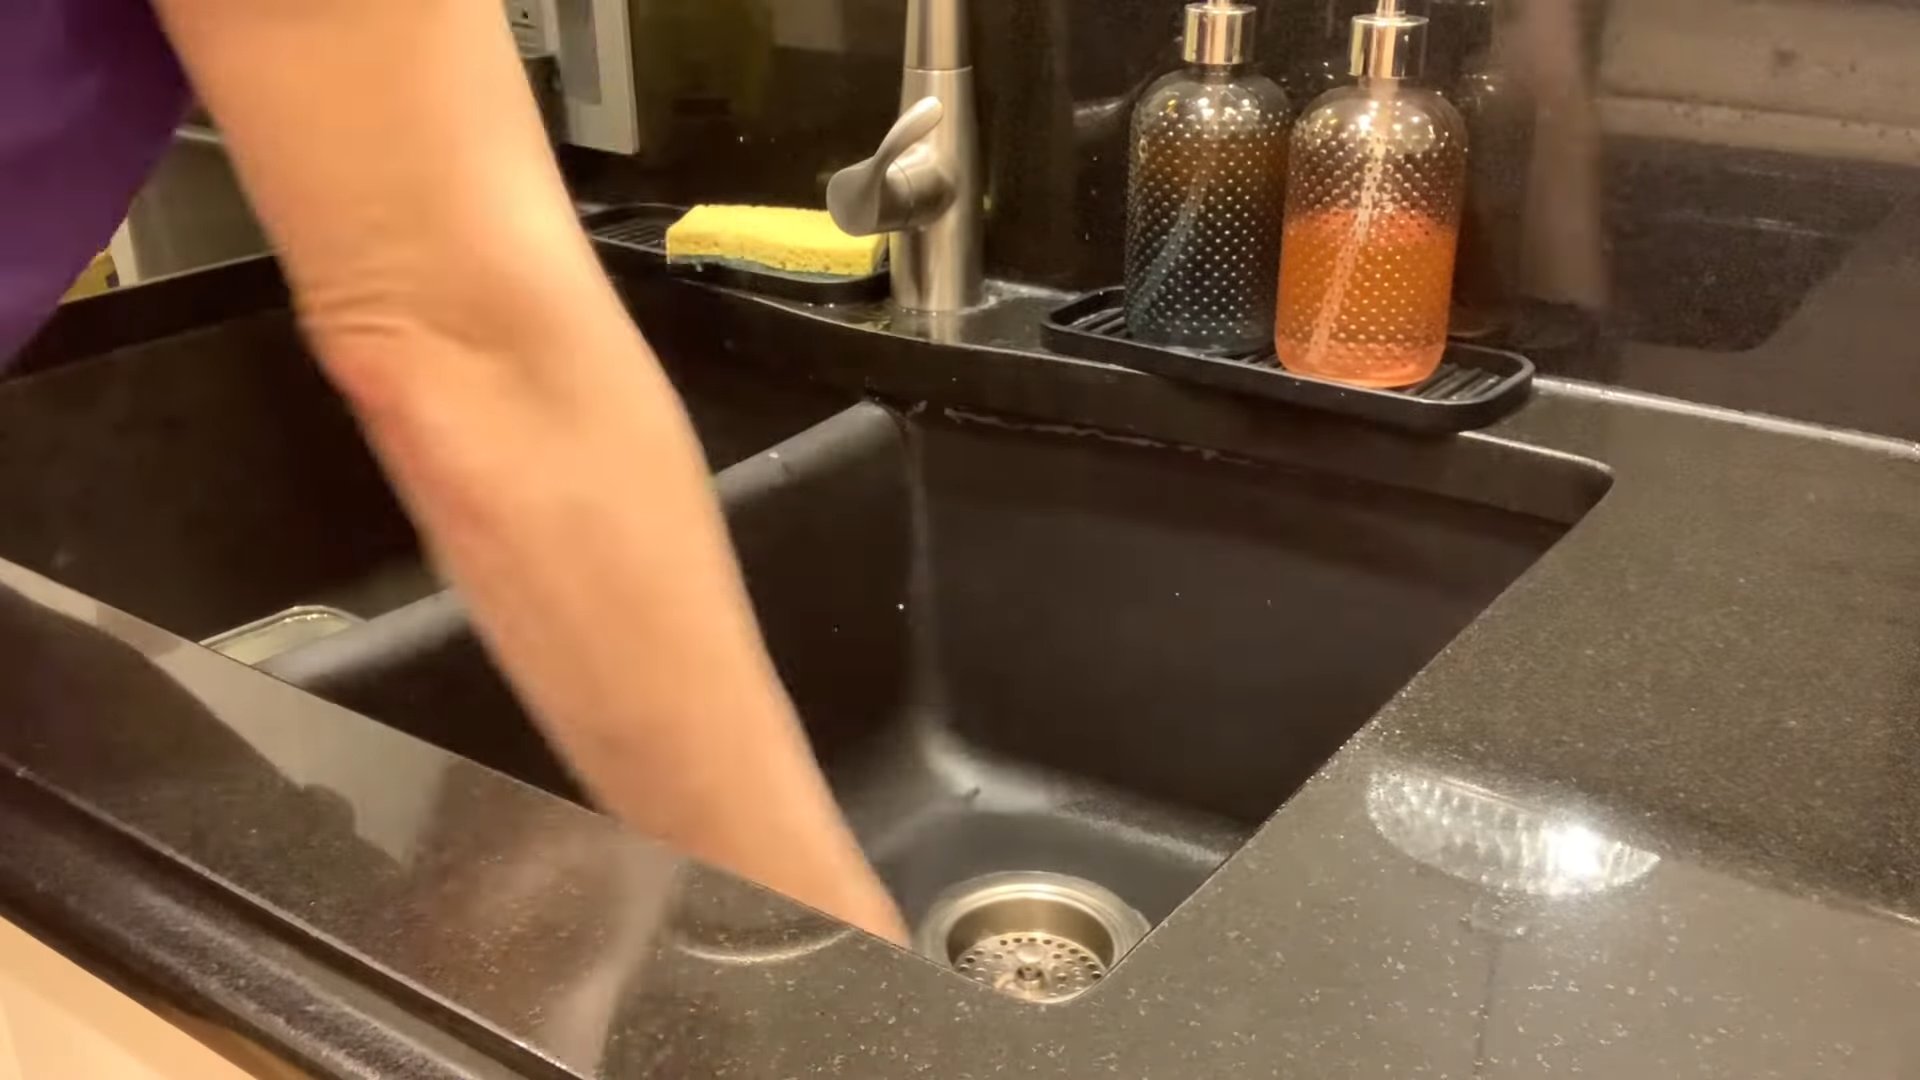
DIY Vinegar Cleaner: Unlock the secrets to a sparkling home with this surprisingly simple and effective solution! Are you tired of harsh chemicals and sky-high cleaning product prices? I know I was! That’s why I dove headfirst into the world of homemade cleaners, and let me tell you, the results have been amazing.
Vinegar, a staple in kitchens for centuries, boasts a rich history that extends far beyond culinary uses. From ancient civilizations using it as a preservative to its modern-day applications in everything from medicine to gardening, vinegar has always been a versatile and valuable resource. But did you know it’s also a powerhouse cleaner?
In today’s world, where we’re all striving for a healthier lifestyle and a smaller environmental footprint, switching to a DIY vinegar cleaner is a game-changer. Not only is it incredibly affordable, but it’s also non-toxic, making it safe for your family, pets, and the planet. Plus, it’s surprisingly effective at tackling everything from stubborn grime to lingering odors. Ready to ditch the chemicals and embrace a cleaner, greener home? Let’s get started!
Grow Your Own Cilantro Indoors: A Beginner’s Guide
Hey there, fellow herb enthusiast! Ever find yourself needing just a sprig of cilantro for your tacos, only to realize you’re fresh out? I’ve been there, and it’s frustrating! That’s why I decided to take matters into my own hands and learn how to grow cilantro indoors. And guess what? It’s easier than you think! This guide will walk you through everything you need to know to have a thriving cilantro patch right in your kitchen.
What You’ll Need
Before we dive in, let’s gather our supplies. Here’s a checklist of everything you’ll need to get started:
* Cilantro Seeds: You can find these at most garden centers or online. Make sure they’re specifically for growing, not for cooking!
* Potting Mix: Use a well-draining potting mix. Avoid using garden soil, as it can compact and not provide enough drainage.
* Pots: Choose pots that are at least 6 inches deep and have drainage holes. Cilantro needs room for its roots to grow.
* Grow Lights (Optional but Recommended): Cilantro needs a lot of light, so if you don’t have a sunny windowsill, grow lights are a must.
* Watering Can or Spray Bottle: For gentle watering.
* Small Shovel or Trowel: For planting the seeds.
* Seed Starting Tray (Optional): If you prefer to start your seeds indoors before transplanting.
Choosing the Right Cilantro Variety
While most cilantro varieties will grow indoors, some are better suited than others. Look for varieties that are slow to bolt (meaning they take longer to go to seed). Bolting makes the leaves bitter. Some good options include:
* Slow Bolt: As the name suggests, this variety is known for its resistance to bolting.
* Santo: Another popular choice for its slow-bolting characteristics and strong flavor.
* Calypso: A heat-tolerant variety that’s also slow to bolt.
Step-by-Step Planting Guide
Alright, let’s get our hands dirty! Here’s how to plant your cilantro seeds:
1. Prepare the Pot: Fill your pot with potting mix, leaving about an inch of space at the top. Gently pat down the soil to remove any air pockets.
2. Sow the Seeds: Cilantro seeds have a hard outer shell, so I like to scarify them slightly to improve germination. You can do this by gently rubbing the seeds between two pieces of sandpaper or by soaking them in water for 24 hours. Sow the seeds about 1/4 inch deep and 1 inch apart. You can plant multiple seeds in each pot, but be sure to thin them out later if they all sprout.
3. Cover the Seeds: Lightly cover the seeds with potting mix.
4. Water Gently: Water the soil gently until it’s moist but not soggy. You can use a watering can or a spray bottle.
5. Provide Light: Place the pot in a sunny windowsill that receives at least 6 hours of direct sunlight per day. If you don’t have enough natural light, use grow lights. Position the grow lights a few inches above the plants and keep them on for 12-14 hours per day.
6. Maintain Moisture: Keep the soil consistently moist but not waterlogged. Check the soil moisture daily and water when the top inch feels dry to the touch.
Germination and Early Growth
Now comes the waiting game! Cilantro seeds typically germinate in 7-10 days. Here’s what to expect during this phase:
* Sprouting: Once the seeds germinate, you’ll see tiny green sprouts emerging from the soil.
* Thinning (If Necessary): If you planted multiple seeds in each pot and they all sprouted, you’ll need to thin them out. Choose the strongest seedlings and remove the weaker ones by snipping them off at the soil level. This will give the remaining plants enough space to grow.
* Continued Watering: Continue to water the seedlings regularly, keeping the soil moist but not soggy.
* Light: Ensure the seedlings receive adequate light, either from a sunny windowsill or grow lights.
Caring for Your Cilantro Plants
Once your cilantro plants are established, it’s time to focus on providing them with the care they need to thrive.
* Watering: Water your cilantro plants regularly, keeping the soil consistently moist but not waterlogged. Overwatering can lead to root rot, so be sure to let the top inch of soil dry out before watering again.
* Fertilizing: Cilantro doesn’t need a lot of fertilizer, but a light feeding every few weeks can help promote healthy growth. Use a balanced liquid fertilizer diluted to half strength.
* Pinching: Pinching back the stems of your cilantro plants encourages them to grow bushier and produce more leaves. Simply snip off the top inch or two of the stems with your fingers or scissors.
* Preventing Bolting: As mentioned earlier, bolting is when cilantro plants go to seed, which makes the leaves bitter. To prevent bolting, keep your cilantro plants cool and well-watered. Avoid exposing them to excessive heat or drought. You can also pinch off any flower buds that appear.
* Air Circulation: Good air circulation helps prevent fungal diseases. Make sure your cilantro plants have enough space between them and that the air can circulate freely around them.
* Pest Control: Cilantro is generally pest-resistant, but occasionally it can be affected by aphids or spider mites. If you notice any pests, you can try spraying them off with a strong stream of water or using an insecticidal soap.
Harvesting Your Cilantro
The best part of growing your own cilantro is, of course, harvesting it! You can start harvesting cilantro leaves when the plants are about 6 inches tall.
* Harvesting Technique: Use scissors or your fingers to snip off the outer leaves of the plant, leaving the inner leaves to continue growing. Avoid harvesting more than one-third of the plant at a time.
* Harvesting Frequency: You can harvest cilantro leaves regularly, as needed. The more you harvest, the more the plant will produce.
* Extending the Harvest: To extend the harvest, you can succession plant cilantro seeds every few weeks. This will ensure that you always have a fresh supply of cilantro on hand.
Troubleshooting Common Problems
Even with the best care, you might encounter some problems while growing cilantro indoors. Here are some common issues and how to address them:
* Yellowing Leaves: Yellowing leaves can be caused by overwatering, underwatering, or nutrient deficiencies. Check the soil moisture and adjust your watering accordingly. If the problem persists, try fertilizing your plants with a balanced liquid fertilizer.
* Leggy Growth: Leggy growth (tall, spindly plants) is usually caused by insufficient light. Move your cilantro plants to a sunnier location or provide them with grow lights.
* Bolting: As mentioned earlier, bolting is when cilantro plants go to seed, which makes the leaves bitter. To prevent bolting, keep your cilantro plants cool and well-watered. Avoid exposing them to excessive heat or drought. You can also pinch off any flower buds that appear.
* Root Rot: Root rot is a fungal disease that can be caused by overwatering. If you suspect root rot, reduce your watering frequency and make sure your pots have good drainage. You can also try transplanting your cilantro plants into fresh potting mix.
* Pests: Cilantro is generally pest-resistant, but occasionally it can be affected by aphids or spider mites. If you notice any pests, you can try spraying them off with a strong stream of water or using an insecticidal soap.
Enjoying Your Homegrown Cilantro
Now that you’ve successfully grown your own cilantro indoors, it’s time to enjoy the fruits (or rather, leaves) of your labor! Fresh cilantro adds a burst of flavor to a wide variety of dishes, including:
* Tacos and Burritos: A classic pairing!
* Salsa and Guacamole: Essential ingredients for these Mexican staples.
* Soups and Stews: Adds a fresh, herbaceous note.
* Salads: A delicious and healthy addition.
* Asian Cuisine: Used extensively in Thai, Vietnamese, and Indian dishes.
You can also dry or freeze cilantro for later use. To dry cilantro, simply hang the stems upside down in a cool, dry place until the leaves are brittle. To freeze cilantro, chop the leaves and place them in ice cube trays with water or olive oil. Once frozen, transfer the cubes to a freezer bag.
Final Thoughts
Growing cilantro indoors is a rewarding experience that allows you to have fresh herbs on hand whenever you need them. With a little bit of care and attention, you can enjoy a thriving cilantro patch right in your kitchen. So
Conclusion
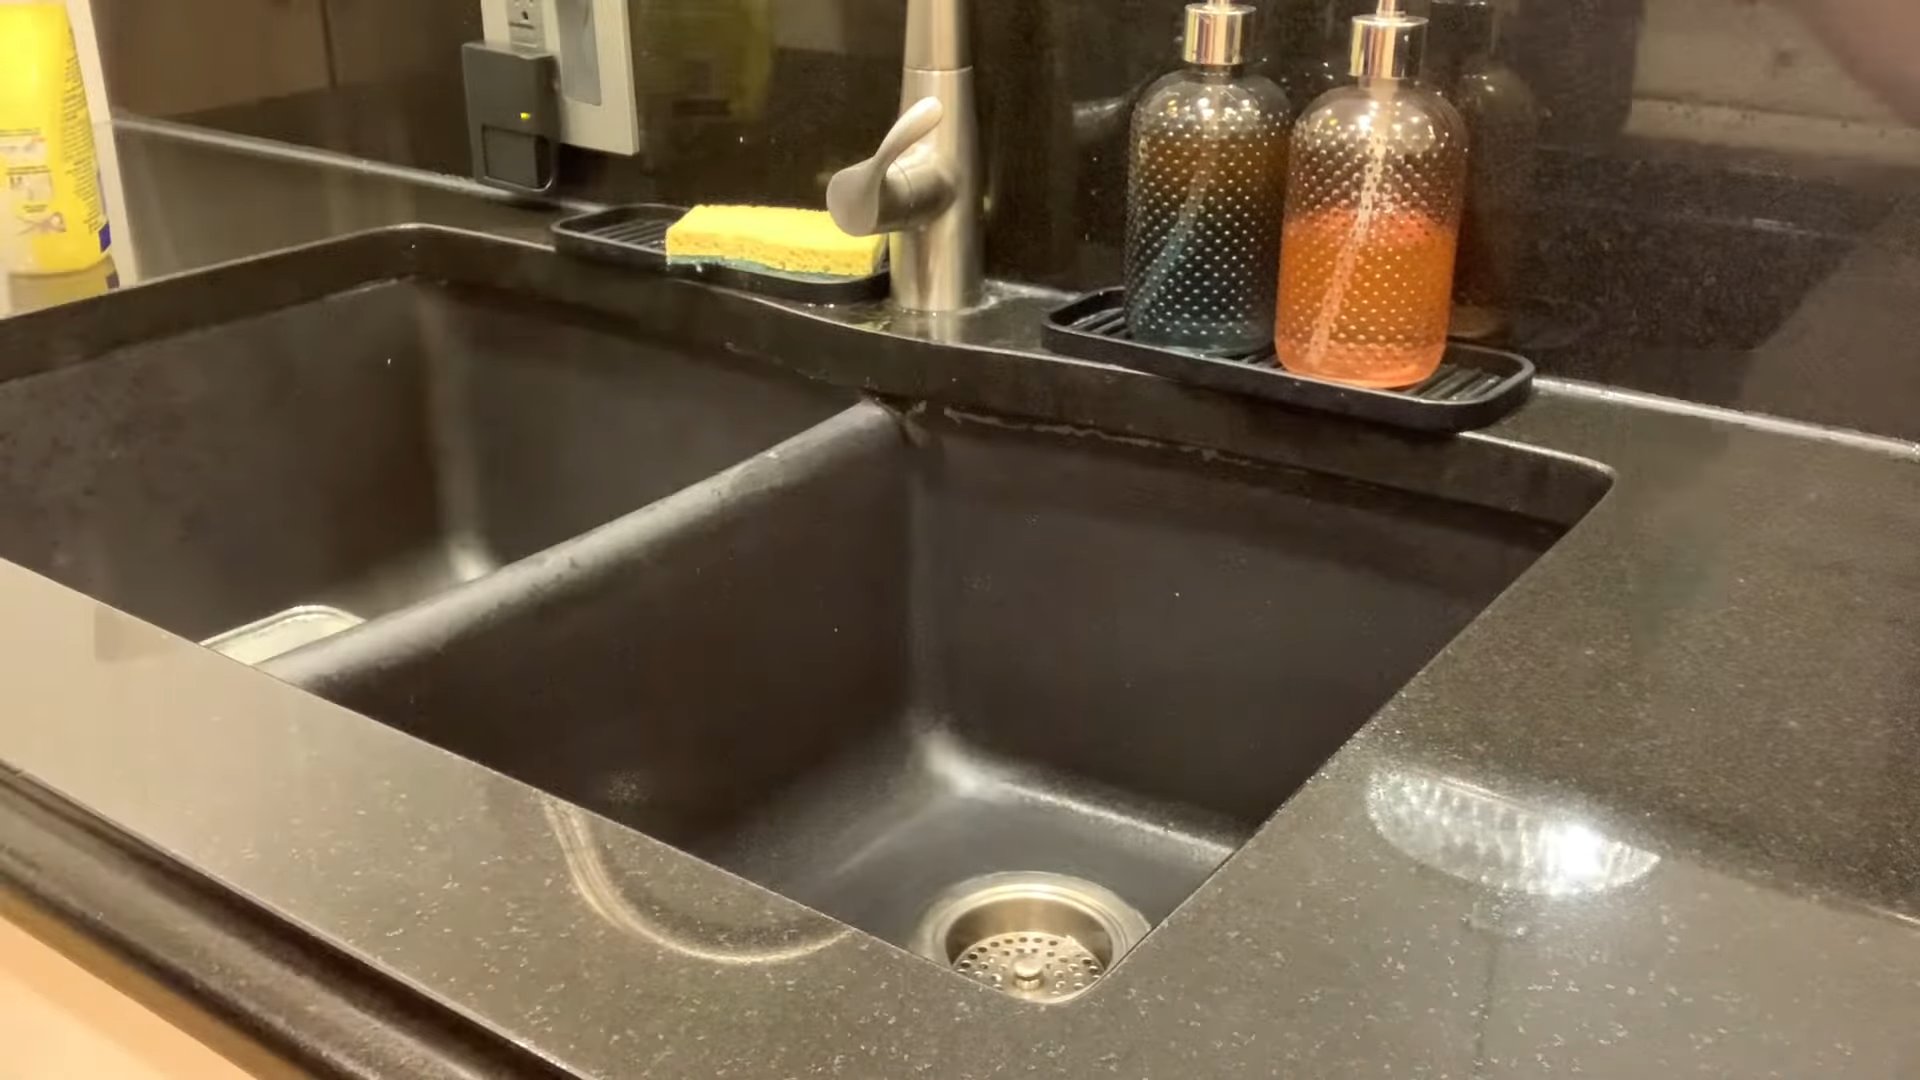
So, there you have it! Making your own DIY vinegar cleaner is not just a cost-effective alternative to store-bought products; it’s a conscious choice towards a healthier home and a more sustainable lifestyle. We’ve walked you through the simple steps, highlighting the versatility and power of this natural cleaning solution. From sparkling countertops to gleaming bathroom fixtures, the possibilities are truly endless.
But why is this DIY trick a must-try? Beyond the obvious savings, you’re eliminating harsh chemicals and artificial fragrances from your living space. Many commercial cleaners contain ingredients that can irritate skin, trigger allergies, and even contribute to indoor air pollution. With a DIY vinegar cleaner, you control exactly what goes into your cleaning products, ensuring a safer environment for yourself, your family, and your pets.
Furthermore, the effectiveness of vinegar as a cleaning agent is well-documented. Its acidity helps to dissolve grime, cut through grease, and kill bacteria and mold. It’s a natural disinfectant that’s been used for centuries, and its power is just as relevant today.
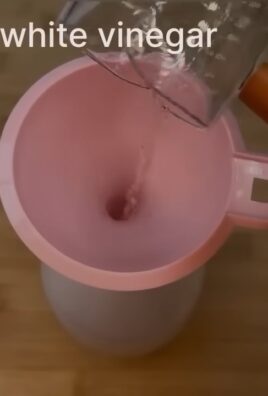
Now, let’s talk about variations! While the basic recipe of equal parts white vinegar and water is a fantastic starting point, you can easily customize it to suit your specific needs and preferences.
* Infused Citrus Cleaner: Add citrus peels (lemon, orange, grapefruit) to your vinegar for a few weeks to infuse it with a refreshing scent and extra cleaning power. The citric acid in the peels will boost the cleaner’s ability to cut through grease and grime. Strain the peels before mixing with water.
* Herbal Infusion: Experiment with adding herbs like lavender, rosemary, or thyme to your vinegar for a fragrant and therapeutic cleaning experience. Similar to citrus peels, allow the herbs to infuse for a few weeks before straining and mixing with water.
* Essential Oil Boost: For an extra boost of cleaning power and fragrance, add a few drops of your favorite essential oils to your DIY vinegar cleaner. Tea tree oil is a great choice for its antibacterial and antifungal properties, while lavender and lemon offer uplifting and refreshing scents. Remember to use essential oils sparingly, as they are highly concentrated.
* For Stubborn Stains: For particularly stubborn stains, try using undiluted vinegar directly on the affected area. Let it sit for a few minutes before wiping clean. You can also create a paste of vinegar and baking soda for a more abrasive cleaning action.
We strongly encourage you to give this DIY vinegar cleaner a try. It’s simple, affordable, and effective. Once you experience the power of natural cleaning, you’ll never go back to harsh chemicals again.
But don’t just take our word for it! We want to hear about your experiences. Share your tips, tricks, and variations in the comments below. Let us know how the DIY vinegar cleaner worked for you and what surfaces you found it most effective on. Your feedback will help others discover the benefits of natural cleaning and create a healthier home environment for everyone. So, grab your vinegar, water, and a spray bottle, and get ready to experience the magic of DIY cleaning! We are confident that you will love the results.
Frequently Asked Questions (FAQ)
Is white vinegar the only type of vinegar I can use for cleaning?
While white vinegar is the most commonly recommended type for cleaning due to its high acidity and lack of color (which prevents staining), you can technically use other types of vinegar, such as apple cider vinegar. However, keep in mind that apple cider vinegar has a lower acidity level than white vinegar, so it might not be as effective for certain cleaning tasks. Also, its color could potentially stain light-colored surfaces. White vinegar is generally the safest and most effective option for a wide range of cleaning applications.
Can I use DIY vinegar cleaner on all surfaces?
No, you should avoid using vinegar cleaner on certain surfaces. Acidic cleaners like vinegar can damage natural stone surfaces like marble, granite, and limestone. It can also etch glass and damage waxed wood floors. It’s best to test the cleaner on an inconspicuous area first before applying it to the entire surface. For delicate surfaces, consider using a gentler cleaning solution.
Will my house smell like vinegar after cleaning?
The strong smell of vinegar is a common concern, but it dissipates quickly. The vinegar smell typically fades within an hour or two after cleaning. You can also add essential oils to your DIY vinegar cleaner to mask the vinegar scent and leave a more pleasant fragrance. Citrus essential oils like lemon, orange, and grapefruit are particularly effective at neutralizing the vinegar smell.
How long does DIY vinegar cleaner last?
DIY vinegar cleaner has a long shelf life. Because vinegar is a natural preservative, the cleaner will last indefinitely. However, if you add essential oils or other ingredients, the scent may fade over time. It’s best to store your DIY vinegar cleaner in a cool, dark place to preserve its potency and fragrance.
Can I mix vinegar with baking soda for cleaning?
While mixing vinegar and baking soda creates a fun fizzing reaction, it’s not always the most effective cleaning method. The reaction neutralizes both the vinegar and the baking soda, reducing their individual cleaning power. However, the fizzing action can be helpful for loosening grime and unclogging drains. If you do use this combination, rinse the surface thoroughly with water afterward.
Is DIY vinegar cleaner safe for septic systems?
Yes, DIY vinegar cleaner is generally safe for septic systems. Vinegar is a natural substance that won’t harm the beneficial bacteria in your septic tank. In fact, it can even help to balance the pH levels in your system. However, avoid using excessive amounts of vinegar, as it could potentially disrupt the delicate balance of your septic system.
Can I use DIY vinegar cleaner to clean my laundry?
Yes, vinegar can be a great addition to your laundry routine. It can help to soften fabrics, remove odors, and brighten colors. Add about 1/2 cup of white vinegar to your washing machine’s fabric softener dispenser. You can also use vinegar to pretreat stains by spraying it directly onto the affected area before washing.
What are some other uses for DIY vinegar cleaner?
The versatility of DIY vinegar cleaner extends beyond basic household cleaning. Here are a few other uses:
* Weed Killer: Spray undiluted vinegar directly onto weeds to kill them naturally.
* Coffee Maker Cleaner: Run a cycle of equal parts vinegar and water through your coffee maker to remove mineral buildup.
* Dishwasher Rinse Aid: Fill your dishwasher’s rinse aid dispenser with vinegar for sparkling clean dishes.
* Microwave Cleaner: Heat a cup of vinegar and water in the microwave for a few minutes to loosen grime and make it easier to wipe clean.
* Window Cleaner: Mix equal parts vinegar and water in a spray bottle for streak-free windows and mirrors.
How do I make a larger batch of DIY vinegar cleaner?
Scaling up your DIY vinegar cleaner recipe is easy. Simply maintain the 1:1 ratio of white vinegar to water. For example, if you want to make a gallon of cleaner, use 1/2 gallon of white vinegar and 1/2 gallon of water. Store the cleaner in a labeled container in a cool, dark place.
What if my DIY vinegar cleaner isn’t working as well as I expected?
If you’re not seeing the results you want with your DIY vinegar cleaner, consider these factors:
* Concentration: Make sure you’re using the correct ratio of vinegar to water. For tougher cleaning jobs, you may need to increase the concentration of vinegar.
* Application: Allow the cleaner to sit on the surface for a few minutes before wiping it clean. This gives the vinegar time to break down grime and dirt.
* Surface Type: As mentioned earlier, vinegar is not suitable for all surfaces. Make sure you’re using it on appropriate materials.
* Water Hardness: Hard water can reduce the effectiveness of vinegar cleaner. If you have hard water, consider using distilled water to make your cleaner.
* Pre-Cleaning: For heavily soiled surfaces, it may be helpful to pre-clean them with soap and water before using vinegar cleaner.
By addressing these factors, you can optimize the performance of your DIY vinegar cleaner and achieve sparkling clean results.
Leave a Comment