

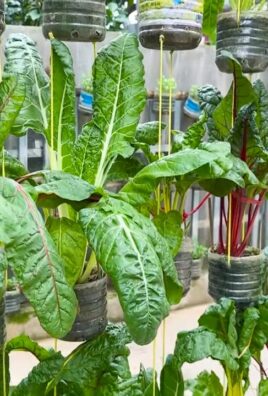
DIY Vertical Veggie System: Imagine stepping onto your balcony or into your small backyard and being greeted by a lush, green wall brimming with fresh, vibrant vegetables. Sounds like a dream, right? Well, it doesn’t have to be! I’m here to show you how to create your very own DIY Vertical Veggie System, even if you think you don’t have the space or the green thumb.
Vertical gardening, while seemingly modern, actually has roots stretching back centuries. Think of the Hanging Gardens of Babylon, one of the Seven Wonders of the Ancient World! While we might not be building anything quite so grand, the principle remains the same: maximizing space and bringing nature closer to home. For centuries, cultures around the globe have found innovative ways to grow food in limited areas, and now, it’s our turn to embrace this clever technique.
In today’s world, where space is often a premium and access to fresh, healthy produce isn’t always guaranteed, a DIY Vertical Veggie System offers a fantastic solution. It’s not just about aesthetics, although a green wall is undeniably beautiful. It’s about taking control of your food source, reducing your carbon footprint, and enjoying the satisfaction of harvesting your own homegrown veggies. Plus, it’s a fantastic way to get some fresh air and sunshine while engaging in a rewarding and therapeutic activity. So, let’s dive in and discover how you can build your own thriving vertical garden!
DIY Vertical Veggie System: Grow Up, Not Out!
Hey there, fellow garden enthusiasts! Are you dreaming of fresh veggies but short on space? I totally get it! That’s why I’m so excited to share my DIY vertical veggie system. It’s a fantastic way to maximize your yield, even if you only have a balcony or a small patio. Plus, it looks pretty darn cool!
This system is designed to be relatively inexpensive and easy to build, even if you’re not a seasoned DIYer. I’ll walk you through every step, so don’t worry if you’re feeling a little intimidated. Let’s get growing!
Materials You’ll Need
Before we dive in, let’s gather our supplies. Here’s what you’ll need:
* **PVC Pipes:**
* One 10-foot length of 4-inch diameter PVC pipe (for the main structure).
* One 10-foot length of 2-inch diameter PVC pipe (for the watering system).
* **PVC Fittings:**
* 4-inch PVC end cap (one).
* 4-inch to 2-inch PVC reducer (one).
* 2-inch PVC elbow (one).
* 2-inch PVC end cap (one).
* **Drill and Drill Bits:**
* A standard drill.
* A 3-inch hole saw (for the planting holes).
* A smaller drill bit (for drainage holes).
* **Measuring Tape and Marker:** Essential for accurate cuts and markings.
* **PVC Primer and Cement:** To securely join the PVC pipes and fittings.
* **Landscaping Fabric:** To line the planting holes and prevent soil erosion.
* **Zip Ties:** For securing the landscaping fabric.
* **Potting Soil:** Choose a high-quality potting mix suitable for vegetables.
* **Vegetable Seedlings or Seeds:** Select your favorite veggies! I recommend starting with herbs, lettuce, strawberries, or smaller tomato varieties.
* **Safety Glasses and Gloves:** Always protect your eyes and hands!
* **Optional:**
* Spray paint (to decorate your vertical garden).
* Gravel or small stones (for drainage at the bottom).
* A small submersible pump (for a more automated watering system – I’ll explain this later).
Phase 1: Building the Main Structure
This is where we create the backbone of our vertical garden. It’s surprisingly simple!
1. **Cut the 4-inch PVC Pipe:** Using your measuring tape and marker, measure and cut the 4-inch PVC pipe to your desired height. I recommend a height of around 5-6 feet for easy access. A handsaw or PVC cutter will work fine. Just make sure the cut is straight!
2. **Mark the Planting Holes:** This is where your veggies will live! Decide how many planting holes you want and how far apart they should be. I usually space them about 8-10 inches apart, staggered around the pipe for even sunlight exposure. Use your marker to draw circles where you’ll be drilling.
3. **Drill the Planting Holes:** Now for the fun part! Attach the 3-inch hole saw to your drill. Carefully drill out the planting holes, following the circles you marked. Go slow and steady to avoid cracking the PVC.
4. Smooth the Edges: After drilling, the edges of the holes might be a little rough. Use sandpaper or a utility knife to smooth them out. This will prevent damage to your plants.
5. **Attach the Bottom Cap:** Apply PVC primer to the inside of the 4-inch PVC end cap and the outside of the bottom of the 4-inch PVC pipe. Then, apply PVC cement to both surfaces and quickly slide the end cap onto the pipe. Hold it firmly in place for about 30 seconds until the cement sets. This creates a sealed bottom for your garden.
Phase 2: Creating the Watering System
A good watering system is crucial for a thriving vertical garden. This simple system ensures even water distribution.
1. **Cut the 2-inch PVC Pipe:** Cut the 2-inch PVC pipe to the same length as the 4-inch PVC pipe.
2. **Drill Drainage Holes:** Using a small drill bit, drill drainage holes along the entire length of the 2-inch PVC pipe. Space them about 2-3 inches apart. These holes will allow water to slowly seep out and water your plants.
3. **Assemble the Watering System:** Apply PVC primer and cement to the 4-inch to 2-inch reducer and the top of the 4-inch PVC pipe. Attach the reducer. Then, slide the 2-inch PVC pipe into the reducer.
4. **Add the Elbow and Cap:** Attach the 2-inch PVC elbow to the top of the 2-inch PVC pipe. Then, attach the 2-inch PVC end cap to the elbow. This creates a funnel for easy watering.
Phase 3: Preparing for Planting
Almost there! Now we need to prepare the planting holes and add the soil.
1. **Line the Planting Holes:** Cut pieces of landscaping fabric that are slightly larger than the planting holes. Insert the fabric into each hole, creating a small pocket. Secure the fabric with zip ties around the edges of the hole. This will prevent soil from washing out.
2. **Add Drainage (Optional):** If you live in an area with heavy rainfall, you might want to add a layer of gravel or small stones to the bottom of the 4-inch PVC pipe for extra drainage. This will prevent the soil from becoming waterlogged.
3. **Fill with Potting Soil:** Now, slowly fill the 4-inch PVC pipe with high-quality potting soil. Gently pack the soil around the landscaping fabric pockets.
Phase 4: Planting Your Veggies!
The moment we’ve been waiting for! Time to plant your veggies.
1. **Choose Your Plants:** Select vegetable seedlings or seeds that are suitable for container gardening. Herbs, lettuce, strawberries, spinach, and smaller tomato varieties are all great choices.
2. **Plant Your Seedlings:** Carefully remove the seedlings from their containers and gently loosen the roots. Place each seedling into a planting hole and cover the roots with potting soil.
3. **Water Thoroughly:** After planting, water your vertical garden thoroughly. This will help settle the soil and give your plants a good start.
4. Sunlight is Key: Place your vertical garden in a location that receives at least 6-8 hours of sunlight per day.
Phase 5: Maintaining Your Vertical Garden
A little maintenance goes a long way in keeping your vertical garden healthy and productive.
1. **Watering:** Water your plants regularly, especially during hot weather. Check the soil moisture by sticking your finger into the soil. If it feels dry, it’s time to water. Pour water into the top of the 2-inch PVC pipe, allowing it to slowly seep out through the drainage holes.
2. **Fertilizing:** Feed your plants with a balanced liquid fertilizer every 2-3 weeks. Follow the instructions on the fertilizer label.
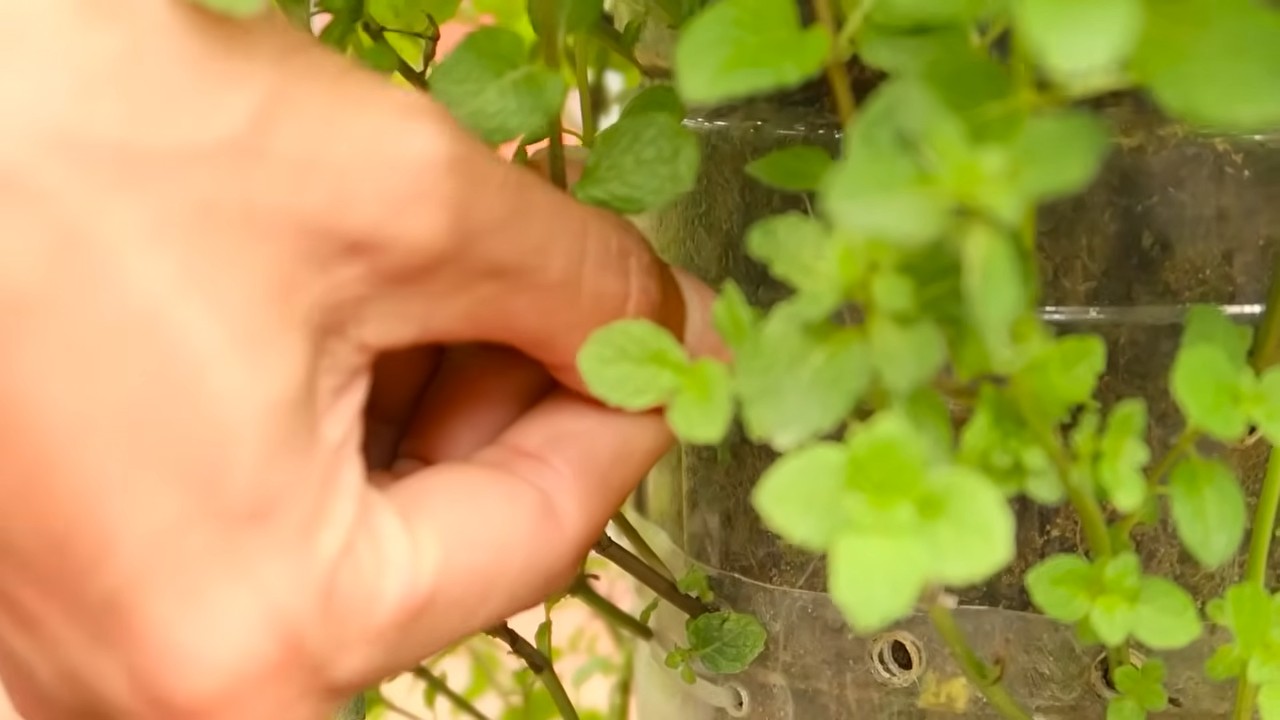
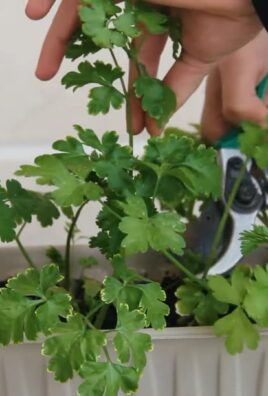
3. **Pruning:** Prune your plants regularly to encourage growth and prevent them from becoming too crowded. Remove any dead or yellowing leaves.
4. **Pest Control:** Keep an eye out for pests and diseases. If you notice any problems, take action immediately. There are many organic pest control options available.
5. Rotating Crops: Consider rotating your crops each season to prevent soil depletion and reduce the risk of pests and diseases.
Optional: Automated Watering System
If you want to take your vertical garden to the next level, you can add an automated watering system. Here’s how:
1. **Submersible Pump:** Purchase a small submersible pump that can fit inside the bottom of the 4-inch PVC pipe.
2. **Timer:** Get a timer that can be programmed to turn the pump on and off at regular intervals.
3. **Tubing:** You’ll need some flexible tubing to connect the pump to the top of the 2-inch PVC pipe.
4. **Assembly:** Place the submersible pump at the bottom of the 4-inch PVC pipe. Connect the tubing to the pump and run it up through the 2-inch PVC pipe to the top. Connect the other end of the tubing to the 2-inch PVC elbow.
5. **Programming:** Program the timer to turn the pump on for a few minutes each day. This will automatically water your plants.
Important Note: Make sure the pump is designed for continuous use and that the tubing is food-grade.
Tips and Tricks for Success
* Choose the Right Soil: Use a high-quality potting mix that is specifically designed for vegetables. Avoid using garden soil, as it can be too heavy and compacted.
* Start Small: If you’re new to vertical gardening, start with a few easy-to-grow plants. Once you get the hang of it, you can expand your garden
Conclusion
So, there you have it! Creating your own DIY Vertical Veggie System isn’t just a trendy gardening project; it’s a game-changer for anyone looking to maximize space, minimize effort, and enjoy a bountiful harvest of fresh, homegrown vegetables. We’ve walked you through the process, highlighting the simplicity and affordability of this fantastic gardening solution.
But why is this a must-try? Beyond the obvious space-saving benefits, a vertical garden offers a unique aesthetic appeal. Imagine a vibrant, living wall bursting with color and life, transforming a dull balcony or patio into a verdant oasis. It’s not just about growing food; it’s about creating a beautiful and functional outdoor space.
Furthermore, a vertical system can significantly reduce common gardening woes. By elevating your plants, you minimize pest infestations, making it harder for slugs, snails, and other ground-dwelling critters to reach your precious veggies. Weeding becomes a breeze, and you’ll find yourself spending less time bending and kneeling, saving your back and knees from unnecessary strain.
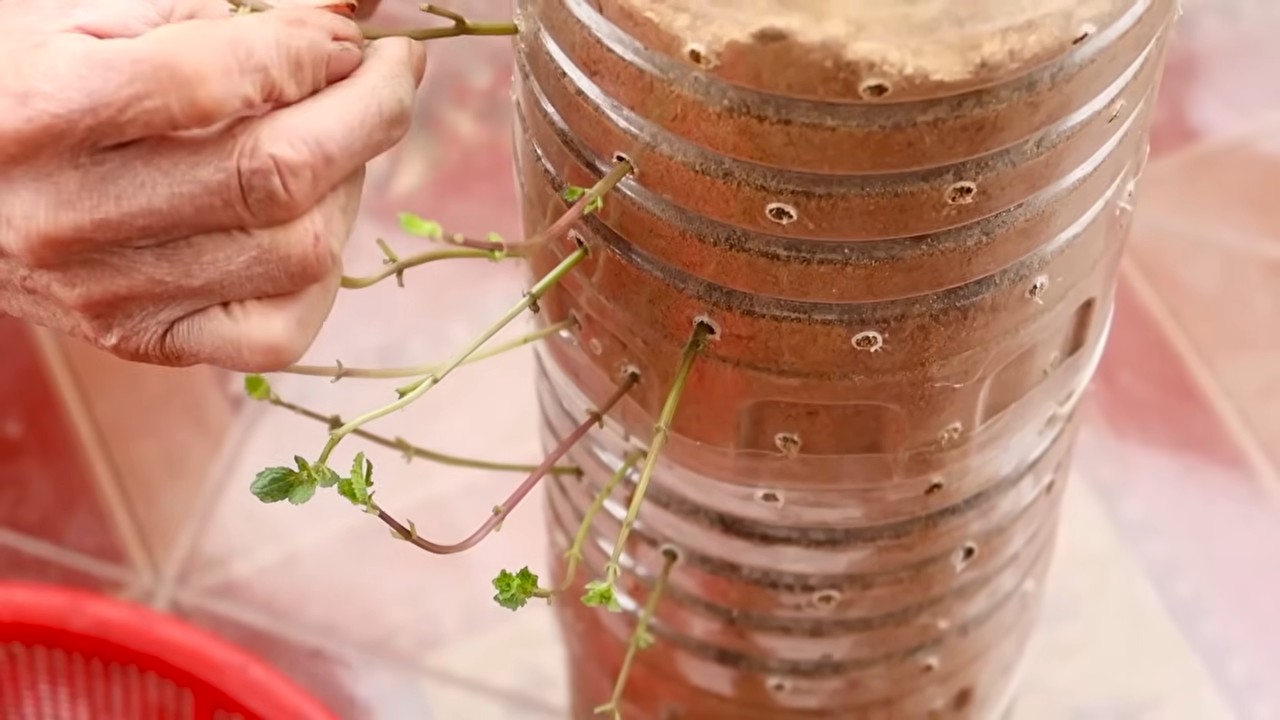
Now, let’s talk variations. Feel free to experiment with different container types. Recycled plastic bottles, repurposed pallets, or even old gutters can be transformed into charming planters. Consider using a self-watering system to further simplify maintenance, especially if you live in a hot or dry climate. You can easily adapt the design to suit your specific needs and preferences. For instance, if you’re growing heavier vegetables like tomatoes or cucumbers, reinforce your structure with stronger supports. If you’re in a shadier area, choose vegetables that thrive in partial sunlight, such as lettuce, spinach, or herbs.
Don’t be afraid to get creative with your plant selection. Mix and match different vegetables, herbs, and even flowers to create a visually stunning and productive garden. Companion planting can also be incorporated into your vertical system. For example, planting basil near tomatoes can help repel pests and improve the flavor of your tomatoes. Marigolds are also excellent companion plants, known for their pest-repelling properties.
The possibilities are truly endless! The key is to start small, experiment, and learn as you go. Don’t be discouraged if you encounter challenges along the way. Gardening is a journey, and every mistake is an opportunity to learn and improve.
We are confident that once you experience the joy and satisfaction of harvesting your own fresh vegetables from your very own DIY Vertical Veggie System, you’ll be hooked. It’s a rewarding and sustainable way to connect with nature, improve your diet, and beautify your living space.
So, what are you waiting for? Gather your materials, follow our simple instructions, and embark on your vertical gardening adventure today! We can’t wait to see what you create.
We encourage you to share your experiences, photos, and tips with us and the wider gardening community. Let us know what worked well for you, what challenges you faced, and any creative modifications you made to the design. Your feedback will help us improve our guide and inspire others to embrace the joys of vertical gardening. Share your journey on social media using #DIYVerticalVeggie and let’s grow together!
Frequently Asked Questions (FAQ)
What types of vegetables are best suited for a DIY Vertical Veggie System?
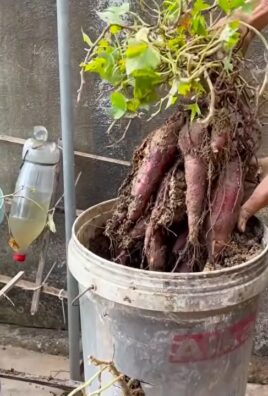
Many vegetables thrive in vertical gardens! Leafy greens like lettuce, spinach, kale, and arugula are excellent choices due to their shallow root systems and compact growth habits. Herbs such as basil, mint, parsley, and thyme also do well. Strawberries are another popular option, as they cascade beautifully down the vertical structure. For larger vegetables, consider bush beans, peppers (especially smaller varieties), and cherry tomatoes. Avoid vegetables with deep root systems or sprawling growth habits, such as potatoes, pumpkins, or watermelons, as they require more space and support.
How much sunlight does my DIY Vertical Veggie System need?
The amount of sunlight required depends on the vegetables you choose to grow. Most vegetables need at least 6-8 hours of direct sunlight per day to thrive. However, some leafy greens and herbs can tolerate partial shade (4-6 hours of sunlight). Observe your garden throughout the day to determine how much sunlight it receives and choose vegetables accordingly. If you don’t have enough natural sunlight, you can supplement with grow lights.
What type of soil should I use in my DIY Vertical Veggie System?
Use a high-quality potting mix that is well-draining and rich in organic matter. Avoid using garden soil, as it can become compacted in containers and hinder drainage. Look for a potting mix specifically formulated for vegetables, or amend a general-purpose potting mix with compost, worm castings, or other organic amendments. Good drainage is crucial to prevent root rot.
How often should I water my DIY Vertical Veggie System?
Watering frequency depends on several factors, including the type of vegetables you’re growing, the weather conditions, and the type of containers you’re using. Check the soil moisture regularly by sticking your finger about an inch into the soil. If the soil feels dry to the touch, it’s time to water. Water deeply until water drains out of the bottom of the containers. Avoid overwatering, as this can lead to root rot. During hot, dry weather, you may need to water daily or even twice a day. Consider using a self-watering system to simplify watering and ensure consistent moisture levels.
How do I fertilize my DIY Vertical Veggie System?
Vegetables grown in containers need regular fertilization, as nutrients are quickly depleted. Use a balanced, water-soluble fertilizer specifically formulated for vegetables. Follow the instructions on the fertilizer package for application rates and frequency. You can also use organic fertilizers, such as compost tea, fish emulsion, or seaweed extract. Apply fertilizer every 2-4 weeks, depending on the needs of your vegetables.
How do I protect my DIY Vertical Veggie System from pests and diseases?
Prevention is key when it comes to pests and diseases. Choose disease-resistant varieties of vegetables whenever possible. Inspect your plants regularly for signs of pests or diseases. Remove any affected leaves or plants immediately. Use organic pest control methods, such as insecticidal soap, neem oil, or diatomaceous earth, to control pests. Encourage beneficial insects, such as ladybugs and lacewings, to prey on pests. Ensure good air circulation around your plants to prevent fungal diseases.
How do I overwinter my DIY Vertical Veggie System?
The best way to overwinter your vertical veggie system depends on your climate and the types of plants you’re growing. In colder climates, you may need to bring your entire system indoors or protect it from frost. Some vegetables, such as kale and spinach, can tolerate light frosts and can be overwintered outdoors with protection. Other vegetables, such as tomatoes and peppers, are more sensitive to cold and will need to be brought indoors or discarded. If you’re bringing your system indoors, provide adequate light and water. You can also use a cold frame or greenhouse to extend the growing season.
Can I grow herbs in my DIY Vertical Veggie System?
Absolutely! Herbs are an excellent choice for vertical gardens. They are generally low-maintenance, require less space than vegetables, and add flavor and fragrance to your garden. Popular herbs for vertical gardens include basil, mint, parsley, thyme, oregano, rosemary, and chives. Choose herbs that prefer similar growing conditions and plant them together in the same container.
How do I choose the right containers for my DIY Vertical Veggie System?
The best containers for your vertical garden will depend on the size and type of plants you want to grow, as well as the overall design of your system. Consider factors like drainage, weight, and durability. Terracotta pots, plastic containers, and fabric grow bags are all popular options. Make sure the containers are large enough to accommodate the root systems of your plants. Also, ensure that the containers have drainage holes to prevent waterlogging.
How do I build a self-watering system for my DIY Vertical Veggie System?
There are several ways to create a self-watering system for your vertical garden. One simple method is to use a wicking system, where a wick draws water from a reservoir up into the soil. You can also use a drip irrigation system, where water is slowly dripped onto the soil through small emitters. Another option is to use a self-watering container, which has a built-in reservoir and wicking system. Research different self-watering methods and choose the one that best suits your needs and budget.
Leave a Comment