

DIY plastic bottle lettuce planter: Who knew your recycling bin could be the key to a thriving, space-saving garden? I’m so excited to share this incredibly easy and rewarding project with you! Forget expensive planters and limited garden space; we’re about to transform those discarded plastic bottles into a vertical lettuce oasis.
Growing your own food has a rich history, dating back to ancient civilizations cultivating small plots for sustenance. While we might not be relying on our gardens for survival these days, the satisfaction of harvesting fresh, homegrown lettuce is undeniable. Plus, there’s a certain charm in repurposing materials, giving them a new life and reducing waste.
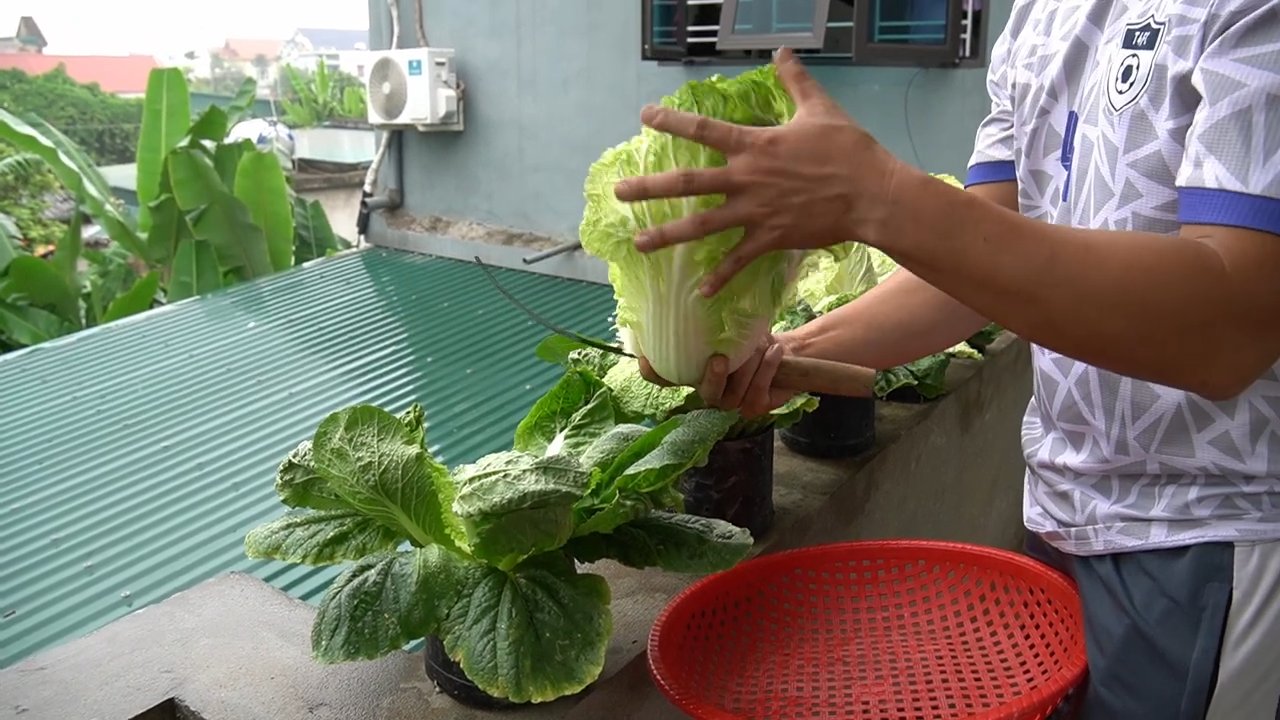
Let’s face it, not everyone has a sprawling backyard perfect for a traditional garden. Apartment dwellers, balcony enthusiasts, and those with limited mobility often miss out on the joy of gardening. That’s where this DIY plastic bottle lettuce planter comes in! It’s a fantastic solution for anyone looking to grow fresh, organic lettuce in a small space, on a budget, and with minimal effort. Imagine stepping onto your balcony and snipping fresh lettuce leaves for your salad 鈥?it’s fresher, healthier, and incredibly rewarding. This simple hack empowers you to take control of your food source, reduce your carbon footprint, and add a touch of green to your living space. So, grab those plastic bottles, and let’s get started!
DIY Upside-Down Lettuce Planter from Plastic Bottles
Hey there, fellow gardening enthusiasts! I’m super excited to share this incredibly easy and budget-friendly DIY project with you: creating an upside-down lettuce planter from recycled plastic bottles. Not only is this a fantastic way to reuse those bottles that might otherwise end up in the landfill, but it’s also a space-saving solution for growing fresh lettuce, even if you only have a small balcony or patio. Let’s get started!
Materials You’ll Need
Before we dive in, let’s gather all the necessary materials. Trust me, having everything ready beforehand will make the process much smoother.
* **Plastic Bottles:** You’ll need at least one large plastic bottle (2-liter soda bottles or similar work great). The number of bottles depends on how many lettuce planters you want to make. I usually aim for at least three to have a nice little lettuce garden going.
* Lettuce Seedlings or Seeds: Choose your favorite lettuce varieties! I personally love a mix of romaine, butterhead, and red leaf lettuce for a colorful and flavorful salad.
* Potting Soil: Use a good quality potting mix that drains well. Avoid using garden soil, as it can become compacted in containers.
* Scissors or Utility Knife: For cutting the plastic bottles. Be careful!
* Drill or Awl: To create drainage holes and a hole for hanging.
* String, Rope, or Wire: For hanging your planter. Make sure it’s strong enough to support the weight of the bottle, soil, and plants.
* Landscape Fabric or Coffee Filter: To prevent soil from falling out of the bottle neck.
* Watering Can or Hose: For watering your lettuce.
* Gloves (Optional): To keep your hands clean.
Preparing the Plastic Bottle
This is where we transform the humble plastic bottle into a functional planter. It’s surprisingly simple!
1. Clean the Bottle: Thoroughly wash the plastic bottle with soap and water to remove any residue. Rinse it well and let it dry completely. This is important to prevent any contamination of your lettuce.
2. Cut the Bottle: Using your scissors or utility knife, carefully cut the bottom off the bottle. I usually cut it about 2-3 inches from the bottom. You can discard the bottom part, or save it for another project (maybe a mini greenhouse!).
3. Create Drainage Holes: With your drill or awl, create several small drainage holes in the bottle cap. This is crucial for preventing waterlogging, which can lead to root rot. I usually make about 4-5 holes.
4. Create Hanging Holes: Drill or poke two holes near the top of the bottle, opposite each other. These holes will be used to hang your planter. Make sure the holes are large enough to accommodate your string, rope, or wire.
5. Prepare the Bottle Neck: Cut a small piece of landscape fabric or a coffee filter to fit inside the bottle neck. This will act as a barrier to prevent soil from falling out when you water your lettuce.
Planting Your Lettuce
Now for the fun part 鈥?planting your lettuce!
1. Insert the Landscape Fabric/Coffee Filter: Place the piece of landscape fabric or coffee filter inside the bottle neck, pressing it down gently. This will prevent the soil from escaping.
2. Add Soil: Slowly add potting soil to the bottle, filling it about two-thirds full. Gently tap the bottle to settle the soil.
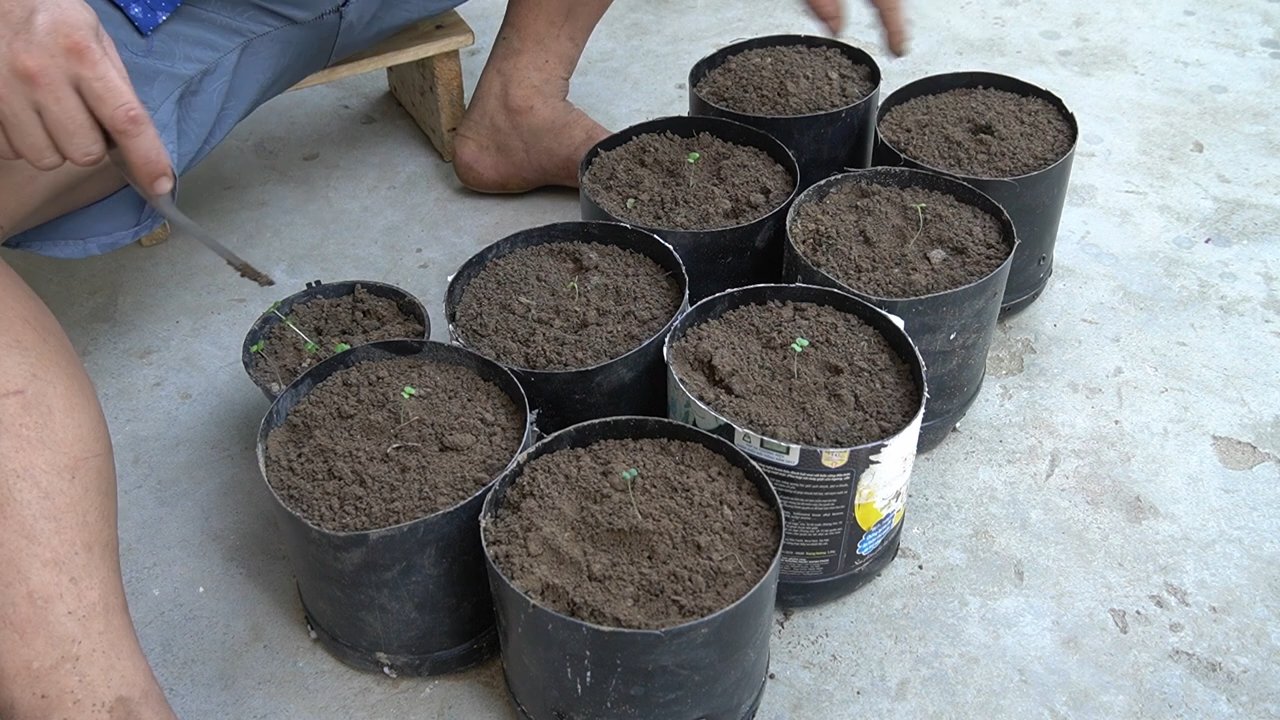
3. Plant Your Lettuce Seedlings: Carefully remove your lettuce seedlings from their containers. Gently loosen the roots and create a small hole in the soil near the bottle neck. Insert the seedling into the hole, making sure the roots are covered with soil. Repeat this process, planting several seedlings around the bottle neck. If you’re using seeds, sprinkle them evenly around the bottle neck and cover them with a thin layer of soil.
4. Fill with More Soil: Add more potting soil to the bottle, filling it almost to the top. Leave about an inch of space between the soil and the top of the bottle.
5. Water Thoroughly: Gently water your lettuce seedlings or seeds until the soil is evenly moist. Be careful not to overwater, as this can lead to root rot.
Hanging Your Planter
Almost there! Now it’s time to hang your beautiful new lettuce planter.
1. Thread the String/Rope/Wire: Thread your string, rope, or wire through the two holes you created near the top of the bottle.
2. Secure the Hanging Mechanism: Tie the ends of the string, rope, or wire together, creating a loop for hanging. Make sure the knot is secure and strong enough to support the weight of the planter.
3. Hang Your Planter: Find a sunny spot to hang your planter. A balcony railing, a porch, or even a sturdy tree branch will work. Make sure the location receives at least 6 hours of sunlight per day.
Caring for Your Lettuce
Now that your lettuce is planted and hanging, it’s important to provide it with the proper care to ensure a bountiful harvest.
1. Watering: Water your lettuce regularly, especially during hot, dry weather. Check the soil moisture by sticking your finger into the soil. If the soil feels dry to the touch, it’s time to water. Water gently, avoiding splashing water on the leaves, which can lead to fungal diseases. I usually water every other day, but this can vary depending on the weather.
2. Fertilizing: Lettuce is a relatively light feeder, but it will benefit from occasional fertilization. Use a balanced liquid fertilizer, diluted to half strength, every 2-3 weeks. Follow the instructions on the fertilizer label.
3. Sunlight: Lettuce needs at least 6 hours of sunlight per day to thrive. If you live in a hot climate, provide some afternoon shade to prevent the leaves from scorching.
4. Pest Control: Keep an eye out for pests, such as aphids, slugs, and snails. If you notice any pests, remove them by hand or use an organic pest control spray. I’ve found that a simple solution of soapy water can be effective against aphids.
5. Harvesting: You can start harvesting your lettuce leaves as soon as they are large enough to eat. Simply snip off the outer leaves with scissors, leaving the inner leaves to continue growing. This will allow you to enjoy a continuous harvest for several weeks.
Troubleshooting
Even with the best care, you might encounter some challenges along the way. Here are a few common problems and how to address them:
* Yellowing Leaves: This can be caused by overwatering, underwatering, or nutrient deficiencies. Check the soil moisture and adjust your watering schedule accordingly. If the soil is consistently wet, reduce watering. If the soil is dry, water more frequently. You can also try fertilizing with a balanced fertilizer.
* Leggy Growth: This is usually caused by insufficient sunlight. Move your planter to a sunnier location.
* Pests: As mentioned earlier, keep an eye out for pests and take action as soon as you notice them.
* Slow Growth: This can be caused by a variety of factors, including poor soil, insufficient sunlight, or cool temperatures. Make sure you’re using a good quality potting mix, providing adequate sunlight, and protecting your lettuce from frost.
Tips and Tricks
Here are a few extra tips and tricks to help you succeed with your upside-down lettuce planter:
* Choose the Right Bottle: Dark-colored bottles can absorb more heat, which can be beneficial in cooler climates. However, in hot climates, it’s best to use light-colored bottles to prevent the soil from overheating.
* Rotate Your Planter: Rotate your planter regularly to ensure that all sides receive equal sunlight.
* Succession Planting: Plant new lettuce seedlings every few weeks to ensure a continuous harvest throughout the growing season.
* Companion Planting: Consider planting other herbs or flowers alongside your lettuce. Marigolds, for example, can help repel pests.
* Enjoy Your Harvest: The best part of this project is enjoying the fresh, delicious lettuce you’ve grown yourself! Use it in salads, sandwiches, or as a garnish for your favorite dishes.
I hope you found this guide helpful! With a little bit of effort and creativity, you can create a beautiful and productive upside-down lettuce planter from recycled plastic bottles. Happy gardening!
Conclusion
So, there you have it! Transforming discarded plastic bottles into thriving lettuce planters isn’t just a quirky craft project; it’s a genuinely effective and rewarding way to grow your own fresh greens, even if you’re short on space or gardening experience. We’ve walked you through the simple steps, highlighting the benefits of this eco-friendly approach. From reducing plastic waste to enjoying the unparalleled flavor of homegrown lettuce, this DIY project offers a multitude of advantages.
But why is this DIY plastic bottle lettuce planter a must-try? Because it’s more than just a planter; it’s a statement. It’s a statement about sustainability, resourcefulness, and a commitment to fresh, healthy eating. It’s a tangible way to reduce your environmental footprint while simultaneously enhancing your culinary experience. Imagine stepping outside your door and harvesting crisp, vibrant lettuce leaves for your salad, knowing you grew them yourself in a repurposed container. That’s the power of this simple yet impactful project.
Beyond the basic design, the possibilities for customization are endless. Experiment with different types of lettuce 鈥?romaine, butterhead, spinach, or even a mesclun mix. Consider adding companion plants like herbs (basil, chives, or parsley) to deter pests and enhance the flavor of your lettuce. You can also paint the bottles to add a splash of color to your balcony or patio, turning your vertical garden into a vibrant work of art. For larger spaces, create a tiered system by stacking the bottle planters, maximizing your growing area and adding visual interest. Think about adding a self-watering system using wicks or a small reservoir at the bottom of the bottle to simplify watering, especially during hotter months.
Don’t be afraid to get creative and personalize your DIY plastic bottle lettuce planter to suit your specific needs and preferences. The beauty of this project lies in its adaptability and the opportunity to express your individual style.
We truly believe that anyone can successfully create these planters and enjoy the fruits (or rather, vegetables!) of their labor. It’s a fantastic project for families, teaching children about recycling, gardening, and healthy eating habits. It’s also a great way for apartment dwellers to experience the joy of gardening without needing a large yard.
So, what are you waiting for? Gather your empty plastic bottles, grab your gardening tools, and embark on this rewarding DIY adventure. We’re confident that you’ll be amazed at how easy and fulfilling it is to grow your own lettuce in these repurposed containers.
We encourage you to try this DIY plastic bottle lettuce planter and share your experiences with us! Post photos of your creations on social media using #DIYLettucePlanter and tag us. We can’t wait to see your innovative designs and hear about your gardening successes. Let’s inspire others to embrace sustainable practices and enjoy the deliciousness of homegrown lettuce!
Frequently Asked Questions (FAQ)
What kind of plastic bottles are best for making lettuce planters?
Ideally, you should use PET (Polyethylene Terephthalate) plastic bottles, which are commonly used for water, soda, and juice. These bottles are generally considered food-safe and durable enough to withstand outdoor conditions. Avoid using bottles that have contained harsh chemicals or cleaning products, as these may contaminate your lettuce. Make sure to thoroughly clean and rinse the bottles before using them for planting. The size of the bottle will determine how much soil you can use and therefore how large the lettuce plant can grow. Larger bottles are better for larger lettuce varieties.
How do I ensure proper drainage in my plastic bottle lettuce planter?
Drainage is crucial for healthy lettuce growth. Without proper drainage, the roots can become waterlogged and rot. To ensure adequate drainage, create several drainage holes in the bottom of the bottle. You can use a drill, a nail, or even a heated skewer to make these holes. A good rule of thumb is to create at least four to five holes, each about 录 inch in diameter. You can also add a layer of gravel or small stones at the bottom of the bottle before adding the soil to further improve drainage.
What type of soil should I use for my lettuce planters?
Lettuce thrives in well-draining, nutrient-rich soil. A good option is to use a potting mix specifically formulated for vegetables. You can also create your own soil mix by combining equal parts of potting soil, compost, and perlite or vermiculite. Compost provides essential nutrients, while perlite or vermiculite improves drainage and aeration. Avoid using garden soil, as it can be too heavy and compact, hindering root growth.
How often should I water my lettuce plants in plastic bottle planters?
The frequency of watering depends on several factors, including the weather, the type of soil, and the size of the bottle. Generally, you should water your lettuce plants when the top inch of soil feels dry to the touch. Avoid overwatering, as this can lead to root rot. During hot and dry weather, you may need to water more frequently. Check the soil moisture regularly and adjust your watering schedule accordingly. Consider using a watering can with a gentle nozzle to avoid disturbing the soil and damaging the delicate lettuce leaves.
Where should I place my plastic bottle lettuce planters?
Lettuce needs at least six hours of sunlight per day to thrive. Therefore, you should place your planters in a sunny location, such as a balcony, patio, or windowsill. If you live in a hot climate, provide some shade during the hottest part of the day to prevent the lettuce from bolting (going to seed). You can also rotate the planters regularly to ensure that all sides of the plants receive adequate sunlight.
How do I fertilize my lettuce plants in plastic bottle planters?
Lettuce plants benefit from regular fertilization. You can use a liquid fertilizer specifically formulated for vegetables, following the instructions on the label. Alternatively, you can add compost tea or worm castings to the soil every few weeks to provide a slow-release source of nutrients. Avoid over-fertilizing, as this can lead to excessive leaf growth and a bitter taste.
How do I protect my lettuce plants from pests and diseases?
Lettuce plants can be susceptible to various pests and diseases, such as aphids, slugs, and powdery mildew. To protect your plants, inspect them regularly for signs of infestation or disease. Remove any affected leaves or plants immediately. You can also use organic pest control methods, such as insecticidal soap or neem oil, to control aphids and other pests. To prevent powdery mildew, ensure good air circulation around the plants and avoid overhead watering.
How long does it take for lettuce to grow in plastic bottle planters?
The time it takes for lettuce to grow depends on the variety and the growing conditions. Generally, you can expect to harvest your lettuce leaves in about 30 to 60 days from planting. You can start harvesting the outer leaves when they are large enough to eat, allowing the inner leaves to continue growing. This cut-and-come-again method allows you to enjoy fresh lettuce for an extended period.
Can I grow other vegetables in plastic bottle planters besides lettuce?
Yes, you can grow a variety of other vegetables in plastic bottle planters, such as spinach, kale, herbs, and even small tomatoes or peppers. The key is to choose vegetables that are well-suited to container gardening and that have relatively shallow root systems. Make sure to provide adequate drainage, sunlight, and nutrients for the specific vegetables you are growing.
How do I recycle the plastic bottles after I’m done with them?
Once you’re finished using the plastic bottle planters, you can recycle them properly. Check with your local recycling program to determine the specific guidelines for recycling plastic bottles in your area. Make sure to remove any soil or debris from the bottles before placing them in the recycling bin. Alternatively, you can reuse the bottles for other purposes, such as storing craft supplies or organizing your garage.
Leave a Comment