

DIY hydroponic lettuce: Imagine harvesting crisp, fresh lettuce right from your kitchen, no matter the season! Forget battling garden pests, unpredictable weather, or trips to the grocery store for wilted greens. This isn’t some futuristic fantasy; it’s the reality you can create with a simple, at-home hydroponic system.
Hydroponics, the art of growing plants without soil, has a surprisingly rich history. While modern hydroponics took shape in the 20th century, evidence suggests that the Hanging Gardens of Babylon, one of the Seven Wonders of the Ancient World, may have utilized hydroponic principles! Cultures worldwide have experimented with soilless cultivation for centuries, proving its enduring appeal and effectiveness.
Why should you embrace this DIY adventure? Well, in today’s world, we’re all looking for ways to eat healthier, be more sustainable, and save money. Growing your own DIY hydroponic lettuce ticks all those boxes! Plus, it’s incredibly rewarding to nurture a plant from seed to salad. I’m going to show you how to build a simple, affordable hydroponic system that even a complete beginner can master. Get ready to enjoy the freshest, most delicious lettuce you’ve ever tasted, grown right in your own home!
DIY Hydroponic Salad Garden: How to Build Your Own System
Hello, dear garden friends! Do you feel like growing your own lettuce, even if you don’t have a garden? Then a hydroponic system is just the thing for you! I’ll show you how you can easily and inexpensively build your own system for crisp, fresh lettuce. No soil, no weeds, just juicy leaves straight from the windowsill! Let’s get started!
What is Hydroponics Anyway?
Before we begin, a brief explanation: Hydroponics is a cultivation method in which plants grow in a nutrient solution without soil. The roots are supplied directly with water and the necessary nutrients. This saves space, water, and often time, as you have to worry less about weeds. And the best part: the lettuce often grows faster and more lushly!
Material List: What You Need
Here is a list of all the materials you will need for your hydroponic salad garden. Don’t worry, you might already have many of them at home!
- Container: A large, opaque container (e.g., a plastic box or a bucket) with a lid. The size depends on how much lettuce you want to grow. I recommend a container with a capacity of at least 10 liters.
- Net pots: Small pots with holes or slits through which the roots can grow. You can get them at any garden center or online. The number depends on how many heads of lettuce you want to grow.
- Hydroton (clay pebbles): Small clay balls that serve as a growing medium and give the plants support. They are reusable and retain moisture.
- Nutrient solution: Special fertilizer solution for hydroponic systems. Make sure it is suitable for leafy greens.
- Air pump and airstone: A small aquarium pump and an airstone to enrich the nutrient solution with oxygen. This is important for healthy roots.
- Tubing: Suitable tubing to connect the air pump to the airstone.
- Drill and hole saw: To drill holes in the lid of the container for the net pots. The size of the hole saw must match the diameter of the net pots.
- Lettuce seeds or seedlings: Fast-growing lettuce varieties such as leaf lettuce, romaine lettuce, or batavia lettuce are best suited.
- pH meter (optional): To check and, if necessary, adjust the pH of the nutrient solution. The ideal pH for lettuce is between 5.5 and 6.5.
- EC meter (optional): To measure and control the nutrient concentration (electrical conductivity) of the nutrient solution.
- Dark foil (optional): To cover the container from the outside and prevent algae growth.
Step-by-Step Guide: How to Build Your Salad Garden
Now let’s get down to it! Follow these steps to build your own hydroponic salad garden:
- Prepare the container: Clean the container thoroughly with water and dish soap. Then rinse it well to remove all soap residue. If you like, you can cover the container from the outside with dark foil to prevent algae growth.
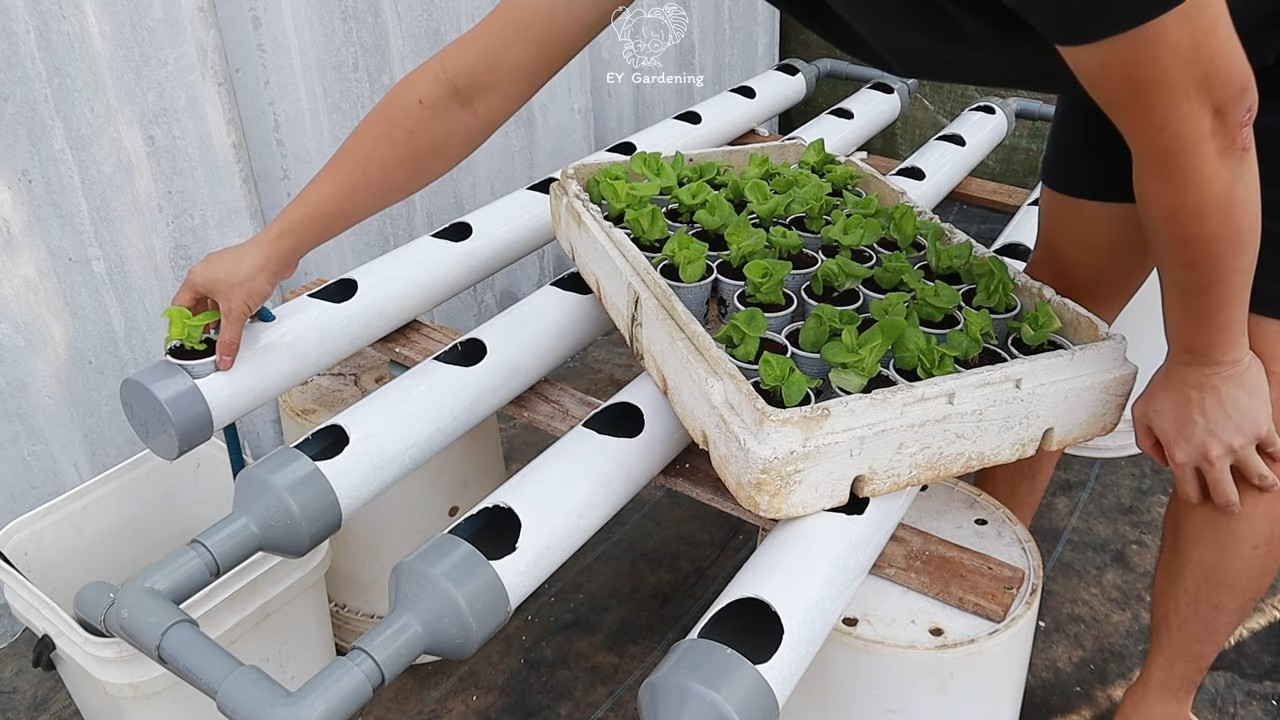
- Drill holes: Take the lid of the container and mark the spots where you want to place the net pots. Make sure there is enough space between the pots so that the lettuce plants have enough room to grow. Use the hole saw to drill holes in the lid that match the diameter of the net pots. The pots should fit snugly in the holes.
- Install the air pump: Connect the air pump to the airstone using the tubing. Place the airstone in the container. The air pump should be placed outside the container to protect it from moisture.
- Prepare the nutrient solution: Fill the container with water. Add the nutrient solution according to the manufacturer’s instructions. Stir the solution well until the fertilizer is completely dissolved. Check the pH of the solution with a pH meter and adjust it if necessary.
- Fill the net pots: Rinse the hydroton pebbles thoroughly with water to remove dust and dirt. Fill the net pots with the hydroton pebbles.
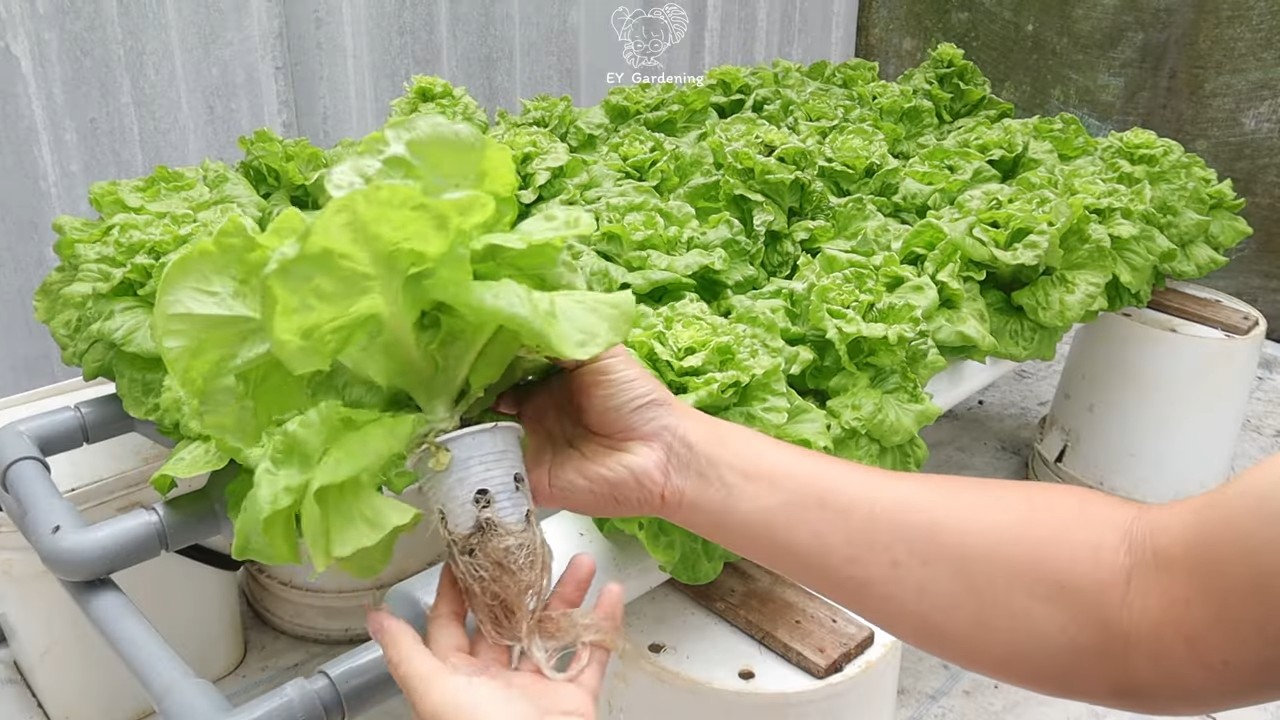
- Plant the lettuce: If you are using lettuce seeds, sow them directly into the net pots. Make sure the seeds stay moist. If you are using seedlings, gently place them in the net pots and fill the remaining space with hydroton.
- Put the lid on: Place the lid with the net pots on the container. Make sure the roots of the lettuce plants are submerged in the nutrient solution.
- Lighting: Place the salad garden in a bright spot, for example, on a windowsill. If daylight is not sufficient, you can use a grow light as well.
- Care: Regularly check the water level in the container and refill it as needed. Also, check the pH and nutrient concentration of the solution and adjust them if necessary. Change the nutrient solution completely every few weeks.
Tips and Tricks for a Successful Salad Garden
- The right lettuce variety: Choose lettuce varieties that grow quickly and are well-suited for cultivation in hydroponic systems. Leaf lettuce, romaine lettuce, and batavia lettuce are good options.
- Lighting: Lettuce needs a lot of light to grow well. If you don’t have a sunny spot, use a grow light.
- Aeration: The air pump and airstone are important for enriching the nutrient solution with oxygen. A lack of oxygen can lead to root rot.
- Nutrient solution: Use a high-quality nutrient solution specially developed for hydroponic systems. Make sure it contains all the necessary nutrients for lettuce.
- pH value: The ideal pH for lettuce is between 5.5 and 6.5. Check the pH regularly and adjust it if necessary with pH Up or pH Down solutions.
- EC value: The EC value (electrical conductivity) provides information about the nutrient concentration in the solution. The optimal EC value for lettuce is between 1.2 and 1.6 mS/cm.
- Algae growth: Algae can grow in the nutrient solution and impair the plants’ nutrient uptake. To prevent algae growth, you can cover the container from the outside with dark foil and change the nutrient solution regularly.
- Pests: Pests can also occur in hydroponic systems. Check your plants regularly for pests and, if necessary, combat them with biological means.
- Harvest: You can harvest the lettuce as soon as the leaves are large enough. Pick the outer leaves and let the inner leaves continue to grow. This allows you to harvest over a longer period.
Common Problems and Solutions
Algae growth: Algae can be prevented by using an opaque container and changing the nutrient solution regularly.
Yellow leaves: Yellow leaves can be a sign of a nutrient deficiency. Check the nutrient concentration of the solution and adjust it if necessary.
Root rot: Root rot is caused by a lack of oxygen. Make sure the air pump and airstone are working properly and are introducing enough oxygen into the solution.
Conclusion
So, there you have it! Creating your own DIY hydroponic lettuce system isn’t just a fun project; it’s a gateway to fresh, delicious greens right at your fingertips. Forget those wilted, overpriced heads of lettuce from the grocery store. With a little ingenuity and some readily available materials, you can cultivate a thriving lettuce garden indoors or out, regardless of your space constraints or gardening experience.
The beauty of this DIY hydroponic lettuce method lies in its simplicity and adaptability. It’s a fantastic way to recycle materials, reduce your carbon footprint, and gain a deeper understanding of how plants grow. Plus, the satisfaction of harvesting your own food is truly unparalleled. Imagine the crisp, vibrant salads you can create, knowing that every leaf was nurtured by your own hands.
But the benefits extend beyond just fresh lettuce. Hydroponics uses significantly less water than traditional soil-based gardening, making it an environmentally conscious choice. It also eliminates the need for harmful pesticides and herbicides, ensuring that your lettuce is as pure and healthy as possible. And because you’re in control of the growing environment, you can optimize conditions for faster growth and higher yields.
Don’t be afraid to experiment with different lettuce varieties. Romaine, butterhead, loose-leaf – they all thrive in hydroponic systems. You can also adjust the nutrient solution to fine-tune the flavor and texture of your lettuce. Consider adding companion plants like basil or chives to your hydroponic setup for added flavor and pest control.
Ready to take the plunge? We wholeheartedly encourage you to try this DIY hydroponic lettuce project. It’s a rewarding experience that will transform the way you think about food and gardening. And once you’ve tasted the difference between store-bought lettuce and your own homegrown greens, you’ll never look back.
We’re eager to hear about your experiences! Share your photos, tips, and challenges in the comments below. Let’s build a community of hydroponic lettuce enthusiasts and inspire others to embrace this sustainable and delicious way of growing food. Your insights could be invaluable to someone just starting out. So, get your hands dirty (or rather, wet!) and start growing your own hydroponic lettuce today. You won’t regret it!
Frequently Asked Questions (FAQ)
What exactly is hydroponics, and why is it good for growing lettuce?
Hydroponics is a method of growing plants without soil, using mineral nutrient solutions in water. It’s excellent for lettuce because it allows for faster growth, higher yields, and reduced water consumption compared to traditional soil-based gardening. Lettuce roots have direct access to the nutrients they need, and you can control the growing environment to optimize conditions. This means less waste, fewer pests, and fresher, more flavorful lettuce.
What kind of lettuce grows best in a DIY hydroponic system?
Many lettuce varieties thrive in hydroponic systems. Loose-leaf varieties like Black Seeded Simpson and Red Sails are particularly well-suited because they mature quickly and can be harvested continuously. Romaine lettuce also does well, providing crisp, sturdy leaves for salads. Butterhead varieties like Bibb and Buttercrunch are another excellent choice, offering a delicate flavor and tender texture. Experiment with different varieties to find your favorites!
What kind of nutrient solution should I use for my hydroponic lettuce?
A balanced hydroponic nutrient solution specifically formulated for leafy greens is ideal. Look for solutions that contain essential macronutrients like nitrogen, phosphorus, and potassium, as well as micronutrients like iron, manganese, and zinc. You can find these solutions at most garden centers or online retailers. Follow the manufacturer’s instructions carefully when mixing the solution, as the correct concentration is crucial for healthy growth. It is important to monitor the pH of the nutrient solution regularly and adjust it as needed to maintain a range of 5.5 to 6.5 for optimal nutrient absorption.
How often should I change the nutrient solution in my hydroponic system?
The frequency of nutrient solution changes depends on the size of your system and the growth rate of your lettuce. As a general rule, change the solution every 1-2 weeks. However, if you notice the solution becoming cloudy or discolored, or if your lettuce shows signs of nutrient deficiency, it’s best to change it more frequently. Regularly monitoring the pH and EC (electrical conductivity) of the solution can help you determine when a change is needed.
How much light does my hydroponic lettuce need?
Lettuce requires ample light to thrive in a hydroponic system. Aim for at least 12-14 hours of light per day. If you’re growing indoors, you’ll likely need to supplement natural light with artificial grow lights. LED grow lights are a popular choice because they are energy-efficient and provide the full spectrum of light that plants need. Position the lights close enough to the lettuce to provide adequate illumination, but not so close that they burn the leaves.
Can I use tap water for my hydroponic system?
While tap water can be used, it’s best to test it first to ensure it’s suitable for hydroponics. High levels of chlorine or chloramine can be harmful to plants. If your tap water contains these chemicals, you can let it sit out for 24 hours to allow them to dissipate. Alternatively, you can use a water filter to remove these impurities. Rainwater is an excellent option for hydroponics, as it’s naturally soft and free of chemicals.
How do I prevent algae growth in my hydroponic system?
Algae growth can be a common problem in hydroponic systems, especially those exposed to sunlight. To prevent algae, keep the nutrient solution covered and shielded from light as much as possible. Opaque containers are ideal for this purpose. You can also add a small amount of hydrogen peroxide to the nutrient solution to inhibit algae growth. Regularly cleaning the system and removing any visible algae is also important.
What are some common problems I might encounter with my DIY hydroponic lettuce, and how do I fix them?
Some common problems include nutrient deficiencies, pest infestations, and root rot. Nutrient deficiencies can be identified by yellowing or browning leaves. Adjust the nutrient solution accordingly. Pest infestations can be treated with organic pesticides or by introducing beneficial insects. Root rot is caused by overwatering or poor aeration. Ensure proper drainage and aeration in your system, and avoid overwatering. Regularly inspect your lettuce for any signs of problems and address them promptly to prevent them from escalating.
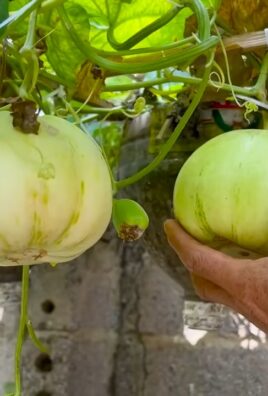
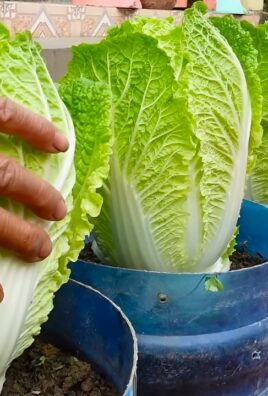
Can I grow other vegetables besides lettuce in my hydroponic system?
Yes, many other vegetables can be grown hydroponically, including herbs, tomatoes, peppers, cucumbers, and strawberries. However, different vegetables have different nutrient requirements and growing conditions. Research the specific needs of each vegetable before attempting to grow it in your hydroponic system. You may need to adjust the nutrient solution, lighting, and temperature to accommodate different plants.
How do I harvest my hydroponic lettuce?
Harvesting hydroponic lettuce is easy. For loose-leaf varieties, you can simply snip off the outer leaves as needed, allowing the plant to continue growing. For head lettuce varieties, wait until the head is fully formed and then cut it off at the base. Rinse the lettuce thoroughly before eating. Hydroponic lettuce tends to be very tender and flavorful, so enjoy it fresh in salads, sandwiches, or wraps.

Leave a Comment