

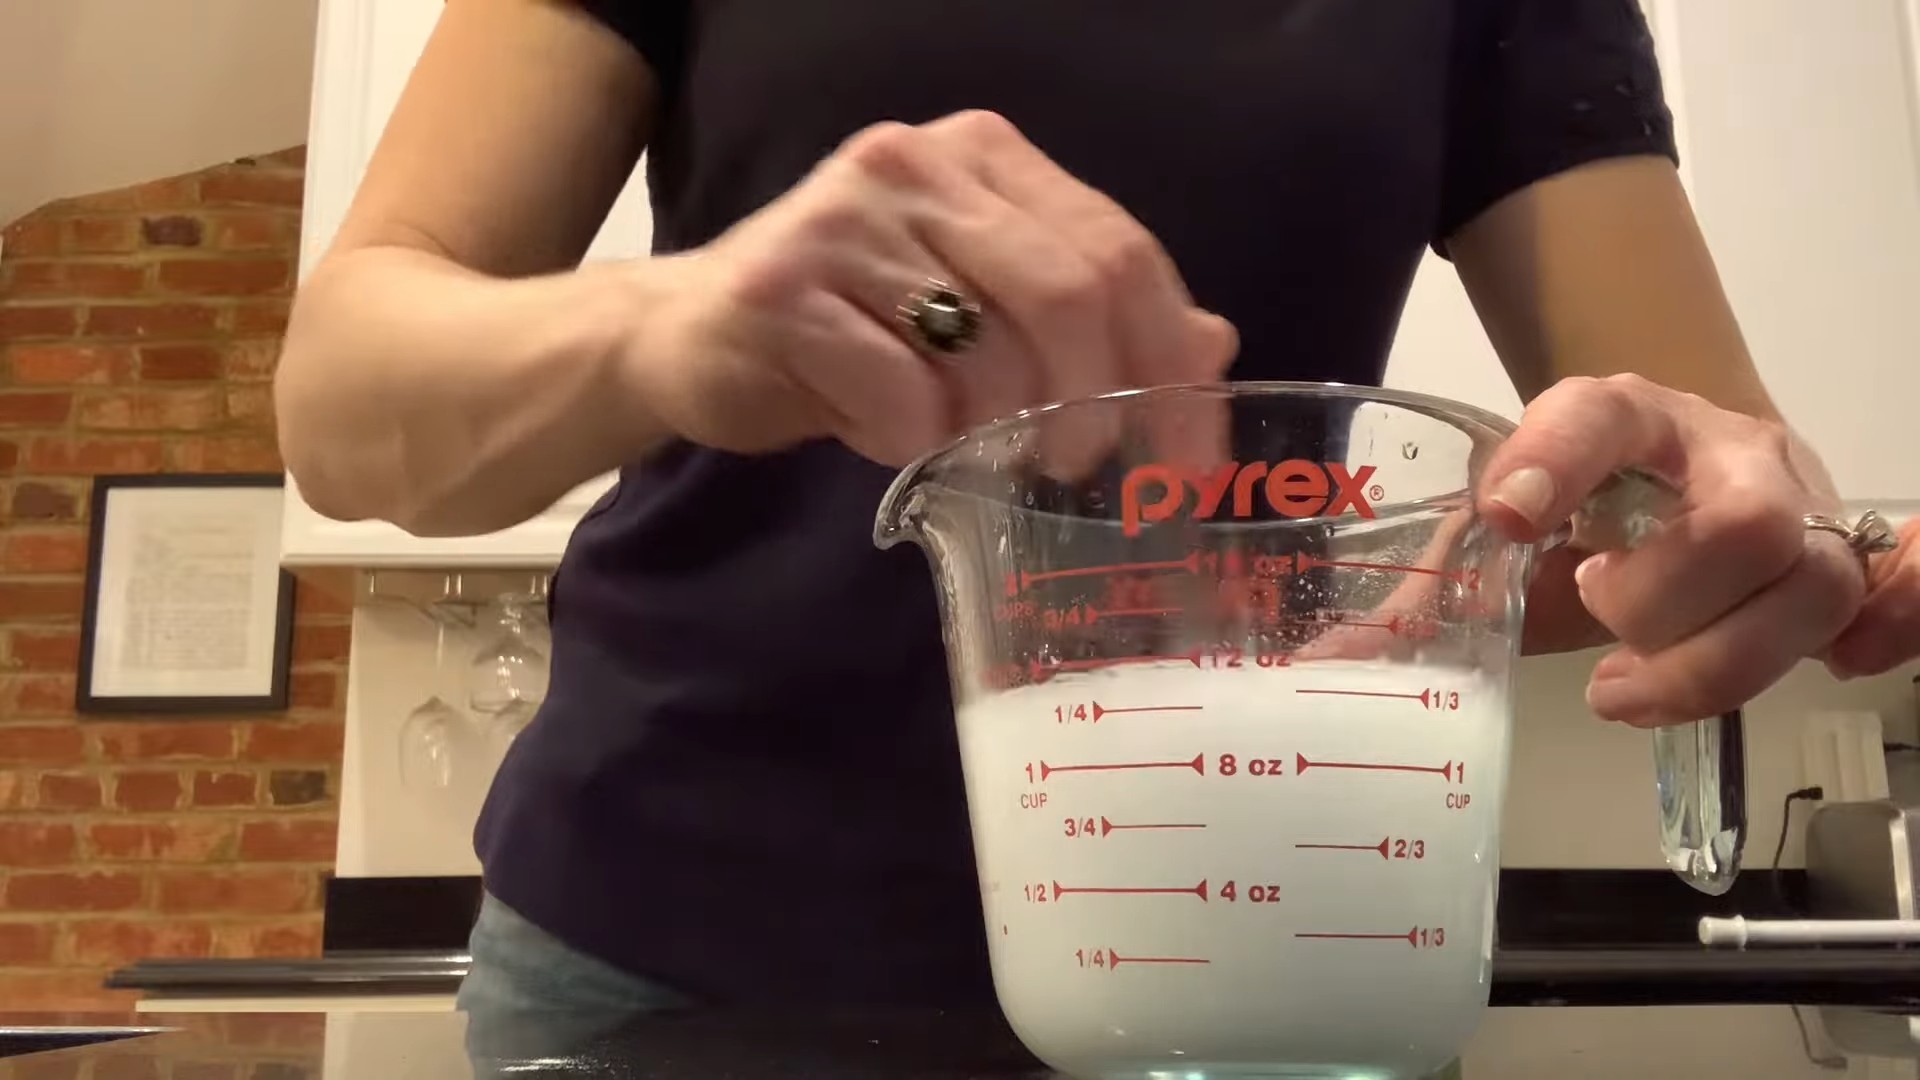
DIY Cleaning Products: Unlock the secrets to a sparkling home without breaking the bank or exposing your family to harsh chemicals! Have you ever wondered if there’s a better, more natural way to keep your living space clean and fresh? I know I have! For generations, our grandmothers relied on simple, readily available ingredients like vinegar, baking soda, and lemon juice to maintain spotless homes. This wasn’t just about saving money; it was about respecting the environment and prioritizing the health of their families.
Today, we’re bombarded with countless commercial cleaning products, many of which contain ingredients that can be harmful to our health and the planet. That’s why I’m so excited to share these amazing DIY cleaning products and hacks with you. Not only will you save a ton of money, but you’ll also gain peace of mind knowing exactly what’s going into the solutions you’re using around your home. From tackling stubborn stains to creating refreshing air fresheners, these easy-to-follow recipes will empower you to create a healthier, happier living environment. Let’s ditch the harsh chemicals and embrace the power of natural cleaning!
Grow Your Own Cilantro Indoors: A Beginner’s Guide
Hey there, fellow plant enthusiasts! Are you tired of buying cilantro at the grocery store only to have it wilt away in your fridge within days? I feel you! That’s why I decided to take matters into my own hands and learn how to grow my own cilantro indoors. And guess what? It’s totally doable, even if you don’t have a green thumb! I’m going to walk you through everything you need to know to have a thriving cilantro patch right in your kitchen.
What You’ll Need
Before we dive into the nitty-gritty, let’s gather our supplies. Here’s a checklist of everything you’ll need to get started:
* **Cilantro Seeds:** You can find these at most garden centers or online. Make sure you’re getting seeds specifically for cilantro (also known as coriander).
* **Potting Mix:** Use a well-draining potting mix. Avoid using garden soil, as it can compact and not provide adequate drainage.
* **Pots:** Choose pots that are at least 6 inches deep and have drainage holes. Cilantro needs room for its roots to grow.
* **Grow Lights (Optional but Recommended):** Cilantro needs a lot of light, so if you don’t have a sunny windowsill, grow lights are a must.
* **Watering Can or Spray Bottle:** For gentle watering.
* **Small Shovel or Trowel:** For planting the seeds.
* **Seed Starting Tray (Optional):** If you want to start your seeds indoors before transplanting.
Choosing the Right Location
Location, location, location! Just like real estate, the right spot is crucial for your cilantro’s success.
* Sunlight is Key: Cilantro needs at least 6 hours of sunlight per day. A south-facing window is ideal.
* Supplement with Grow Lights: If you don’t have enough natural light, invest in some grow lights. Place them a few inches above the plants and keep them on for 12-14 hours a day.
* Temperature Matters: Cilantro prefers cooler temperatures, ideally between 60-70°F (15-21°C). Avoid placing your plants near heat sources like radiators.
Planting Your Cilantro Seeds
Alright, let’s get our hands dirty! Here’s how to plant your cilantro seeds:
1. **Prepare Your Pots:** Fill your pots with potting mix, leaving about an inch of space at the top. Gently pat down the soil.
2. **Sow the Seeds:** Sprinkle the cilantro seeds evenly over the surface of the soil. You can plant several seeds in each pot, as not all of them will germinate.
3. **Cover the Seeds:** Lightly cover the seeds with a thin layer of potting mix (about ¼ inch).
4. **Water Gently:** Water the soil gently using a watering can or spray bottle. Make sure the soil is moist but not waterlogged.
5. **Provide Humidity:** Cover the pots with plastic wrap or a humidity dome to create a humid environment. This will help the seeds germinate.
6. **Place in a Warm Location:** Place the pots in a warm location, around 70-75°F (21-24°C).
7. **Wait for Germination:** Cilantro seeds typically germinate in 7-10 days. Once the seedlings emerge, remove the plastic wrap or humidity dome.
Caring for Your Cilantro Plants
Now that your cilantro is growing, it’s important to provide it with the right care.
1. **Watering:** Water your cilantro plants regularly, keeping the soil consistently moist but not soggy. Check the soil moisture by sticking your finger into the soil. If the top inch feels dry, it’s time to water.
2. **Fertilizing:** Feed your cilantro plants with a balanced liquid fertilizer every 2-3 weeks. Follow the instructions on the fertilizer label.
3. **Thinning:** Once the seedlings are a few inches tall, thin them out so that there are only a few plants per pot. This will give the remaining plants more room to grow.
4. **Pinching:** Pinch off the top leaves of the plants to encourage bushier growth. This will also delay bolting (going to seed).
5. **Prevent Bolting:** Cilantro is prone to bolting, especially in hot weather. To prevent bolting, keep the plants cool and well-watered. You can also try growing cilantro in a shadier location during the summer months.
6. **Pest Control:** Keep an eye out for pests like aphids and spider mites. If you see any pests, treat them with insecticidal soap or neem oil.
Harvesting Your Cilantro
The best part! Harvesting your own fresh cilantro is so rewarding.
1. **When to Harvest:** You can start harvesting cilantro leaves when the plants are about 6-8 inches tall.
2. **How to Harvest:** Use scissors or pruning shears to cut off the outer leaves of the plant. Avoid cutting off more than one-third of the plant at a time.
3. **Regular Harvesting:** Regular harvesting will encourage the plant to produce more leaves.
4. **Bolting:** Once the plant starts to bolt (produce flower stalks), the leaves will become bitter. If your cilantro bolts, you can still harvest the seeds (coriander) for use in cooking.
Troubleshooting Common Problems
Even with the best care, you might encounter some problems along the way. Here are some common issues and how to fix them:
* **Yellowing Leaves:** This could be a sign of overwatering, underwatering, or nutrient deficiency. Adjust your watering schedule and fertilize your plants regularly.
* **Leggy Growth:** This is usually caused by insufficient light. Move your plants to a sunnier location or supplement with grow lights.
* **Bolting:** As mentioned earlier, bolting is a common problem with cilantro. Keep the plants cool and well-watered, and pinch off the top leaves to delay bolting.
* **Pests:** Check your plants regularly for pests and treat them promptly with insecticidal soap or neem oil.
Extending Your Cilantro Harvest
Want to keep the cilantro coming? Here are a few tips to extend your harvest:
* **Succession Planting:** Plant new seeds every few weeks to ensure a continuous supply of cilantro.
* **Cool Temperatures:** Cilantro thrives in cooler temperatures, so try to keep your plants in a cool location.
* **Shade:** During the summer months, provide your cilantro plants with some shade to prevent bolting.
* **Harvest Regularly:** Regular harvesting will encourage the plant to produce more leaves and delay bolting.
Starting Seeds vs. Buying Seedlings
You have two main options: starting from seed or buying seedlings. Here’s a quick comparison:
* **Starting from Seed:** This is the more economical option, and it allows you to choose from a wider variety of cilantro varieties. However, it requires more time and effort.
* **Buying Seedlings:** This is the easier option, as you can skip the germination process. However, it can be more expensive, and you may not have as many choices.
Personally, I prefer starting from seed because I find it more rewarding and cost-effective. Plus, I love watching the little seedlings emerge!
Choosing the Right Cilantro Variety
Did you know there are different varieties of cilantro? Here are a few popular ones:
* **Slow Bolt:** As the name suggests, this variety is more resistant to bolting.
* **Santo:** This is a popular variety that is known for its strong flavor.
* **Calypso:** This variety is also slow to bolt and has a mild flavor.
Experiment with different varieties to find one that you like best!
Using Your Homegrown Cilantro
Now for the fun part: using your homegrown cilantro! Here are just a few ideas:
* **Salsa:** Cilantro is a key ingredient in salsa.
* **Guacamole:** Add some fresh cilantro to your guacamole for extra flavor.
* **Tacos:** Sprinkle cilantro on your tacos for a fresh, herbaceous touch.
* **Soups and Stews:** Cilantro adds a bright, fresh flavor to soups and stews.
* **Salads:** Add cilantro to your salads for a unique flavor.
* **Pesto:** Make cilantro pesto for a delicious and flavorful sauce.
The possibilities are endless!
Saving Cilantro Seeds
If you let your cilantro bolt, you can harvest the seeds (coriander) for use in cooking or for planting next year. Here’s how:
1. **Allow the Plant to Bolt:** Let the cilantro plant flower and produce seeds.
2. **Harvest the Seeds:** Once the seed pods are dry and brown, cut off the entire seed head.
3. **Dry the Seeds:** Place the seed heads in a paper bag and let them dry for a few weeks.
4. **Separate the Seeds:** Once the seed heads are dry, shake the bag to separate the seeds.

Conclusion
So, there you have it! Ditching the harsh chemicals and embracing the power of DIY cleaning products is not just a trend; it’s a conscious choice for a healthier home, a happier planet, and a lighter wallet. We’ve explored some fantastic recipes that are incredibly effective, surprisingly simple to make, and customizable to your specific needs and preferences.
Why is this a must-try? Because you’re taking control. You know exactly what’s going into your cleaning solutions, eliminating the mystery ingredients and potential irritants found in many commercial products. You’re reducing your reliance on single-use plastics by refilling your own bottles. And you’re saving money – often a significant amount – by using readily available, inexpensive ingredients.
But the benefits extend beyond the practical. There’s a certain satisfaction that comes from creating something yourself, from knowing you’re contributing to a cleaner, greener lifestyle. It’s empowering to realize you don’t need to rely on corporations to keep your home sparkling.
Don’t be afraid to experiment! Love the scent of lavender? Add a few extra drops of essential oil to your all-purpose cleaner. Prefer a stronger degreaser for your kitchen? Increase the ratio of vinegar in your dish soap. The beauty of DIY is its adaptability. You can tailor these recipes to perfectly suit your cleaning style and the specific challenges of your home.
Consider these variations:
* Citrus Power: Infuse your vinegar with citrus peels (lemon, orange, grapefruit) for a week or two before using it in your cleaners. This adds a refreshing scent and boosts its cleaning power.
* Herbal Infusion: Similarly, you can infuse vinegar with herbs like rosemary, thyme, or mint for a unique and aromatic cleaning experience.
* Baking Soda Boost: For extra scrubbing power, create a paste of baking soda and water to tackle stubborn stains on sinks, ovens, and tile grout.
* Essential Oil Blends: Research different essential oil combinations to create custom scents and cleaning properties. Tea tree oil is known for its antibacterial properties, while eucalyptus oil is great for disinfecting.
We truly believe that once you experience the effectiveness and simplicity of these DIY cleaning products, you’ll never go back to store-bought alternatives. The peace of mind knowing you’re using safe, natural ingredients is priceless.
So, what are you waiting for? Gather your ingredients, grab your spray bottles, and get ready to transform your cleaning routine. We’re confident you’ll be amazed by the results.
And most importantly, we want to hear about your experience! Share your favorite recipes, variations, and cleaning tips in the comments below. Let’s build a community of DIY cleaning enthusiasts and inspire others to embrace a healthier, more sustainable way of life. Let us know what worked best for you, any challenges you faced, and any creative solutions you discovered. Your feedback is invaluable and will help us refine these recipes and provide even better resources for our readers. Happy cleaning!
Frequently Asked Questions (FAQ)
Are DIY cleaning products as effective as store-bought cleaners?
Yes, in many cases, DIY cleaning products can be just as effective, if not more so, than their store-bought counterparts. The key is understanding the properties of the ingredients you’re using. For example, vinegar is a powerful disinfectant and degreaser, while baking soda is an excellent abrasive cleaner and deodorizer. Essential oils can add antibacterial and antiviral properties, as well as pleasant scents. While some heavy-duty cleaning tasks might require specialized commercial products, for everyday cleaning, DIY solutions are often more than sufficient. The effectiveness also depends on the specific recipe and the type of surface you’re cleaning. Experiment and find what works best for you!
What are the best essential oils to use in DIY cleaning products?
The best essential oils for DIY cleaning products depend on your desired scent and cleaning properties. Some popular choices include:
* Tea Tree Oil: Known for its antibacterial, antiviral, and antifungal properties. Great for disinfecting surfaces.
* Lavender Oil: Has a calming scent and possesses antiseptic and antibacterial properties.
* Lemon Oil: A powerful degreaser and disinfectant with a refreshing citrus scent.
* Eucalyptus Oil: Has antiseptic and antiviral properties and a strong, invigorating scent.
* Peppermint Oil: A natural insect repellent and has a refreshing, energizing scent.
* Orange Oil: Similar to lemon oil, a great degreaser and disinfectant with a sweet citrus scent.
Always dilute essential oils properly before using them, and be mindful of potential allergies or sensitivities.
How should I store my DIY cleaning products?
Store your DIY cleaning products in clean, labeled spray bottles or containers. It’s important to label them clearly to avoid confusion, especially if you have children or pets. Keep them out of reach of children and pets, just as you would with commercial cleaning products. Store them in a cool, dark place to preserve their effectiveness. Some recipes, like those containing fresh ingredients (e.g., citrus peels), may have a shorter shelf life than others. Generally, DIY cleaning products will last for several weeks to a few months. If you notice any changes in color, smell, or consistency, it’s best to discard the product and make a fresh batch.
Are DIY cleaning products safe for all surfaces?
While most DIY cleaning products are safe for a wide range of surfaces, it’s always a good idea to test them in an inconspicuous area first, especially on delicate or sensitive materials like marble, granite, or wood. Avoid using vinegar on natural stone surfaces, as it can etch and damage them. Baking soda can be abrasive, so use it with caution on delicate surfaces. Always read the labels of your commercial cleaning products and compare the ingredients to your DIY recipes to ensure compatibility.
Can I use DIY cleaning products if I have allergies or sensitivities?
If you have allergies or sensitivities, it’s crucial to carefully consider the ingredients in your DIY cleaning products. Avoid using essential oils or other ingredients that you know you’re allergic to. You can also perform a patch test on a small area of skin before using the product on a larger surface. If you experience any irritation, discontinue use immediately. When in doubt, consult with a doctor or allergist before using DIY cleaning products.
How can I make my DIY cleaning products more eco-friendly?
There are several ways to make your DIY cleaning products even more eco-friendly:
* Use sustainable ingredients: Choose ingredients that are sustainably sourced and produced.
* Refill and reuse: Use reusable spray bottles and containers to reduce plastic waste.
* Compost food scraps: Compost citrus peels and other food scraps instead of throwing them away.
* Buy in bulk: Purchase ingredients like vinegar and baking soda in bulk to reduce packaging waste.
* Dispose of waste responsibly: Dispose of any leftover cleaning products or ingredients responsibly, following local regulations.
What do I do if my DIY cleaner doesn’t smell good?
The beauty of DIY cleaners is that you can customize the scent! If you don’t like the smell of your cleaner, try adding different essential oils or adjusting the ratios. For example, if you find the vinegar smell too strong, add more essential oils or infuse the vinegar with citrus peels. You can also try using a different type of vinegar, such as apple cider vinegar, which has a milder scent. Experiment until you find a scent that you enjoy.
Are there any cleaning tasks that DIY products aren’t suitable for?
While DIY cleaning products are effective for many cleaning tasks, there are some situations where commercial products may be necessary. For example, removing stubborn stains from carpets or upholstery, cleaning heavily soiled ovens, or disinfecting areas contaminated with serious illnesses may require stronger, specialized cleaners. It’s important to assess the specific cleaning task and choose the appropriate product for the job.


Leave a Comment