

Container Radish Growing Easy? Absolutely! Imagine plucking crisp, peppery radishes straight from your patio, balcony, or even your kitchen windowsill. Sounds dreamy, right? Well, it’s totally achievable, even if you’re a complete beginner. For centuries, radishes have been a staple in gardens worldwide, prized for their quick growth and vibrant flavor. From ancient Egypt, where they were a common food for laborers building the pyramids, to modern-day salads, radishes have a rich history.
But let’s be honest, not everyone has the space or time for a sprawling garden. That’s where the magic of container gardening comes in! I’m here to show you how incredibly simple and rewarding container radish growing easy can be. Forget back-breaking labor and endless weeding. With a few simple supplies and these easy-to-follow DIY tricks, you’ll be harvesting your own delicious radishes in just a few weeks. Why buy them at the store when you can grow your own, knowing exactly what went into them? Let’s get started and turn that empty container into a radish-producing powerhouse!
Grow Radishes Like a Pro: A Beginner’s Guide to Container Gardening
Hey there, fellow gardening enthusiasts! Ever dreamt of harvesting your own crisp, peppery radishes right from your balcony or patio? Well, dream no more! Growing radishes in containers is surprisingly easy and rewarding, even if you’re a complete beginner. I’m going to walk you through every step, from choosing the right container to enjoying your delicious harvest. Let’s get our hands dirty!
Choosing the Right Container and Soil
Before we even think about seeds, we need to set the stage for success. This means picking the perfect container and filling it with the right kind of soil.
* Container Size: Radishes don’t need a ton of space, but they do need some depth. I recommend a container that’s at least 6 inches deep. A wider container is better than a taller one, as it allows for more radishes to grow side-by-side. A container that’s 12 inches in diameter should be perfect for a small harvest.
* Drainage: This is crucial! Radishes hate soggy feet. Make sure your container has plenty of drainage holes at the bottom. If it doesn’t, you can drill some yourself.
* Material: Plastic, terracotta, ceramic – the material doesn’t matter too much, as long as it has good drainage. I personally like terracotta pots because they’re breathable and look great, but plastic is a more budget-friendly option.
* Soil: Forget about using garden soil straight from your backyard. It’s often too heavy and doesn’t drain well. Instead, opt for a high-quality potting mix. I prefer a mix that’s light, airy, and well-draining. You can even amend it with some compost for added nutrients.
Planting Your Radish Seeds
Now for the fun part – planting those tiny seeds!
1. Fill Your Container: Fill your chosen container with your potting mix, leaving about an inch of space at the top. Gently pat down the soil to remove any large air pockets.
2. Sow the Seeds: Radish seeds are small, so handle them carefully. Sprinkle the seeds evenly across the surface of the soil, spacing them about an inch apart. You can also create shallow furrows (about ½ inch deep) and sow the seeds in rows.
3. Cover the Seeds: Lightly cover the seeds with a thin layer of potting mix. You don’t want to bury them too deep, as this can prevent them from germinating.
4. Water Gently: Use a watering can with a gentle rose attachment to water the soil thoroughly. You want to moisten the soil without disturbing the seeds.
5. Label Your Container: Don’t forget to label your container with the type of radish you’re growing and the date you planted them. This will help you keep track of your progress.
Caring for Your Radish Plants
Radishes are relatively low-maintenance, but they do need a little TLC to thrive.
* Watering: Keep the soil consistently moist, but not soggy. Water deeply whenever the top inch of soil feels dry to the touch. Avoid overwatering, as this can lead to root rot. I usually check the soil moisture every day and water as needed.
* Sunlight: Radishes need at least 6 hours of sunlight per day. Place your container in a sunny spot on your balcony, patio, or windowsill. If you don’t have enough natural light, you can supplement with a grow light.
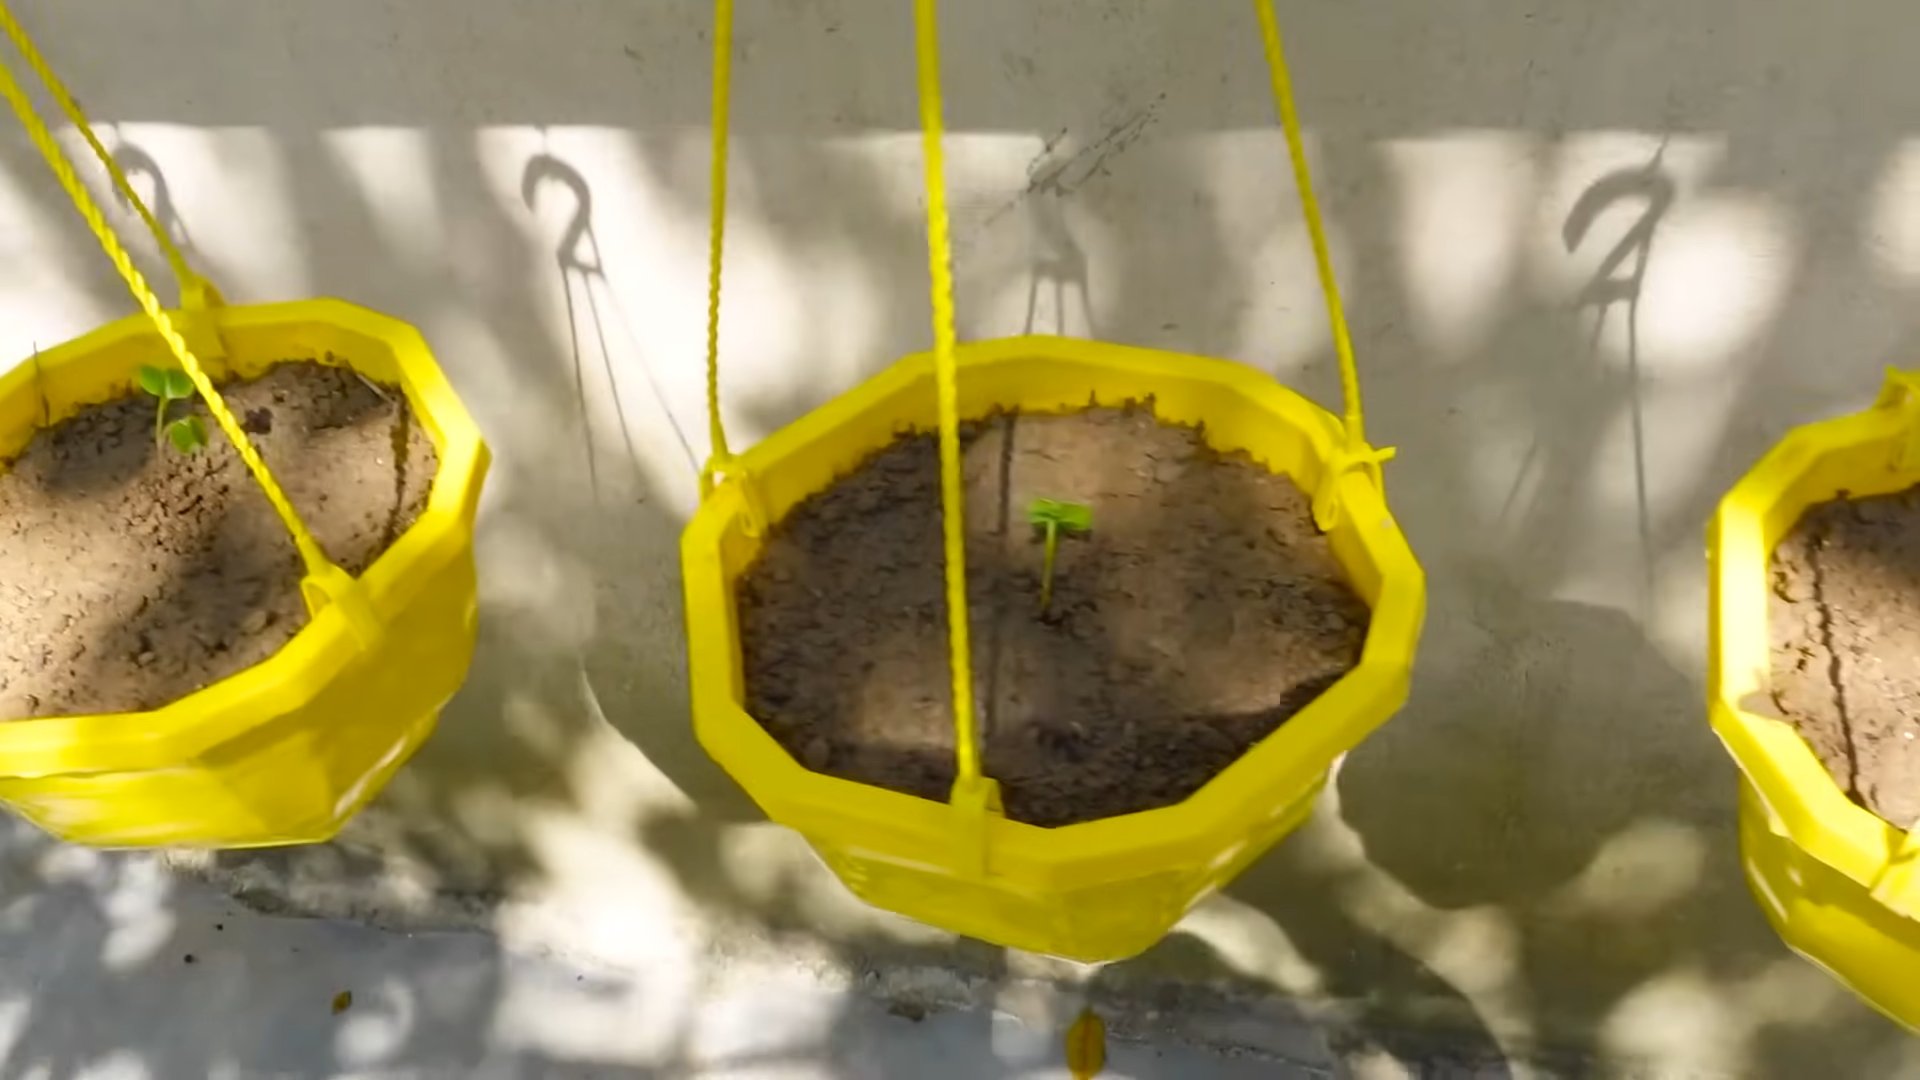
* Thinning: Once your radish seedlings emerge (usually within a few days), you’ll need to thin them out. This means removing some of the seedlings to give the remaining ones enough space to grow. Thin the seedlings so that they are about 1-2 inches apart. Don’t just pull them out – gently snip them off at the soil line to avoid disturbing the roots of the remaining plants.
* Fertilizing: Radishes don’t need a lot of fertilizer, but a light feeding can help them grow faster and produce larger roots. I like to use a balanced liquid fertilizer diluted to half strength. Apply the fertilizer every 2-3 weeks.
* Weed Control: Keep an eye out for weeds and remove them promptly. Weeds can compete with your radish plants for nutrients and water.
Dealing with Pests and Diseases
Radishes are generally pest-resistant, but they can sometimes be affected by flea beetles or aphids.
* Flea Beetles: These tiny beetles can chew small holes in the leaves of your radish plants. To control flea beetles, you can cover your plants with row covers or spray them with insecticidal soap.
* Aphids: These small, sap-sucking insects can weaken your radish plants. You can control aphids by spraying them with a strong stream of water or by using insecticidal soap.
* Root Rot: This fungal disease can cause the roots of your radish plants to rot. To prevent root rot, make sure your soil is well-draining and avoid overwatering.
Harvesting Your Radishes
The best part of growing radishes is, of course, harvesting them!
1. Check for Maturity: Radishes are typically ready to harvest in 3-4 weeks, depending on the variety. Check the seed packet for specific maturity dates.
2. Look for Size: The size of the radish root is a good indicator of maturity. Most radish varieties are ready to harvest when the roots are about 1 inch in diameter.
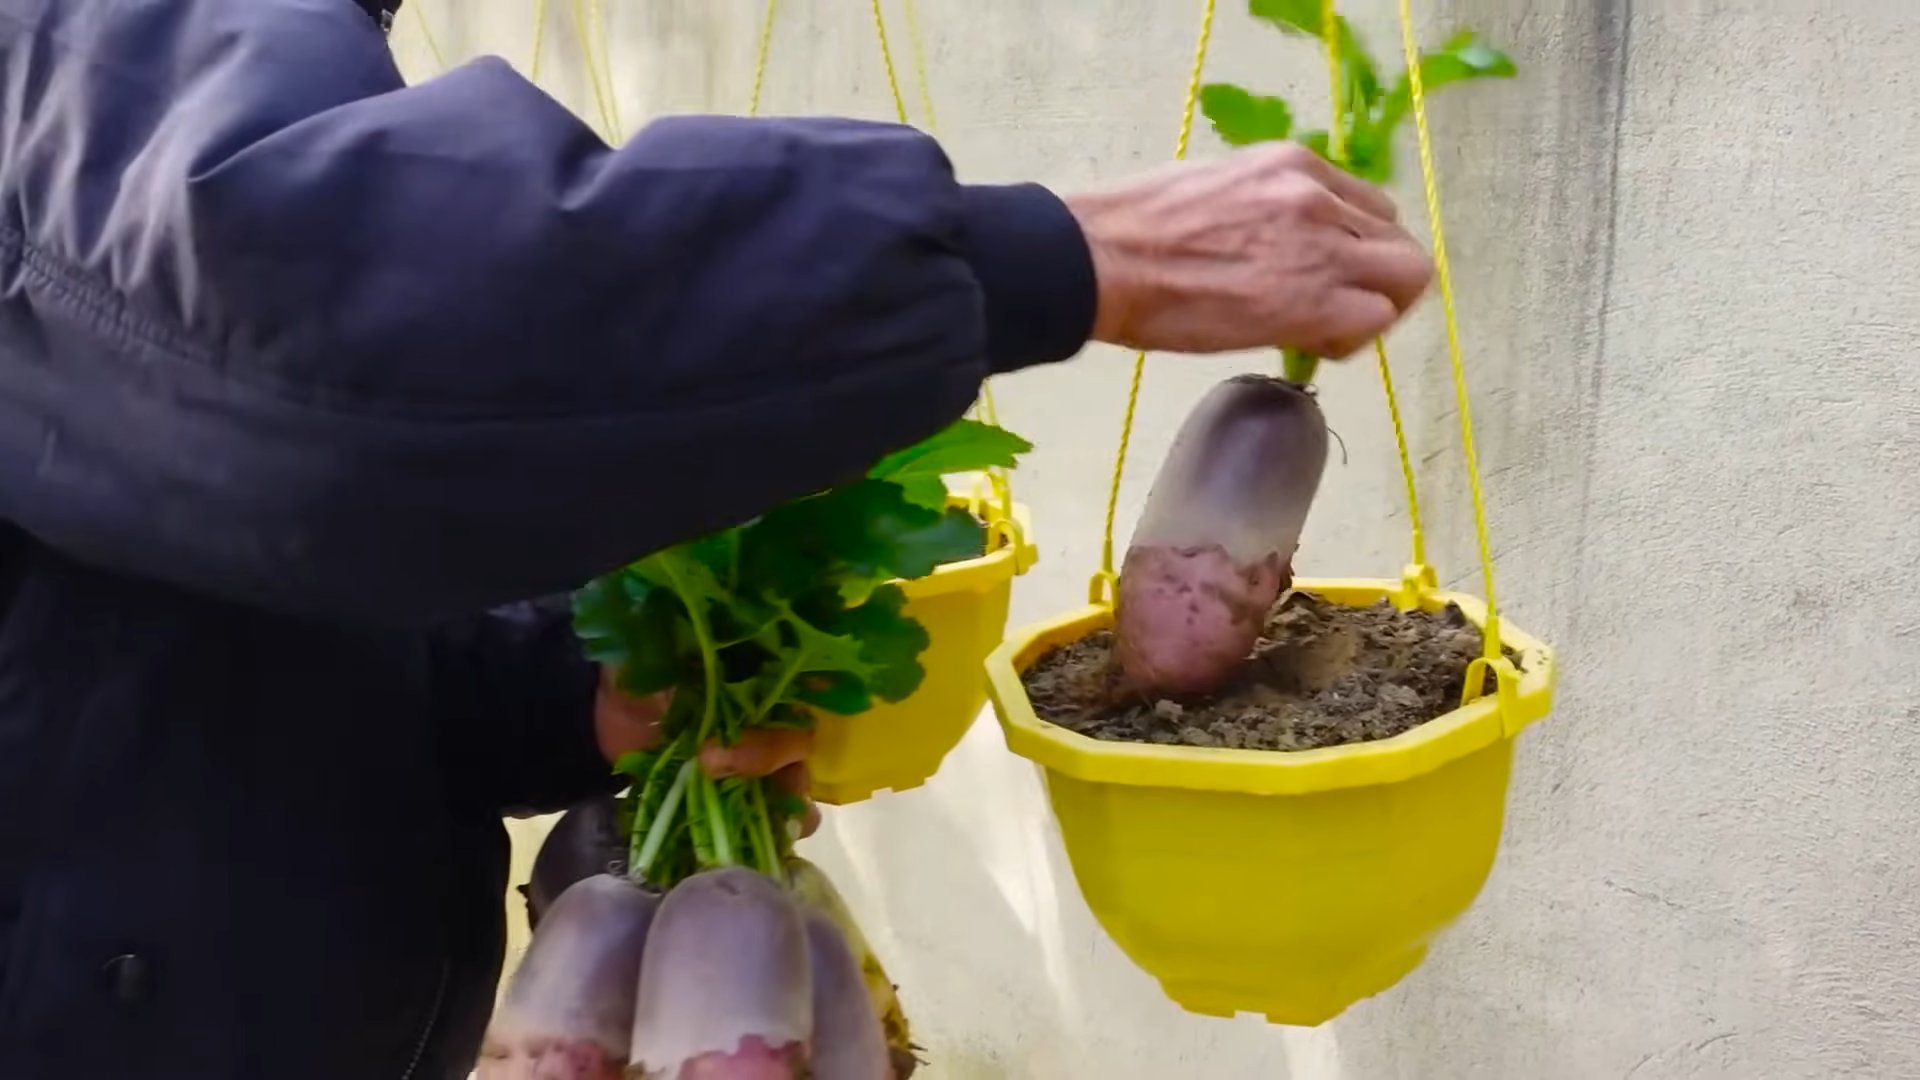
3. Gently Pull: To harvest your radishes, gently pull them from the soil. If the soil is dry, you may need to loosen it with a trowel first.
4. Wash and Enjoy: Wash your radishes thoroughly and enjoy them fresh. You can eat them raw in salads, slice them and add them to sandwiches, or roast them for a delicious side dish.
Choosing the Right Radish Variety
There are many different varieties of radishes to choose from, each with its own unique flavor and appearance. Here are a few of my favorites:
* Cherry Belle: This is a classic red radish that’s known for its mild, slightly sweet flavor. It’s a great choice for beginners.
* French Breakfast: This radish has an elongated shape and a mild, peppery flavor. It’s delicious served with butter and salt.
* Easter Egg: This variety produces radishes in a variety of colors, including red, pink, purple, and white. It’s a fun and colorful addition to any garden.
* Black Spanish: This radish has a black skin and a pungent, spicy flavor. It’s a good choice for those who like a little heat.
Troubleshooting Tips
Even with the best planning, things can sometimes go wrong. Here are a few common problems and how to fix them:
* Radishes are small and underdeveloped: This could be due to overcrowding, lack of sunlight, or poor soil. Make sure you thin your seedlings properly, provide plenty of sunlight, and use a high-quality potting mix.
* Radishes are cracking: This is usually caused by inconsistent watering. Make sure you water your radishes regularly and avoid letting the soil dry out completely.
* Radishes are too spicy: This can be caused by hot weather or stress. Try to provide some shade during the hottest part of the day and water your radishes regularly.
* Radishes are bolting (going to seed): This is usually caused by hot weather or stress. Once radishes bolt, the roots become bitter and inedible. To prevent bolting, try to plant your radishes in early spring or late summer, when the weather is cooler.
Extending Your Radish Harvest
Want to enjoy fresh radishes all season long? Here are a few tips for extending your harvest:
* Succession Planting: Plant a new batch of radish seeds every 2-3 weeks. This will ensure a continuous supply of fresh radishes.
* Choose Different Varieties: Some radish varieties are more heat-tolerant than others. Choose varieties that are well-suited to your climate.
* Provide Shade: During the hottest part of the day, provide some shade for your radish plants. This will help prevent them from bolting.
Enjoying Your Homegrown Radishes
Now that you’ve harvested your radishes, it’s time to enjoy them! Here are a few of my favorite ways to eat radishes:
* Raw: Radishes are delicious eaten raw in salads, as a snack with hummus, or as a garnish for soups and stews.
* Roasted: Roasting radishes brings out their sweetness and mellows their peppery flavor. Toss them with olive oil, salt, and pepper and roast them in a 400°F oven for 20-25 minutes.
* Pickled: Pickled radishes are a tangy and flavorful condiment that can be used in sandwiches, salads, or
Conclusion
So, there you have it! Growing radishes in containers is not only achievable, it’s downright enjoyable and incredibly rewarding. Forget the sprawling garden plot; with this simple DIY trick, you can cultivate a vibrant crop of crisp, peppery radishes right on your balcony, patio, or even a sunny windowsill. We’ve walked you through the process, highlighting the ease and accessibility of this method. But why is this container radish growing trick a must-try?
Firstly, it’s the sheer convenience. No more back-breaking tilling or weeding vast garden beds. Container gardening puts you in complete control of the soil, drainage, and sunlight, minimizing common gardening headaches. Secondly, it’s the speed. Radishes are notoriously fast growers, and when nurtured in a controlled container environment, you can expect to harvest your first batch in as little as three to four weeks. Imagine, fresh, homegrown radishes gracing your salads and snacks in under a month!
Thirdly, it’s the accessibility. Whether you’re a seasoned gardener or a complete novice, this DIY trick is designed for everyone. The materials are readily available and inexpensive, and the steps are straightforward and easy to follow. You don’t need any special equipment or prior experience to succeed.
But the best part? The taste! There’s simply no comparison between store-bought radishes and those you’ve grown yourself. The flavor is fresher, more vibrant, and bursting with that characteristic peppery zing. Plus, you have the satisfaction of knowing exactly where your food came from and how it was grown.
Looking to experiment? Consider these variations:
* Succession Planting: Plant a new batch of radish seeds every week or two to ensure a continuous harvest throughout the growing season.
* Companion Planting: Plant radishes alongside carrots to help deter carrot root flies. Marigolds can also be added to the container to repel nematodes.
* Variety is the Spice of Life: Explore different radish varieties! From the classic red globe to the elongated French Breakfast and the colorful Easter Egg blend, there’s a radish out there to suit every palate.
* Vertical Gardening: If space is truly limited, consider using a vertical planter specifically designed for shallow-rooted vegetables like radishes.
Don’t be afraid to get your hands dirty and experiment! The beauty of container gardening is its flexibility and adaptability. This DIY trick is just a starting point; feel free to customize it to suit your own needs and preferences.
We are confident that you’ll find this container radish growing experience both enjoyable and rewarding. So, grab a container, some soil, and a packet of radish seeds, and get started today! We can’t wait to hear about your success. Share your photos and stories with us in the comments below. Let’s build a community of container radish growers and inspire others to embrace the joy of homegrown produce! Let us know what you think of this **container radish growing** method.
Frequently Asked Questions (FAQ)
What size container is best for growing radishes?
The ideal container size depends on the number of radishes you want to grow. However, a good rule of thumb is to use a container that is at least 6 inches deep and 6 inches wide. For a larger harvest, consider a container that is 12 inches deep and 12 inches wide. Make sure the container has drainage holes to prevent waterlogging. Remember, radishes are shallow-rooted, so depth is more important than width. A rectangular container works well for planting in rows.
What type of soil should I use for container radish growing?
Radishes prefer well-draining, loose soil that is rich in organic matter. A good potting mix specifically formulated for vegetables is ideal. Avoid using garden soil, as it can be too heavy and compacted for container gardening. You can also amend your potting mix with compost or aged manure to improve drainage and fertility. A slightly acidic to neutral pH (around 6.0 to 7.0) is optimal for radish growth.
How often should I water my radishes?
Radishes need consistent moisture to thrive. Water deeply whenever the top inch of soil feels dry to the touch. Avoid overwatering, as this can lead to root rot. During hot, dry weather, you may need to water your radishes daily. Check the soil moisture regularly and adjust your watering schedule accordingly. Using a moisture meter can be helpful in determining when to water.
How much sunlight do radishes need?
Radishes need at least 6 hours of sunlight per day to grow properly. Choose a location that receives full sun for the best results. If you live in a hot climate, you may need to provide some afternoon shade to prevent the radishes from bolting (going to seed). If you don’t have access to a sunny location, you can use grow lights to supplement the natural sunlight.
How long does it take for radishes to mature?
Radishes are one of the fastest-growing vegetables. Most varieties mature in just 3 to 4 weeks. Check the seed packet for the specific maturity time of the variety you are growing. You can start harvesting radishes as soon as they reach the desired size. Don’t let them get too large, as they can become woody and bitter.
What are some common pests and diseases that affect radishes?
Radishes are generally pest-resistant, but they can be susceptible to flea beetles, root maggots, and aphids. Flea beetles can be controlled with insecticidal soap or diatomaceous earth. Root maggots can be prevented by using row covers. Aphids can be washed off with a strong stream of water. Diseases that can affect radishes include damping-off and white rust. Damping-off can be prevented by using sterile potting mix and avoiding overwatering. White rust can be controlled with fungicides.
Can I grow radishes in the winter?
Yes, you can grow radishes in the winter if you live in a mild climate or if you grow them indoors under grow lights. Radishes prefer cool temperatures, so they can tolerate light frosts. If you live in a cold climate, you can grow radishes in a greenhouse or cold frame.
Why are my radishes cracking?
Cracking in radishes is usually caused by inconsistent watering. When the soil dries out and then is suddenly watered heavily, the radishes can absorb water too quickly, causing them to crack. To prevent cracking, water your radishes regularly and consistently. Mulching around the plants can also help to retain moisture in the soil.
Why are my radishes all tops and no bottoms?
This can be caused by several factors, including overcrowding, lack of sunlight, and poor soil. Make sure you thin your radish seedlings to give them enough space to grow. Ensure they are getting at least 6 hours of sunlight per day. And use a well-draining, fertile potting mix. Also, make sure the soil isn’t too high in nitrogen, as this can promote leafy growth at the expense of root development.
Can I eat radish greens?
Yes, radish greens are edible and nutritious! They have a peppery flavor similar to the radish root. You can use them in salads, soups, or stir-fries. Make sure to wash them thoroughly before eating. Harvest the greens when they are young and tender for the best flavor.

Leave a Comment