

Colored bell pepper growing can seem like a magical feat, transforming your humble garden into a vibrant tapestry of reds, yellows, and oranges. Have you ever wondered how to coax those jewel-toned beauties from your own backyard? Forget those bland, store-bought peppers – imagine the satisfaction of harvesting your own rainbow! For centuries, bell peppers, originating in Central and South America, have been a culinary staple, adding sweetness and a burst of color to dishes worldwide.
But let’s be honest, getting those vibrant hues isn’t always a walk in the park. That’s where these DIY tricks and hacks come in! I’m going to share some simple, yet effective, techniques that will help you unlock the secrets to successful colored bell pepper growing.
Why do you need these tricks? Because everyone deserves to experience the joy of biting into a perfectly ripe, homegrown bell pepper bursting with flavor. Plus, growing your own produce is not only healthier and more sustainable, but it’s also incredibly rewarding. So, ditch the guesswork and let’s dive into the world of colorful bell peppers!
Growing Your Own Peppers: A Colorful DIY Project for Your Garden or Balcony
Hey garden friends! Have you ever wondered what it would be like to harvest your own crisp, colorful peppers? I can tell you, it’s an incredibly satisfying feeling! And the best part: it’s not as difficult as you might think. In this article, I will show you step-by-step how to successfully grow your own peppers, whether they are red, yellow, orange, or even purple. Let’s get started!
What you need: The Right Equipment and Materials
Before we get started, we should make sure we have everything we need. Here is a list of the things you will need for your pepper-growing adventure:
- Pepper seeds: Choose your favorite colors and varieties! Make sure to buy high-quality seeds from a trusted supplier.
- Seed starting mix: This is specially tailored to the needs of young plants and contains fewer nutrients than regular potting soil.
- Seed starting pots or trays: Small pots or trays with drainage holes are ideal for starting seeds.
- Mini-greenhouse or plastic wrap: To keep the humidity high and promote germination.
- Dibber or pencil: For carefully separating the seedlings.
- Potting soil: For later transplanting into larger pots or into the garden bed.
- Pots or containers: If you want to grow the peppers on your balcony.
- Plant stakes: To support the plants as they get taller.
- Liquid fertilizer: for a regular supply of nutrients.
- Watering can or spray bottle: For watering the plants.
- A sunny location: Peppers love the sun!
Phase 1: Starting the Seeds – The Beginning of a Colorful Pepper Life
Starting the seeds is the first and perhaps most important step. Here we lay the foundation for a bountiful harvest.
- Prepare the seed starting pots: Fill the seed starting pots or trays with seed starting mix. Press the soil down lightly, but not too firmly.
- Sow the seeds: Place 1-2 seeds in each pot. Cover the seeds with a thin layer of seed starting mix (approx. 0.5 cm).
- Watering: Gently moisten the soil with a spray bottle. The soil should be moist, but not wet.
- Mini-greenhouse effect: Place the pots in a mini-greenhouse or cover them with plastic wrap. This ensures high humidity, which promotes germination.
- The right location: Place the mini-greenhouse in a warm and bright place. A temperature of 22-25°C is ideal for germination.
- Patience is required: Germination usually takes 1-2 weeks. Ventilate the mini-greenhouse briefly every day to prevent mold.
- After germination: As soon as the first seedlings are visible, remove the plastic wrap or the mini-greenhouse. Place the pots in a brighter, but not too sunny, location.
Phase 2: Pricking Out – Giving the Little Peppers More Space
When the seedlings have developed a few leaves, it’s time to prick them out. This means we are moving the small plants into larger pots so they have more space to grow.
- Prepare the pots: Fill larger pots (approx. 8-10 cm in diameter) with potting soil.
- Separate the seedlings: Gently loosen the soil in the seed starting pots. Carefully lift the seedlings out of the soil with a dibber or pencil. Be careful not to damage the roots.
- Planting in the new pots: Place each seedling in its own pot. The plant should sit a little deeper than before. Fill the pots with soil and press it down lightly.
- Watering: Water the plants carefully.
- The right location: Place the pricked-out plants in a bright and warm place.
Phase 3: Care – So Your Peppers Thrive
After pricking out, the real care begins. Here are a few tips on how to keep your peppers healthy and strong:
- Watering: Water the plants regularly, but avoid waterlogging. The soil should always be slightly moist.
- Fertilizing: Fertilize the plants regularly with a liquid fertilizer for vegetables. Start about 2 weeks after pricking out.
- The right location: Peppers love the sun! Place the plants in the sunniest possible location.
- Supporting: As the plants get taller, they may need support. Use plant stakes to stabilize the shoots.
- Pruning suckers: Regularly remove the side shoots that grow in the leaf axils. This promotes the formation of fruit.
- Pest protection: Regularly check the plants for pests such as aphids or spider mites. If necessary, you can use biological pesticides.
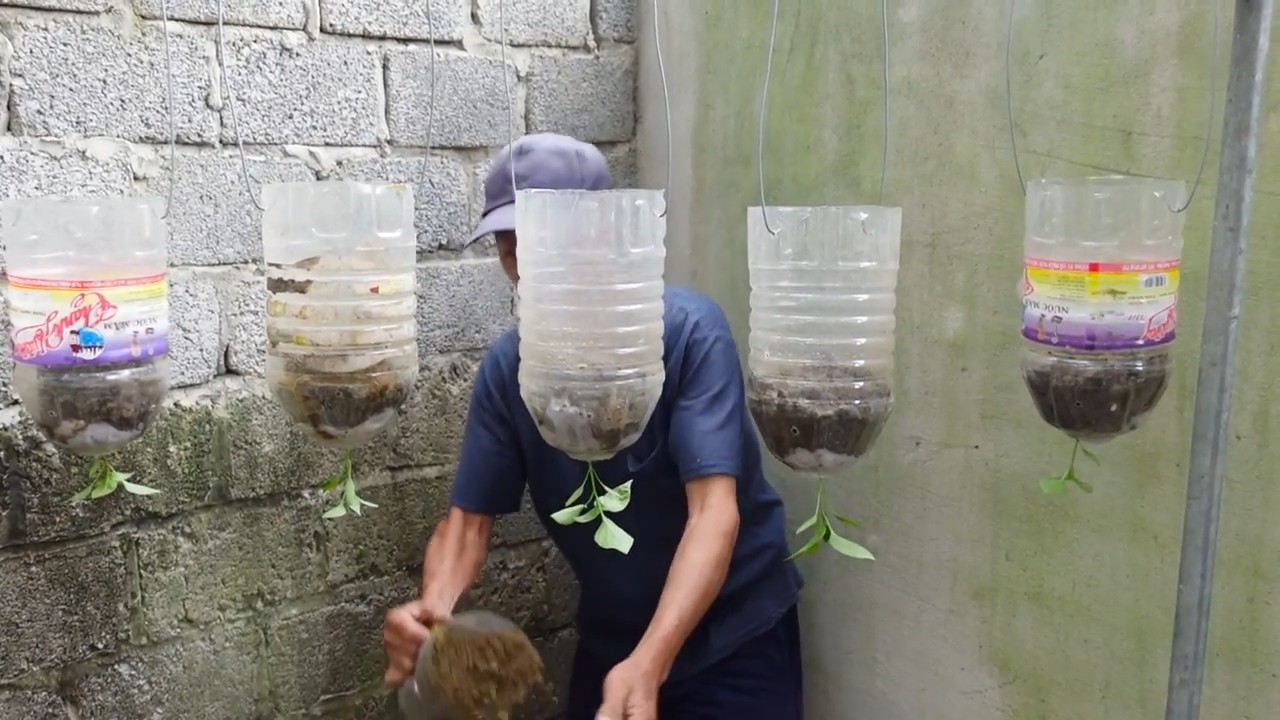
Phase 4: Planting Out – Into the Bed or Container
As soon as the temperatures rise and there is no more danger of frost (usually mid-May), the peppers can be planted out in the bed or in larger containers.
- Preparing the bed or containers: Loosen the soil in the bed and enrich it with compost. Fill the containers with potting soil.
- Planting out: Carefully lift the pepper plants out of the pots. Place them in the bed or in the containers. The distance between the plants should be about 40-50 cm.
- Watering: Water the plants thoroughly after planting out.
- Protection from cold: If it is still cool at night, you can cover the plants with a fleece.
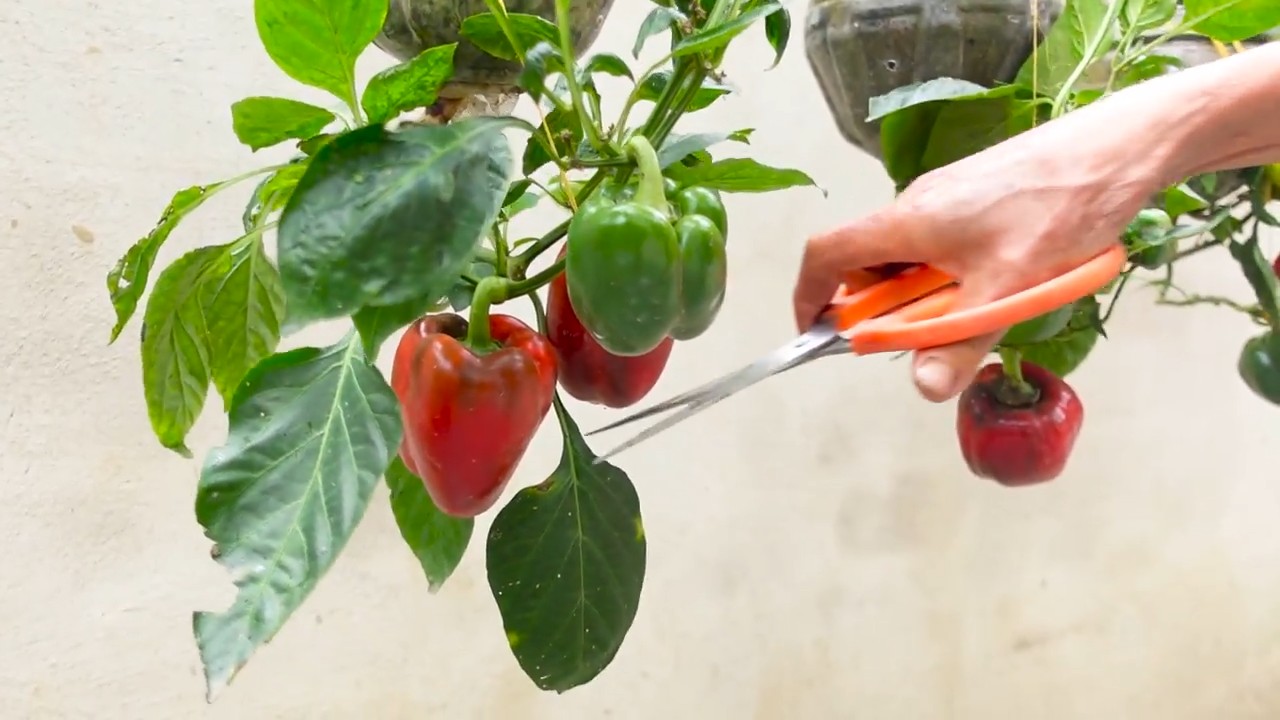
Phase 5: The Harvest – The Reward for Your Effort
After a few weeks of care, you can finally harvest your own colorful peppers.
- The right time: The peppers are ripe when they have reached their full color and can be easily detached from the stem.
- Harvesting: Cut the peppers with a sharp knife or scissors.
- Enjoy: Use your homegrown peppers in your favorite dishes. They taste fresh and aromatic!
Additional Tips for a Successful Pepper Harvest
- Variety selection: Choose varieties that are suitable for your climate. There are many different pepper varieties, from mild to hot, from small to large.
- Soil quality: Peppers prefer a loose, humus-rich soil.
- Watering: Ensure even watering, especially during the flowering and fruiting period.
- Pests: Regularly check the plants for pests and combat them if necessary.
- Diseases: Look for signs of diseases such as fungal infections and treat them in a timely manner.
I hope this guide helps you to successfully grow your own peppers. It’s a great feeling to harvest the fruits of your labor and to know where they come from. Happy gardening!
Conclusion
So, there you have it! Growing your own colored bell peppers from seed isn’t just a gardening project; it’s an investment in flavor, freshness, and a vibrant splash of color for your kitchen. We’ve walked through the process, demystifying each step from seed selection to harvesting those beautiful, crisp peppers.
Why is this DIY trick a must-try? Because store-bought bell peppers, while convenient, often lack the intense flavor and satisfying crunch of homegrown varieties. Plus, you have complete control over the growing process, ensuring your peppers are free from unwanted pesticides and chemicals. Imagine the satisfaction of serving a salad bursting with peppers you nurtured from tiny seeds, knowing exactly where they came from and how they were grown.
Beyond the practical benefits, growing colored bell peppers is incredibly rewarding. Watching those tiny seedlings sprout and develop into mature plants laden with colorful fruit is a testament to the power of nature and your own green thumb. It’s a therapeutic activity that connects you to the earth and provides a tangible sense of accomplishment.
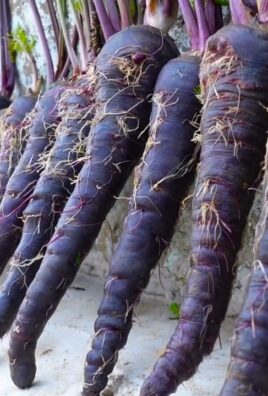
But the fun doesn’t stop there! Feel free to experiment with different varieties of colored bell peppers. Try growing the classic red, yellow, and orange, or venture into more exotic options like purple, brown, or even white bell peppers. Each variety offers a unique flavor profile and visual appeal, adding even more excitement to your gardening adventure.
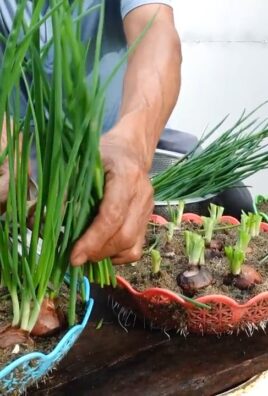
Consider companion planting to enhance your pepper’s growth and deter pests. Basil, marigolds, and carrots are excellent companions for bell peppers, offering mutual benefits and creating a thriving garden ecosystem. You can also explore different growing methods, such as container gardening or raised beds, to adapt to your available space and gardening style.
And don’t forget about preserving your harvest! Pickled bell peppers, roasted pepper sauces, and frozen pepper slices are all fantastic ways to enjoy your homegrown bounty long after the growing season has ended. Get creative in the kitchen and discover new ways to incorporate your delicious colored bell peppers into your favorite recipes.
We wholeheartedly encourage you to give this DIY trick a try. It’s easier than you might think, and the rewards are well worth the effort. Start small, be patient, and don’t be afraid to experiment. Gardening is a journey of learning and discovery, and every mistake is an opportunity to grow (pun intended!).
Once you’ve harvested your first batch of homegrown colored bell peppers, we’d love to hear about your experience! Share your photos, tips, and stories in the comments below. Let’s create a community of passionate gardeners who are dedicated to growing their own delicious and vibrant produce. Happy gardening!
Frequently Asked Questions (FAQ)
What is the best time to start growing colored bell peppers from seed?
The ideal time to start your bell pepper seeds indoors is typically 6-8 weeks before the last expected frost in your area. This allows the seedlings to develop a strong root system before being transplanted outdoors. Check your local weather forecasts and gardening resources to determine the average last frost date for your region. Starting seeds too early can result in leggy, weak plants, while starting too late may shorten your growing season and reduce your harvest.
What type of soil is best for growing colored bell peppers?
Colored bell peppers thrive in well-draining, fertile soil that is rich in organic matter. A slightly acidic to neutral pH of 6.0 to 7.0 is ideal. Before planting, amend your soil with compost, aged manure, or other organic amendments to improve its structure, drainage, and nutrient content. Avoid heavy clay soils, as they can become waterlogged and hinder root development. If you have clay soil, consider growing your peppers in raised beds or containers with a well-draining potting mix.
How often should I water my colored bell pepper plants?
Bell pepper plants need consistent moisture, especially during hot weather. Water deeply and regularly, aiming to keep the soil consistently moist but not waterlogged. Check the soil moisture level regularly by sticking your finger about an inch into the soil. If it feels dry, it’s time to water. Avoid overhead watering, as this can promote fungal diseases. Instead, water at the base of the plants, using a soaker hose or drip irrigation system. Mulching around the plants can also help retain moisture and suppress weeds.
What are some common pests and diseases that affect colored bell peppers?
Bell peppers can be susceptible to various pests and diseases, including aphids, whiteflies, spider mites, blossom-end rot, and fungal diseases like powdery mildew and blight. Regularly inspect your plants for signs of infestation or disease. Treat pests with insecticidal soap or neem oil, and address diseases with appropriate fungicides. Proper watering, good air circulation, and healthy soil can help prevent many of these problems. Blossom-end rot, a common issue caused by calcium deficiency, can be prevented by ensuring consistent watering and adding calcium to the soil.
How long does it take for colored bell peppers to mature?
The time it takes for colored bell peppers to mature depends on the variety and growing conditions. Generally, it takes about 60-80 days from transplanting seedlings to harvesting mature peppers. Green bell peppers can be harvested earlier, but they will not have reached their full color or sweetness. Allow the peppers to fully ripen on the plant for the best flavor and color. The color of the pepper will change from green to its mature color (red, yellow, orange, purple, etc.) as it ripens.
Can I grow colored bell peppers in containers?
Yes, colored bell peppers can be successfully grown in containers, making them a great option for gardeners with limited space. Choose a container that is at least 12 inches in diameter and depth to provide adequate room for root growth. Use a well-draining potting mix and ensure the container has drainage holes. Water regularly and fertilize every 2-3 weeks with a balanced fertilizer. Place the container in a sunny location that receives at least 6-8 hours of sunlight per day.
How do I know when my colored bell peppers are ready to harvest?
Colored bell peppers are ready to harvest when they have reached their mature color and size. The skin should be smooth, firm, and glossy. Gently twist or cut the pepper from the plant, leaving a short stem attached. Harvesting peppers regularly encourages the plant to produce more fruit.
What are some tips for getting the best flavor from my homegrown colored bell peppers?
To maximize the flavor of your homegrown colored bell peppers, allow them to fully ripen on the plant before harvesting. The longer they stay on the plant, the sweeter and more flavorful they will become. Avoid overwatering, as this can dilute the flavor. Provide adequate sunlight and nutrients to ensure healthy growth and optimal flavor development.
Leave a Comment