

Cleaning tips you need are often the unsung heroes of a happy and healthy home. Let’s face it, nobody *loves* cleaning, but a sparkling clean space can do wonders for your mood and overall well-being. I’m here to share some game-changing DIY cleaning tricks that will not only save you time and money but also transform your cleaning routine from a chore into a satisfying accomplishment.
Throughout history, cultures around the world have developed unique and ingenious methods for keeping their homes clean. From ancient Egyptians using natron (a natural salt mixture) to clean their homes to the elaborate cleaning rituals in traditional Japanese homes, the pursuit of cleanliness has always been a fundamental part of human life. These traditions highlight the importance of a clean living environment for both physical and mental health.
In today’s busy world, finding the time and energy for cleaning can be a real challenge. That’s where these DIY cleaning hacks come in! I’ll show you how to create effective cleaning solutions using everyday household items, tackle stubborn stains with ease, and organize your cleaning supplies for maximum efficiency. These cleaning tips you need will empower you to maintain a clean and comfortable home without breaking the bank or spending hours scrubbing. Get ready to unlock the secrets to a cleaner, happier you!
DIY Cleaning Power: Transforming Everyday Items into Cleaning Superstars
Hey there, fellow cleaning enthusiasts! I’m always on the lookout for clever ways to make cleaning easier, cheaper, and more effective. Forget those expensive, chemical-laden cleaners – let’s dive into some amazing DIY cleaning hacks using items you probably already have in your pantry!
Unleashing the Cleaning Power of Vinegar
Vinegar is my absolute go-to for so many cleaning tasks. Its acidity cuts through grease, grime, and hard water stains like a champ. Plus, it’s a natural disinfectant and deodorizer.
Cleaning Your Microwave with Vinegar
Microwaves can get seriously gross, seriously fast. Splatters, spills, and baked-on food – yuck! But don’t worry, vinegar to the rescue!
1. Gather Your Supplies: You’ll need a microwave-safe bowl, white vinegar, water, and a clean sponge or cloth.
2. Mix the Solution: In the microwave-safe bowl, combine equal parts white vinegar and water (about 1 cup of each should do the trick).
3. Microwave Away: Place the bowl in the microwave and heat on high for 5-7 minutes. The mixture should boil and create steam.
4. Let it Sit: Don’t open the microwave immediately! Let the steam work its magic for another 5-10 minutes. This will loosen all the grime.
5. Wipe it Clean: Carefully remove the bowl (it will be hot!). Use your sponge or cloth to wipe down the inside of the microwave. You’ll be amazed at how easily the gunk comes off! For stubborn spots, dip your sponge in the vinegar solution and scrub a little harder.
6. Final Touches: Wipe down the turntable and any removable parts separately. Rinse and dry everything thoroughly.
Vinegar as a Shower Head Cleaner
Hard water can wreak havoc on shower heads, causing mineral buildup that reduces water pressure. Here’s how to restore your shower head to its former glory with vinegar:
1. Gather Your Supplies: You’ll need a plastic bag (a Ziploc bag works great), white vinegar, a rubber band or twist tie, and an old toothbrush.
2. Fill the Bag: Pour enough white vinegar into the plastic bag to completely submerge the shower head.
3. Secure the Bag: Carefully attach the bag to the shower head, making sure the shower head is fully immersed in the vinegar. Secure the bag tightly with a rubber band or twist tie.
4. Soak Overnight: Let the shower head soak in the vinegar overnight (or for at least several hours). This will give the vinegar plenty of time to dissolve the mineral deposits.
5. Remove and Rinse: Remove the bag and discard the vinegar. Turn on the shower and let the water run for a few minutes to flush out any remaining vinegar and loosened debris.
6. Scrub Away: Use an old toothbrush to scrub away any stubborn mineral deposits that remain.
7. Enjoy a Sparkling Shower: Your shower head should now be clean and free of mineral buildup, restoring your water pressure!
Baking Soda: The Gentle Abrasive
Baking soda is another cleaning superstar. It’s a mild abrasive, which means it can gently scrub away dirt and grime without scratching surfaces. It’s also a great deodorizer.
Deodorizing Your Fridge with Baking Soda
Fridges can get pretty stinky, especially if you have forgotten leftovers lurking in the back. Baking soda is a simple and effective way to absorb those unpleasant odors.
1. Grab Your Baking Soda: All you need is an open box of baking soda.
2. Place it Strategically: Place the open box of baking soda in the back of your fridge.
3. Let it Work: Let the baking soda sit in the fridge for at least a month to absorb odors.
4. Replace Regularly: Replace the box of baking soda every month or two for optimal odor absorption. You can even write the date you placed it on the box to remind yourself.
Cleaning Your Oven with Baking Soda Paste
Oven cleaning is one of those chores that everyone dreads. But with baking soda, it doesn’t have to be a nightmare!
1. Gather Your Supplies: You’ll need baking soda, water, a bowl, a sponge or cloth, and rubber gloves.
2. Make the Paste: In the bowl, mix baking soda and water to form a thick paste. The consistency should be similar to frosting.
3. Apply the Paste: Spread the baking soda paste all over the inside of your oven, avoiding the heating elements. Be generous with the paste, especially on areas with baked-on grease and grime.
4. Let it Sit Overnight: Let the paste sit in the oven overnight (or for at least 12 hours). This will give the baking soda time to loosen the grime.
5. Wipe it Clean: The next day, use a damp sponge or cloth to wipe away the baking soda paste. You may need to scrub a little to remove stubborn spots.
6. Rinse Thoroughly: Rinse the oven with clean water to remove any remaining baking soda residue.
7. Enjoy a Sparkling Clean Oven: Your oven should now be clean and grease-free!
Lemon Power: Freshness and Cleaning Combined
Lemons are not just for lemonade! Their acidity and fresh scent make them a fantastic natural cleaner.
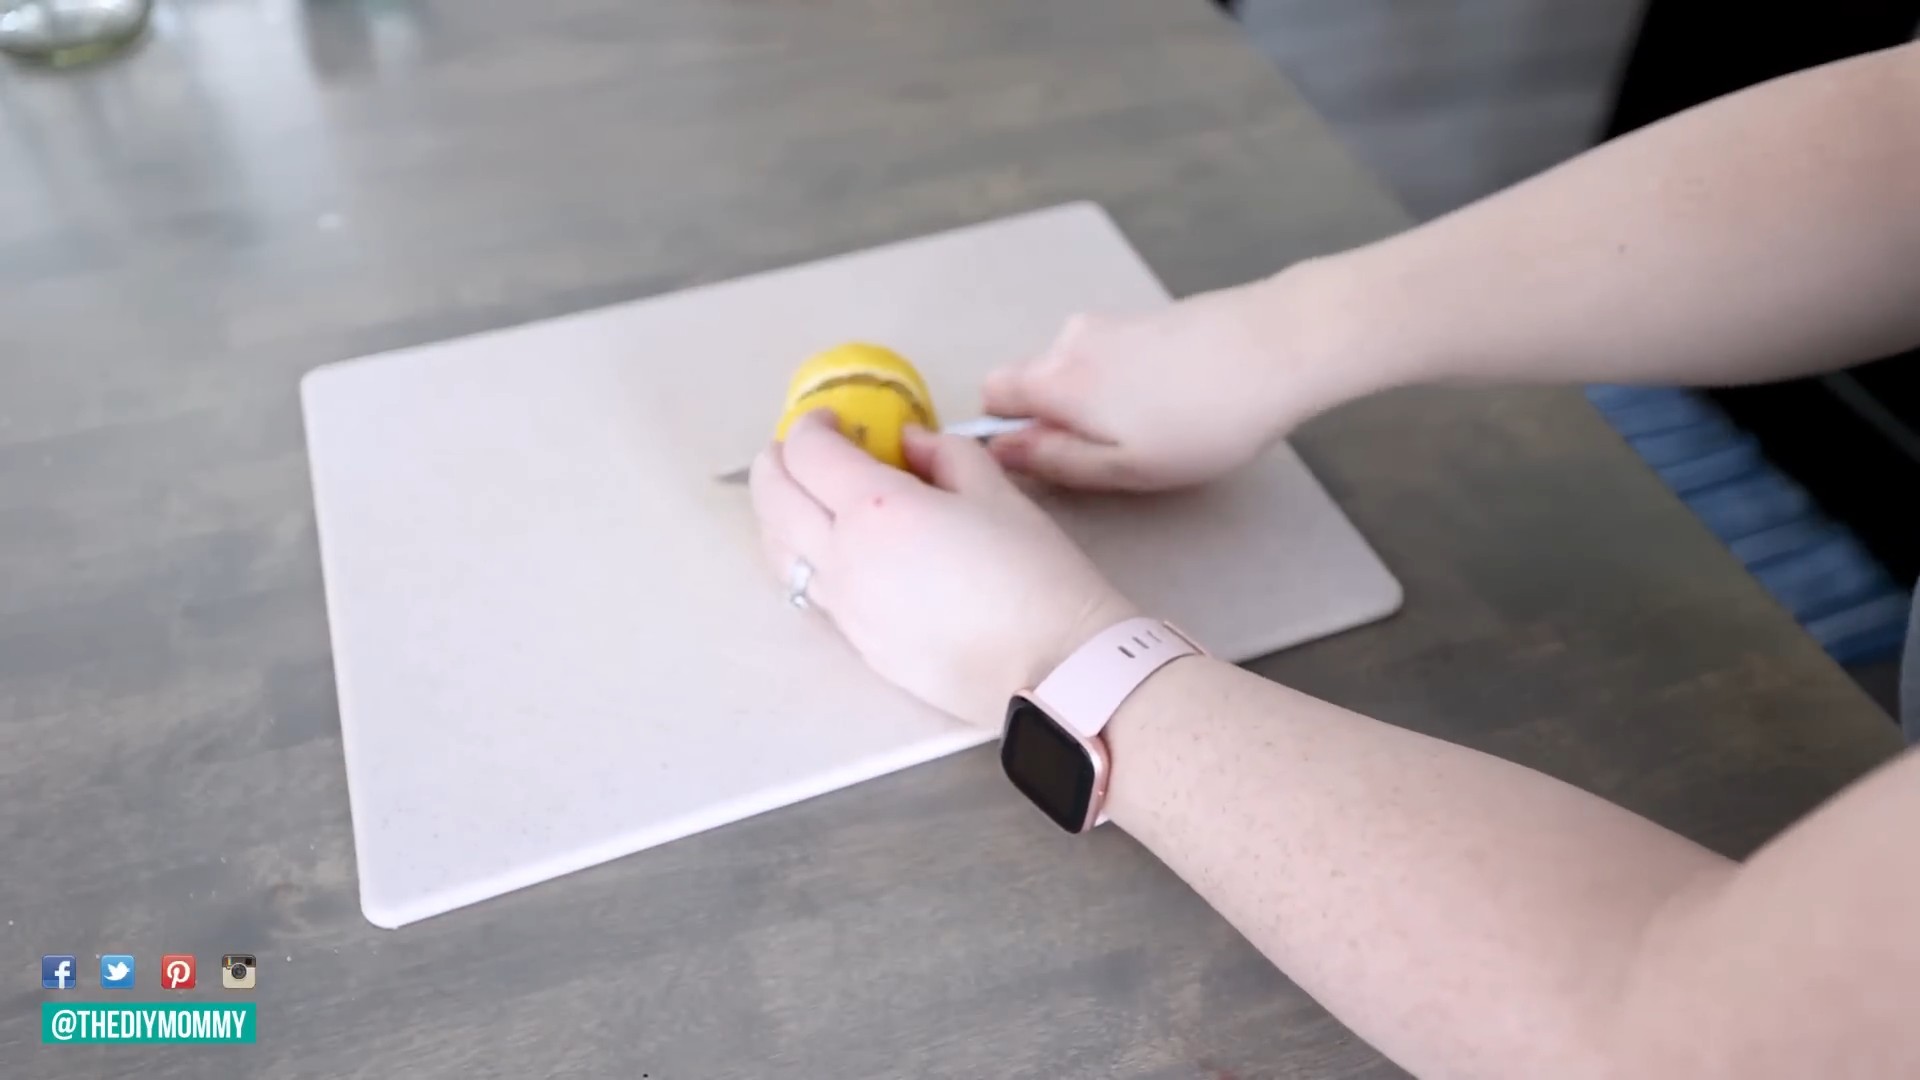
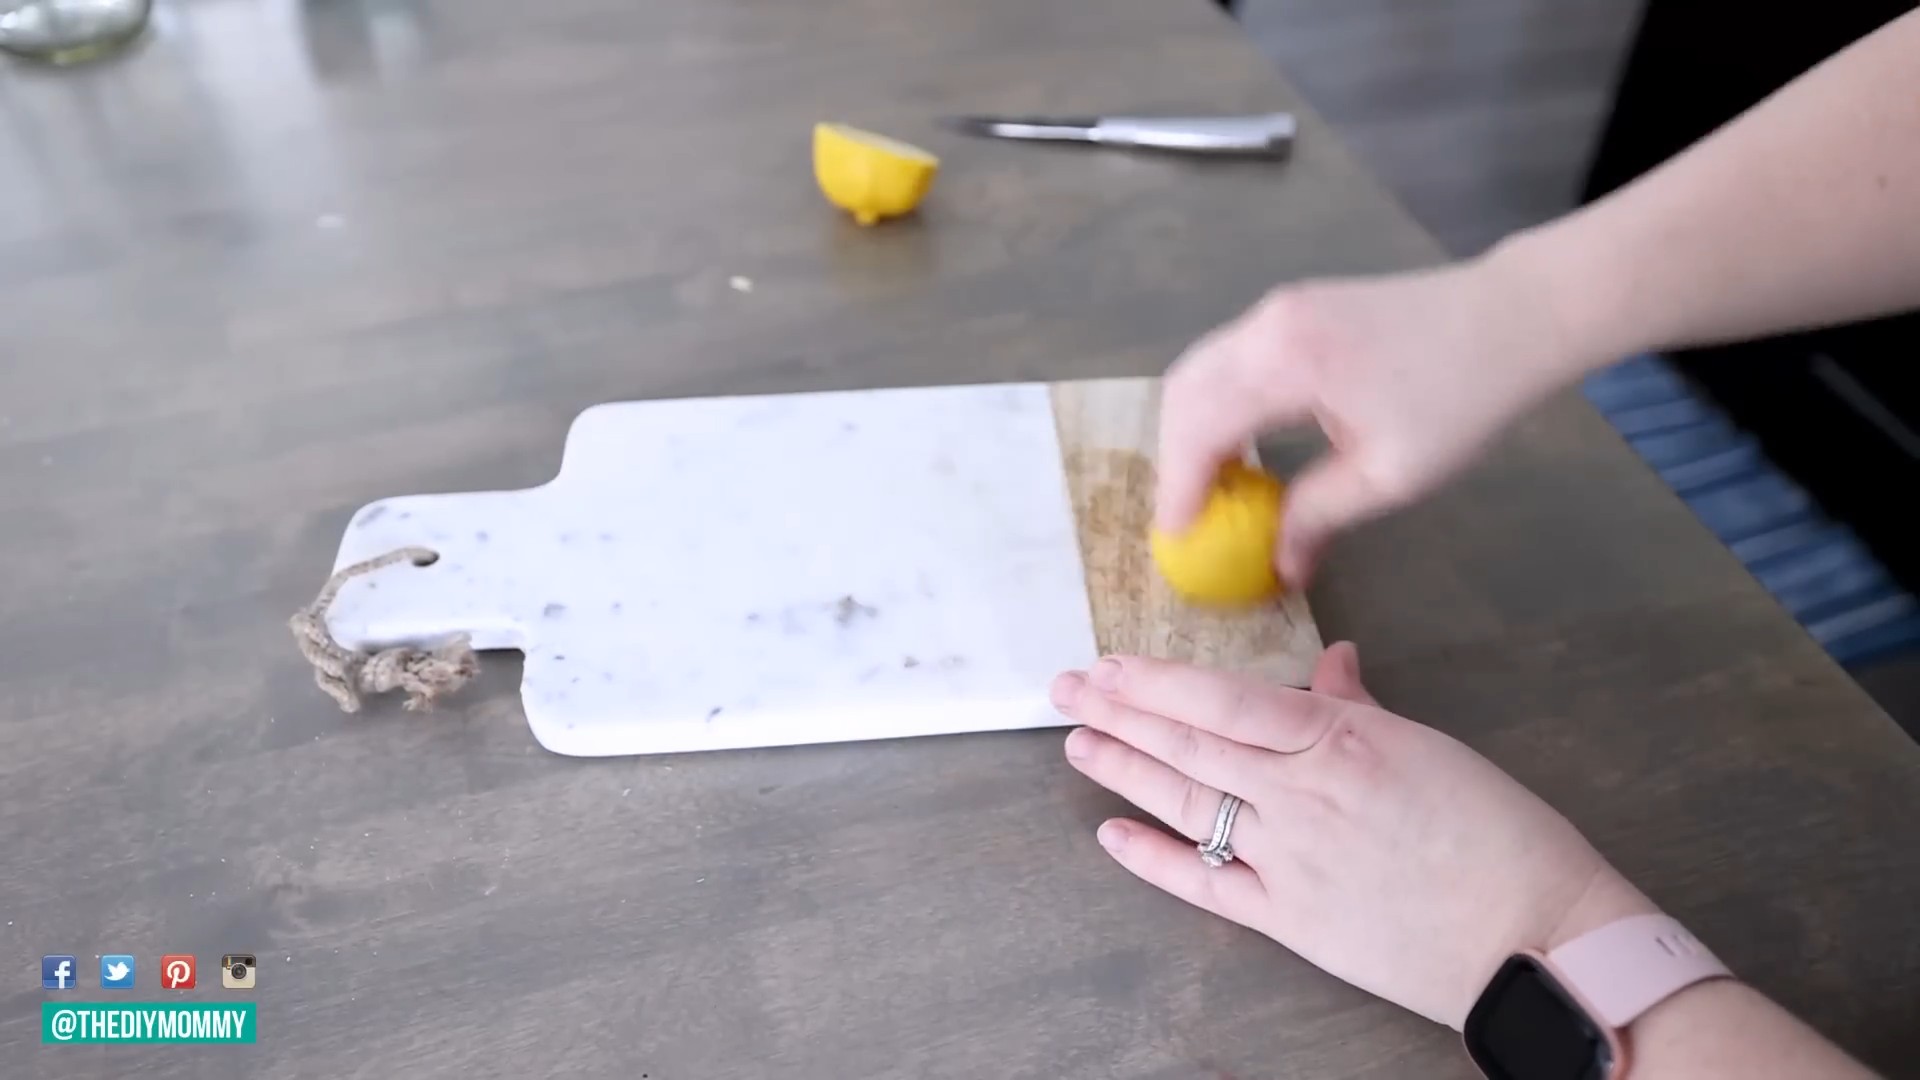
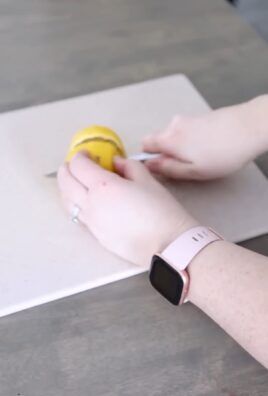
Cleaning Your Cutting Boards with Lemon and Salt
Cutting boards can harbor bacteria and odors, especially after cutting raw meat or strong-smelling foods like garlic and onions. Lemon and salt are a powerful combination for cleaning and disinfecting cutting boards.
1. Gather Your Supplies: You’ll need a lemon, coarse salt (like sea salt or kosher salt), and a clean sponge or cloth.
2. Sprinkle with Salt: Sprinkle a generous amount of coarse salt all over the cutting board.
3. Scrub with Lemon: Cut a lemon in half and use one half to scrub the salt into the cutting board. Squeeze the lemon as you scrub to release its juice.
4. Let it Sit: Let the lemon juice and salt sit on the cutting board for 5-10 minutes.
5. Rinse and Dry: Rinse the cutting board thoroughly with warm water and dry it with a clean cloth.
6. Enjoy a Clean and Fresh Cutting Board: Your cutting board should now be clean, disinfected, and smelling fresh!
Polishing Chrome with Lemon Peels
Lemon peels can be used to polish chrome fixtures, leaving them shiny and free of water spots.
1. Grab a Lemon Peel: After using a lemon, save the peel.
2. Rub the Chrome: Rub the inside of the lemon peel over the chrome fixtures, focusing on areas with water spots or tarnish.
3. Rinse and Dry: Rinse the chrome fixtures with water and dry them with a clean cloth.
4. Admire the Shine: Your chrome fixtures should now be sparkling clean and shiny!
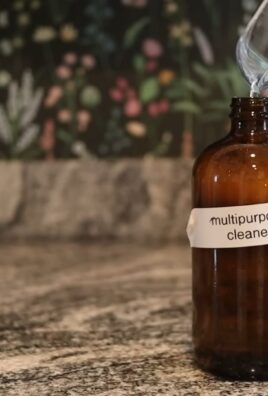
DIY All-Purpose Cleaner
Want a simple, effective, and natural all-purpose cleaner? Look no further!
1. Gather Your Supplies: You’ll need an empty spray bottle, white vinegar, water, and essential oils (optional, for scent).
2. Mix the Solution: In the spray bottle, combine equal parts white vinegar and water.
3. Add Essential Oils (Optional): If you want to add a scent, add a few drops of your favorite essential oils. Lemon, lavender, and tea tree oil are all great choices.
4. Shake Well: Shake the bottle well to mix the ingredients.
5. Spray and Wipe: Spray the cleaner onto surfaces and wipe clean with a cloth.
Important Note: Always test any cleaning solution on an inconspicuous area first to make sure it doesn’t damage the surface. Also, never mix vinegar with bleach, as this can create toxic fumes.
Cleaning Your Washing Machine
Your washing machine needs cleaning too! Over time, detergent residue, fabric softener, and mineral deposits can build up, leading to unpleasant odors and reduced cleaning performance.
Cleaning with Vinegar and Baking Soda
This method is simple, effective, and uses ingredients you probably already have.
1. Empty the Washing Machine: Make sure your washing machine is empty.
2. Add Vinegar: Pour 2 cups of white vinegar into the detergent dispenser.
3. Add Baking Soda: Sprinkle 1/4 cup of baking soda directly into the drum of the washing machine.
4. Run a Hot Cycle: Run a hot, empty cycle with the highest water level.
5. Wipe Down the Interior: After the cycle is complete, wipe down the interior of the washing machine with a clean cloth to remove any remaining residue. Pay special attention to the rubber gasket around the door.
6. Leave the Door Open: Leave the
Conclusion
So, there you have it! This simple yet incredibly effective DIY cleaning trick is more than just a way to save money; it’s a game-changer for maintaining a sparkling clean home. We’ve shown you how to harness the power of readily available ingredients to create a potent cleaning solution that tackles grime, eliminates odors, and leaves your surfaces gleaming. Forget about harsh chemicals and expensive store-bought cleaners – this method is gentle on your home, your wallet, and the environment.
Why is this a must-try? Because it works! It’s a testament to the fact that sometimes the best solutions are the simplest ones. This DIY cleaning trick is incredibly versatile, suitable for a wide range of surfaces, from kitchen countertops and bathroom tiles to floors and even upholstery. Plus, it’s customizable!
Feeling adventurous? Try adding a few drops of your favorite essential oil for a refreshing scent boost. Lavender, lemon, or eucalyptus are all excellent choices. For tougher stains, consider increasing the concentration of vinegar or adding a pinch of baking soda for extra scrubbing power. You can also experiment with different ratios of ingredients to find the perfect balance for your specific needs and preferences. Remember to always test any cleaning solution on an inconspicuous area first to ensure it doesn’t damage the surface.
This DIY cleaning trick is not just about cleaning; it’s about creating a healthier and more sustainable home environment. By reducing your reliance on commercial cleaning products, you’re minimizing your exposure to potentially harmful chemicals and contributing to a cleaner planet.
We are confident that once you try this DIY cleaning trick, you’ll be amazed by the results. It’s a simple, effective, and affordable way to keep your home looking its best. So, ditch the expensive cleaners and embrace the power of DIY!
Now it’s your turn! We encourage you to give this DIY cleaning trick a try and see the difference for yourself. Don’t be afraid to experiment with different variations and find what works best for you. And most importantly, we want to hear about your experience! Share your tips, tricks, and results in the comments below. Let’s build a community of DIY cleaning enthusiasts and help each other create cleaner, healthier homes. What are you waiting for? Get cleaning!
Frequently Asked Questions (FAQs)
What exactly is this DIY cleaning trick, and what does it clean?
This DIY cleaning trick involves creating a homemade cleaning solution using common household ingredients like vinegar, baking soda, water, and sometimes essential oils. The specific recipe can vary, but the general principle is to combine these ingredients to create a powerful yet gentle cleaner. It’s incredibly versatile and can be used to clean a wide range of surfaces, including:
* Kitchen countertops and sinks
* Bathroom tiles, tubs, and toilets
* Floors (hardwood, tile, laminate)
* Windows and mirrors
* Upholstery (spot cleaning)
* Appliances (exterior cleaning)
* And much more!
Is this DIY cleaning trick safe for all surfaces?
While this DIY cleaning trick is generally safe for most surfaces, it’s always a good idea to test it on an inconspicuous area first, especially on delicate or sensitive materials. Avoid using vinegar on natural stone surfaces like marble or granite, as it can etch the surface. Also, be cautious when using baking soda on polished surfaces, as it can be abrasive. When in doubt, dilute the cleaning solution further or consult the manufacturer’s instructions for the surface you’re cleaning.
What are the benefits of using this DIY cleaning trick compared to store-bought cleaners?
There are numerous benefits to using this DIY cleaning trick over store-bought cleaners:
* **Cost-effective:** DIY cleaning solutions are significantly cheaper than commercial cleaners, as you’re using inexpensive household ingredients.
* **Environmentally friendly:** By making your own cleaners, you’re reducing your reliance on plastic packaging and potentially harmful chemicals that can pollute the environment.
* **Non-toxic:** DIY cleaning solutions are generally safer for your health, as they don’t contain harsh chemicals that can cause skin irritation, respiratory problems, or other health issues.
* **Customizable:** You can easily customize the ingredients and scents to suit your preferences and needs.
* **Effective:** Despite being gentle, DIY cleaning solutions can be surprisingly effective at removing dirt, grime, and odors.
Can I use essential oils in this DIY cleaning trick, and which ones are best?
Yes, you can definitely add essential oils to this DIY cleaning trick for a boost of fragrance and added cleaning power. Some of the best essential oils for cleaning include:
* **Lemon:** Known for its antibacterial and degreasing properties, as well as its uplifting scent.
* **Lavender:** Has antibacterial and antifungal properties, and its calming scent can help create a relaxing atmosphere.
* **Tea Tree:** A powerful antiseptic and antifungal agent, ideal for cleaning bathrooms and other areas prone to mold and mildew.
* **Eucalyptus:** Has antibacterial and antiviral properties, and its refreshing scent can help clear congestion.
* **Peppermint:** Known for its antibacterial and insect-repelling properties, and its invigorating scent can help boost energy.
When using essential oils, add a few drops to your cleaning solution and shake well before each use.
How do I store the DIY cleaning solution?
Store your DIY cleaning solution in a clean, airtight spray bottle or container. Label the bottle clearly with the contents and date. Keep the solution out of reach of children and pets. Most DIY cleaning solutions will last for several weeks or even months when stored properly. However, it’s always a good idea to make a fresh batch every few weeks to ensure optimal effectiveness.
What if I don’t have vinegar or baking soda? Are there any alternatives?
While vinegar and baking soda are the most common ingredients in DIY cleaning solutions, there are some alternatives you can use:
* **Vinegar alternative:** Lemon juice can be used as a substitute for vinegar, as it also contains citric acid, which has cleaning and disinfecting properties.
* **Baking soda alternative:** Washing soda (sodium carbonate) is a stronger alkaline cleaner that can be used in place of baking soda for tougher cleaning tasks. However, it’s more caustic, so wear gloves when using it.
My DIY cleaning solution isn’t working as well as I expected. What am I doing wrong?
If your DIY cleaning solution isn’t working as well as you expected, consider the following:
* **Concentration:** Make sure you’re using the correct ratio of ingredients. If the solution is too diluted, it won’t be as effective.
* **Surface type:** Some surfaces may require a stronger cleaning solution or more scrubbing.
* **Dwell time:** Allow the cleaning solution to sit on the surface for a few minutes before wiping it away. This gives the ingredients time to work.
* **Water hardness:** Hard water can interfere with the effectiveness of some cleaning solutions. Consider using distilled water instead.
* **Build-up:** If you’re dealing with heavy build-up, you may need to repeat the cleaning process or use a more abrasive cleaning tool.
Can I use this DIY cleaning trick to clean my oven?
Yes, you can use a variation of this DIY cleaning trick to clean your oven. Make a paste of baking soda and water, and spread it all over the inside of your oven, avoiding the heating elements. Let it sit overnight, then scrub away the grime with a damp sponge. You can also add a little vinegar to the sponge for extra cleaning power.
Is this DIY cleaning trick safe for septic systems?
Yes, this DIY cleaning trick is generally safe for septic systems, as the ingredients are biodegradable and won’t harm the beneficial bacteria in your septic tank. However, avoid using excessive amounts of any cleaning solution, as this could potentially disrupt the balance of your septic system.
What are some other DIY cleaning tips I should know?
Here are a few other DIY cleaning tips to keep in mind:
* Use microfiber cloths for cleaning, as they’re more absorbent and effective than regular cloths.
* Always clean from top to bottom to avoid spreading dirt and grime.
* Ventilate your home while cleaning to prevent the build-up of fumes.
* Don’t be afraid to experiment with different DIY cleaning recipes and find what works best for you.
* Regular cleaning is key to preventing build-up and making your cleaning tasks easier.

Leave a Comment