

Clean Frying Pan Vinegar Hack: Are you tired of scrubbing endlessly at your frying pans, only to be met with stubborn, greasy residue that just won’t budge? I know I was! It felt like a never-ending battle, and honestly, I was ready to toss them all and start fresh. But before you reach for the steel wool (and potentially ruin your pans!), let me share a simple, yet incredibly effective, DIY trick that will have your frying pans sparkling like new – all thanks to the power of vinegar!
Vinegar has been used as a cleaning agent for centuries, dating back to ancient civilizations. Its natural acidity makes it a fantastic degreaser and disinfectant. Think of your grandmother’s cleaning rituals – chances are, vinegar played a starring role! This isn’t just an old wives’ tale; it’s a tried-and-true method that’s stood the test of time.
But why do you need this particular clean frying pan vinegar hack? Because let’s face it, nobody enjoys spending hours scrubbing pots and pans. Time is precious, and there are far more enjoyable things to do than battling burnt-on food. This DIY solution is not only quick and easy, but it’s also incredibly cost-effective and environmentally friendly. Say goodbye to harsh chemicals and hello to a sparkling clean kitchen, all thanks to this simple vinegar trick. I promise, you’ll be amazed at the results!
The Ultimate Vinegar Frying Pan Cleaning Hack: Say Goodbye to Stubborn Grease!
Okay, let’s face it, burnt-on grease and food residue in frying pans are the bane of every home cook’s existence. I’ve tried countless cleaning products and scrubbing techniques, and honestly, most of them are just a lot of elbow grease with minimal results. But fear not! I’ve discovered a vinegar-based cleaning hack that’s a total game-changer. It’s simple, uses ingredients you probably already have, and actually works!
What You’ll Need
Before we dive in, let’s gather our supplies. This is a pretty low-key operation, so you likely have everything on hand:
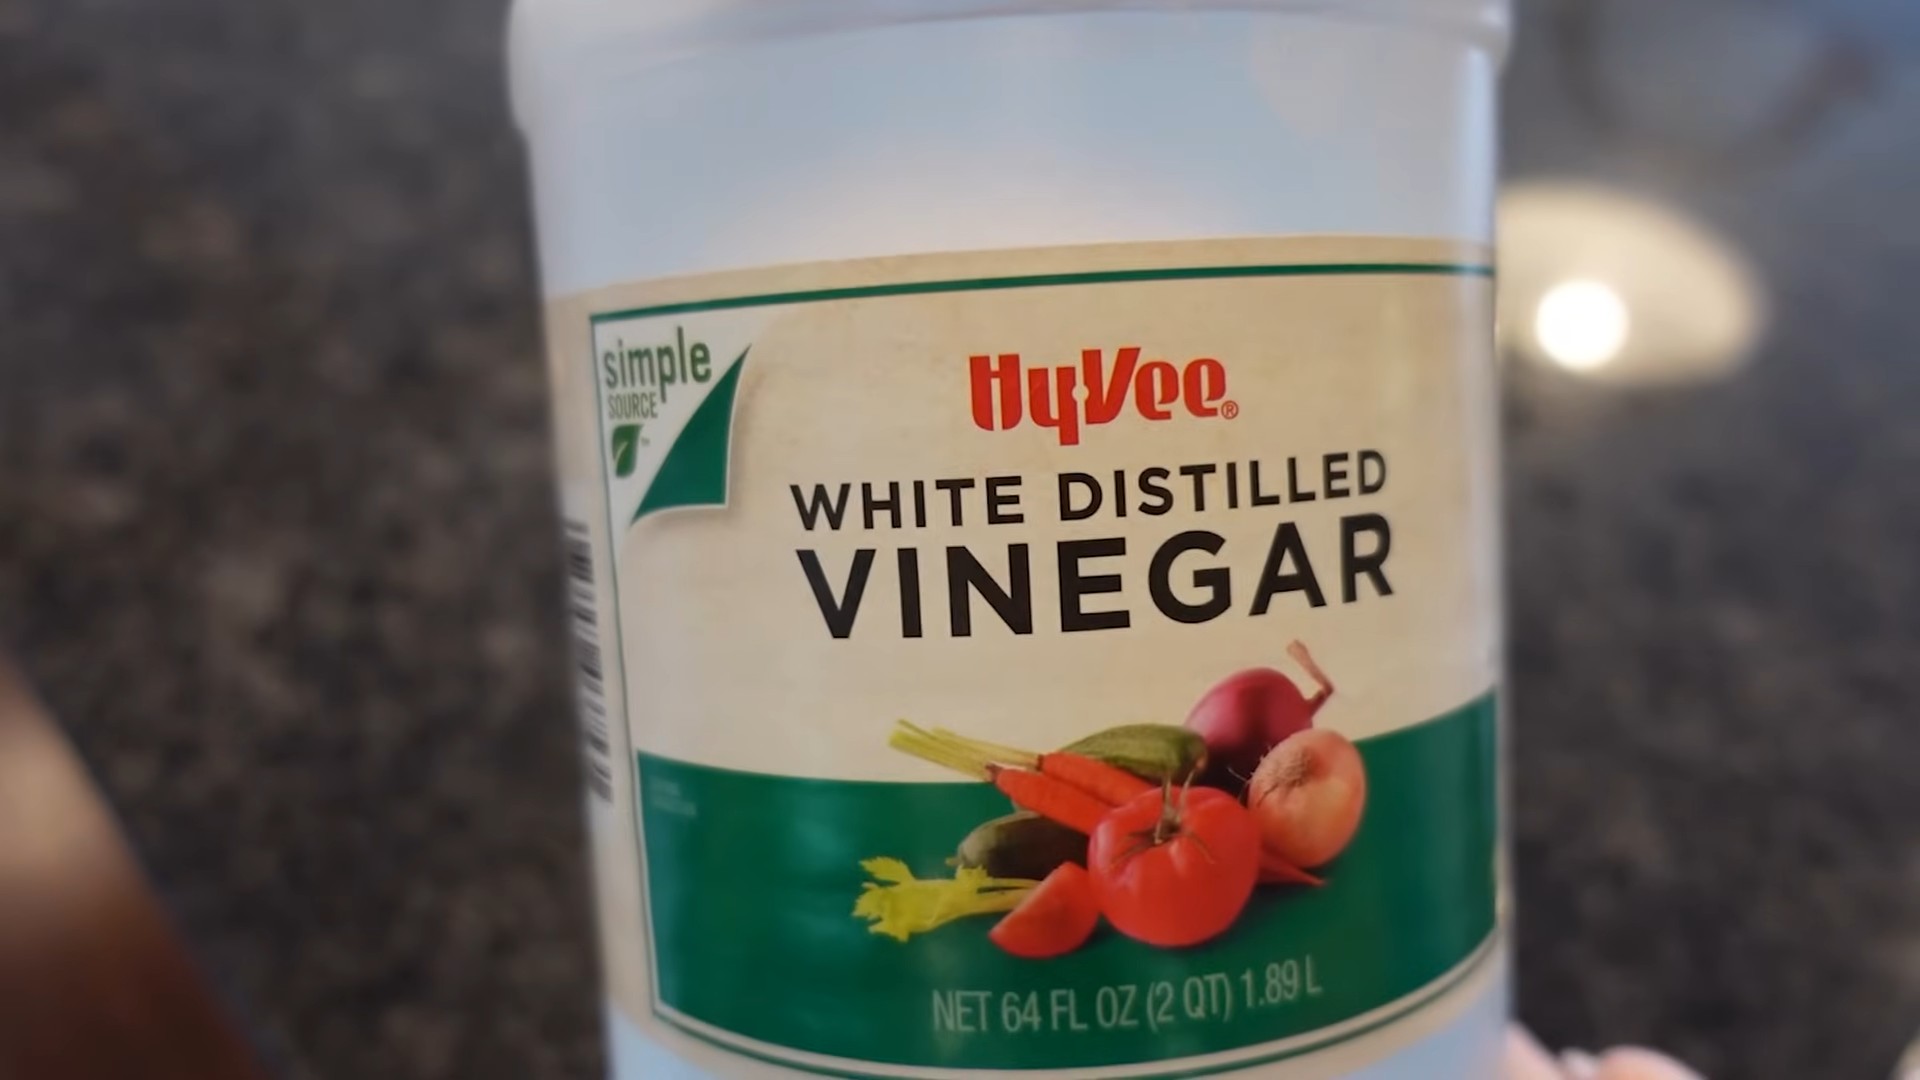
* White Vinegar: The star of the show! Its acidity helps break down grease and grime.
* Baking Soda: Our trusty abrasive partner. It’ll help lift the loosened residue.
* Water: For diluting the vinegar and creating a paste.
* Dish Soap: A little extra cleaning power never hurts.
* Scrubbing Sponge or Brush: Choose one that’s safe for your pan’s surface. Avoid steel wool on non-stick surfaces!
* Paper Towels or a Soft Cloth: For wiping and drying.
* Optional: A rubber spatula or scraper for loosening stubborn bits.
Safety First!
Just a quick note before we start:
* Always work in a well-ventilated area. Vinegar fumes can be a bit strong.
* Wear gloves if you have sensitive skin. The vinegar can be drying.
* Be careful when handling hot pans. Let them cool down slightly before cleaning.
The Cleaning Process: Step-by-Step
Alright, let’s get down to business! Here’s the step-by-step guide to getting your frying pan sparkling clean:
1. Initial Soak (If Necessary): If your pan is seriously caked with burnt-on food, start with a soak. Fill the pan with hot, soapy water and let it sit for at least 30 minutes. This will help loosen some of the tougher bits.
2. Vinegar Power: Pour about 1 cup of white vinegar into the frying pan. You want enough to cover the bottom of the pan, especially the areas with the most buildup.
3. Simmer Time: Place the pan on the stovetop over medium heat. Bring the vinegar to a simmer (not a boil!) and let it simmer for 5-10 minutes. You’ll likely see some of the grease and grime starting to loosen and float to the surface. Keep an eye on it and don’t let the vinegar boil dry.
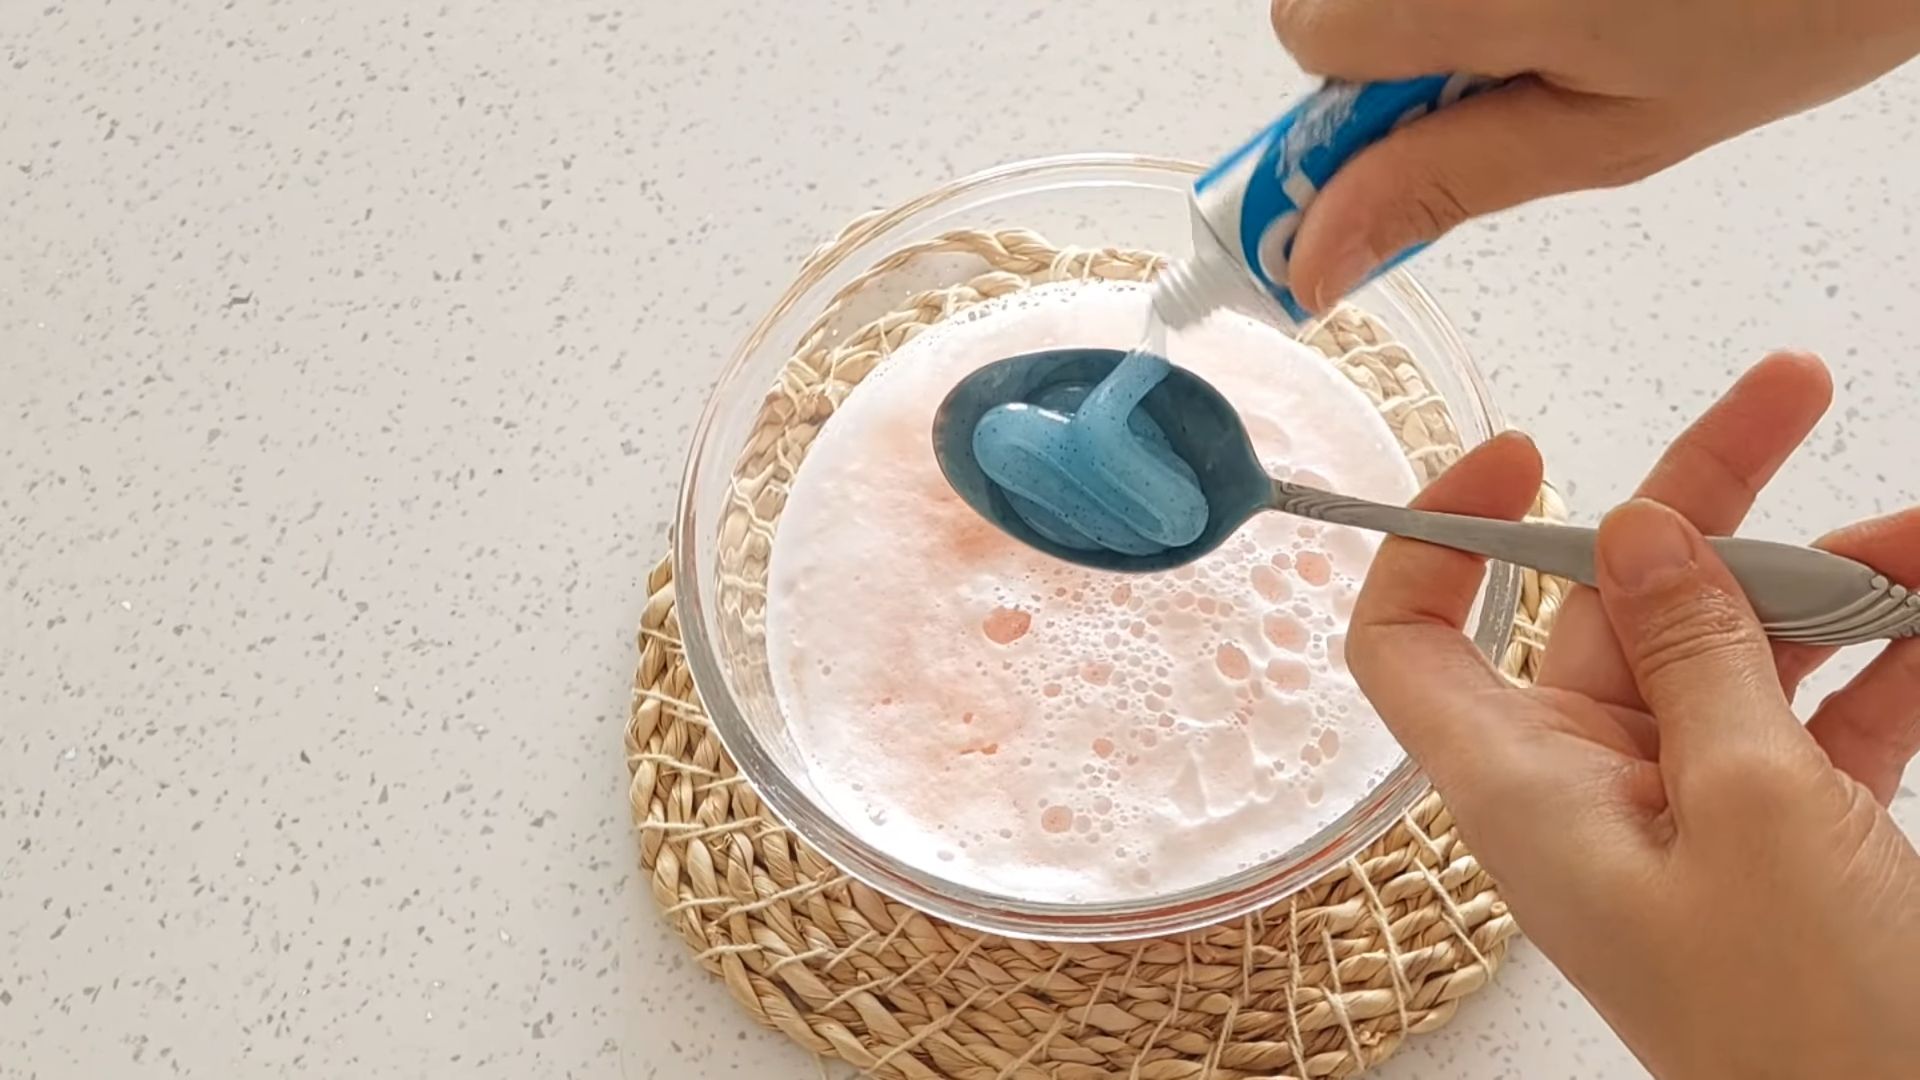
4. Baking Soda Blast: Remove the pan from the heat and carefully pour out the vinegar (dispose of it properly down the drain). Now, sprinkle a generous amount of baking soda over the entire surface of the pan, especially the areas with stubborn residue.
5. The Fizzing Action: You’ll notice the baking soda reacting with the remaining vinegar, creating a fizzing action. This is good! This fizzing helps to lift the loosened grime even further. Let the mixture sit for a few minutes to work its magic.
6. Scrub-a-Dub-Dub: Now it’s time to scrub! Using your scrubbing sponge or brush, scrub the pan thoroughly. The baking soda acts as a gentle abrasive, helping to remove the loosened residue. You might need to apply a little elbow grease, but you should find that the grime comes off much easier than it would with just soap and water. If you have really stubborn spots, try using a rubber spatula or scraper to gently loosen them before scrubbing.
7. Rinse and Repeat (If Needed): Rinse the pan thoroughly with hot water. If you still see some residue remaining, repeat steps 4-6. Sometimes, a second application is needed for really tough buildup.
8. Dish Soap Finish: Once you’re satisfied with the cleanliness, wash the pan with dish soap and water as you normally would. This will remove any remaining vinegar and baking soda residue and leave your pan sparkling clean.
9. Dry and Admire: Dry the pan thoroughly with a paper towel or soft cloth. And there you have it! A clean, grease-free frying pan, thanks to the power of vinegar and baking soda.
Dealing with Different Types of Frying Pans
This hack works well on most types of frying pans, but here are a few things to keep in mind depending on the material:
* Non-Stick Pans: Be extra gentle when scrubbing non-stick pans. Avoid using abrasive scrubbers or steel wool, as these can damage the non-stick coating. A soft sponge or brush is your best bet. Also, don’t simmer the vinegar for too long, as prolonged exposure to acid can potentially degrade the coating over time.
* Stainless Steel Pans: Stainless steel is pretty durable, so you can be a bit more aggressive with your scrubbing. However, avoid using steel wool, as it can scratch the surface. For really stubborn stains, you can try making a paste of baking soda and water and letting it sit on the stain for a longer period before scrubbing.
* Cast Iron Pans: Cleaning cast iron requires a slightly different approach. While you can use this vinegar hack, be sure to re-season your cast iron pan afterward. Vinegar can strip away the seasoning, leaving it vulnerable to rust. After cleaning, dry the pan thoroughly and then apply a thin layer of oil to the entire surface. Heat the pan in the oven at a low temperature (around 200°F) for an hour to re-season it.
Preventative Measures: Keeping Your Pan Clean Longer
Of course, the best way to keep your frying pan clean is to prevent buildup in the first place. Here are a few tips:
* Clean After Each Use: Don’t let food residue sit in your pan for too long. Clean it as soon as possible after each use, while the food is still relatively soft.
* Use the Right Amount of Oil: Using too much oil can lead to greasy buildup. Use just enough oil to prevent food from sticking.
* Avoid Overheating: Overheating can cause food to burn and stick to the pan. Use medium heat for most cooking tasks.
* Proper Storage: Store your frying pans properly to prevent scratches and damage. Use pan protectors or hang them on a rack.
Troubleshooting: What to Do If It Doesn’t Work Perfectly
Sometimes, even with the best efforts, you might encounter a particularly stubborn stain. Here are a few troubleshooting tips:
* Increase the Simmer Time: If the grime isn’t loosening easily, try simmering the vinegar for a longer period (up to 15 minutes). Just be sure to keep an eye on it and don’t let it boil dry.
* Make a Baking Soda Paste: For really stubborn spots, make a paste of baking soda and water and apply it directly to the stain. Let it sit for several hours or even overnight before scrubbing.
* Try a Commercial Oven Cleaner (As a Last Resort): If all else fails, you can try using a commercial oven cleaner. However, be sure to follow the instructions carefully and wear gloves and eye protection. Oven cleaners are very strong and can be harmful if not used properly. This should be a last resort, especially for non-stick pans.
Why This Hack Works So Well
The magic of this hack lies in the combination of vinegar and baking soda. The vinegar’s acidity helps to break down grease and grime, while the baking soda acts as a gentle abrasive to lift the loosened residue. The fizzing action created by the reaction between the two ingredients further enhances the cleaning power. It’s a simple, effective, and eco-friendly way to keep your frying pans clean and looking their best.
I hope this guide helps you conquer those stubborn frying pan stains! Let me know in the comments if you try it out and how it works for you. Happy cleaning!
Conclusion
So, there you have it! The Clean Frying Pan Vinegar Hack – a simple, effective, and surprisingly eco-friendly way to breathe new life into your cookware. We’ve all been there, staring down at a frying pan coated in stubborn grease and burnt-on food, dreading the scrubbing marathon ahead. But with this method, those days are over.
Why is this a must-try? Because it’s not just about cleaning; it’s about reclaiming your time and energy. Think about it: instead of spending precious minutes (or even hours!) battling grime, you can let the power of vinegar and a little bit of heat do the work for you. This hack is also incredibly budget-friendly. You likely already have vinegar in your pantry, making it a cost-effective alternative to expensive commercial cleaners filled with harsh chemicals. Plus, by extending the life of your frying pans, you’re saving money in the long run by avoiding premature replacements.
But the benefits extend beyond convenience and cost. This method is also gentler on your frying pans than abrasive scrubbers or harsh chemicals. It helps to preserve the non-stick coating (if applicable) and prevent scratches, ensuring your pans stay in top condition for longer. This is especially important for those high-quality, investment pieces you want to keep around for years to come.
Looking for variations? Absolutely! For particularly stubborn stains, try adding a tablespoon of baking soda to the vinegar and water mixture. The fizzing action can help to loosen even the most baked-on residue. You can also experiment with different types of vinegar. While white vinegar is the most common and readily available, apple cider vinegar can also work well and leaves behind a slightly sweeter scent. If you’re dealing with a pan that has burnt food stuck to the sides, consider using a larger pot or even your sink to fully submerge the pan in the vinegar solution.
For cast iron pans, be sure to re-season them after using this cleaning method to prevent rusting. A light coating of oil and a quick bake in the oven will do the trick. Remember to always allow your frying pan to cool completely before cleaning it to avoid warping or damaging the surface.
We are confident that once you try this Clean Frying Pan Vinegar Hack, you’ll wonder how you ever lived without it. It’s a game-changer for anyone who loves to cook but hates the cleanup. So, ditch the harsh chemicals, grab your vinegar, and get ready to experience the joy of effortlessly clean frying pans.
Don’t just take our word for it – give it a try and see the results for yourself! We’re eager to hear about your experiences. Share your before-and-after photos and tips in the comments below. Let’s build a community of sparkling-clean frying pan enthusiasts! We encourage you to share this hack with your friends and family so they can also benefit from this simple yet effective cleaning solution. Happy cleaning!
Frequently Asked Questions (FAQ)
What type of vinegar works best for cleaning frying pans?
White vinegar is generally the most effective and readily available option for cleaning frying pans. Its acidity helps to break down grease and burnt-on food. Apple cider vinegar can also be used, although it may not be as potent as white vinegar. Avoid using cleaning vinegar, as it is more concentrated and may be too harsh for some frying pan surfaces.
Can I use this hack on all types of frying pans?
This hack is generally safe for most types of frying pans, including stainless steel, non-stick, and ceramic. However, it’s essential to exercise caution when using it on cast iron pans. The acidity of the vinegar can strip away the seasoning, so it’s crucial to re-season the pan after cleaning. Avoid using this hack on aluminum frying pans, as the vinegar can react with the aluminum and cause discoloration. Always test a small, inconspicuous area first to ensure the vinegar doesn’t damage the pan’s surface.
How often should I use this cleaning method?
The frequency of using this cleaning method depends on how often you use your frying pans and how much food residue accumulates. For pans that are used frequently, cleaning them with vinegar once a week can help prevent buildup. For pans that are used less often, cleaning them every few weeks may be sufficient. If you notice stubborn stains or burnt-on food, you can use this method as needed.
What if the burnt-on food is extremely stubborn?
For extremely stubborn burnt-on food, you can try a few variations of this hack. First, increase the amount of vinegar in the solution. You can also add a tablespoon of baking soda to the vinegar and water mixture. The fizzing action will help to loosen the residue. Let the solution simmer for a longer period, up to 15-20 minutes, and then let it cool completely before scrubbing. If the food is still stuck, use a non-abrasive sponge or scraper to gently remove it. Avoid using steel wool or harsh scrubbers, as they can damage the pan’s surface.
Is the vinegar smell overpowering?
The vinegar smell can be noticeable, but it typically dissipates quickly after cleaning. To minimize the odor, ensure proper ventilation by opening windows or turning on the exhaust fan. You can also add a few drops of essential oil, such as lemon or lavender, to the vinegar solution to mask the smell. After cleaning, rinse the frying pan thoroughly with water and dry it completely to remove any lingering vinegar odor.
Can I use this method to clean the outside of my frying pan?
Yes, you can use this method to clean the outside of your frying pan. However, be careful not to get the vinegar solution on any painted or coated surfaces, as it may cause discoloration or damage. For the outside of the pan, you can apply the vinegar solution with a sponge or cloth and let it sit for a few minutes before scrubbing gently. Rinse thoroughly with water and dry completely.
What are some alternative cleaning methods for frying pans?
Besides the vinegar hack, there are several other effective cleaning methods for frying pans. For non-stick pans, you can use a mixture of dish soap and warm water. Avoid using abrasive scrubbers, as they can damage the non-stick coating. For stainless steel pans, you can use a paste of baking soda and water to remove stains and discoloration. For cast iron pans, you can use a chainmail scrubber or a stiff brush to remove food residue. Always remember to re-season cast iron pans after cleaning.
How do I prevent food from sticking to my frying pan in the first place?
Preventing food from sticking to your frying pan can save you time and effort in the long run. Make sure your pan is properly preheated before adding food. Use enough oil or butter to coat the bottom of the pan. Avoid overcrowding the pan, as this can lower the temperature and cause food to stick. Use the correct heat setting for the type of food you’re cooking. For example, delicate foods like eggs require low heat, while searing meats require high heat. Regularly clean your frying pan to prevent buildup and maintain its non-stick properties.

Leave a Comment