

Fast oven degreasing tips are a game-changer for anyone who loves to bake but dreads the aftermath! Let’s be honest, who actually enjoys scrubbing a greasy oven? I know I don’t! For generations, tackling a grimy oven has been a household chore steeped in elbow grease and harsh chemicals. Think back to your grandmother’s methods – probably involving a lot of scrubbing and a lingering chemical smell. But thankfully, times have changed!
Today, we’re armed with smarter, faster, and often more eco-friendly ways to conquer that baked-on mess. This DIY guide is your secret weapon to reclaim your oven’s sparkle without spending hours or resorting to harsh chemicals. Imagine effortlessly wiping away grease and grime, leaving your oven ready for your next culinary masterpiece.
Why do you need these fast oven degreasing tips? Because life is too short to spend it scrubbing! A clean oven not only looks better, but it also performs better, ensuring even cooking and preventing unpleasant odors. Plus, a clean oven is a safer oven, reducing the risk of fire hazards. So, ditch the harsh chemicals and endless scrubbing – let’s dive into these simple and effective DIY methods to get your oven sparkling clean in no time!
DIY Oven Degreasing: A Sparkling Clean Oven in No Time!
Okay, let’s face it, cleaning the oven is probably on everyone’s list of least favorite chores. But a greasy oven not only smells bad, it can also affect the taste of your food and even be a fire hazard. So, let’s tackle this beast together! I’m going to walk you through a super effective, mostly natural DIY oven degreasing method that will leave your oven sparkling clean without harsh chemicals.
What You’ll Need:
Before we dive in, let’s gather our supplies. This is a pretty simple process, so you probably already have most of these items on hand.
* Baking Soda
* White Vinegar
* Water
* Spray Bottle
* Rubber Gloves (trust me, you’ll want these!)
* Sponge or Scrub Brush (non-scratch if you have a self-cleaning oven)
* Plastic Scraper or Spatula
* Paper Towels or Cleaning Rags
* Old Towels or Newspaper (for protecting your floor)
* Small Bowl
Preparing Your Oven:
This is a crucial step. Don’t skip it!
1. Safety First! Make sure your oven is completely cool. Unplug it if possible, or at least turn off the breaker. We don’t want any accidents!
2. Remove the Racks: Take out all the oven racks, baking stones, thermometers, or anything else that’s inside. We’ll clean those separately.
3. Protect Your Floor: Lay down old towels or newspaper around the base of your oven to catch any drips or spills. This will save you from having to clean the floor later.
4. A Quick Wipe Down (Optional): If there are any loose crumbs or large pieces of food, give the oven a quick wipe down with a dry paper towel. This will make the baking soda paste more effective.
Making the Magic Paste: The Baking Soda Solution
This is where the real cleaning power comes from. Baking soda is a natural deodorizer and mild abrasive, perfect for breaking down grease and grime.
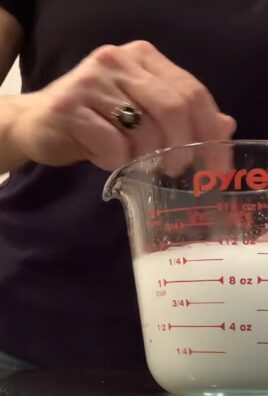
1. Mix the Paste: In your small bowl, combine about ½ cup of baking soda with enough water to form a thick, spreadable paste. You’ll want it to be the consistency of frosting. Add water a little at a time until you reach the right consistency.
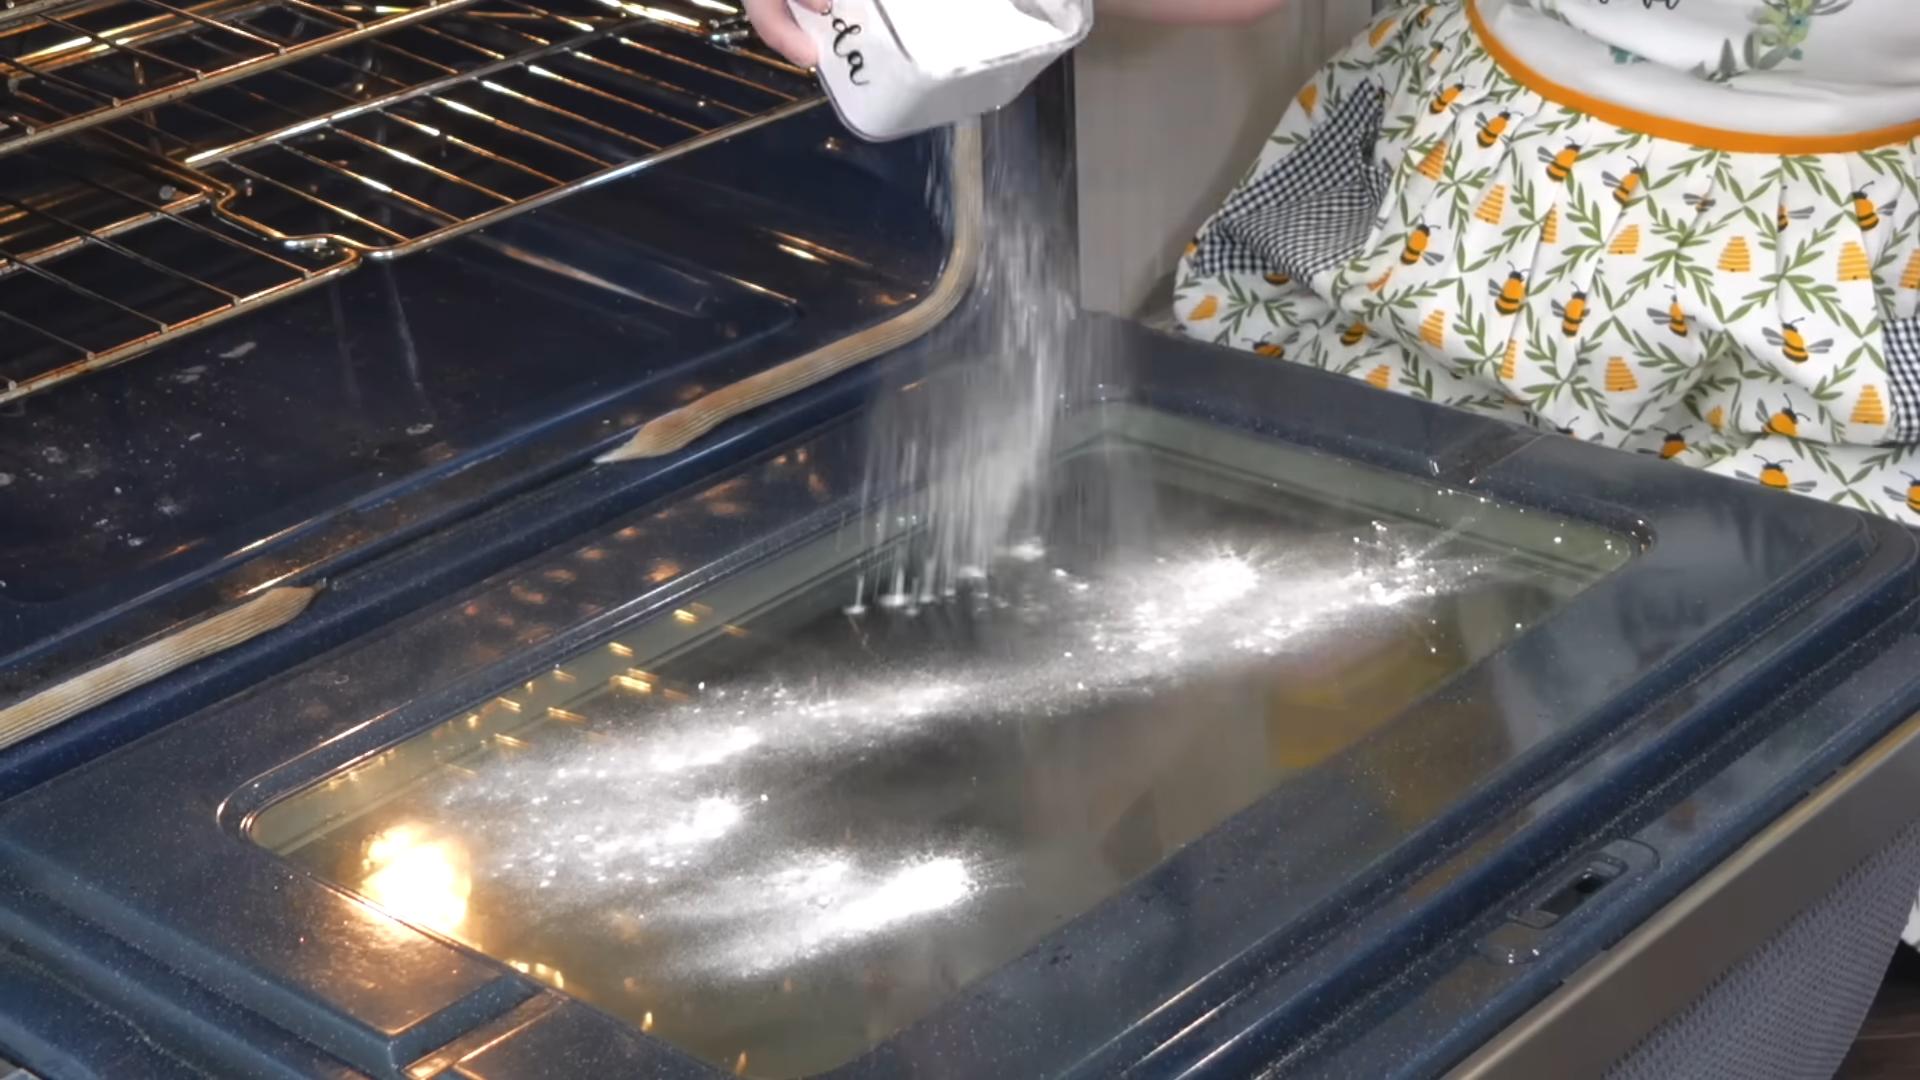
2. Coat the Oven: Using your rubber gloves (remember, safety first!), generously coat the entire interior of your oven with the baking soda paste. This includes the walls, the floor, the door, and even the heating elements (if you can reach them safely). Avoid the heating elements if you are unsure.
3. Don’t Forget the Door: Pay special attention to areas with heavy grease buildup. The oven door often gets neglected, so make sure to give it a good coating.
4. Let it Sit: This is the most important part! Let the baking soda paste sit for at least 12 hours, or even overnight. The longer it sits, the more time it has to break down the grease. I usually do this before I go to bed so it can work its magic while I sleep.
Cleaning the Racks:
While the baking soda is working its magic inside the oven, let’s tackle those greasy racks.
1. Choose Your Method: There are a few ways to clean oven racks. You can use your bathtub, a large utility sink, or even a large trash bag. I prefer the bathtub method because it’s the easiest for me.
2. The Bathtub Method: Line your bathtub with old towels to protect the finish. Place the oven racks in the tub.
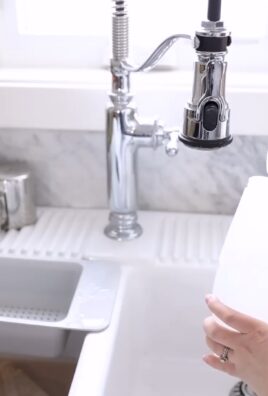
3. Hot Water and Dish Soap: Fill the tub with hot water, enough to completely submerge the racks. Add a generous amount of dish soap.
4. Soak and Scrub: Let the racks soak for at least 30 minutes, or even longer if they’re really greasy. After soaking, use a scrub brush or sponge to scrub away any remaining grease and grime.
5. Rinse and Dry: Rinse the racks thoroughly with clean water and dry them with a towel.
6. The Trash Bag Method: Place the racks in a large, heavy-duty trash bag. Add about 1/2 cup of ammonia. Seal the bag tightly and let it sit overnight outside or in a well-ventilated area. The fumes from the ammonia will help loosen the grease. Be extremely careful when opening the bag and disposing of the ammonia. Rinse the racks thoroughly with water and dry them. **Caution: Never mix ammonia with bleach!**
The Vinegar Power Wash:
After the baking soda has done its thing, it’s time for the vinegar power wash!
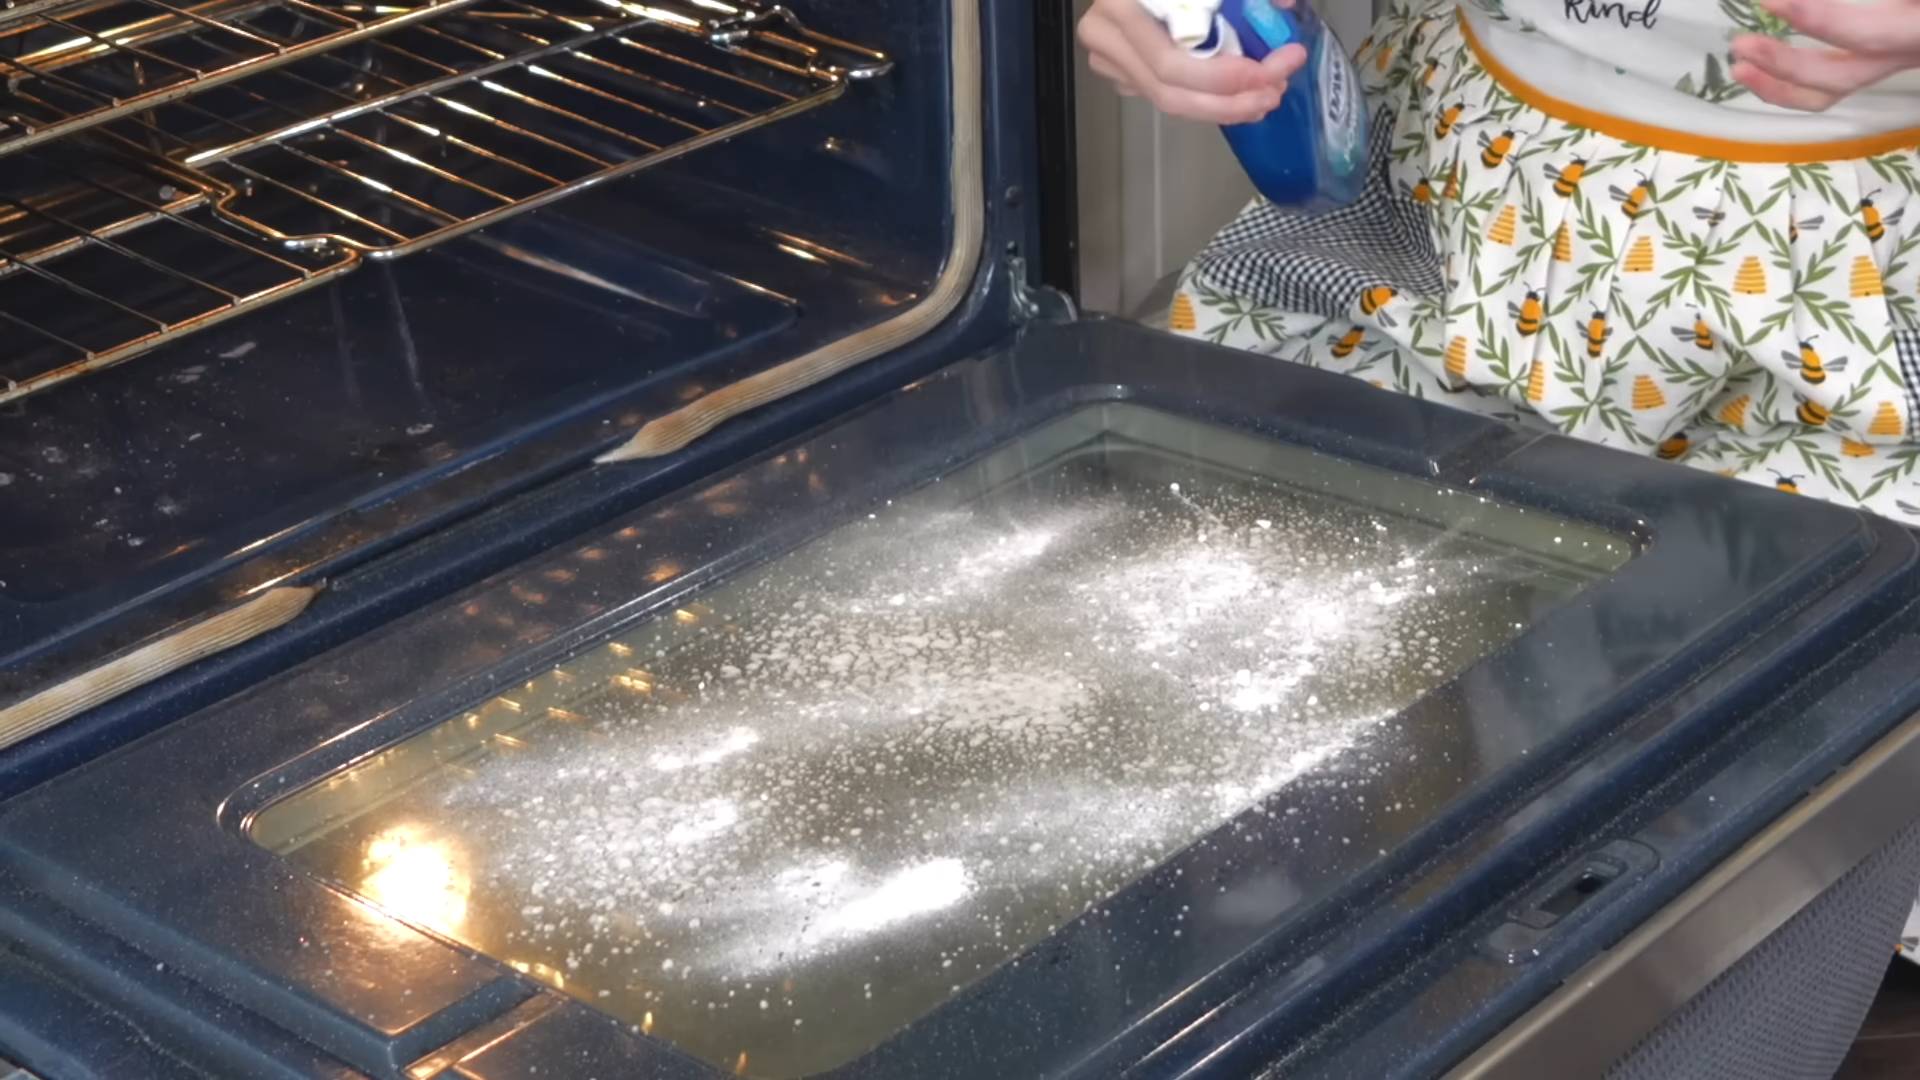
1. Vinegar Spray: Fill your spray bottle with white vinegar. Don’t dilute it! We want the full cleaning power of the vinegar.
2. Spray the Oven: Generously spray the entire interior of the oven with the vinegar. The vinegar will react with the baking soda, creating a fizzy, bubbly action. This is normal and helps to loosen the remaining grease and grime.
3. Wipe Away the Grime: Using your sponge or scrub brush, start wiping away the baking soda paste and the loosened grease. You may need to use a little elbow grease, especially in areas with heavy buildup.
4. Use the Scraper: For stubborn spots, use your plastic scraper or spatula to gently scrape away the grime. Be careful not to scratch the oven’s surface, especially if you have a self-cleaning oven.
5. Rinse and Repeat: Rinse your sponge or scrub brush frequently with clean water. You may need to repeat the spraying and wiping process several times to remove all the baking soda and grease.
6. Final Wipe Down: Once you’ve removed all the baking soda and grease, give the oven a final wipe down with a clean, damp cloth.
Dealing with Stubborn Spots:
Sometimes, even with all our efforts, there are still a few stubborn spots that just won’t budge. Don’t worry, we have a few tricks up our sleeves!
* More Baking Soda Paste: For really tough spots, try applying a fresh layer of baking soda paste and letting it sit for a few more hours.
* Vinegar Soak: Soak a paper towel or cleaning rag in vinegar and place it over the stubborn spot. Let it sit for about 30 minutes to help loosen the grime.
* Commercial Oven Cleaner (as a last resort): If all else fails, you can use a commercial oven cleaner. However, be sure to follow the instructions carefully and wear gloves and eye protection. Make sure to ventilate the area well.
Putting It All Back Together:
Almost there! Now it’s time to put everything back in its place.
1. Dry the Oven: Make sure the oven is completely dry before replacing the racks. You can use a clean towel to dry it, or simply let it air dry.
2. Replace the Racks: Carefully place the clean oven racks back into the oven.
3. Plug It In (or Turn on the Breaker): If you unplugged the oven or turned off the breaker, now’s the time to plug it back in or turn the breaker back on.
Maintaining Your Sparkling Clean Oven:
Now that you’ve gone through all the trouble of cleaning your oven, you’ll want to keep it clean! Here are a few tips:
* Wipe Up Spills Immediately: The easiest way to keep your oven clean is to wipe up spills as soon as they happen.
* Use Oven Liners: Oven liners can help catch drips and spills, making cleanup much easier.
* Regular Cleaning: Try to clean your oven at least once every few months, or more often if you use it frequently.
And that’s it! You’ve successfully degreased your oven using a simple, natural DIY method. Enjoy your sparkling clean oven and the delicious food you’ll be able to cook in it! I hope this guide was helpful. Happy cleaning!
Conclusion
So, there you have it! Mastering the art of fast oven degreasing doesn’t require harsh chemicals or hours of back-breaking scrubbing. This simple, DIY method is a game-changer for anyone who dreads oven cleaning. It’s not just about saving time; it’s about creating a healthier cooking environment and extending the life of your appliance. Think about it: a clean oven cooks more efficiently, ensuring your food is heated evenly and tastes its best. Plus, eliminating that built-up grease reduces the risk of unpleasant odors and even potential fire hazards.
This method is a must-try because it’s effective, affordable, and environmentally friendly. You’re likely to have most of the ingredients already in your pantry, making it a convenient solution whenever your oven needs a refresh. The combination of baking soda and vinegar creates a powerful, yet gentle, cleaning action that loosens stubborn grease and grime without damaging your oven’s interior.
But don’t stop there! Feel free to experiment with variations to suit your specific needs and preferences. For instance, if you have particularly stubborn stains, you can add a few drops of lemon essential oil to the baking soda paste for an extra boost of cleaning power and a refreshing scent. Alternatively, you could try using a paste made with cream of tartar instead of baking soda for a slightly different abrasive action. For ovens with heavily soiled glass doors, consider using a dedicated glass cleaner after the baking soda and vinegar treatment for a sparkling finish.
Remember, consistency is key. While this method is incredibly effective, regular maintenance will prevent grease from building up to problematic levels in the first place. Aim to give your oven a quick clean every few weeks, or after particularly messy cooking sessions. This will not only keep your oven looking its best but also make future deep cleans much easier.
We are confident that this fast oven degreasing trick will revolutionize your cleaning routine. It’s a simple, effective, and eco-friendly way to keep your oven sparkling clean and functioning at its best.
Now, it’s your turn! We encourage you to try this DIY method and see the amazing results for yourself. Don’t be afraid to experiment with the variations we’ve suggested and find what works best for your oven. And most importantly, we want to hear about your experience! Share your before-and-after photos, tips, and tricks in the comments section below. Let’s create a community of clean oven enthusiasts and help each other conquer the dreaded oven cleaning chore once and for all! Your insights could be invaluable to other readers, and we’re always eager to learn from your experiences. So, go ahead, give it a try, and let us know how it goes! Happy cleaning!
Frequently Asked Questions (FAQ)
1. How often should I degrease my oven using this method?
The frequency of oven degreasing depends on how often you use your oven and the type of cooking you do. If you frequently cook greasy foods or use your oven several times a week, you should aim to degrease it every 2-4 weeks. For less frequent use, a cleaning every 2-3 months may suffice. Regular spot cleaning after spills can also help prevent significant grease buildup. Remember, consistent light cleaning is always easier than tackling a heavily soiled oven.
2. Can I use this method on a self-cleaning oven?
While this method is generally safe for most ovens, it’s crucial to consult your oven’s user manual before attempting any cleaning, especially if it’s a self-cleaning model. Some manufacturers advise against using baking soda or other cleaning agents in self-cleaning ovens, as they may damage the oven’s interior or interfere with the self-cleaning function. If your manual permits, ensure all baking soda residue is thoroughly removed before running the self-cleaning cycle. If you are unsure, stick to manual cleaning methods.
3. What if the grease is really stubborn and doesn’t come off easily?
For particularly stubborn grease, you can try a few things. First, ensure the baking soda paste is thick enough and has been applied generously to the affected areas. Let it sit for a longer period, even overnight, to allow the baking soda to penetrate and loosen the grease. You can also try gently scrubbing the area with a non-abrasive sponge or brush. Avoid using steel wool or harsh scouring pads, as they can scratch the oven’s surface. Another option is to create a stronger cleaning solution by adding a small amount of dish soap to the baking soda paste. The degreasing properties of the dish soap can help break down the grease more effectively.
4. Is it safe to use vinegar on all oven surfaces?
Vinegar is generally safe for most oven surfaces, but it’s always a good idea to test it on a small, inconspicuous area first, especially if you have a newer or more delicate oven. Avoid using vinegar on heating elements or electrical components. If you have a stainless steel oven, be sure to wipe it down with a clean, damp cloth after using vinegar to prevent streaks or water spots. For enameled surfaces, vinegar is usually safe, but prolonged exposure to undiluted vinegar could potentially dull the finish over time.
5. Can I use this method to clean the oven racks?
Yes, this method is excellent for cleaning oven racks. You can soak the racks in a solution of hot water and baking soda in your bathtub or a large container. Let them soak for several hours or overnight, then scrub them with a brush or sponge to remove the loosened grease and grime. For particularly stubborn spots, you can apply a baking soda paste directly to the racks and let it sit for a while before scrubbing. Rinse the racks thoroughly with clean water and dry them completely before placing them back in the oven.
6. What if I don’t have vinegar? Can I use something else?
While vinegar is a key ingredient in this method due to its acidity and ability to react with baking soda, you can try using lemon juice as a substitute. Lemon juice also has acidic properties that can help break down grease and grime. Use it in the same way you would use vinegar, spraying it onto the baking soda paste and letting it fizz. Another alternative is to use a mixture of hot water and dish soap. While this won’t have the same fizzing action as baking soda and vinegar, the dish soap can still help to degrease the oven.
7. How do I get rid of the baking soda residue after cleaning?
The best way to remove baking soda residue is to wipe down the oven thoroughly with a clean, damp cloth or sponge. Rinse the cloth or sponge frequently to avoid spreading the residue around. You may need to repeat this process several times to ensure all the baking soda is removed. For hard-to-reach areas, you can use a spray bottle filled with water to rinse away the residue. Make sure the oven is completely dry before using it again.
8. Will this method remove burnt-on food particles as well as grease?
Yes, this method is effective at removing both grease and burnt-on food particles. The baking soda helps to loosen the food particles, while the vinegar helps to break them down. For particularly stubborn burnt-on food, you may need to let the baking soda paste sit for a longer period and scrub the area more vigorously. You can also try using a plastic scraper to gently lift the burnt-on food particles after they have been softened by the baking soda and vinegar.
9. Is this method safe for people with allergies or sensitivities to chemicals?
Yes, this DIY oven degreasing method is generally considered safe for people with allergies or sensitivities to chemicals, as it uses natural ingredients like baking soda and vinegar. However, it’s always a good idea to test a small area first to ensure you don’t have any adverse reactions. If you have particularly sensitive skin, you may want to wear gloves while cleaning to avoid irritation. If you are using essential oils, ensure they are safe for you and your family, including pets.
10. Can I use this method on a convection oven?
Yes, this method is safe to use on a convection oven. However, be extra careful to avoid getting any baking soda or vinegar on the convection fan or heating element. If you do accidentally get some on these components, wipe them down immediately with a clean, damp cloth. As with any oven, consult your owner’s manual for specific cleaning instructions and recommendations.

Leave a Comment