

Growing green onions in bottles? Sounds a little crazy, right? But trust me, this simple DIY trick is a game-changer for anyone who loves fresh flavor and hates wasting food. I’m going to show you how to transform those sad, leftover green onion ends into a thriving, never-ending supply of deliciousness, all from the comfort of your kitchen counter!
For centuries, resourceful gardeners have sought ways to maximize their yields and minimize waste. While the exact origins of regrowing vegetables are hard to pinpoint, the practice speaks to a deep-seated human connection with the earth and a desire to nurture life. Think about it – our grandparents and great-grandparents often relied on these kinds of clever techniques to stretch their resources, and now we can tap into that same ingenuity.
Let’s face it, buying fresh green onions from the store can be a bit of a gamble. Sometimes you only need a sprinkle, and the rest ends up wilting in the fridge. This is where the magic of growing green onions in bottles comes in! Not only does it save you money and reduce food waste, but it also provides a constant supply of fresh, flavorful green onions whenever you need them. Imagine adding a vibrant garnish to your soups, salads, or tacos without ever having to run to the grocery store. Ready to ditch the wilting greens and embrace a sustainable, delicious solution? Let’s get started!
Grow Green Onions Indoors From Scraps: A Beginner’s Guide
Hey there, fellow plant enthusiasts! Are you tired of running to the grocery store every time you need a sprinkle of fresh green onions? Well, I’ve got a super easy and rewarding DIY project for you: growing green onions indoors from scraps! It’s a fantastic way to reduce food waste, save money, and always have fresh herbs on hand. Trust me, once you start, you’ll never look back.
What You’ll Need
Before we dive in, let’s gather our supplies. This is a pretty low-key project, so you probably already have most of these things lying around:
* Green Onion Scraps: The stars of the show! Save the white bulb ends with about an inch or two of the green stalks attached.
* Clear Plastic Bottles: Think soda bottles, water bottles, juice bottles – anything clear and plastic will work. The size will depend on how many green onions you want to grow in each container.
* Scissors or a Utility Knife: For cutting the plastic bottles. Be careful!
* Potting Mix: Regular potting mix is perfect.
* Water: Tap water is fine.
* Optional: Liquid Fertilizer: A balanced liquid fertilizer can give your green onions a boost, but it’s not essential.
* Optional: Small Pebbles or Gravel: To improve drainage.
Preparing the Bottles
Okay, let’s get our hands dirty! The first step is to prep our growing containers.
1. Clean the Bottles: Thoroughly wash the plastic bottles with soap and water to remove any residue. Rinse them well.
2. Cut the Bottles: This is where the scissors or utility knife come in. You’ll want to cut the bottle in half, or slightly above the halfway point. The bottom half will be our planter, and the top half will act as a sort of humidity dome (optional, but recommended).
3. Create Drainage Holes (Optional but Recommended): If you’re using potting mix, drainage is crucial. Carefully poke a few small holes in the bottom of the bottle using the tip of your scissors or knife. Be careful not to make them too big, or the soil will fall through. If you’re using just water, you can skip this step.
4. Add Pebbles (Optional): If you’re using drainage holes, you can add a layer of small pebbles or gravel to the bottom of the bottle to further improve drainage. This helps prevent the roots from sitting in soggy soil.
Planting the Green Onion Scraps
Now for the fun part – planting! This is super simple, I promise.
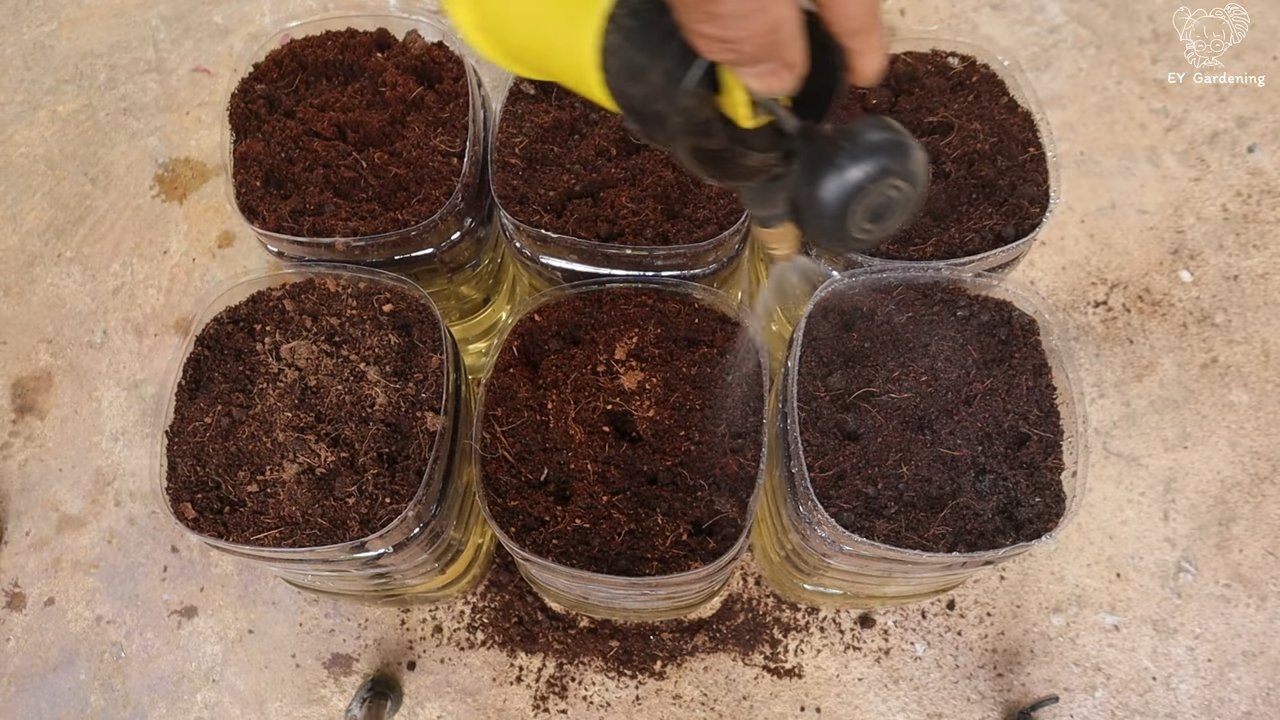
1. Fill the Bottle with Potting Mix: If you’re using potting mix, fill the bottom half of the bottle with it, leaving about an inch of space at the top. Gently pat the soil down.
2. Plant the Green Onion Scraps: Make a small hole in the soil for each green onion scrap. Plant the white bulb end, leaving the green stalks exposed. Space them about an inch or two apart.
3. Water Thoroughly: Water the soil until it’s evenly moist, but not soggy. You should see water draining out of the drainage holes (if you made them).
4. Create a Humidity Dome (Optional): Place the top half of the bottle (the part you cut off) upside down over the bottom half, creating a mini greenhouse. This will help retain moisture and humidity, which is especially beneficial in the early stages of growth. Remove the top for a few hours each day to allow for air circulation and prevent mold growth.
Growing Green Onions in Water Only
If you prefer a simpler method, you can grow your green onions in water only. This is a great option if you don’t want to deal with soil.
1. Prepare the Bottle: Follow steps 1 and 2 from the “Preparing the Bottles” section. Skip step 3 (drainage holes) and step 4 (pebbles).
2. Add Water: Fill the bottom half of the bottle with water, leaving about an inch of space at the top.
3. Place the Green Onion Scraps: Place the green onion scraps in the water, making sure that the white bulb end is submerged. You can bunch them together or spread them out.
4. Change the Water Regularly: This is important to prevent the water from becoming stagnant and attracting bacteria. Change the water every 1-2 days.
Caring for Your Green Onions
Okay, you’ve planted your green onions – now what? Here’s how to keep them happy and thriving:
* Light: Green onions need plenty of light to grow. Place your bottle near a sunny window that gets at least 6 hours of direct sunlight per day. If you don’t have a sunny window, you can use a grow light.
* Watering: If you’re growing in potting mix, water when the top inch of soil feels dry to the touch. Don’t overwater, as this can lead to root rot. If you’re growing in water, remember to change the water every 1-2 days.
* Fertilizing (Optional): If you want to give your green onions a boost, you can fertilize them every 2-3 weeks with a balanced liquid fertilizer diluted to half strength.
* Temperature: Green onions prefer temperatures between 60-75°F (15-24°C).
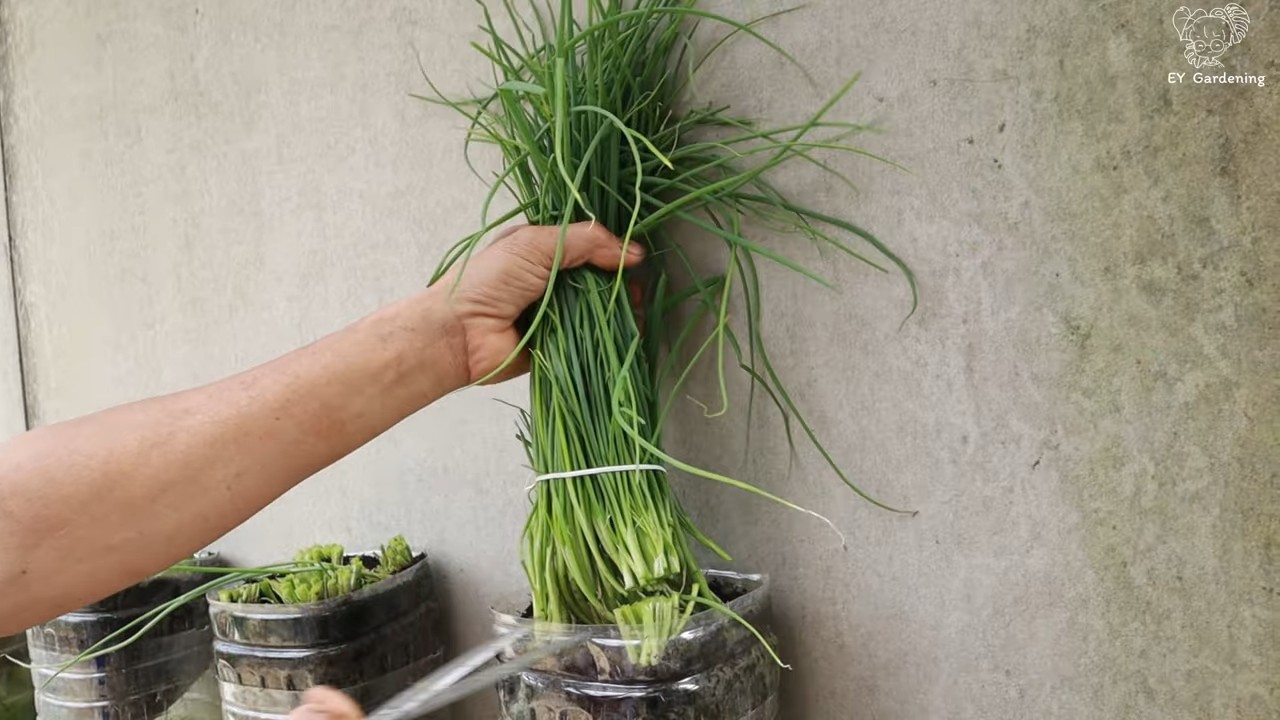
* Harvesting: You can start harvesting your green onions when they’re about 6-8 inches tall. Simply snip off the green stalks with scissors, leaving about an inch or two of the base intact. The green onions will continue to grow back, providing you with a continuous supply of fresh herbs.
Troubleshooting
Sometimes, things don’t go exactly as planned. Here are a few common problems you might encounter and how to fix them:
* Yellowing Leaves: This could be a sign of overwatering, underwatering, or lack of nutrients. Check the soil moisture and adjust your watering accordingly. If you haven’t fertilized, try giving your green onions a dose of liquid fertilizer.
* Slow Growth: This could be due to lack of light or nutrients. Make sure your green onions are getting enough sunlight and consider fertilizing them.
* Mold Growth: This is more common when growing in water. Make sure to change the water regularly and clean the bottle thoroughly. If you’re using a humidity dome, remove it for a few hours each day to allow for air circulation.
* Root Rot: This is caused by overwatering. Make sure your soil is well-draining and avoid watering too frequently. If you suspect root rot, you can try repotting your green onions in fresh soil.
Tips and Tricks
Here are a few extra tips to help you succeed with your green onion growing project:
* Rotate the Bottle: Rotate the bottle regularly to ensure that all sides of the green onions get equal sunlight.
* Successive Planting: Plant new green onion scraps every few weeks to ensure a continuous supply.
* Experiment with Different Varieties: There are many different varieties of green onions, so experiment to find your favorites.
* Use Different Containers: While plastic bottles are a great option, you can also use other containers, such as glass jars or ceramic pots.
* Enjoy Your Harvest: Use your fresh green onions in salads, soups, stir-fries, and any other dish that calls for them.
Why This Works: The Science Behind the Sprout
The magic behind regrowing green onions lies in their ability to regenerate from their base. The white bulb contains dormant cells that, when provided with water, light, and nutrients, spring back to life. The plant uses the stored energy in the bulb to initiate new growth, sending up fresh green shoots. Even without soil, the water provides the necessary hydration, and the sunlight fuels photosynthesis, allowing the plant to continue growing. While soil provides additional nutrients for more robust growth, the simple act of placing the bulb in water is often enough to kickstart the process.
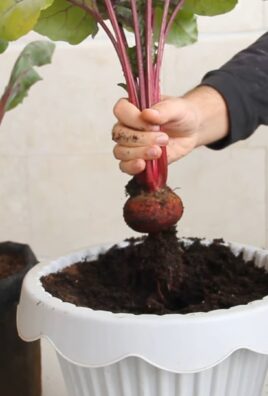
Beyond Green Onions: Other Veggies to Regrow
Once you’ve mastered the art of regrowing green onions, you might be inspired to try your hand at other vegetables. Celery, lettuce, bok choy, and even ginger can be regrown from scraps using similar methods. It’s a fun and sustainable way to extend the life of your produce and reduce waste.
So there you have it! Growing green onions from scraps is a simple, rewarding, and sustainable DIY project that anyone can do. Give it a try, and I think you’ll be amazed at how easy it is to have a constant supply of fresh herbs right at your fingertips. Happy growing!
Conclusion
So, there you have it! Transforming humble plastic bottles into thriving green onion gardens is not just a fun project; it’s a sustainable, cost-effective, and incredibly rewarding way to ensure you always have fresh green onions at your fingertips. We’ve explored the simple steps, from preparing your bottles and soil to planting and nurturing your green onions, and hopefully, you’re feeling inspired to embark on this green adventure.
But why is this DIY trick a must-try? Beyond the obvious convenience of having fresh herbs readily available, growing green onions in bottles offers a multitude of benefits. It’s a fantastic way to recycle plastic, reducing waste and contributing to a more eco-friendly lifestyle. It’s also incredibly space-saving, making it ideal for apartment dwellers or anyone with limited garden space. Plus, let’s be honest, there’s something deeply satisfying about nurturing a plant from a tiny bulb to a vibrant, flavorful ingredient.
Don’t be afraid to experiment with variations! Try using different types of bottles – larger bottles can accommodate more green onions, while smaller bottles are perfect for a windowsill herb garden. You can also explore different soil mixes to see what works best in your environment. Consider adding a slow-release fertilizer to the soil to provide your green onions with a steady supply of nutrients.
Another exciting variation is to create a vertical green onion garden by stacking multiple bottle planters. This not only maximizes space but also adds a visually appealing element to your balcony or patio. Get creative with the design and arrangement of your bottle planters to create a unique and personalized green space.
Remember, the key to success is consistent watering and providing adequate sunlight. Monitor your green onions regularly and adjust your care routine as needed. Don’t be discouraged if you encounter a few hiccups along the way – gardening is a learning process, and every mistake is an opportunity to improve your skills.
We wholeheartedly encourage you to try this DIY green onion growing method. It’s a simple, affordable, and incredibly rewarding way to add fresh flavor to your meals and contribute to a more sustainable lifestyle. Once you’ve experienced the joy of harvesting your own homegrown green onions, you’ll never want to go back to store-bought again.
And most importantly, we want to hear about your experience! Share your photos, tips, and stories with us in the comments below. Let us know what worked well for you, what challenges you faced, and any creative variations you came up with. Together, we can create a community of passionate green onion growers and inspire others to embrace the joys of DIY gardening. So, grab those bottles, get your hands dirty, and start growing your own delicious green onions today! This **growing green onions in bottles** method is a game changer!
Frequently Asked Questions (FAQ)
What kind of bottles are best for growing green onions?
The best bottles for growing green onions are clear or translucent plastic bottles, as they allow sunlight to reach the soil. Avoid using dark-colored bottles, as they can absorb too much heat and potentially damage the roots. Soda bottles, water bottles, and juice bottles all work well. Just make sure to thoroughly clean the bottles before using them to remove any residue. The size of the bottle will determine how many green onions you can grow in each container. Larger bottles are suitable for growing multiple green onions, while smaller bottles are ideal for individual plants.
What type of soil should I use?
A well-draining potting mix is ideal for growing green onions in bottles. Avoid using garden soil, as it can be too heavy and compact, which can hinder root growth. A good potting mix will provide adequate drainage and aeration, allowing the roots to thrive. You can also amend the potting mix with compost or other organic matter to improve its fertility and water-retention capacity. A mix of equal parts potting soil, perlite, and vermiculite is a great option.
How often should I water my green onions?
Water your green onions regularly, keeping the soil consistently moist but not waterlogged. The frequency of watering will depend on the climate, the type of soil, and the size of the bottle. Check the soil moisture regularly by sticking your finger into the soil. If the top inch of soil feels dry, it’s time to water. Avoid overwatering, as this can lead to root rot. Ensure that the bottles have drainage holes to allow excess water to escape.
How much sunlight do green onions need?
Green onions need at least 6 hours of sunlight per day to thrive. Place your bottle planters in a sunny location, such as a windowsill, balcony, or patio. If you don’t have access to enough natural sunlight, you can supplement with artificial grow lights. Rotate the bottles regularly to ensure that all sides of the plants receive adequate sunlight.
How do I harvest green onions?
You can start harvesting green onions when they are about 6-8 inches tall. Simply snip off the green tops with scissors, leaving about an inch of the white bulb intact. The green onions will continue to grow, allowing you to harvest them multiple times. Avoid pulling the entire plant out of the soil, as this will prevent further growth.
Can I regrow green onions from store-bought scraps?
Yes, you can easily regrow green onions from store-bought scraps. Simply place the white bulb end of the green onion in a glass of water, making sure that the roots are submerged. Place the glass in a sunny location and change the water every day. After a few days, you will see new green shoots emerging from the top of the bulb. Once the roots have grown to about an inch long, you can transplant the green onion into a bottle planter filled with potting mix.
How do I fertilize my green onions?
Green onions benefit from regular fertilization. You can use a liquid fertilizer diluted to half strength every 2-3 weeks. Alternatively, you can add a slow-release fertilizer to the soil when planting. Choose a fertilizer that is rich in nitrogen, as this will promote leafy growth. Avoid over-fertilizing, as this can burn the roots.
What are some common problems when growing green onions in bottles?
Some common problems when growing green onions in bottles include yellowing leaves, stunted growth, and pest infestations. Yellowing leaves can be caused by overwatering, underwatering, or nutrient deficiencies. Stunted growth can be caused by insufficient sunlight, poor soil quality, or pest infestations. To prevent pest infestations, inspect your plants regularly and remove any pests that you find. You can also use organic pest control methods, such as neem oil or insecticidal soap.
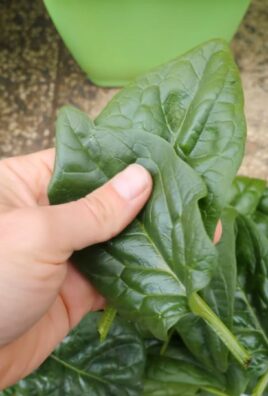
Can I grow other herbs in bottles using the same method?
Yes, you can grow many other herbs in bottles using the same method. Some popular herbs to grow in bottles include basil, mint, parsley, and chives. The care requirements for these herbs may vary slightly, so be sure to research the specific needs of each herb before planting.
How long will my green onions last in the bottle?
With proper care, your green onions can last for several months in the bottle. However, they will eventually start to decline in productivity. When this happens, you can either start a new batch of green onions or transplant the existing plants into a larger container.
Leave a Comment