

Soil Free Microgreens at Home: Imagine harvesting fresh, nutrient-packed greens right from your kitchen counter, without ever getting your hands dirty! Sounds like a dream, right? Well, it’s totally achievable, and I’m here to show you how with this super simple DIY guide to growing microgreens without soil.
For centuries, humans have cultivated plants, but the idea of growing food indoors, especially without soil, has really taken off in recent years. While hydroponics has been around for a while, the beauty of growing microgreens this way is its accessibility. You don’t need fancy equipment or a green thumb! It’s a fantastic way to connect with nature, even in the middle of a bustling city.
Why should you try this? Well, for starters, it’s incredibly convenient. Forget trips to the grocery store for those expensive little containers of microgreens. Plus, you know exactly what’s going into your food – no pesticides or hidden chemicals. But the biggest reason, in my opinion, is the sheer joy of watching something grow. It’s therapeutic, rewarding, and a fantastic way to add a burst of flavor and nutrition to your meals. So, let’s dive into this easy and fun project and discover the magic of soil free microgreens at home!
Growing Soil-Free Microgreens at Home: A Beginner’s Guide
Hey there, fellow gardening enthusiasts! Are you itching to grow your own fresh, nutrient-packed microgreens but dread the mess of soil? Well, you’re in luck! I’m going to walk you through a super simple and clean method for growing microgreens without any soil at all. It’s easier than you think, and the results are incredibly rewarding. Get ready to enjoy delicious, homegrown microgreens in just a matter of days!
What You’ll Need
Before we dive in, let’s gather our supplies. The beauty of this method is that you probably already have most of these items lying around!
* Seeds: Choose your favorite microgreen seeds! Popular options include broccoli, radish, sunflower, pea shoots, and kale. Make sure you’re using seeds specifically intended for sprouting or microgreens, not treated seeds meant for full-grown plants.
* Growing Trays: You’ll need two trays – one with drainage holes (the inner tray) and one without (the outer tray). These can be plastic seedling trays, repurposed food containers (like takeout containers), or even baking dishes. Just make sure the inner tray fits snugly inside the outer tray.
* Growing Medium: Instead of soil, we’ll be using a non-soil medium. Great options include:
* Hemp Mats: These are my personal favorite! They’re absorbent, sustainable, and provide excellent support for the roots.
* Coconut Coir Mats: Similar to hemp mats, coconut coir is another eco-friendly and effective option.
* Paper Towels: A readily available and budget-friendly choice. Use unbleached paper towels for best results.
* Burlap: A natural and breathable option, but it might require a bit more attention to moisture levels.
* Spray Bottle: For misting the seeds and keeping the growing medium moist.
* Weight (Optional): A small weight, like a book or a brick wrapped in plastic, to help the seeds germinate evenly.
* Dark Cover (Optional): A lid or another tray to block out light during the germination phase.
* Hydrogen Peroxide (3%): This is optional, but a diluted solution can help prevent mold growth.
* Measuring Cup: For measuring water.
* Clean Water: Tap water is usually fine, but filtered water is even better.
Step-by-Step Instructions: Soil-Free Microgreen Magic
Okay, let’s get our hands dirty (well, not really, since we’re avoiding soil!). Follow these steps, and you’ll be enjoying your own homegrown microgreens in no time.
Phase 1: Preparing the Growing Medium and Seeds
1. Soak the Seeds (Optional but Recommended): Soaking your seeds before planting can significantly improve germination rates. Place your seeds in a bowl and cover them with water. The soaking time varies depending on the seed type:
* Broccoli, radish, kale: 4-6 hours
* Sunflower: 8-12 hours
* Pea shoots: 12-24 hours
This step helps to soften the seed coat and kickstart the germination process.
2. Prepare the Growing Medium:
* Hemp or Coconut Coir Mats: Cut the mat to fit snugly inside your inner tray. Thoroughly wet the mat with water and gently squeeze out any excess. It should be damp but not dripping.
* Paper Towels: Line the inner tray with 3-4 layers of paper towels. Moisten the paper towels thoroughly with water, ensuring they are evenly saturated. Gently press down to remove any air pockets.
* Burlap: Cut the burlap to fit the inner tray. Soak it in water until fully saturated, then gently squeeze out the excess water.
3. Sow the Seeds: Sprinkle the soaked seeds evenly over the prepared growing medium. Don’t overcrowd them! You want them close enough to support each other but not so dense that they compete for resources. A good rule of thumb is to aim for about 75% coverage of the growing medium.
4. Mist the Seeds: Gently mist the seeds with water from your spray bottle. This will help them adhere to the growing medium and stay hydrated.
5. Optional: Hydrogen Peroxide Treatment: If you’re concerned about mold, you can lightly mist the seeds with a diluted hydrogen peroxide solution (1 tablespoon of 3% hydrogen peroxide per cup of water). This can help inhibit mold growth without harming the seeds.
Phase 2: Germination (The Dark Phase)
1. Cover the Seeds: Place the dark cover (lid or another tray) over the inner tray to block out light. This creates a humid environment that encourages germination.
2. Weight the Seeds (Optional): Place a light weight on top of the cover. This helps the seeds make good contact with the growing medium and promotes even germination. Be careful not to use anything too heavy, as it could crush the seeds.
3. Maintain Moisture: Check the moisture level of the growing medium daily. Gently mist the seeds with water as needed to keep them consistently damp. You don’t want them to dry out, but you also don’t want them to be soaking wet.
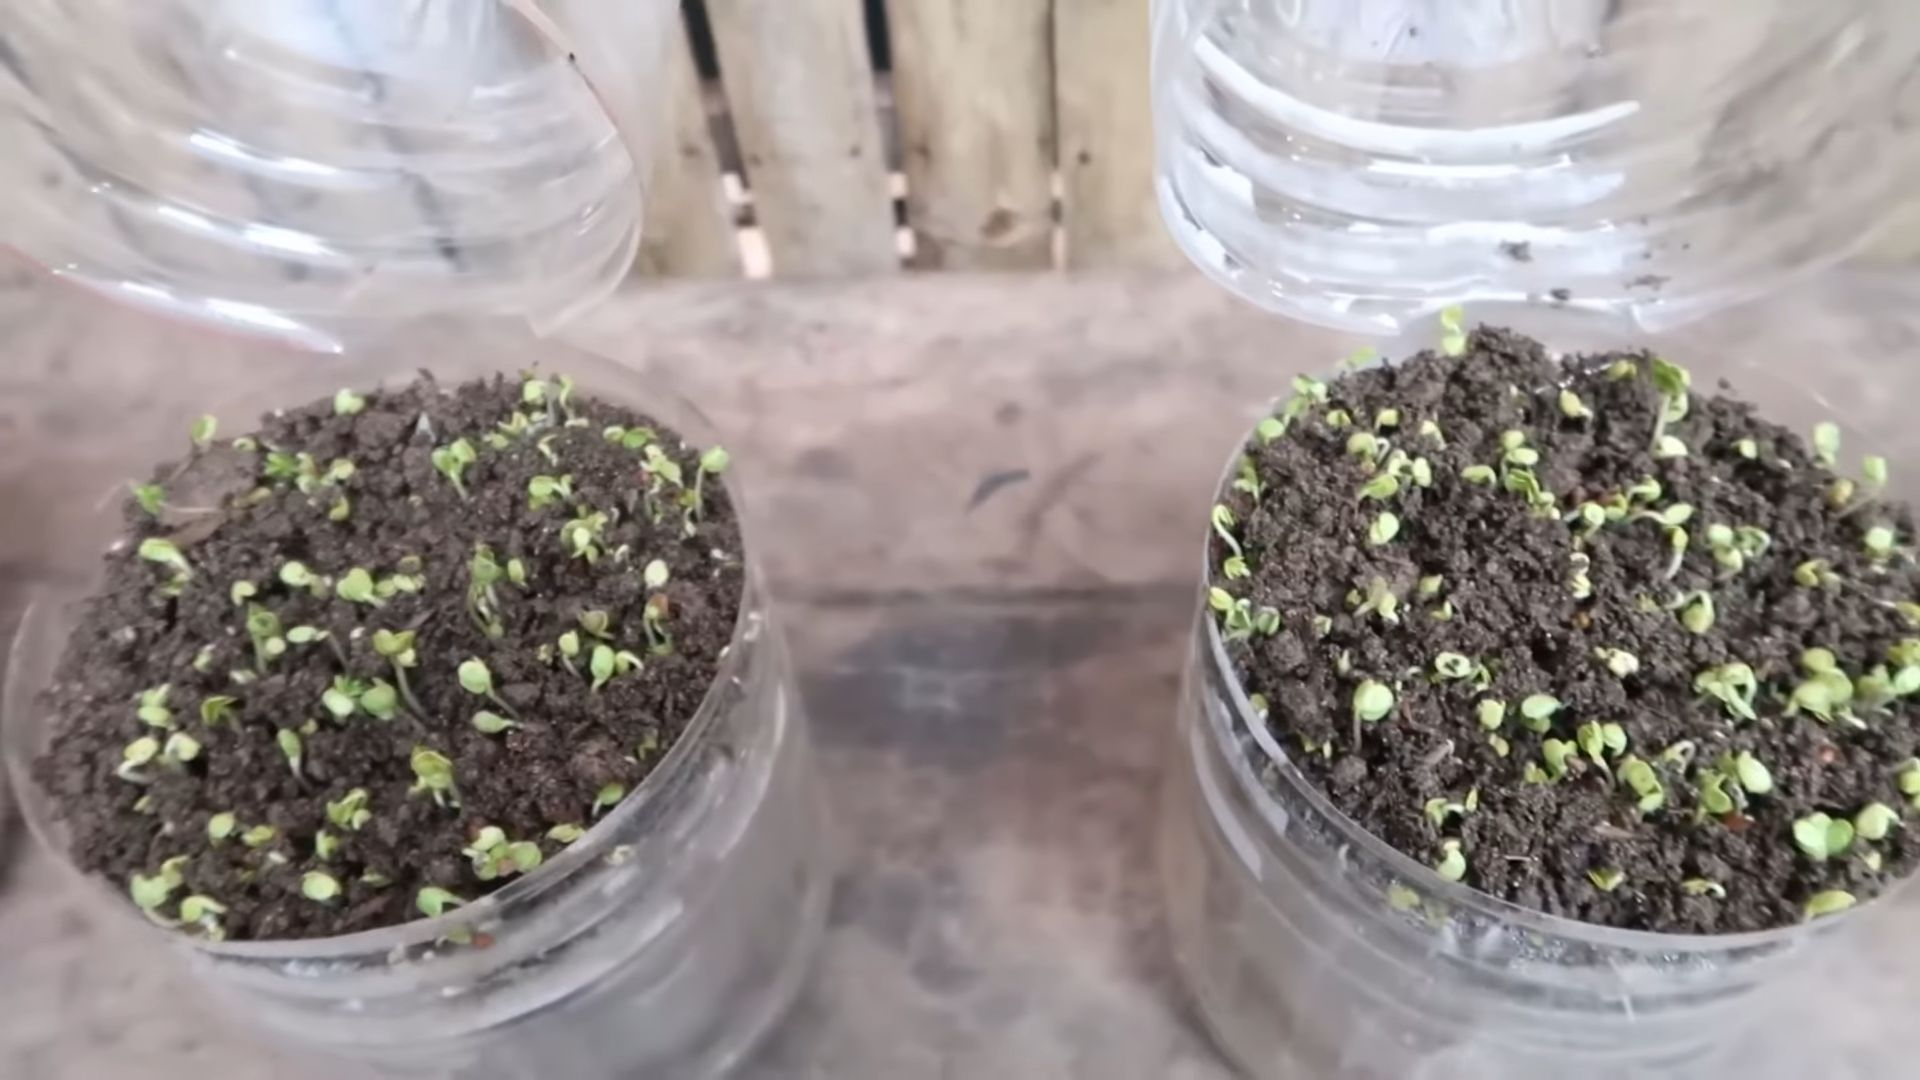
4. Wait for Germination: Depending on the seed type, germination typically takes 2-4 days. You’ll know the seeds have germinated when you see tiny sprouts emerging.
Phase 3: The Light Phase (Greening Up)
1. Remove the Cover and Weight: Once the seeds have germinated, remove the dark cover and the weight (if you used one).
2. Introduce Light: Now it’s time for the microgreens to see the light! Place the tray in a well-lit area, such as a windowsill or under a grow light. Avoid direct sunlight, which can scorch the delicate seedlings.
3. Water from the Bottom: This is a crucial step to prevent mold and mildew. Pour water into the outer tray, allowing the growing medium to absorb moisture from the bottom. This encourages the roots to grow downwards and keeps the leaves dry.
4. Maintain Moisture: Continue to water from the bottom as needed, keeping the growing medium consistently damp. Check the moisture level daily and adjust your watering schedule accordingly.
5. Rotate the Tray: If you’re using a windowsill, rotate the tray daily to ensure that the microgreens receive even light exposure. This will prevent them from leaning towards the light source and becoming leggy.
Phase 4: Harvesting and Enjoying Your Microgreens
1. Harvest Time: Your microgreens are ready to harvest when they have developed their first set of true leaves (the second set of leaves after the initial seed leaves). This usually takes 7-14 days, depending on the seed type.
2. Harvesting Technique: Use clean scissors or a sharp knife to cut the microgreens just above the growing medium.
3. Rinse and Dry: Gently rinse the harvested microgreens with cool water to remove any debris. Pat them dry with a paper towel or use a salad spinner to remove excess moisture.
4. Storage: Store the harvested microgreens in an airtight container in the refrigerator. They will typically last for 5-7 days.
5. Enjoy! Now for the best part – enjoying your homegrown microgreens! Add them to salads, sandwiches, smoothies, soups, or use them as a garnish for your favorite dishes. They’re packed with nutrients and add a delicious burst of flavor to any meal.
Troubleshooting Tips
* Mold Growth: If you notice mold growing on your microgreens, it’s usually a sign of overwatering or poor air circulation. Remove the affected areas and improve ventilation by placing a small fan near the tray. You can also try misting with a diluted hydrogen peroxide solution.
* Leggy Microgreens: Leggy microgreens are a sign of insufficient light. Move the tray to a brighter location or supplement with a grow light.
* Uneven Germination: Uneven germination can be caused by inconsistent moisture levels or uneven seed distribution. Make sure to keep the growing medium consistently damp and spread the seeds evenly.
* Slow Growth: Slow growth can be caused by a variety of factors, including low temperatures, insufficient light, or poor seed quality. Make sure the tray is in a warm, well-lit location and use high-quality seeds.
Seed Specific Tips
* Sunflower Seeds: These benefit greatly from a longer soaking period (12-24 hours). They also tend to have a thicker seed coat, so a little extra weight during germination can be helpful.
* Pea Shoots: Pea shoots also require a longer soaking period (12-24 hours). They can be a bit more prone to mold, so good air circulation is essential.
* Radish Seeds: Radish seeds germinate quickly and are
Conclusion
So, there you have it! Growing soil-free microgreens at home is not just a trendy gardening experiment; it’s a game-changer for anyone seeking fresh, nutrient-packed greens without the mess and hassle of traditional soil-based methods. We’ve walked you through the simple steps, highlighting the ease and efficiency of this method. From selecting your seeds to harvesting your vibrant crop, you’ve seen how accessible and rewarding this process can be.
But why is this DIY trick a must-try? Let’s recap. First, it’s incredibly clean. Say goodbye to muddy fingers and spilled soil. The hydroponic approach minimizes mess, making it perfect for apartment dwellers or anyone with limited space. Second, it’s fast. Microgreens grown without soil often mature quicker than their soil-bound counterparts, meaning you can enjoy fresh greens in a fraction of the time. Third, it’s incredibly efficient. You’re using fewer resources – no need for large bags of soil, and water usage is often reduced. Finally, and perhaps most importantly, it’s empowering. There’s a unique satisfaction in nurturing your own food, even on a small scale.
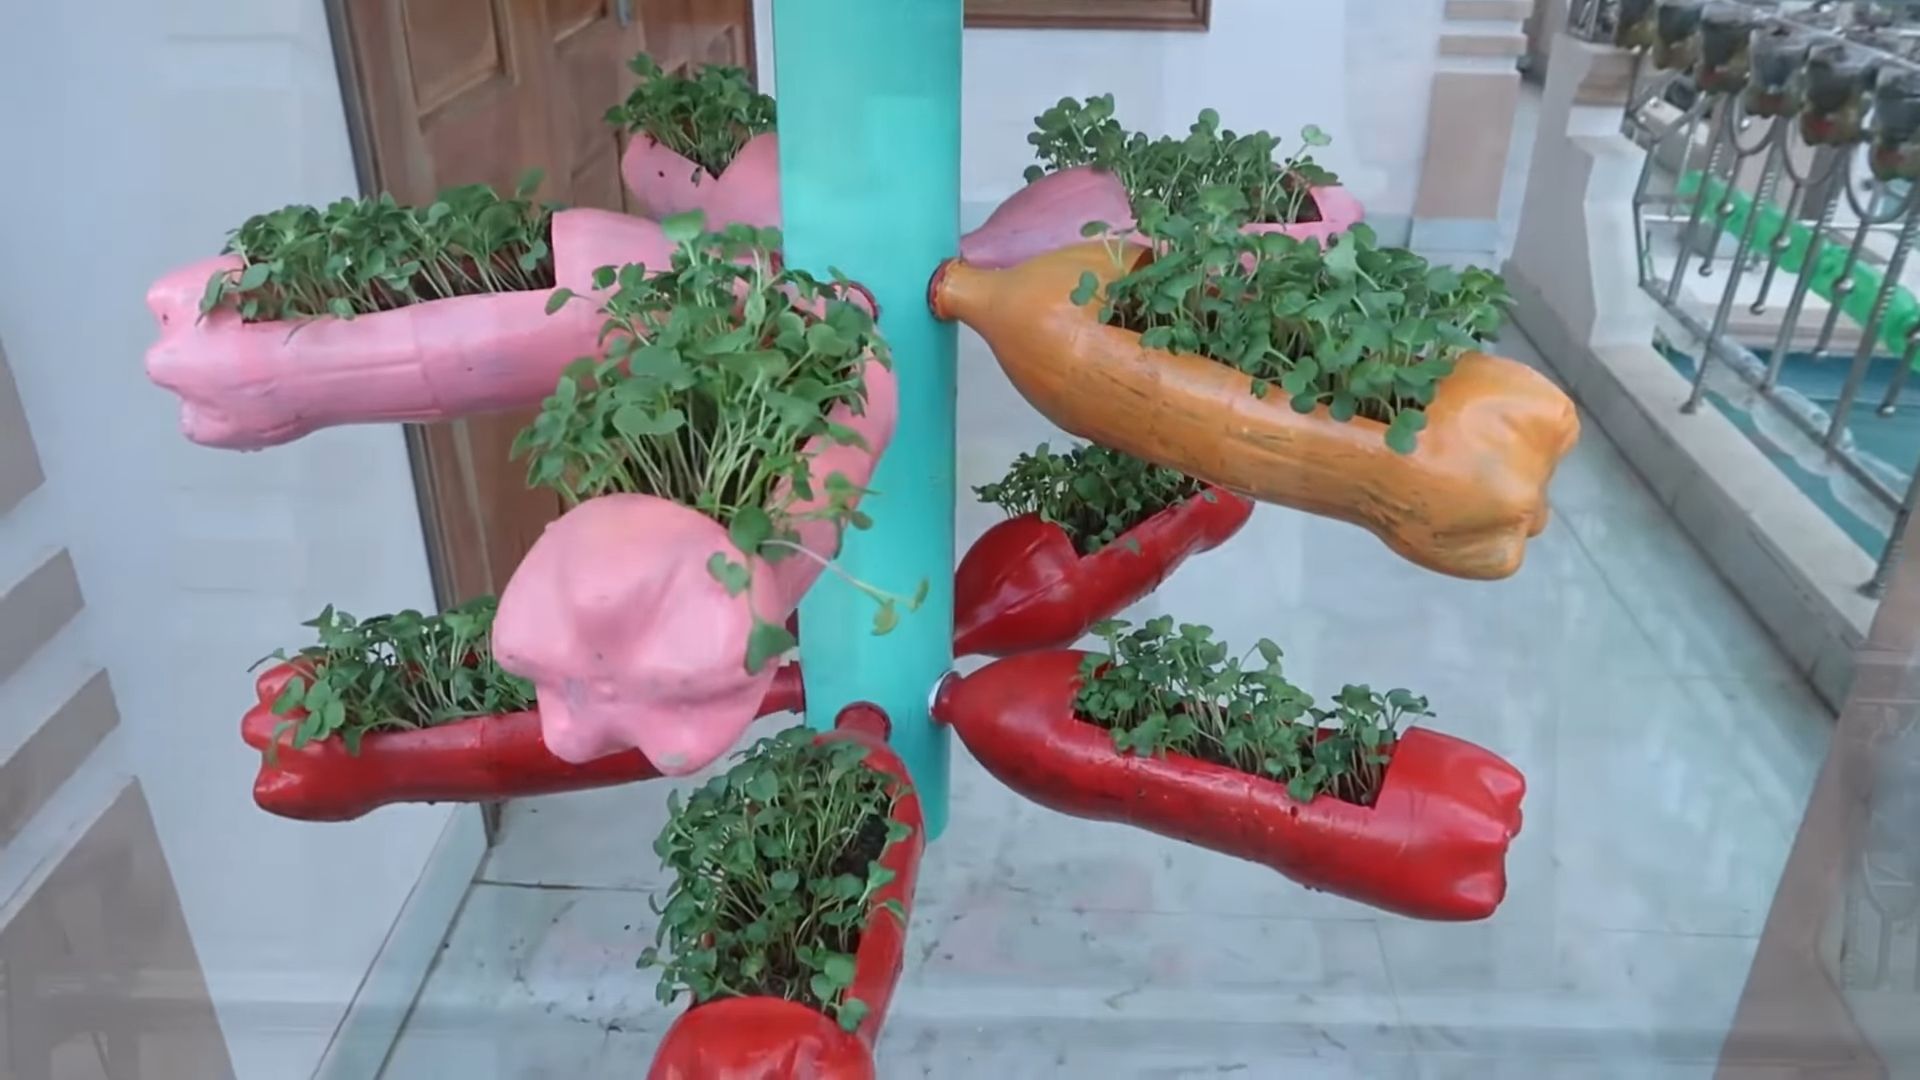
Now, let’s talk variations. While we’ve focused on a basic setup, the possibilities are endless. Experiment with different types of seeds. Radish, broccoli, sunflower, and pea shoots are all excellent choices. Consider using different containers. While a simple tray works well, you could also repurpose plastic containers or even create a multi-tiered system for increased yield. You can also explore different growing mediums. While paper towels are a great starting point, you might want to try coconut coir or hemp mats for a more sustainable option.
Don’t be afraid to get creative with your nutrient solution. While plain water works initially, adding a diluted hydroponic nutrient solution can boost growth and enhance the flavor of your microgreens. Just be sure to follow the instructions carefully to avoid over-fertilizing.
We understand that embarking on a new DIY project can be daunting, but we encourage you to take the plunge. The rewards – fresh, healthy microgreens at your fingertips – are well worth the effort. Plus, it’s a fantastic way to connect with nature and learn about the fascinating world of plant growth.
Ready to ditch the soil and embrace the future of microgreens? We urge you to give this soil-free method a try. Start small, experiment, and most importantly, have fun!
And once you’ve harvested your first batch of delicious, soil-free microgreens, we want to hear about it! Share your experiences, tips, and photos with us in the comments below. Let’s build a community of soil-free microgreen enthusiasts and inspire others to join the movement. Your insights could be invaluable to someone just starting out. Let us know what worked for you, what challenges you faced, and any creative solutions you discovered along the way. Together, we can unlock the full potential of this innovative growing method.
Remember, growing your own food is not just about saving money or eating healthier; it’s about connecting with the natural world and taking control of your food supply. So, grab your seeds, gather your supplies, and get ready to experience the joy of growing your own soil-free microgreens at home. Happy growing!
FAQ
What exactly are microgreens, and why should I grow them?
Microgreens are young vegetable greens that are harvested shortly after germination, typically when the first true leaves have emerged. They are packed with nutrients, often containing higher concentrations of vitamins and minerals than their mature counterparts. Growing them yourself ensures freshness, allows you to control the growing environment, and provides a sustainable source of healthy greens. Plus, they add a burst of flavor and visual appeal to salads, sandwiches, and other dishes.
What types of seeds are best for growing soil-free microgreens?
Many different types of seeds can be used for growing soil-free microgreens. Some popular choices include radish, broccoli, sunflower, pea shoots, kale, mustard, and arugula. It’s important to choose seeds that are specifically intended for sprouting or microgreen production, as these are typically untreated and have a high germination rate. Avoid using seeds that have been treated with fungicides or other chemicals. Experiment with different varieties to find your favorites!
What kind of container should I use for growing soil-free microgreens?
Shallow trays with drainage holes are ideal for growing soil-free microgreens. You can use plastic trays, seedling trays, or even repurposed containers like plastic takeout containers. The key is to ensure that the container is clean and provides adequate drainage to prevent waterlogging. You can also use a tray without drainage holes, but you’ll need to be extra careful not to overwater.
What growing medium should I use besides paper towels?
While paper towels are a convenient and readily available option, other growing mediums can also be used for soil-free microgreens. Coconut coir, hemp mats, and jute mats are all excellent choices. These materials are absorbent, sustainable, and provide a good surface for the roots to grip onto. When using these mediums, be sure to pre-soak them thoroughly before sowing your seeds.
How often should I water my soil-free microgreens?
The frequency of watering will depend on the type of growing medium you’re using and the environmental conditions. Generally, you should aim to keep the growing medium consistently moist but not waterlogged. Check the moisture level daily and water as needed. A spray bottle is a great way to gently mist the microgreens without disturbing the seeds or seedlings.
How much light do soil-free microgreens need?
Microgreens need adequate light to thrive. Initially, while the seeds are germinating, they can be kept in a dark or dimly lit area. Once the seedlings emerge, they need bright, indirect light. A sunny windowsill is often sufficient, but if you don’t have access to natural light, you can use a grow light. Position the light a few inches above the microgreens and provide 12-16 hours of light per day.
How long does it take to grow soil-free microgreens?
The time it takes to grow soil-free microgreens will vary depending on the type of seed and the growing conditions. Generally, most microgreens are ready to harvest in 7-14 days. You’ll know they’re ready when the first true leaves have emerged and the stems are about 1-2 inches tall.
How do I harvest soil-free microgreens?
To harvest your soil-free microgreens, simply use a pair of scissors or a sharp knife to cut the stems just above the growing medium. Rinse the microgreens gently with water and pat them dry before using them.
Can I reuse the growing medium?
It’s generally not recommended to reuse the growing medium for soil-free microgreens, as it can harbor bacteria and fungi. It’s best to start with fresh growing medium each time.
Can I add nutrients to the water for my soil-free microgreens?
Yes, adding a diluted hydroponic nutrient solution can boost growth and enhance the flavor of your microgreens. However, it’s important to use a nutrient solution that is specifically formulated for microgreens and to follow the instructions carefully to avoid over-fertilizing. Start with a very diluted solution and gradually increase the concentration as needed.
What if my microgreens start to mold?
Mold can be a problem in humid environments. To prevent mold, ensure good air circulation around your microgreens. Avoid overwatering and remove any dead or decaying plant material. If you do see mold, you can try spraying the affected area with a diluted solution of hydrogen peroxide.
How do I store harvested microgreens?
Harvested microgreens should be stored in the refrigerator in a sealed container. They will typically last for up to a week. To prolong their shelf life, you can wrap them in a paper towel to absorb excess moisture.
Leave a Comment