

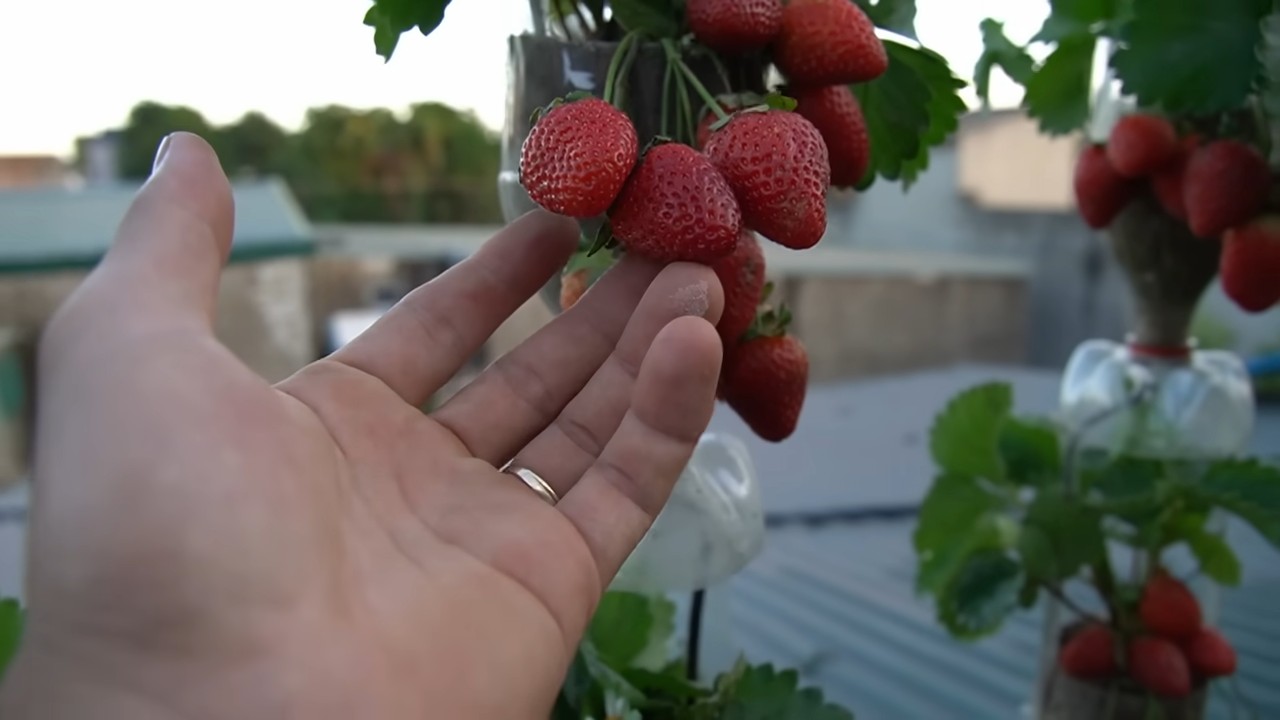
Strawberry Tower DIY: Imagine plucking juicy, sun-ripened strawberries right from your own backyard, even if you’re short on space! That’s the magic of a strawberry tower, and I’m here to show you how to build one yourself. For centuries, gardeners have sought innovative ways to maximize their yields, and vertical gardening, like our strawberry tower, is a testament to that ingenuity. From ancient hanging gardens to modern urban farms, the desire to cultivate upwards has always been strong.
But why a strawberry tower, you ask? Well, let’s face it, traditional strawberry patches can be a magnet for pests and take up precious garden real estate. This DIY project solves both problems! By elevating your strawberries, you’re creating a barrier against slugs and other ground-dwelling critters. Plus, you’re utilizing vertical space, making it perfect for balconies, patios, or even small yards. I know, I know, it sounds too good to be true, but trust me, with a few simple materials and my easy-to-follow instructions, you’ll be enjoying homegrown strawberries in no time. So, let’s dive into this fun and rewarding Strawberry Tower DIY project and transform your space into a strawberry paradise!
Build Your Own Strawberry Tower: A Step-by-Step Guide
Hello, dear garden friends! Today, I’m going to show you how to build a beautiful and space-saving strawberry tower yourself. This is not only a great way to grow a lot of strawberries in a small space, but also a real eye-catcher in your garden or on your balcony. Let’s get started!
What you need:
- A large plastic pipe (approx. 150-200 cm long, diameter approx. 15-20 cm)
- A smaller plastic pipe (approx. 150-200 cm long, diameter approx. 5-8 cm)
- Drill with a hole saw (diameter approx. 8-10 cm)
- Drill with a small drill bit (approx. 5-6 mm)
- Garden fleece or weed barrier fabric
- Soil (preferably strawberry or vegetable soil)
- Strawberry plants (approx. 20-30, depending on the size of the tower)
- Gravel or expanded clay pebbles
- Knife or scissors
- Measuring tape or folding rule
- Gloves (optional)
- Safety glasses (recommended)
Preparation is everything:
Before we really get going, we should prepare everything. This saves time and nerves!
- Cut the pipes: Check if your pipes have the right length. I recommend a length of 150-200 cm, but that of course depends on your space and preferences. If they are too long, shorten them with a saw.
- Lay out materials: Have all materials and tools ready so that you have them within reach. This is especially important when you are working with the drill.
- Prepare the work area: Find a suitable work area that is clean and level. Outdoors is ideal, as drilling can create dust.
Drilling holes: The most important step
Now comes the most important part: drilling the holes for the strawberry plants. Precision is required here!
- Mark the holes: Use the measuring tape or folding rule to mark even spacing on the large pipe. I recommend a distance of about 20-25 cm between the holes and staggered rows so that the plants have enough space. Mark the spots with a pen.
- Drill the holes: Insert the hole saw into the drill and carefully drill the holes at the marked spots. Be sure to wear safety glasses to protect your eyes from flying debris. Make sure the holes are clean and smooth.
- Deburr: Remove any sharp edges or burrs on the holes with a knife or a file. This prevents the plants from being damaged.
The irrigation system: So the strawberries don’t go thirsty
A good irrigation system is the be-all and end-all for a successful strawberry tower. We will build a simple but effective system with the smaller pipe.
- Drill holes: Drill many small holes (approx. 5-6 mm) into the smaller pipe with the small drill bit. These holes will serve to distribute the water evenly throughout the tower. Make sure the holes are distributed over the entire length of the pipe.
- Wrap the pipe: Wrap the smaller pipe with garden fleece or weed barrier fabric. This prevents the soil from clogging the holes. Secure the fleece with tape or string.
The assembly: Now it gets exciting!
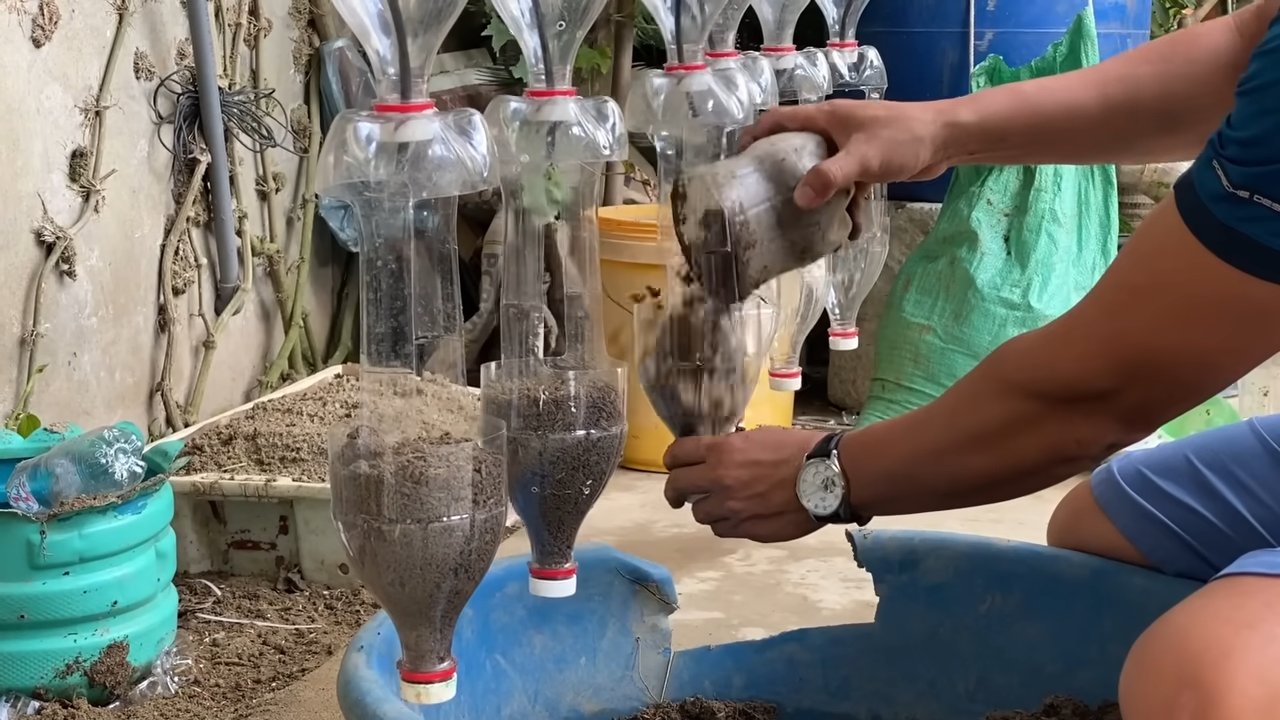
Now we put all the parts together and fill the tower with soil.
- Place the small pipe: Stand the large pipe upright and place the wrapped, smaller pipe in the center of it. The smaller pipe serves as the irrigation system and should reach the bottom of the large pipe.
- Fill in drainage: Fill a layer of gravel or expanded clay pebbles (approx. 10-15 cm) at the bottom of the large pipe. This ensures good drainage and prevents waterlogging.
- Fill in soil: Now fill the soil into the tower until just below the first hole. Press the soil down lightly.
- Insert the plants: Place the first strawberry plants in the holes. Make sure the roots are well covered with soil.
- Repeat: Fill in more soil and insert the next plants until the tower is full.
- Plant the top: Also plant the top of the tower with strawberry plants. Here you can also plant other herbs or flowers that go well with strawberries.
The care: So the strawberry tower thrives
A strawberry tower needs regular care so that the strawberries grow well and produce a lot of fruit.
- Watering: Water the tower regularly, preferably directly into the smaller pipe. This distributes the water evenly throughout the tower. Make sure the soil is always slightly moist, but not too wet.
- Fertilizing: Fertilize the strawberries regularly with a special strawberry fertilizer. Follow the instructions on the packaging.
- Pruning: Regularly remove dead leaves and runners. This promotes growth and fruit production.
- Pest protection: Regularly check the plants for pests such as slugs or aphids. If necessary, you can use natural pesticides.
- Location: Place the strawberry tower in a sunny location. Strawberries need a lot of sun to grow well and produce sweet fruit.
Additional tips and tricks:
- Variety selection: Choose strawberry varieties that are suitable for growing in pots. There are special varieties that grow particularly compact and produce a lot of fruit.
- Soil: It is best to use special strawberry or vegetable soil. This soil is optimally tailored to the needs of strawberries.
- Drainage: Be sure to ensure good drainage to avoid waterlogging. Waterlogging can lead to root rot and damage the plants.
- Wintering: In winter, you should move the strawberry tower to a sheltered place or cover it with fleece. This protects the plants from frost.
- Creativity: Be creative when designing your strawberry tower. You can paint it, decorate it with stones, or combine it with other plants.
I hope this guide helps you build your own strawberry tower. Happy gardening and a bountiful strawberry harvest
Conclusion
So, there you have it! Creating your own Strawberry Tower DIY is not just a fun weekend project; it’s an investment in fresh, delicious strawberries right at your fingertips. Imagine stepping out into your garden or balcony and harvesting sun-ripened berries whenever the craving strikes. No more trips to the grocery store, no more questionable origins – just pure, homegrown goodness.
But the benefits extend far beyond convenience. A strawberry tower is a fantastic space-saver, perfect for those with limited gardening space. Whether you have a sprawling backyard or a tiny apartment balcony, you can enjoy the fruits (literally!) of your labor. Plus, the vertical design promotes better air circulation, reducing the risk of fungal diseases that can plague traditional strawberry patches.
And let’s not forget the aesthetic appeal! A lush, green strawberry tower overflowing with vibrant red berries is a beautiful addition to any outdoor space. It’s a conversation starter, a source of pride, and a testament to your green thumb (even if you’re a beginner!).
Looking for ways to personalize your Strawberry Tower DIY? Consider these variations:
* **Herb Tower Hybrid:** Intermix strawberry plants with herbs like basil, thyme, or mint. These companion plants can deter pests and enhance the flavor of your strawberries.
* **Succulent Accent:** Add a few drought-tolerant succulents to the top of the tower for a visually striking contrast.
* **Tiered Tower:** Create a multi-tiered tower using different sized pots for a more dramatic effect.
* **Repurposed Materials:** Get creative with your materials! Use recycled plastic bottles, old tires, or even stacked wooden pallets to build your tower.
* **Different Strawberry Varieties:** Experiment with different types of strawberries, such as everbearing or June-bearing varieties, to extend your harvest season.
Don’t be intimidated by the process. With a little planning and effort, you can create a thriving strawberry tower that will provide you with years of delicious berries. The satisfaction of growing your own food is truly rewarding, and the taste of homegrown strawberries is simply unmatched.
We wholeheartedly encourage you to give this Strawberry Tower DIY project a try. It’s a fun, rewarding, and delicious way to enhance your gardening experience. Once you’ve built your tower and started harvesting those sweet, juicy berries, we’d love to hear about your experience! Share your photos, tips, and any variations you’ve tried in the comments below. Let’s build a community of strawberry tower enthusiasts! Happy gardening!
Frequently Asked Questions (FAQ)
Q1: What kind of soil should I use for my strawberry tower?
A: The best soil for a strawberry tower is a well-draining potting mix that is rich in organic matter. A mix of equal parts compost, peat moss (or coconut coir), and perlite or vermiculite will provide the necessary nutrients and drainage for healthy strawberry growth. Avoid using garden soil, as it can be too heavy and compact, leading to root rot. You can also amend your potting mix with a slow-release fertilizer specifically formulated for berries.
Q2: How often should I water my strawberry tower?
A: Watering frequency depends on the weather conditions and the type of container you’re using. Generally, you should water your strawberry tower when the top inch of soil feels dry to the touch. During hot, dry weather, you may need to water daily, while during cooler, wetter periods, you can water less frequently. Ensure that the water drains freely from the bottom of the tower to prevent waterlogging. A good tip is to water slowly and deeply, allowing the water to saturate the entire tower.
Q3: What type of strawberries are best for a strawberry tower?
A: Both June-bearing and everbearing strawberry varieties can be grown in a strawberry tower. June-bearing varieties produce a large crop of strawberries in a short period, typically in June. Everbearing varieties produce smaller crops throughout the growing season. For a continuous harvest, consider planting a mix of both types. Some popular varieties for towers include Albion (everbearing), Seascape (everbearing), and Honeoye (June-bearing). Day-neutral varieties are also a good choice as they produce fruit continuously regardless of day length.
Q4: How much sunlight do strawberry towers need?
A: Strawberries need at least 6-8 hours of direct sunlight per day to produce abundant fruit. Choose a location for your strawberry tower that receives plenty of sunlight throughout the day. If you live in a hot climate, some afternoon shade may be beneficial to prevent the plants from overheating. If you don’t have enough natural sunlight, you can supplement with grow lights.
Q5: How do I fertilize my strawberry tower?
A: Strawberries are heavy feeders and benefit from regular fertilization. Use a balanced fertilizer specifically formulated for berries, following the instructions on the package. You can also use organic fertilizers such as compost tea or fish emulsion. Fertilize every 2-4 weeks during the growing season. Avoid over-fertilizing, as this can lead to excessive vegetative growth and reduced fruit production.
Q6: How do I protect my strawberry tower from pests and diseases?
A: To protect your strawberry tower from pests and diseases, practice good gardening hygiene. Remove any dead or diseased leaves promptly. Monitor your plants regularly for signs of pests such as aphids, spider mites, and slugs. Use organic pest control methods such as insecticidal soap or neem oil to control infestations. Ensure good air circulation around the plants to prevent fungal diseases. You can also use companion planting to deter pests.
Q7: Can I grow strawberries in a tower indoors?
A: Yes, you can grow strawberries in a tower indoors, but you’ll need to provide adequate light. Use grow lights to supplement natural sunlight, ensuring that the plants receive at least 12-14 hours of light per day. Choose a well-ventilated location and monitor the plants for pests and diseases. Indoor strawberry towers may require more frequent watering and fertilization than outdoor towers.
Q8: How do I overwinter my strawberry tower?
A: In colder climates, you’ll need to protect your strawberry tower from freezing temperatures. If your tower is portable, you can move it to a sheltered location such as a garage or shed. Alternatively, you can wrap the tower in burlap or blankets to insulate the plants. Water the plants sparingly during the winter months. In warmer climates, you may not need to provide any special winter protection.
Q9: How often should I replace the strawberry plants in my tower?
A: Strawberry plants typically produce well for 3-4 years. After that, their fruit production may decline. It’s a good idea to replace your strawberry plants every 3-4 years to maintain a healthy and productive tower. You can propagate new plants from runners produced by your existing plants.
Q10: What are some common problems with strawberry towers and how can I fix them?
A: Some common problems include:
* **Yellowing leaves:** This can be caused by nutrient deficiencies, overwatering, or underwatering. Adjust your watering and fertilization practices accordingly.
* **Small or misshapen fruit:** This can be caused by poor pollination, nutrient deficiencies, or pests. Ensure that the plants are adequately pollinated and fertilized.
* **Root rot:** This is caused by overwatering and poor drainage. Ensure that the soil is well-draining and avoid overwatering.
* **Pest infestations:** Monitor your plants regularly for pests and use appropriate control methods.
By addressing these common problems promptly, you can keep your strawberry tower healthy and productive.


Leave a Comment