

Water saving tomato growing is more than just a trend; it’s a necessity for the modern gardener! Are you tired of watching your precious tomato plants wither under the summer sun, despite your best watering efforts? I know I was! There’s nothing quite as disheartening as seeing those vibrant green leaves droop, knowing you’re losing valuable water in the process. But what if I told you there’s a way to grow juicy, delicious tomatoes while drastically reducing your water consumption?
For centuries, gardeners have sought innovative ways to cultivate thriving crops, and the quest for water efficiency is as old as agriculture itself. From ancient irrigation techniques to modern-day hydroponics, the drive to conserve water has always been a priority. Now, with increasing environmental concerns and fluctuating water costs, mastering water saving tomato growing techniques is more crucial than ever.
This DIY guide is packed with simple, yet effective tricks and hacks that will transform your tomato growing experience. You’ll learn how to optimize your soil, implement smart watering strategies, and even build your own self-watering containers. Imagine harvesting a bountiful crop of plump, flavorful tomatoes, all while knowing you’re doing your part to conserve precious resources. Let’s dive in and discover the secrets to a thriving, water-wise tomato garden!
DIY: Water-Saving Tomato Cultivation – Here’s How!
Hello, fellow garden friends! Today I’m going to show you how you can grow your tomato plants with a simple trick to save water. This is worth its weight in gold, especially during dry summers! We’ll use an irrigation method that brings water directly to the roots, thus minimizing evaporation. Let’s get started!
Required Materials
Before we start, we’ll need a few things, of course. Don’t worry, you probably have most of them at home already!
- Tomato plants (pre-grown starters are best, but seeds work too)
- Large planters (pots, tubs, or even old buckets – as long as they’re big enough)
- Empty plastic bottles (PET bottles, 1.5 or 2 liters are ideal)
- Power drill or a thick nail and hammer
- Knife or scissors
- Soil (tomato soil is best, but regular potting soil will do)
- Gravel or expanded clay pellets (for drainage)
- Mulch material (straw, wood chips, grass clippings)
- Watering can or hose
The Preparation of the Irrigation Bottles
The heart of our water-saving tomato cultivation is the repurposed plastic bottles. Here’s how to prepare them:
- Cleaning the bottles: First, the bottles must be cleaned thoroughly. Remove all labels and rinse them with hot water and a little dish soap. Let them dry well!
- Drilling holes: Now for the most important step: we drill holes in the bottles.
- Bottom holes: Drill several small holes (about 5-8) in the bottom of the bottle. These holes ensure that the water seeps slowly into the soil. If you don’t have a drill, you can also heat a thick nail and melt the holes with it. Careful, risk of burns!
- Side holes (optional): If you like, you can also drill a few small holes in the sides of the bottle, but this isn’t strictly necessary.
- Cutting off the bottle neck: Using a knife or scissors, we cut off the top of the bottle. This will make it easier to fill the bottle later. Make sure the cut edge isn’t too sharp, so you don’t injure yourself.
- Test run: Before we put the bottles in the soil, let’s do a little test run. Fill a bottle with water and observe how quickly the water seeps through the holes. If it’s too fast, you can cover the holes slightly with some tape.
Planting the Tomatoes
Now let’s get down to business: we’re planting our tomatoes and integrating the irrigation bottles.
- Prepare drainage: First, fill the bottom of the planter with a layer of gravel or expanded clay pellets. This ensures good drainage and prevents waterlogging.
- Fill with soil: Then, fill the planter with soil. Leave some space at the top so we can add mulch material later.
- Prepare planting holes: Make a hole in the soil large enough for the tomato plant’s root ball.
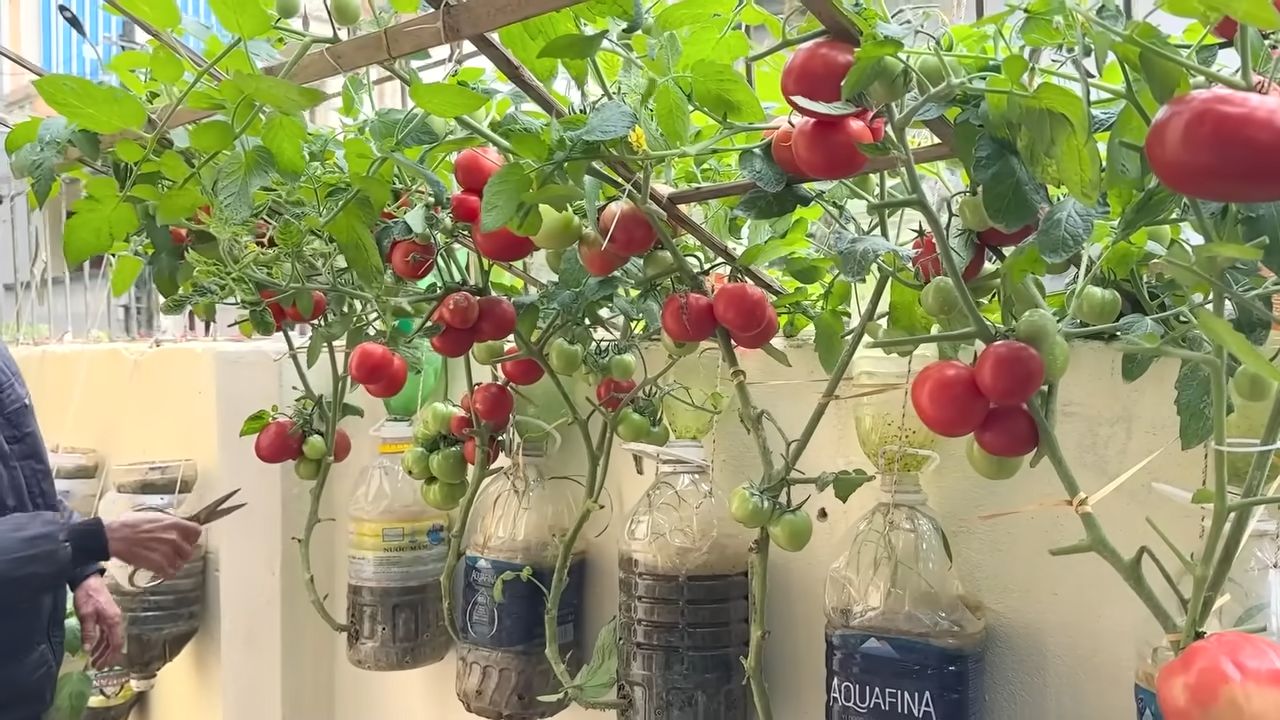
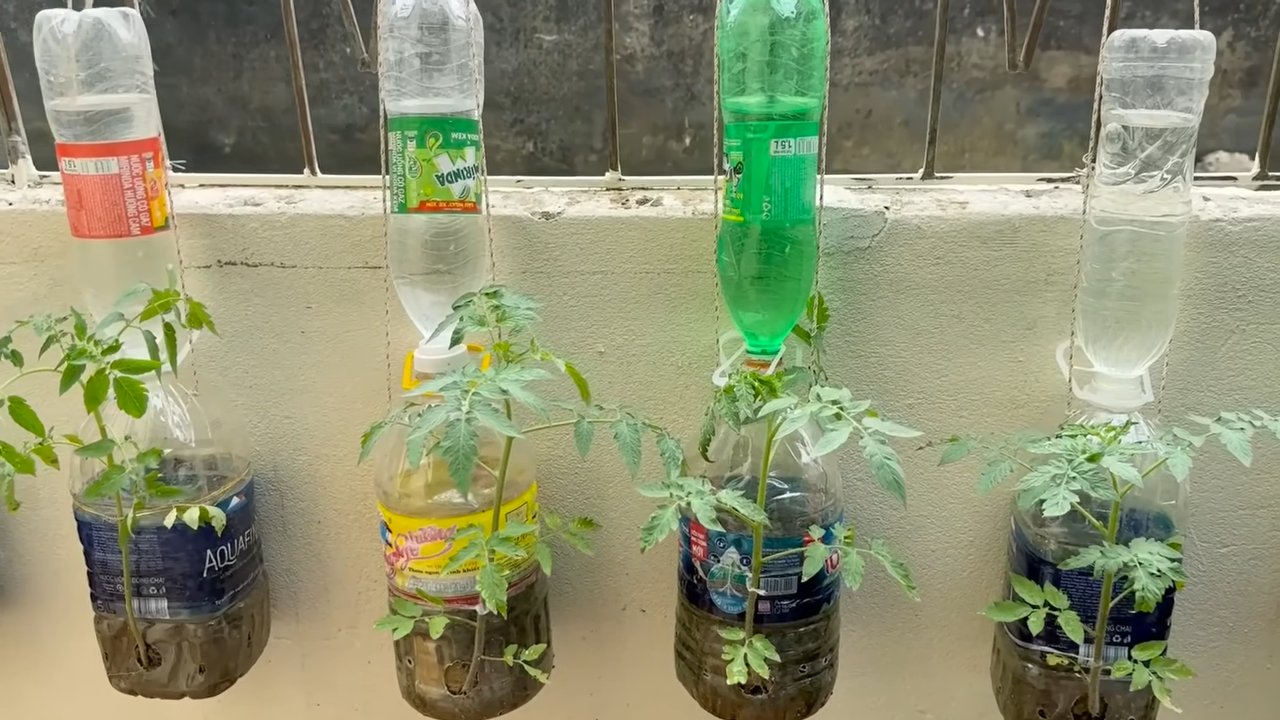
- Place the bottles: Here comes the trick: we stick the prepared plastic bottles into the soil with the cut-off top facing up. Place the bottles as close as possible to where you intend to plant the tomato. I recommend at least two bottles per plant, or more for larger containers. Make sure the bottles are stable and won’t tip over.
- Insert tomatoes: Carefully place the tomato plants into the prepared holes. Be careful not to damage the roots.
- Fill with soil: Fill the holes with soil and press it down lightly.
- Water in: Water the tomato plants and the soil thoroughly.
- Fill the bottles: Fill the plastic bottles with water. Watch as the water slowly seeps into the soil.
- Mulch: Finally, we cover the soil with mulch material. This keeps the moisture in the soil and prevents weeds from growing. Straw, wood chips, or grass clippings are excellent for this.
Caring for the Tomatoes
We’ve already achieved a lot with our water-saving irrigation method, but the tomatoes still need further care, of course.
- Regularly refill the bottles: Check the water level in the plastic bottles regularly and refill them as needed. How often you need to refill depends on the weather and the size of the plants.
- Fertilizing: Tomatoes are heavy feeders and need regular fertilizer. It’s best to use a special tomato fertilizer and follow the dosage instructions.
- Pruning suckers: Regularly remove the side shoots (suckers) from the tomato plants. This encourages the growth of the main stems and ensures better air circulation for the plants.
- Staking: Tomato plants need support so they don’t break. Use tomato stakes or a trellis for this.
- Protection from diseases and pests: Watch for signs of diseases and pests and treat the plants if necessary.
More Tips for a Successful Tomato Harvest
- Location: Tomatoes need a sunny and warm location.
- Soil: The soil should be loose, rich in humus, and well-draining.
- Variety selection: Choose tomato varieties that are suitable for your region.
- Watering: It’s best to water tomatoes in the morning so the leaves can dry during the day. Avoid watering the leaves, as this can promote diseases.
- Harvest: Harvest the tomatoes when they are fully ripe. They should have an intense color and be easy to detach from the stem.
Frequently Asked Questions (FAQ)
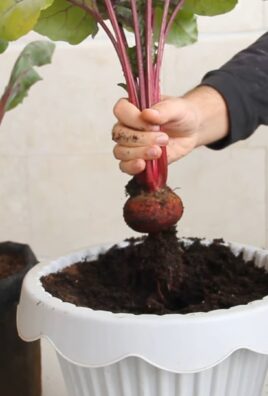
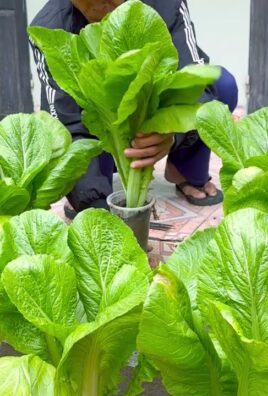
- Can I use this method for other plants?
Yes, this method is also suitable for other plants that require a lot of water, such as peppers, cucumbers, or zucchini. - How often do I have to refill the bottles?
This depends on the weather and the size of the plants. Check the water level regularly and refill the bottles as needed. - Can I use larger bottles?
Yes, you can also use larger bottles, e.g., 5-liter jugs. Just make sure they are stable and won’t tip over. - What do I do if the holes in the bottles get clogged?
The holes can become clogged with soil or algae over time. Simply clean them with a needle or a piece of wire. - Can I also use rainwater to fill the bottles?
Yes, rainwater is actually ideal as it is free of lime.
Advantages of this Method
- Water-saving: The water is directed straight to the roots, which minimizes evaporation.
- Simple and inexpensive: The materials are easy to obtain and the method is simple to implement.
- Healthy plants: The plants are supplied with water evenly, which leads to healthy growth.
- Environmentally friendly: We recycle plastic bottles and save water.
I hope this guide helps you grow your tomatoes in a water-saving way. Good luck and a bountiful harvest! Let me know how it worked out for you!
Conclusion
So, there you have it! This simple, yet incredibly effective, water-saving tomato growing trick is a game-changer for any gardener, regardless of experience level. We’ve walked you through the process, highlighting the benefits of reduced water consumption, healthier plants, and a more bountiful harvest. But why is this method a must-try?
Firstly, in an era where water conservation is paramount, this technique allows you to significantly reduce your water usage without sacrificing the quality or quantity of your tomato crop. Think about it – less water wasted means more resources available for other essential needs, and a smaller environmental footprint for you.
Secondly, this method promotes healthier tomato plants. By delivering water directly to the roots, you minimize surface moisture, which in turn reduces the risk of fungal diseases that thrive in damp conditions. Stronger, healthier plants are naturally more resistant to pests and diseases, leading to a more successful and rewarding gardening experience.
Thirdly, and perhaps most importantly, this water-saving tomato growing technique can lead to a more abundant harvest. By providing consistent and targeted hydration, your tomato plants will be able to focus their energy on producing delicious, juicy fruits. Imagine the satisfaction of biting into a homegrown tomato, knowing that you cultivated it using a sustainable and efficient method.
But the beauty of this technique lies in its adaptability. Feel free to experiment with different materials for your watering containers. Plastic bottles work well, but you could also use terracotta pots or even repurposed buckets. Consider adding a layer of mulch around the base of your plants to further conserve moisture and suppress weeds. You can also adjust the frequency of watering based on your local climate and soil conditions. Observe your plants closely and adjust your watering schedule accordingly. If the leaves start to wilt, it’s a sign that they need more water. If the soil is consistently soggy, reduce the amount of water you’re providing.
Don’t be afraid to get creative and personalize this technique to suit your specific needs and preferences. The key is to understand the underlying principles – delivering water directly to the roots, minimizing surface moisture, and promoting healthy plant growth.
We are confident that this water-saving tomato growing method will revolutionize your gardening practices. It’s a simple, effective, and sustainable way to grow delicious tomatoes while conserving precious water resources. So, what are you waiting for? Give it a try and see the difference for yourself!
We encourage you to share your experiences with us and the wider gardening community. Let us know what works best for you, what challenges you encounter, and any tips or tricks you discover along the way. Together, we can create a more sustainable and rewarding gardening experience for everyone. Share your photos, videos, and stories on social media using the hashtag #WaterSavingTomatoes. We can’t wait to see your amazing results!
FAQ
What type of container is best for this water-saving method?
The best type of container depends on your resources and preferences. Plastic bottles (recycled, of course!) are a popular and readily available option. They’re lightweight, easy to handle, and can be cut to the desired size. Terracotta pots are another excellent choice. They’re porous, which allows for some air circulation around the roots, and they add a touch of rustic charm to your garden. Buckets can also be used, especially for larger tomato plants. Just make sure to drill plenty of drainage holes in the bottom. The most important thing is to choose a container that is durable, weather-resistant, and large enough to accommodate the roots of your tomato plant.
How often should I water my tomato plants using this method?
The frequency of watering will depend on several factors, including your local climate, soil type, and the size of your tomato plants. As a general rule, you should water your plants when the top inch of soil feels dry to the touch. During hot, dry weather, you may need to water them every day or even twice a day. In cooler, wetter weather, you may only need to water them every few days. The best way to determine when to water is to observe your plants closely. If the leaves start to wilt, it’s a sign that they need more water. If the soil is consistently soggy, reduce the amount of water you’re providing. Remember, the goal is to keep the soil consistently moist, but not waterlogged.
Can I use this method for other types of plants besides tomatoes?
Yes, absolutely! This water-saving method can be used for a wide variety of plants, including peppers, cucumbers, eggplants, and even some herbs. The key is to adapt the technique to the specific needs of each plant. For example, plants with shallow roots may not require as deep of a watering container. Plants that prefer drier conditions may need to be watered less frequently. Experiment and observe your plants closely to determine what works best for them. The principles of delivering water directly to the roots and minimizing surface moisture apply to most plants, making this a versatile and effective watering technique.
What type of soil is best for this water-saving method?
A well-draining soil is essential for this water-saving method. If the soil is too heavy or compacted, it will retain too much water, which can lead to root rot. A good soil mix should be loose, airy, and rich in organic matter. You can improve the drainage of your soil by adding compost, perlite, or vermiculite. Avoid using heavy clay soils, as they tend to retain too much water. A slightly acidic soil pH (around 6.0 to 6.8) is ideal for most tomato plants. You can test the pH of your soil using a soil testing kit.
What are the benefits of using this water-saving method compared to traditional watering methods?
There are several benefits to using this water-saving method compared to traditional watering methods. Firstly, it reduces water waste by delivering water directly to the roots, where it’s needed most. This minimizes evaporation and runoff, which can occur with traditional watering methods. Secondly, it promotes healthier plants by reducing surface moisture, which can lead to fungal diseases. Thirdly, it can lead to a more abundant harvest by providing consistent and targeted hydration. Finally, it’s a more sustainable and environmentally friendly way to garden, as it conserves precious water resources.
How do I prevent pests from getting into the watering container?
While the container helps protect the roots, pests can still be a concern. To prevent pests from entering the watering container, you can cover the top of the container with a layer of mulch or gravel. This will create a barrier that makes it difficult for pests to access the water. You can also use a fine mesh screen to cover the opening of the container. Regularly inspect your plants for signs of pests and take appropriate action if you find any. Organic pest control methods, such as neem oil or insecticidal soap, can be effective in controlling pests without harming your plants or the environment.
Can I add fertilizer to the water in the container?
Yes, you can definitely add fertilizer to the water in the container. This is a great way to provide your tomato plants with a consistent supply of nutrients. Use a water-soluble fertilizer that is specifically formulated for tomatoes. Follow the instructions on the fertilizer package carefully and avoid over-fertilizing, as this can damage your plants. You can also add compost tea to the water in the container. Compost tea is a nutrient-rich liquid that is made by steeping compost in water. It’s a great way to provide your plants with a natural and organic source of nutrients.
Leave a Comment