

Soap and vinegar cleaning solution: it’s not just for salads anymore! Are you tired of harsh chemicals and expensive cleaners cluttering your cupboards? Do you dream of a sparkling clean home without the lingering fumes? Well, you’re in luck! For generations, resourceful homemakers have turned to the simple yet powerful combination of soap and vinegar for a multitude of cleaning tasks.
This dynamic duo isn’t just a modern trend; its roots stretch back centuries. Vinegar, derived from fermented fruits and grains, has been used for cleaning and disinfecting since ancient times. Combined with the gentle cleansing power of soap, it creates a surprisingly effective and eco-friendly cleaning solution.
But why should you embrace this time-tested trick? In today’s world, we’re increasingly aware of the impact harsh chemicals have on our health and the environment. This soap and vinegar cleaning solution offers a safe, natural, and budget-friendly alternative. I’m going to show you how to ditch those expensive store-bought cleaners and create your own powerful cleaning concoctions with just two simple ingredients. Get ready to unlock the secrets to a sparkling clean home, the natural way!
Grow Your Own Angled Luffa Sponges: A Beginner’s Guide
Hey there, fellow gardening enthusiasts! Have you ever thought about growing your own sponges? I know, it sounds a little crazy, but it’s totally possible (and incredibly rewarding!) with angled luffa, also known as Chinese okra or ridge gourd. These amazing gourds transform into fantastic, all-natural sponges perfect for everything from exfoliating in the shower to scrubbing your dishes. I’m going to walk you through the entire process, from seed to sponge, so you can enjoy the satisfaction of creating your own sustainable cleaning tools.
What You’ll Need
Before we dive in, let’s gather our supplies. Here’s a list of everything you’ll need to successfully grow angled luffa:
* Angled Luffa Seeds: You can find these online or at your local garden center. Make sure they are fresh for better germination rates.
* Seed Starting Trays or Small Pots: These are essential for starting your seeds indoors.
* Seed Starting Mix: A light, well-draining mix is crucial for healthy seedling development.
* Larger Pots (Optional): If you’re starting indoors and plan to transplant, you’ll need larger pots to accommodate the growing seedlings before they go into the ground.
* Well-Draining Soil: Luffa plants thrive in rich, well-draining soil. Amend your garden soil with compost or aged manure for best results.
* Trellis or Support Structure: Luffa vines are vigorous climbers, so they need a strong trellis or other support to grow on. Think sturdy!
* Fertilizer: A balanced fertilizer (like 10-10-10) will help your plants grow strong and produce plenty of gourds.
* Watering Can or Hose: Consistent watering is key, especially during hot weather.
* Gloves: Protect your hands from the soil and any potential irritants.
* Pruning Shears or Scissors: For trimming the vines and harvesting the gourds.
* Patience: Growing luffa takes time and dedication, but the end result is well worth it!
Starting Your Luffa Seeds
Luffa has a long growing season, so starting your seeds indoors is highly recommended, especially if you live in a cooler climate. This gives them a head start and ensures they have enough time to mature before the first frost.
1. Soaking the Seeds: To improve germination, soak your luffa seeds in warm water for 24-48 hours before planting. This helps soften the hard outer shell and encourages sprouting. I usually put them in a small bowl on a sunny windowsill.
2. Planting the Seeds: Fill your seed starting trays or small pots with seed starting mix. Make a small hole (about 1/2 inch deep) in the center of each cell or pot. Place one or two seeds in each hole and gently cover them with soil.
3. Watering and Warmth: Water the soil gently to moisten it, but avoid overwatering. Luffa seeds need warmth to germinate, so place the trays or pots in a warm location, such as on top of a refrigerator or using a heat mat. The ideal temperature is around 70-80°F (21-27°C).
4. Germination Time: Be patient! Luffa seeds can take anywhere from 7 to 21 days to germinate, depending on the temperature and conditions. Keep the soil consistently moist but not soggy during this time.
5. Thinning Seedlings: Once the seedlings emerge, thin them to one plant per cell or pot. Choose the strongest, healthiest-looking seedling and snip off the others at the soil line.
Transplanting Your Luffa Seedlings
Once your seedlings have developed a few sets of true leaves (usually after about 4-6 weeks), and the weather has warmed up (no more risk of frost!), it’s time to transplant them into your garden.
1. Hardening Off: Before transplanting, you need to “harden off” your seedlings. This means gradually acclimating them to outdoor conditions. Start by placing them outside in a sheltered location for a few hours each day, gradually increasing the amount of time they spend outdoors over the course of a week. This helps them adjust to the sun, wind, and temperature changes.
2. Preparing the Soil: Choose a sunny location in your garden with well-draining soil. Luffa plants need at least 6-8 hours of sunlight per day. Amend the soil with compost or aged manure to improve its fertility and drainage.
3. Planting the Seedlings: Dig a hole that is slightly larger than the root ball of your seedling. Gently remove the seedling from its pot, being careful not to damage the roots. Place the seedling in the hole and backfill with soil, gently firming it around the base of the plant. Space the plants about 2-3 feet apart.
4. Watering and Support: Water the newly transplanted seedlings thoroughly. Install a sturdy trellis or other support structure near the plants, as they will need something to climb on. Luffa vines can grow quite long and heavy, so make sure your support is strong enough to handle the weight.
Caring for Your Luffa Plants
Now that your luffa plants are in the ground, it’s time to provide them with the care they need to thrive.
1. Watering: Luffa plants need consistent watering, especially during hot, dry weather. Water deeply and regularly, ensuring the soil stays moist but not waterlogged. I usually water them in the morning to allow the foliage to dry before nightfall, which helps prevent fungal diseases.
2. Fertilizing: Feed your luffa plants with a balanced fertilizer every 2-3 weeks during the growing season. Follow the instructions on the fertilizer package. You can also use organic fertilizers like compost tea or fish emulsion.
3. Pruning: Pruning can help improve air circulation and encourage fruit production. Remove any yellowing or dead leaves. You can also trim the vines to control their growth and prevent them from becoming too unruly.
4. Pest and Disease Control: Luffa plants are generally resistant to pests and diseases, but they can occasionally be affected by aphids, squash bugs, or powdery mildew. Inspect your plants regularly and take action if you notice any problems. You can use insecticidal soap or neem oil to control pests, and a fungicide to treat powdery mildew.
5. Pollination: Luffa plants produce separate male and female flowers. The female flowers have a small, immature luffa gourd behind them. Bees and other pollinators are essential for pollination. If you’re not seeing many bees in your garden, you may need to hand-pollinate the flowers. To do this, use a small paintbrush to transfer pollen from the male flowers to the female flowers.
Harvesting Your Luffa Gourds
The moment you’ve been waiting for! Harvesting your luffa gourds is the most rewarding part of the process.
1. Timing is Key: The best time to harvest your luffa gourds is when they are fully mature and the skin has started to turn brown and dry. The gourds should feel lightweight and the seeds should rattle inside. This usually takes about 4-6 months from planting.
2. Cutting the Gourds: Use pruning shears or scissors to cut the gourds from the vine, leaving a few inches of stem attached.
3. Drying the Gourds: After harvesting, you need to dry the gourds completely. You can do this by hanging them in a well-ventilated area or placing them on a screen. It may take several weeks for the gourds to dry completely.
Processing Your Luffa Sponges
Now for the fun part: turning your dried luffa gourds into usable sponges!
1. Soaking the Gourds: Once the gourds are completely dry, soak them in water for several hours or overnight. This will help loosen the skin and make it easier to remove.
2. Removing the Skin and Seeds: After soaking, the skin should be easy to peel off. You may need to use your fingers or a scrub brush to remove any stubborn pieces. Once the skin is removed, shake out the seeds. You can save these seeds for planting next year!
3. Rinsing and Cleaning: Rinse the luffa sponge thoroughly with water to remove any remaining pulp or debris. You can also wash it with soap and water to ensure it’s clean.
4. Drying the Sponges: Allow the luffa sponges to dry completely in a well-ventilated area. This will help prevent mold and mildew.
5. Cutting and Shaping: Once the sponges are dry, you can cut them into smaller pieces using a sharp knife or scissors. You can also shape them to your desired size and shape.
Using and Caring for Your Luffa Sponges
Conclusion
So, there you have it! This simple soap and vinegar cleaning solution is more than just a DIY project; it’s a game-changer for your cleaning routine. We’ve explored how combining the degreasing power of soap with the natural disinfecting properties of vinegar creates a potent, eco-friendly cleaner that tackles a multitude of household messes. From grimy stovetops to streaky windows, this solution offers a cost-effective and surprisingly effective alternative to harsh chemical cleaners.
But why is this DIY trick a must-try? Beyond the cost savings and environmental benefits, it’s about control. You know exactly what’s going into your cleaner, avoiding potentially harmful chemicals and allergens. You can customize the scent with your favorite essential oils, creating a cleaning experience that’s not only effective but also enjoyable.
Think of the possibilities! For a tougher grease-cutting action, consider using a stronger dish soap like Dawn. If you’re sensitive to the smell of vinegar, experiment with infusing it with citrus peels for a few days before mixing your solution. Lemon, orange, or grapefruit peels will impart a fresh, clean scent that masks the vinegar odor. You can also add a few drops of your favorite essential oils, like lavender for a calming effect or tea tree oil for its antibacterial properties. Remember to always test your solution on an inconspicuous area first, especially on delicate surfaces like marble or granite.
This soap and vinegar cleaning solution isn’t just about cleaning; it’s about creating a healthier home environment. It’s about reducing your reliance on harsh chemicals and embracing a more sustainable lifestyle. It’s about empowering yourself to take control of your cleaning routine and create a solution that’s perfectly tailored to your needs.
We truly believe that once you try this simple DIY cleaning solution, you’ll be amazed by its effectiveness and versatility. It’s a powerful tool in your cleaning arsenal, ready to tackle everything from everyday messes to stubborn stains.
So, what are you waiting for? Gather your ingredients, mix up a batch of this amazing soap and vinegar cleaning solution, and experience the difference for yourself. We’re confident that you’ll be impressed with the results.
And most importantly, we want to hear about your experience! Share your tips, variations, and success stories in the comments below. Let’s build a community of DIY cleaning enthusiasts and help each other create cleaner, healthier homes. Your feedback is invaluable, and we’re excited to learn from your experiences. Let us know what surfaces you’ve tried it on, what essential oils you’ve added, and any other creative ways you’ve adapted this recipe to suit your needs. Together, we can unlock the full potential of this simple yet powerful cleaning solution.
Frequently Asked Questions (FAQ)
What types of soap work best for this cleaning solution?
The best type of soap to use is a liquid dish soap. Look for a soap that is known for its degreasing properties. Dawn dish soap is a popular choice and works exceptionally well. Castile soap is another excellent option, as it’s gentle, natural, and effective. Avoid using hand soaps that contain moisturizers, as these can leave a residue on surfaces. The key is to choose a soap that effectively cuts through grease and grime without leaving behind any unwanted film.
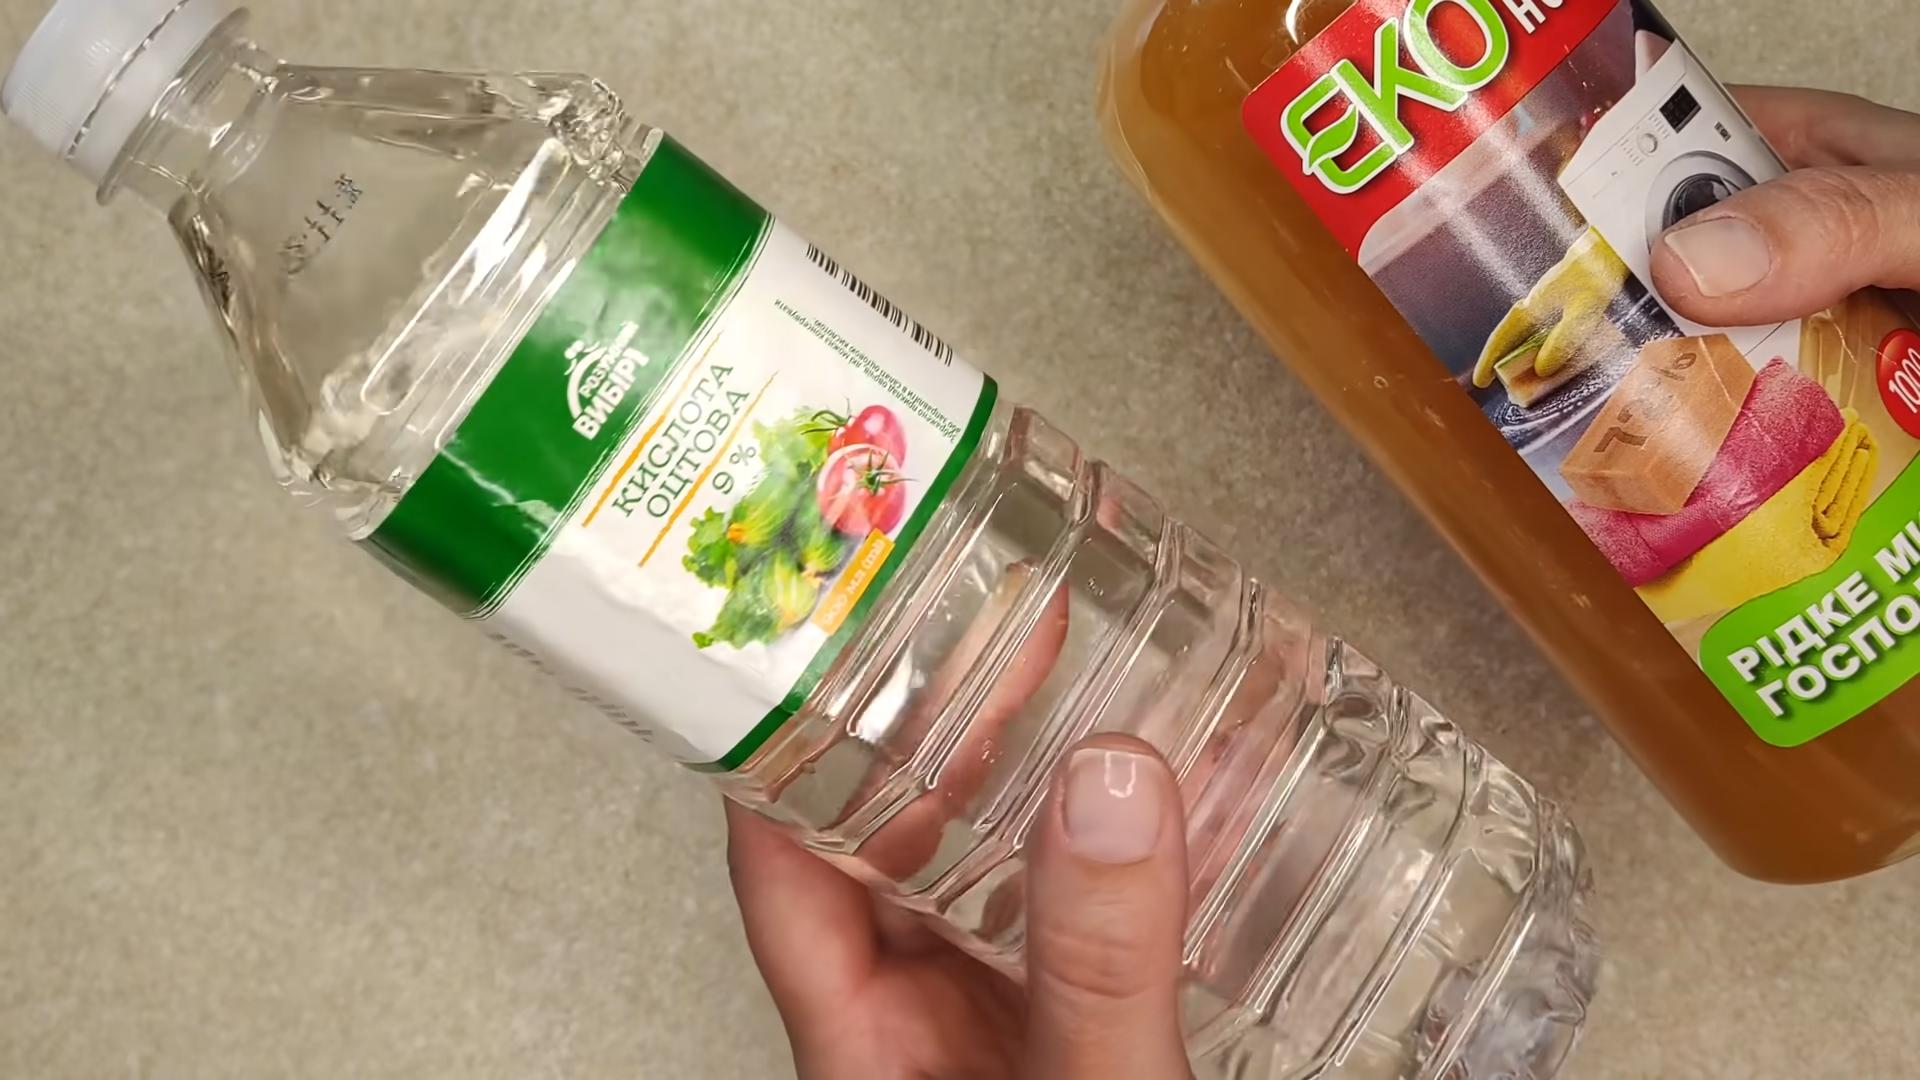
Can I use any type of vinegar?
White distilled vinegar is the most commonly recommended type of vinegar for cleaning due to its high acidity and lack of color, which prevents staining. However, you can also use apple cider vinegar, although it has a slightly milder acidity and a distinct scent. Avoid using balsamic or red wine vinegar, as they can stain surfaces. The acidity of the vinegar is what helps to disinfect and dissolve grime, so white distilled vinegar is generally the most effective and versatile choice.
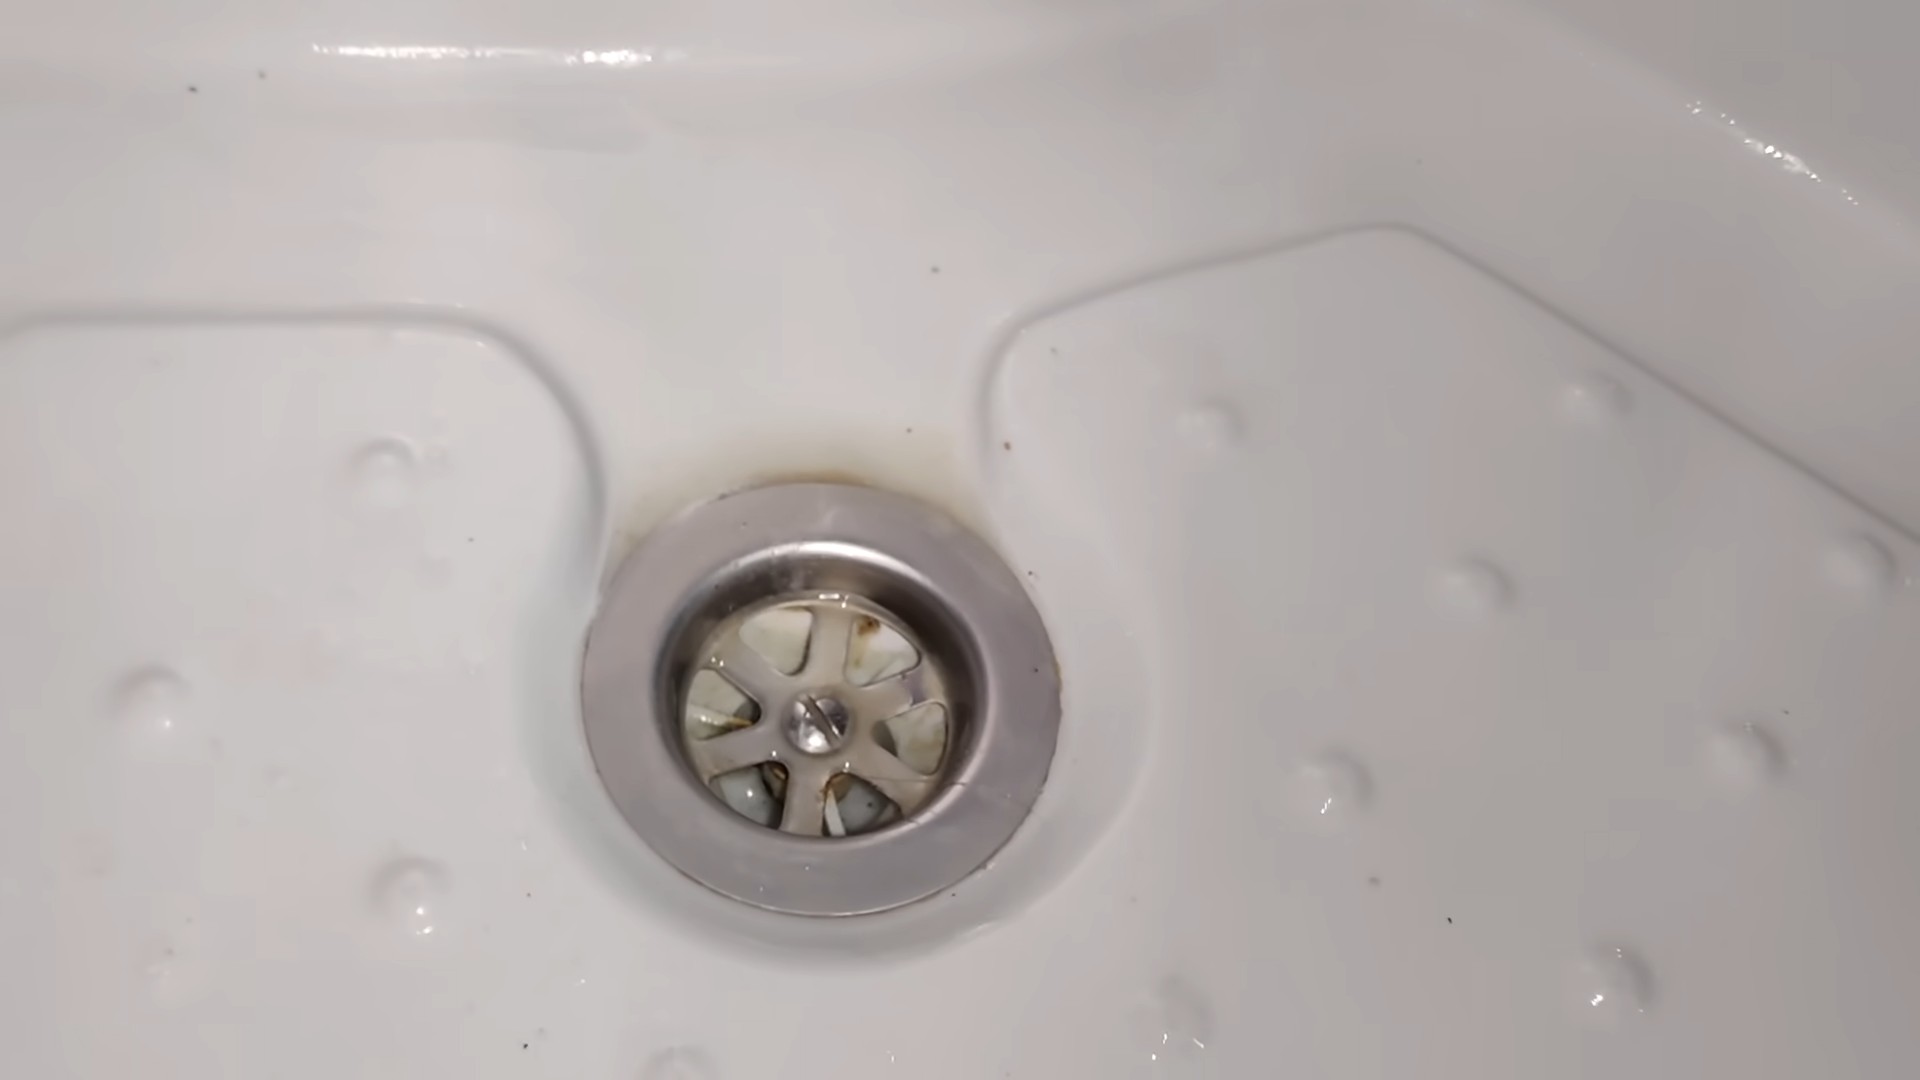
What surfaces can I safely use this cleaning solution on?
This cleaning solution is generally safe for use on a wide variety of surfaces, including countertops (excluding natural stone like marble and granite), sinks, stovetops, bathroom tiles, shower doors, and windows. However, it’s crucial to avoid using it on natural stone surfaces like marble, granite, and limestone, as the acidity of the vinegar can etch and damage these materials. Always test the solution on an inconspicuous area first to ensure it doesn’t cause any discoloration or damage, especially on painted or delicate surfaces.
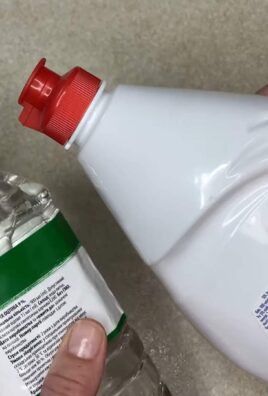
How do I adjust the ratio of soap and vinegar for different cleaning tasks?
The standard ratio of soap and vinegar is generally 1:1, but you can adjust it depending on the cleaning task. For light cleaning, such as wiping down countertops or cleaning windows, you can use a weaker solution with more water. For tougher cleaning jobs, such as removing grease from stovetops or cleaning grimy bathroom tiles, you can use a stronger solution with more vinegar. Experiment with different ratios to find what works best for your specific needs.
How do I store the soap and vinegar cleaning solution?
Store the cleaning solution in a clean, labeled spray bottle. It’s best to use a dark-colored bottle to protect the solution from light, which can degrade the vinegar over time. Keep the bottle in a cool, dry place away from direct sunlight and heat. The solution should last for several months without losing its effectiveness. Always label the bottle clearly to avoid confusion and prevent accidental ingestion.
Can I add essential oils to the cleaning solution?
Yes, adding essential oils can enhance the cleaning power and scent of the solution. Some popular choices include lemon, tea tree, lavender, and eucalyptus oil. Lemon oil has degreasing properties, tea tree oil is antibacterial, lavender oil has a calming scent, and eucalyptus oil is refreshing and invigorating. Add a few drops of your favorite essential oil to the solution and shake well before each use. Be sure to use pure essential oils and avoid synthetic fragrances, as they may not have the same beneficial properties.
Is this cleaning solution safe for pets and children?
While this cleaning solution is generally safer than harsh chemical cleaners, it’s still important to exercise caution when using it around pets and children. Keep the solution out of reach of children and pets, and avoid spraying it directly on them. If your pet or child accidentally ingests the solution, contact a veterinarian or poison control center immediately. Always ventilate the area well when using the solution, and avoid using it on surfaces that pets or children may lick or chew on.
How often should I make a fresh batch of this cleaning solution?
While the solution can last for several months, it’s generally recommended to make a fresh batch every few weeks to ensure its effectiveness. Over time, the vinegar can lose its acidity, and the soap can separate from the solution. Making a fresh batch ensures that you’re using the most potent and effective cleaning solution possible. It also allows you to experiment with different ratios and essential oils to find what works best for your needs.
What if the vinegar smell is too strong?
If the vinegar smell is too strong, there are several ways to mitigate it. First, you can infuse the vinegar with citrus peels for a few days before mixing the solution. This will impart a fresh, citrusy scent that masks the vinegar odor. Second, you can add a few drops of your favorite essential oils to the solution. Third, you can ventilate the area well when using the solution. Finally, you can rinse the surface with water after cleaning to remove any residual vinegar smell.
Can this solution be used in a steam mop?
It is generally not recommended to use this solution in a steam mop. The vinegar can damage the internal components of the steam mop over time. Additionally, the soap can leave a residue on the floor that can be difficult to remove. It’s best to use plain water or a cleaning solution specifically designed for steam mops. Always consult the manufacturer’s instructions before using any cleaning solution in your steam mop.
Leave a Comment