

Growing Taro Plants Beginners, listen up! Have you ever looked at those lush, elephant-ear-like leaves and thought, “I wish I could grow that!”? Well, you absolutely can, and it’s easier than you might think. For centuries, taro has been a staple food in many cultures, particularly in the Pacific Islands and Asia. It’s more than just a pretty plant; it’s a symbol of sustenance and connection to the land. Imagine bringing that rich history and vibrant greenery into your own home garden!
But let’s be honest, starting something new can be daunting. That’s where this DIY guide comes in. I’m here to break down the process of growing taro plants beginners style, into simple, manageable steps. Whether you have a sprawling backyard or just a sunny windowsill, I’ll show you how to cultivate these amazing plants. We’ll cover everything from choosing the right variety to troubleshooting common problems.
Why do you need this DIY trick? Because everyone deserves the joy of nurturing something beautiful and useful. Plus, growing your own taro means access to fresh, delicious leaves and tubers (with proper preparation, of course!). So, let’s ditch the intimidation and dive into the wonderful world of taro cultivation. Get ready to get your hands dirty and watch your own taro plants thrive!
Growing Taro Plants: A Beginner’s Guide to Lush Tropical Foliage
Hey there, fellow plant enthusiasts! Ever been captivated by those enormous, heart-shaped leaves of the taro plant? I know I have! They bring such a tropical vibe to any space, and the best part is, growing them yourself isn’t as intimidating as it might seem. I’m going to walk you through everything you need to know to successfully cultivate these beauties, whether you’re a seasoned gardener or just starting out. Let’s get our hands dirty!
Choosing Your Taro Variety
Before we dive into the nitty-gritty, let’s talk about taro varieties. There are tons of different types, each with its own unique characteristics. Some are grown primarily for their edible corms (the underground stem), while others are prized for their stunning foliage.
Here are a few popular choices:
* ‘Black Magic’: This one’s a showstopper with its almost black, velvety leaves. It’s a favorite for adding drama to any garden or container.
* ‘Illustris’: Known for its vibrant green leaves with striking purple veins, ‘Illustris’ is a real eye-catcher.
* ‘Mojito’: This variety boasts speckled green leaves with dark purple spots, resembling a refreshing mojito (hence the name!).
* ‘Elena’: A more compact variety with bright green leaves, perfect for smaller spaces.
* ‘Royal Hawaiian Collection’: This collection offers a range of cultivars with different leaf colors and patterns, providing plenty of options to choose from.
When selecting your taro, consider your climate, the amount of space you have, and your personal preferences. Some varieties are more cold-hardy than others, and some grow much larger.
Preparing for Planting
Okay, so you’ve chosen your taro variety. Now it’s time to get everything ready for planting. This involves selecting the right location, preparing the soil, and gathering your supplies.
Choosing the Right Location
Taro plants thrive in warm, humid environments. They need plenty of sunlight, but they also appreciate some afternoon shade, especially in hotter climates. Ideally, aim for a spot that receives at least 6 hours of sunlight per day.
Here are a few things to keep in mind when choosing a location:
* Sunlight: As mentioned, taro needs plenty of sunlight. However, too much direct sunlight can scorch the leaves, so a location with some afternoon shade is ideal.
* Water: Taro plants love water! They can even be grown in standing water. If you’re planting in the ground, choose a location that stays consistently moist. If you’re planting in a container, make sure it has drainage holes, but be prepared to water frequently.
* Soil: Taro prefers rich, well-draining soil. However, it can tolerate a wide range of soil types as long as they are consistently moist.
* Space: Taro plants can get quite large, so make sure you have enough space for them to grow. Some varieties can reach up to 6 feet tall and wide!
Preparing the Soil
Taro plants aren’t too picky about soil, but they do prefer rich, well-draining soil that retains moisture. If you’re planting in the ground, amend the soil with compost or other organic matter to improve its fertility and drainage.
If you’re planting in a container, use a high-quality potting mix that’s designed for moisture-loving plants. You can also add some perlite or vermiculite to improve drainage.
Here’s a simple soil recipe I like to use:
* 1 part potting soil
* 1 part compost
* 1/2 part perlite or vermiculite
Mix everything together thoroughly before planting.
Gathering Your Supplies
Before you start planting, make sure you have everything you need. Here’s a list of essential supplies:
* Taro corm or starter plant
* Potting soil or garden soil
* Compost or other organic matter
* Perlite or vermiculite (optional)
* Gardening gloves
* Watering can or hose
* Fertilizer (optional)
* A pot with drainage holes (if planting in a container)
Planting Your Taro
Alright, now for the fun part – planting! Whether you’re starting with a taro corm (the underground stem) or a starter plant, the process is pretty straightforward.
Planting Taro Corms
If you’re starting with a taro corm, here’s what you need to do:
1. Prepare the corm: Inspect the corm for any signs of rot or damage. If you see any, trim away the affected areas with a clean knife.
2. Sprout the corm (optional): While you can plant the corm directly in the soil, sprouting it first can give it a head start. To sprout the corm, place it in a shallow dish of water, making sure the top of the corm is exposed to air. Keep the dish in a warm, bright location and change the water every few days. After a few weeks, you should see roots and shoots emerging.
3. Plant the corm: Fill your pot or planting hole with the prepared soil. Make a small hole in the center of the soil, about 2-3 inches deep. Place the corm in the hole, with the sprout (if any) facing upwards. Cover the corm with soil and gently pat it down.
4. Water thoroughly: Water the soil thoroughly after planting. Keep the soil consistently moist, but not waterlogged.
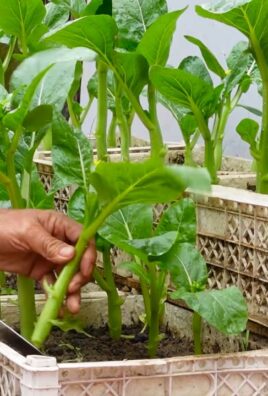
Planting Starter Plants
If you’re starting with a starter plant, the process is even easier:
1. Prepare the planting hole: Dig a hole in the soil that’s slightly larger than the root ball of the starter plant.
2. Remove the plant from its container: Gently remove the plant from its container, being careful not to damage the roots. If the roots are tightly bound, gently loosen them with your fingers.
3. Place the plant in the hole: Place the plant in the hole, making sure the top of the root ball is level with the surrounding soil.
4. Fill the hole with soil: Fill the hole with soil and gently pat it down.
5. Water thoroughly: Water the soil thoroughly after planting. Keep the soil consistently moist, but not waterlogged.
Caring for Your Taro Plant
Once your taro plant is in the ground (or pot), it’s time to provide it with the care it needs to thrive. This includes watering, fertilizing, and protecting it from pests and diseases.
Watering
Taro plants are water-loving plants, so it’s important to keep the soil consistently moist. Water deeply whenever the top inch of soil feels dry to the touch. In hot, dry weather, you may need to water daily.
If you’re growing your taro plant in a container, make sure the pot has drainage holes to prevent waterlogging. You can also place the pot in a saucer of water to provide extra moisture.
Fertilizing
Taro plants benefit from regular fertilization, especially during the growing season (spring and summer). Use a balanced fertilizer, such as a 10-10-10 or 20-20-20, diluted to half strength. Fertilize every 2-4 weeks.
You can also use organic fertilizers, such as compost tea or fish emulsion. These are gentler on the plant and provide a slow-release source of nutrients.
Pest and Disease Control
Taro plants are generally resistant to pests and diseases, but they can occasionally be affected by aphids, spider mites, or fungal infections.
* Aphids: These tiny insects suck the sap from the leaves, causing them to become distorted and yellow. You can control aphids by spraying the plant with a strong stream of water or by using insecticidal soap.
* Spider mites: These tiny mites create webs on the leaves and suck the sap, causing them to become speckled and yellow. You can control spider mites by spraying the plant with a strong stream of water or by using miticidal soap.
* Fungal infections: These can cause spots or lesions on the leaves. You can prevent fungal infections by providing good air circulation and avoiding overwatering. If your plant does develop a fungal infection, treat it with a fungicide.
Overwintering Taro Plants
If you live in a climate with cold winters, you’ll need to overwinter your taro plants indoors. Here’s how:
1. Dig up the corm: Before the first frost, dig up the taro corm.
2. Clean the corm: Remove any soil or debris from the corm.
3. Store the corm: Store the corm in a cool, dry place, such as a basement or garage. You can wrap the corm in newspaper or store it in a container filled with peat moss.
4. Replant in spring: In the spring, after the last frost, repl
Conclusion
So, there you have it! Growing taro plants, even for beginners, is entirely achievable and incredibly rewarding. This DIY trick, focusing on creating the perfect, nutrient-rich growing medium and mimicking taro’s natural wetland environment, is a game-changer. It bypasses the common pitfalls that often discourage novice gardeners, such as root rot and stunted growth. By taking control of the soil composition and ensuring consistent moisture, you’re setting your taro up for success from the very beginning.
Why is this a must-try? Because it simplifies the process, increases your chances of a bountiful harvest, and allows you to enjoy the beauty and versatility of taro, whether you’re after its delicious corms, vibrant leaves, or simply its ornamental appeal. Forget complicated fertilizers and constant monitoring; this method focuses on creating a self-sustaining ecosystem where your taro can thrive.
But don’t stop there! Experiment with different variations to tailor the process to your specific climate and resources. Consider adding a layer of mulch, such as rice straw or coconut coir, to further retain moisture and suppress weeds. If you live in a cooler climate, you might want to start your taro indoors in pots before transplanting them outdoors once the weather warms up. For those in warmer regions, try different taro varieties known for their specific flavors and textures. Some varieties are better suited for boiling, while others excel in baking or frying.
And remember, growing taro plants isn’t just about the harvest; it’s about the journey. It’s about connecting with nature, learning about sustainable gardening practices, and enjoying the satisfaction of nurturing a plant from a small seedling to a thriving specimen.
We wholeheartedly encourage you to give this DIY trick a try. We’re confident that you’ll be amazed by the results. Once you’ve experienced the joy of successfully growing your own taro, we’d love to hear about it! Share your experiences, tips, and photos in the comments below. Let’s build a community of taro enthusiasts and learn from each other’s successes and challenges. Your insights could be invaluable to other beginners embarking on their taro-growing adventure. Happy gardening!
Frequently Asked Questions (FAQ)
What exactly is taro, and why should I grow it?
Taro (Colocasia esculenta) is a starchy root vegetable, similar to a potato or yam, that’s a staple food in many cultures around the world, particularly in the Pacific Islands, Asia, and Africa. It’s incredibly versatile and can be boiled, baked, fried, or steamed. The leaves are also edible when cooked properly. Beyond its culinary uses, taro is also an attractive ornamental plant with large, heart-shaped leaves that add a tropical touch to any garden. Growing your own taro allows you to enjoy fresh, homegrown produce, control the quality of your food, and connect with a rich cultural heritage.
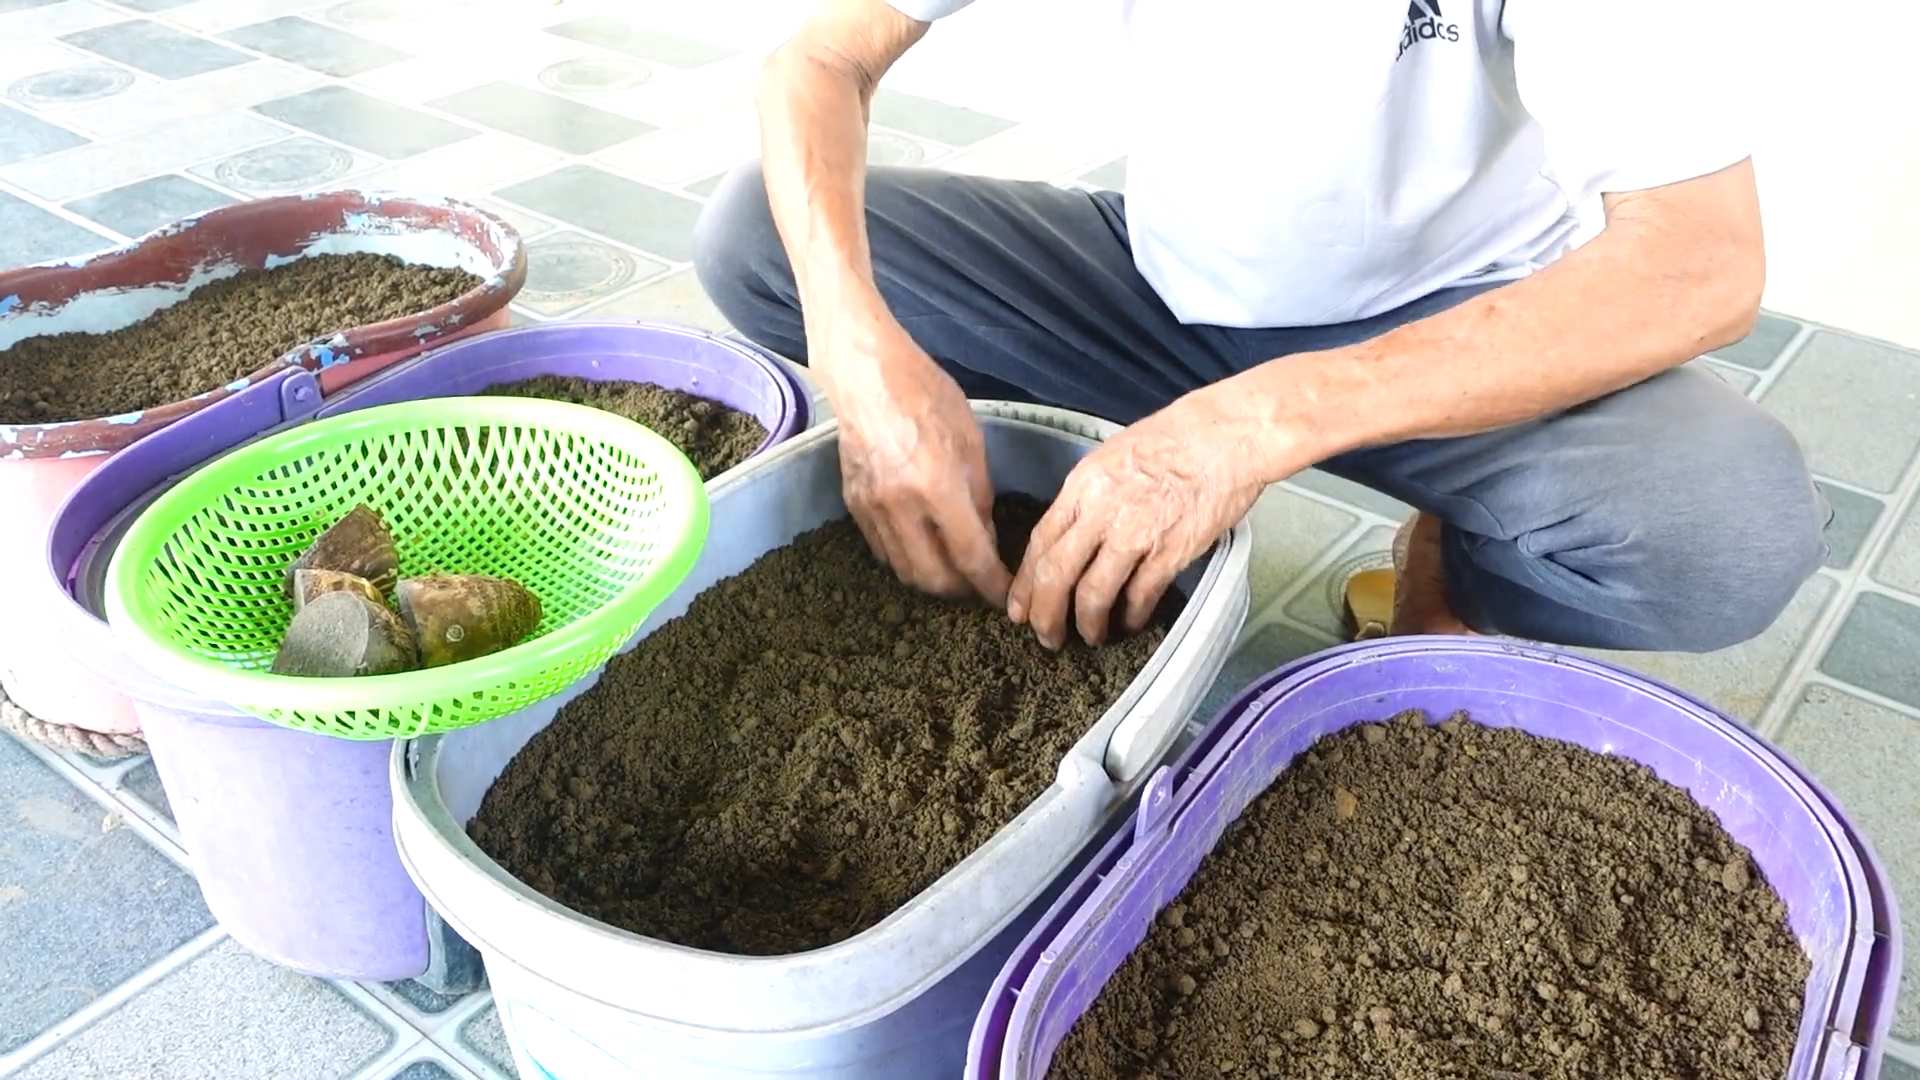
What kind of soil is best for growing taro plants?
Taro thrives in rich, well-draining soil that retains moisture. The DIY trick emphasizes creating a soil mix that mimics taro’s natural wetland environment. A good mix would include equal parts of compost, peat moss (or coconut coir as a sustainable alternative), and perlite or coarse sand. The compost provides essential nutrients, the peat moss/coir retains moisture, and the perlite/sand ensures good drainage to prevent root rot. Avoid heavy clay soils, as they tend to become waterlogged.
How much sunlight does taro need?
Taro prefers partial shade, especially in hotter climates. While it can tolerate full sun, the leaves may scorch if exposed to intense sunlight for extended periods. Aim for at least 4-6 hours of sunlight per day, ideally in the morning or late afternoon. If you’re growing taro indoors, provide bright, indirect light.
How often should I water my taro plants?
Consistent moisture is crucial for taro’s growth. The soil should be consistently moist but not waterlogged. Water deeply whenever the top inch of soil feels dry to the touch. During hot, dry weather, you may need to water more frequently. Consider using a moisture meter to monitor soil moisture levels accurately.
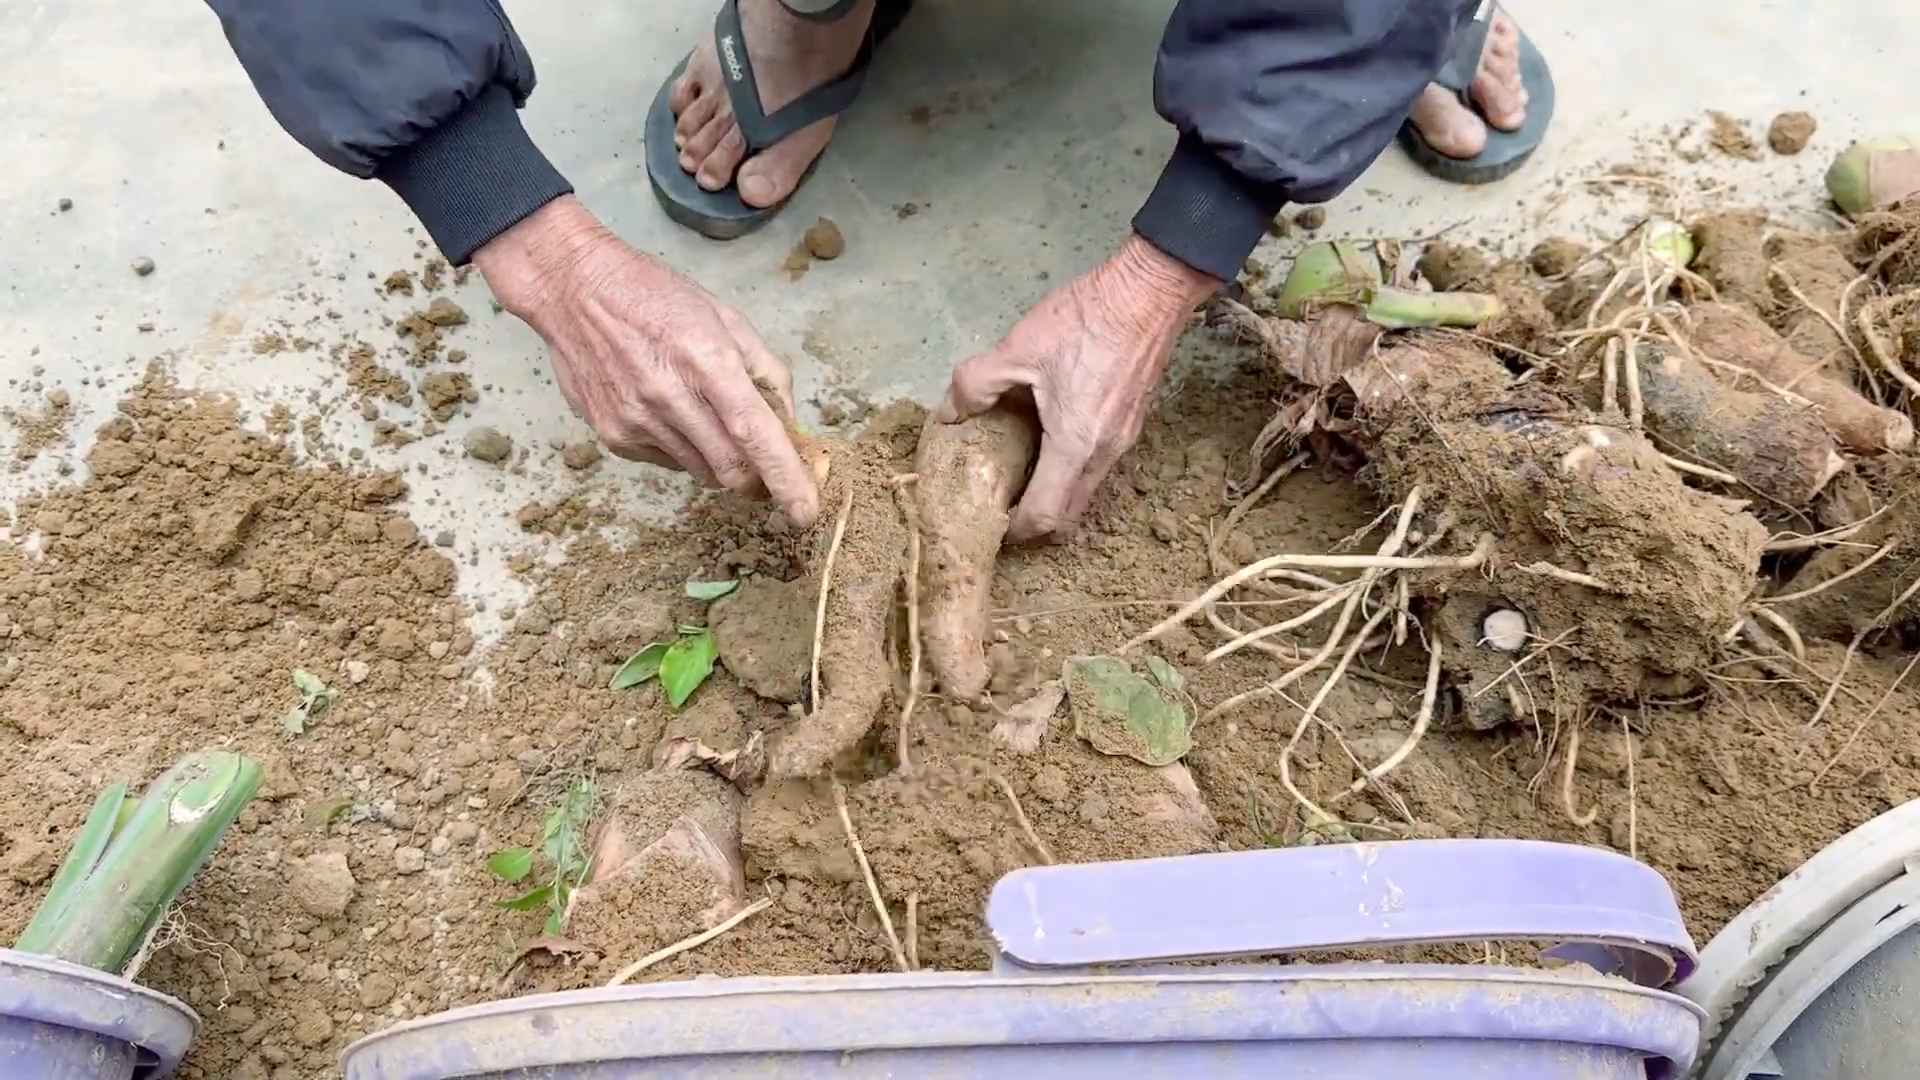
How do I know when my taro is ready to harvest?
Taro corms are typically ready to harvest 6-12 months after planting, depending on the variety and growing conditions. A good indicator is when the leaves start to turn yellow and die back. To harvest, carefully dig around the plant and lift the corm from the soil. Be gentle to avoid damaging the corm.
Can I grow taro in
So, there you have it! Growing taro plants, even for beginners, is entirely achievable and incredibly rewarding. This DIY trick, focusing on creating the perfect, nutrient-rich growing medium and mimicking taro’s natural wetland environment, is a game-changer. It bypasses the common pitfalls that often discourage novice gardeners, such as root rot and stunted growth. By taking control of the soil composition and ensuring consistent moisture, you’re setting your taro up for success from the very beginning.
Why is this a must-try? Because it simplifies the process, increases your chances of a bountiful harvest, and allows you to enjoy the beauty and versatility of taro, whether you’re after its delicious corms, vibrant leaves, or simply its ornamental appeal. Forget complicated fertilizers and constant monitoring; this method focuses on creating a self-sustaining ecosystem where your taro can thrive.
But don’t stop there! Experiment with different variations to tailor the process to your specific climate and resources. Consider adding a layer of mulch, such as rice straw or coconut coir, to further retain moisture and suppress weeds. If you live in a cooler climate, you might want to start your taro indoors in pots before transplanting them outdoors once the weather warms up. For those in warmer regions, try different taro varieties known for their specific flavors and textures. Some varieties are better suited for boiling, while others excel in baking or frying.
And remember, growing taro plants isn’t just about the harvest; it’s about the journey. It’s about connecting with nature, learning about sustainable gardening practices, and enjoying the satisfaction of nurturing a plant from a small seedling to a thriving specimen.
We wholeheartedly encourage you to give this DIY trick a try. We’re confident that you’ll be amazed by the results. Once you’ve experienced the joy of successfully growing your own taro, we’d love to hear about it! Share your experiences, tips, and photos in the comments below. Let’s build a community of taro enthusiasts and learn from each other’s successes and challenges. Your insights could be invaluable to other beginners embarking on their taro-growing adventure. Happy gardening!
Frequently Asked Questions (FAQ)
What exactly is taro, and why should I grow it?
Taro (Colocasia esculenta) is a starchy root vegetable, similar to a potato or yam, that’s a staple food in many cultures around the world, particularly in the Pacific Islands, Asia, and Africa. It’s incredibly versatile and can be boiled, baked, fried, or steamed. The leaves are also edible when cooked properly. Beyond its culinary uses, taro is also an attractive ornamental plant with large, heart-shaped leaves that add a tropical touch to any garden. Growing your own taro allows you to enjoy fresh, homegrown produce, control the quality of your food, and connect with a rich cultural heritage.
What kind of soil is best for growing taro plants?
Taro thrives in rich, well-draining soil that retains moisture. The DIY trick emphasizes creating a soil mix that mimics taro’s natural wetland environment. A good mix would include equal parts of compost, peat moss (or coconut coir as a sustainable alternative), and perlite or coarse sand. The compost provides essential nutrients, the peat moss/coir retains moisture, and the perlite/sand ensures good drainage to prevent root rot. Avoid heavy clay soils, as they tend to become waterlogged.
How much sunlight does taro need?
Taro prefers partial shade, especially in hotter climates. While it can tolerate full sun, the leaves may scorch if exposed to intense sunlight for extended periods. Aim for at least 4-6 hours of sunlight per day, ideally in the morning or late afternoon. If you’re growing taro indoors, provide bright, indirect light.
How often should I water my taro plants?
Consistent moisture is crucial for taro’s growth. The soil should be consistently moist but not waterlogged. Water deeply whenever the top inch of soil feels dry to the touch. During hot, dry weather, you may need to water more frequently. Consider using a moisture meter to monitor soil moisture levels accurately.
How do I know when my taro is ready to harvest?
Taro corms are typically ready to harvest 6-12 months after planting, depending on the variety and growing conditions. A good indicator is when the leaves start to turn yellow and die back. To harvest, carefully dig around the plant and lift the corm from the soil. Be gentle to avoid damaging the corm.
Can I grow taro in containers?
Yes, taro can be successfully grown in containers, making it a great option for gardeners with limited space. Choose a large container (at least 10 gallons) with drainage holes. Use the same soil mix recommended for growing taro in the ground. Water regularly and fertilize every few weeks with a balanced liquid fertilizer.
Are there any pests or diseases that affect taro?
Taro can be susceptible to pests such as aphids, spider mites, and mealybugs. Regularly inspect your plants for signs of infestation and treat accordingly with insecticidal soap or neem oil. Root rot is a common disease, especially in poorly drained soils. Prevent root rot by ensuring good drainage and avoiding overwatering.
Is taro poisonous if eaten raw?
Yes, taro contains calcium oxalate crystals, which can cause irritation and discomfort if ingested raw. It’s essential to cook taro thoroughly before eating it. Cooking breaks down the calcium oxalate crystals, making the taro safe to consume.
Can I eat the taro leaves?
Yes, the leaves of some taro varieties are edible, but they must be cooked properly to remove the calcium oxalate crystals. Boil or steam the leaves for at least 30 minutes, changing the water several times during cooking.
How can I store taro corms after harvesting?
Store taro corms in a cool, dry, and well-ventilated place. They can be stored for several weeks if properly stored. Avoid storing them in the refrigerator, as this can cause them to become mushy.
What are some different ways to prepare taro?
Taro is incredibly versatile and can be prepared in many different ways. It can be boiled, baked, fried, steamed, or mashed. It’s often used in soups, stews, and curries. In Hawaii, taro is traditionally pounded into poi, a staple food.
Can I grow taro in water?
While taro thrives in moist soil, it can also be grown hydroponically or in a water garden. Ensure the roots are submerged in water, and provide adequate nutrients through a hydroponic solution.
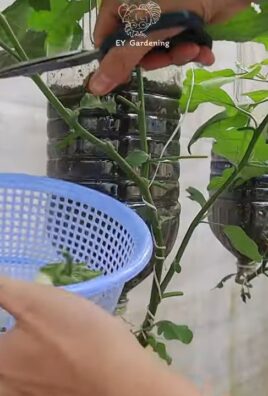
How do I propagate taro?
Taro can be propagated from corms, cormels (small corms that grow around the main corm), or stem cuttings. Plant the corms or cormels in well-draining soil and keep them moist until they sprout. Stem cuttings can be rooted in water or directly in soil.
What if my taro plant isn’t growing well?
If your taro plant isn’t thriving, consider the following factors: sunlight, water, soil, and pests. Ensure it’s receiving adequate sunlight, water, and nutrients. Check for signs of pests or diseases and treat accordingly. Adjust the soil mix if necessary to improve drainage.
Where can I find taro corms to plant?
Taro corms can be found at some nurseries, garden centers, and online retailers. Look for healthy, firm corms with no signs of rot or damage. You may also be able to find taro corms at Asian or Pacific Islander grocery stores.

Leave a Comment