

Backyard Melon Harvest Tips: Ah, the sweet taste of summer! There’s nothing quite like biting into a juicy, homegrown melon, especially one you’ve nurtured from a tiny seed. But knowing when to pluck that prize-winning melon from the vine can be a bit of a guessing game, right? I’ve been there, trust me! I’ve harvested melons too early (bland and disappointing!) and too late (a mushy mess!).
Melons have been cultivated for thousands of years, with evidence suggesting their presence in ancient Egypt and beyond. They’ve been a symbol of abundance and sweetness across cultures, and bringing that tradition into your own backyard is incredibly rewarding. But let’s face it, unlike buying one at the store, you don’t have a sticker telling you when it’s perfectly ripe. That’s where these backyard melon harvest tips come in handy!
This DIY guide is your secret weapon to ensuring a perfectly timed and delicious harvest. We’ll dive into the telltale signs that your melon is ready for picking, from the color of the rind to the sound it makes when you tap it. No more guesswork, just perfectly ripe melons every time! So, grab your gardening gloves, and let’s get ready to enjoy the fruits (or rather, the melons!) of your labor. I’m excited to share these simple yet effective tricks with you!
Backyard Melon Harvest: Knowing When and How to Pick the Perfect Fruit
Okay, so you’ve nurtured your melon plants all season, battled pests, and diligently watered. Now comes the exciting part: harvesting! But how do you know when your melons are truly ripe and ready to be devoured? Don’t worry, I’m here to guide you through the process. Picking a melon too early results in a bland, disappointing experience, while waiting too long can lead to mushy, overripe fruit. Let’s get this right!
Understanding Melon Ripening Signals
Before we dive into the step-by-step harvesting guide, let’s familiarize ourselves with the key indicators of ripeness. Each type of melon has slightly different cues, so pay close attention to the specific variety you’re growing.
* **Visual Cues:**
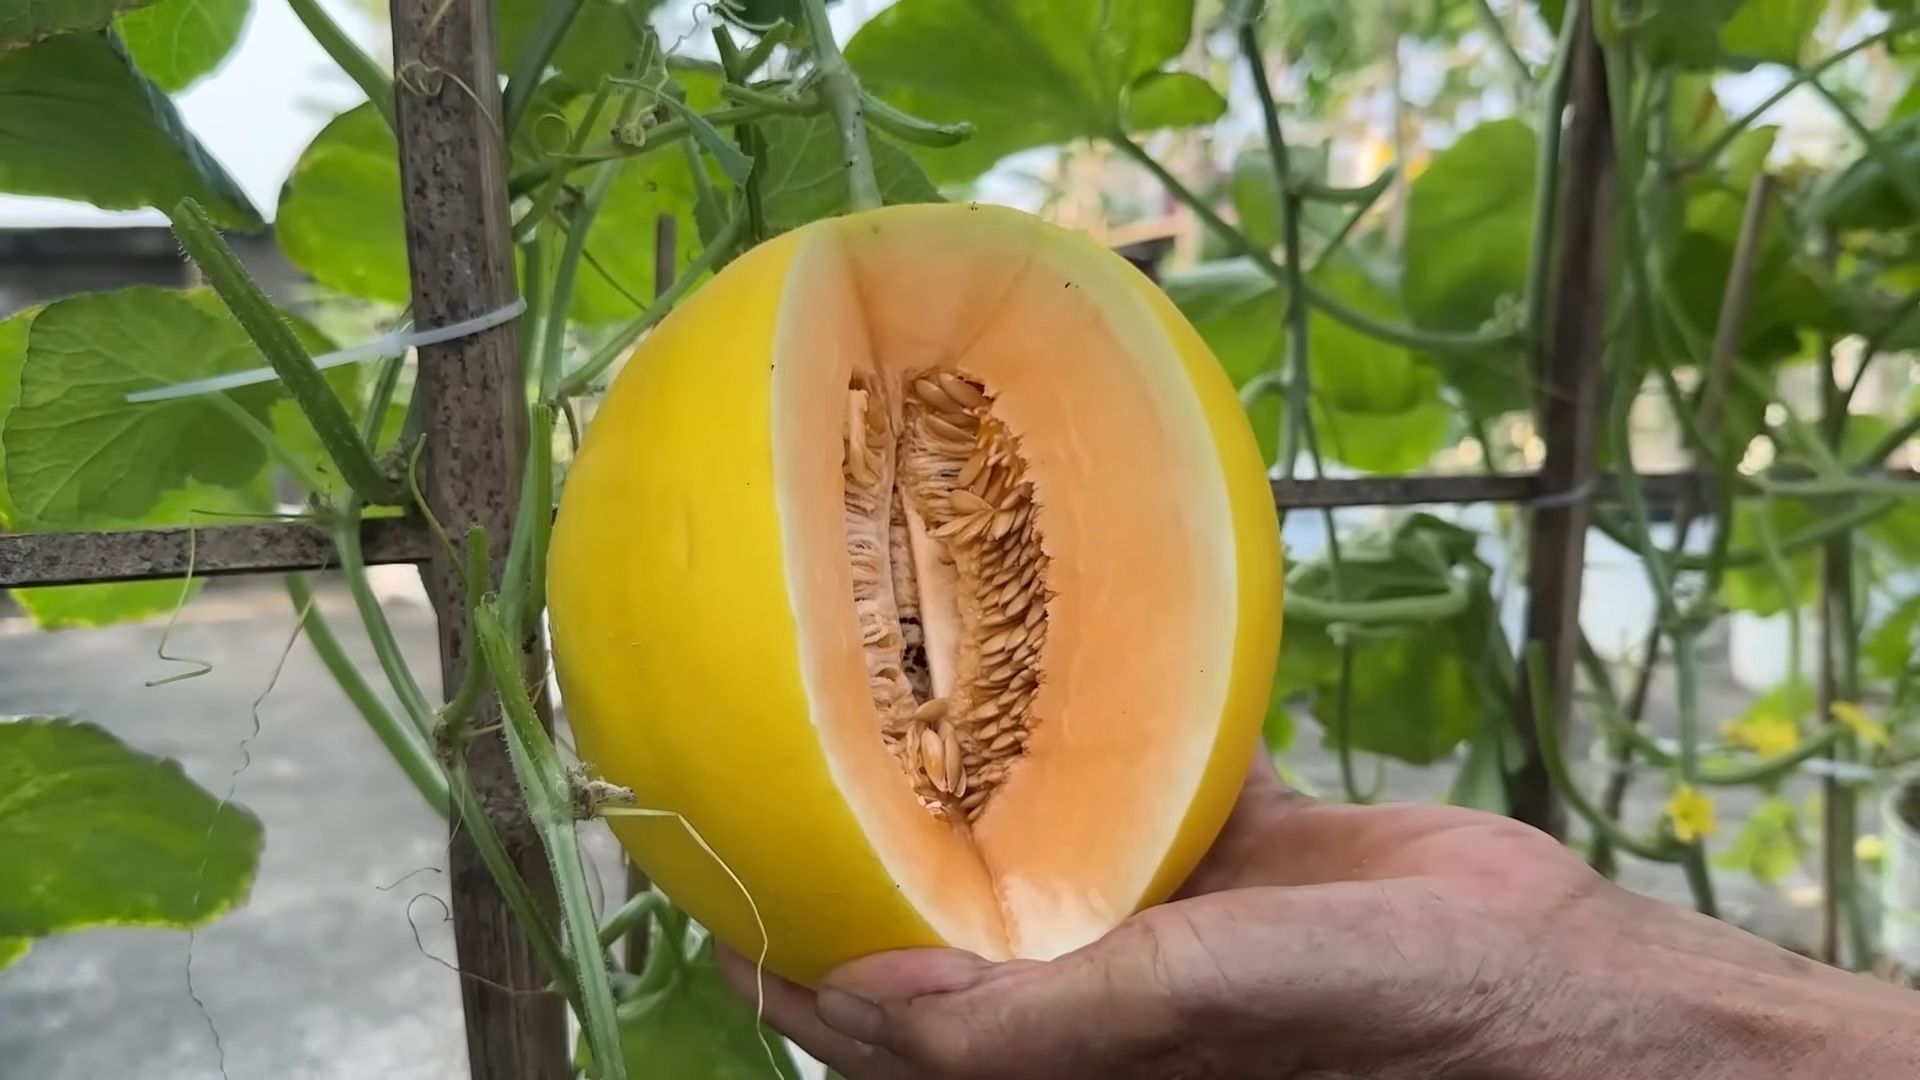
* **Color Change:** This is often the most obvious sign. The rind color will typically shift from a pale green to a more mature hue, depending on the melon type. Watermelons might develop a dull, less shiny appearance. Cantaloupes will turn a golden-tan color. Honeydews will become a creamy yellow.
* **Ground Spot:** The “ground spot,” where the melon rests on the soil, is a crucial indicator. It should change from white or pale green to a creamy yellow or even a deeper orange, depending on the melon.
* **Netting (Cantaloupes):** The netting on cantaloupes should become raised, coarse, and well-defined. The background color underneath the netting should also change to that golden-tan color.
* **Tactile Cues (Touch):**
* **Firmness:** Gently press on the blossom end (the opposite end from the stem). A ripe melon will have a slight give, but shouldn’t feel mushy. Overripe melons will feel very soft and yield easily to pressure.
* **Weight:** Ripe melons are surprisingly heavy for their size. This is because they’re full of juicy goodness!
* **Auditory Cues (Sound):**
* **Thumping (Watermelons):** This is a classic test, but it takes some practice. A ripe watermelon will produce a deep, hollow sound when thumped. An unripe melon will sound higher-pitched and more solid. An overripe melon will sound dull and thuddy.
* **Stem Condition:**
* **Cantaloupes:** Ripe cantaloupes will “slip” from the vine with gentle pressure. This means the stem will easily detach from the fruit, leaving a smooth, round scar. If you have to tug or cut the stem, the melon isn’t quite ready.
* **Watermelons and Honeydews:** These melons don’t slip from the vine. Instead, look for the tendril closest to the melon stem to turn brown and dry. This indicates that the melon is nearing ripeness.
Harvesting Your Melons: A Step-by-Step Guide
Now that you know what to look for, let’s get to the actual harvesting process. Remember to handle your melons with care to avoid bruising them.
Harvesting Cantaloupes
1. **Check for Slippage:** Gently apply pressure to the stem where it connects to the melon. If the melon is ripe, it should easily detach from the vine with a gentle tug.
2. **Inspect the Melon:** Before picking, double-check the other ripeness indicators: color, netting, ground spot, and firmness.
3. **Harvest Carefully:** Once the melon slips, gently lift it from the vine and place it in a basket or container. Avoid dropping or bumping it.
4. **Curing (Optional):** Cantaloupes can be cured for a few days to enhance their flavor and sweetness. Place them in a cool, dry place for 2-3 days before eating.
Harvesting Watermelons
1. **Observe the Tendril:** Look for the tendril closest to the melon stem to turn brown and dry. This is a strong indicator of ripeness.
2. **Check the Ground Spot:** The ground spot should be creamy yellow or even a deeper orange.
3. **Thump the Melon:** Listen for a deep, hollow sound when you thump the watermelon.
4. **Cut the Stem:** Use a sharp knife or pruning shears to cut the stem close to the melon, leaving about 2 inches of stem attached.
5. **Handle with Care:** Watermelons are heavy, so be sure to lift them carefully and avoid dropping them.
Harvesting Honeydew Melons
1. **Observe the Tendril:** Similar to watermelons, look for the tendril closest to the melon stem to turn brown and dry.
2. **Check the Color:** The rind should be a creamy yellow color.
3. **Feel the Firmness:** The blossom end should have a slight give when pressed gently.
4. **Cut the Stem:** Use a sharp knife or pruning shears to cut the stem close to the melon, leaving about 2 inches of stem attached.
5. **Handle with Care:** Honeydews are also relatively heavy, so lift them carefully.
Post-Harvest Care and Storage
Once you’ve harvested your melons, proper storage is essential to maintain their quality and flavor.
* **Cantaloupes:** Store cantaloupes in the refrigerator for up to 5 days.
* **Watermelons:** Whole watermelons can be stored at room temperature for up to 2 weeks. Once cut, wrap tightly in plastic wrap and refrigerate for up to 3-4 days.
* **Honeydew Melons:** Store honeydew melons in the refrigerator for up to 2 weeks. Once cut, wrap tightly in plastic wrap and refrigerate for up to 3-4 days.
Troubleshooting Common Harvesting Issues
Sometimes, things don’t go exactly as planned. Here are some common issues you might encounter and how to address them:
* **Melons Cracking:** This can be caused by inconsistent watering, especially after a period of drought. Try to maintain consistent soil moisture levels.
* **Melons Rotting on the Vine:** This can be caused by fungal diseases or pests. Ensure good air circulation around your plants and consider using organic fungicides if necessary.
* **Melons Not Sweet Enough:** This can be due to a variety of factors, including poor soil, insufficient sunlight, or harvesting too early. Make sure your soil is rich in nutrients and that your plants receive at least 6-8 hours of sunlight per day. Be patient and wait for the melons to fully ripen before harvesting.
* **Pest Damage:** Pests like squash bugs and vine borers can damage melons. Regularly inspect your plants for pests and take appropriate control measures.
Tips for a Bountiful Melon Harvest Next Year
To ensure an even better melon harvest next year, consider these tips:
* **Choose the Right Variety:** Select melon varieties that are well-suited to your climate and growing conditions.
* **Prepare the Soil:** Melons need well-drained, fertile soil. Amend your soil with compost or other organic matter before planting.
* **Provide Adequate Sunlight:** Melons need at least 6-8 hours of sunlight per day.
* **Water Regularly:** Water deeply and consistently, especially during hot, dry weather.
* **Fertilize Properly:** Use a balanced fertilizer to provide your plants with the nutrients they need.
* **Control Pests and Diseases:** Regularly inspect your plants for pests and diseases and take appropriate control measures.
* **Rotate Crops:** Avoid planting melons in the same location year after year to prevent the buildup of soilborne diseases.
Enjoying Your Homegrown Melons
Now that you’ve successfully harvested your melons, it’s time to enjoy the fruits (or rather, the melons!) of your labor. Here are a few ideas:
* **Eat them fresh:** Nothing beats a slice of juicy, homegrown melon on a hot summer day.
* **Make a fruit salad:** Combine your melons with other seasonal fruits for a refreshing and healthy salad.
* **Blend them into smoothies:** Melons add sweetness and hydration to smoothies.
* **Grill them:** Grilled watermelon is a surprisingly delicious treat.
* **Make melon salsa:** Combine diced melon with red onion, cilantro, lime juice, and jalapeno for a sweet and spicy salsa.
Harvesting your own melons is a rewarding experience. By following these tips and paying attention to the signs of ripeness, you can enjoy delicious, homegrown melons all summer long. Happy harvesting!
Conclusion
So, there you have it! Transforming your backyard melon harvest from a potential gamble into a guaranteed success story is within your reach. This simple, yet incredibly effective, DIY trick is a game-changer for anyone serious about enjoying the sweet rewards of their labor. We’ve walked you through the process, highlighting the benefits of increased yield, improved flavor, and reduced risk of spoilage. It’s not just about growing melons; it’s about maximizing your harvest and savoring the fruits (or rather, melons!) of your hard work.
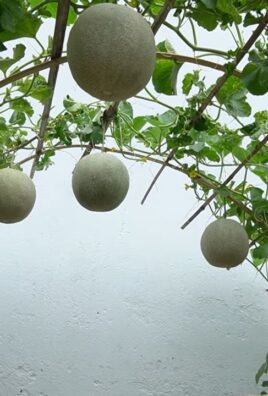
Why is this a must-try? Because it addresses the core challenges faced by home melon growers. It combats ground rot, a common culprit behind disappointing harvests. It elevates your melons, literally and figuratively, allowing for better air circulation and sunlight exposure, leading to sweeter, more flavorful fruits. And it’s incredibly cost-effective, utilizing materials you likely already have on hand or can easily acquire.
But don’t stop there! Experimentation is key to unlocking the full potential of this DIY trick. Consider these variations to tailor it to your specific needs and preferences:
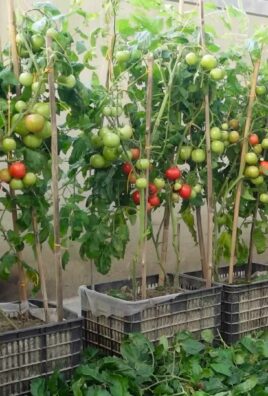
* Material Alternatives: While we suggested using plastic crates or pallets, feel free to explore other options like repurposed wooden planks, sturdy wire mesh, or even large rocks. Just ensure the material is clean, stable, and won’t leach harmful chemicals into the soil.
* Height Adjustments: The ideal height will depend on the size of your melon variety and the overall climate. In particularly humid areas, you might want to elevate the melons a bit higher to promote even better air circulation.
* Support Systems: For larger melon varieties like watermelons, consider adding extra support to the platform to prevent it from collapsing under the weight. This could involve reinforcing the structure with additional bracing or using a wider base.
* Companion Planting: Enhance your melon patch by incorporating companion plants that deter pests and attract beneficial insects. Marigolds, basil, and nasturtiums are excellent choices.
Ultimately, the best approach is the one that works best for you and your garden. The key is to understand the underlying principles – improved air circulation, reduced ground contact, and enhanced sunlight exposure – and adapt the technique accordingly.
We are confident that this DIY trick will revolutionize your backyard melon harvest. Imagine biting into a perfectly ripe, juicy melon that you grew yourself, knowing that you played a crucial role in its success. The satisfaction is unparalleled.
So, what are you waiting for? Give this DIY trick a try and experience the difference for yourself. We encourage you to document your journey, share your results, and inspire others to embrace the joys of home gardening. Post photos of your elevated melons on social media using #BackyardMelonMagic and tag us! We can’t wait to see your amazing harvests and learn from your experiences. Let’s cultivate a community of thriving melon growers, one elevated melon at a time. Remember, a successful backyard melon harvest is within your reach!
Frequently Asked Questions (FAQ)
What types of melons will this DIY trick work for?
This trick is beneficial for almost all types of melons, including watermelons, cantaloupes, honeydew melons, and even smaller varieties like Galia melons. The key is to adjust the support structure to accommodate the size and weight of the specific melon variety you’re growing. For larger watermelons, you’ll need a sturdier platform than you would for smaller cantaloupes.
How high should I elevate the melons?
Generally, elevating the melons 4-6 inches off the ground is sufficient. This provides adequate air circulation and prevents the melons from sitting directly on the soil. However, in particularly humid climates or for larger melon varieties, you might want to increase the height to 8-12 inches. The goal is to ensure that the bottom of the melon is well-ventilated and doesn’t come into prolonged contact with damp soil.
What if I don’t have plastic crates or pallets? What else can I use?
Don’t worry if you don’t have access to plastic crates or pallets. There are plenty of other materials you can use to elevate your melons. Repurposed wooden planks, sturdy wire mesh, large rocks, or even thick layers of straw can all work as substitutes. Just make sure the material is clean, stable, and won’t leach harmful chemicals into the soil. Avoid using materials that could rot or decompose quickly, as this could attract pests and diseases.
Will this trick protect my melons from pests?
While this DIY trick primarily focuses on preventing ground rot and improving air circulation, it can also offer some protection from pests. By elevating the melons off the ground, you make it more difficult for ground-dwelling pests like slugs, snails, and squash bugs to reach them. However, it’s still important to monitor your melon patch regularly for pests and take appropriate measures to control them if necessary. Consider using organic pest control methods like neem oil or insecticidal soap.
How often should I water my melons after elevating them?
Elevating your melons can slightly increase the rate at which the soil dries out, so it’s important to monitor the moisture levels and adjust your watering schedule accordingly. Check the soil moisture regularly by sticking your finger about an inch into the soil. If the soil feels dry, it’s time to water. Water deeply and thoroughly, ensuring that the water reaches the roots of the melon plants. Avoid overwatering, as this can lead to root rot.
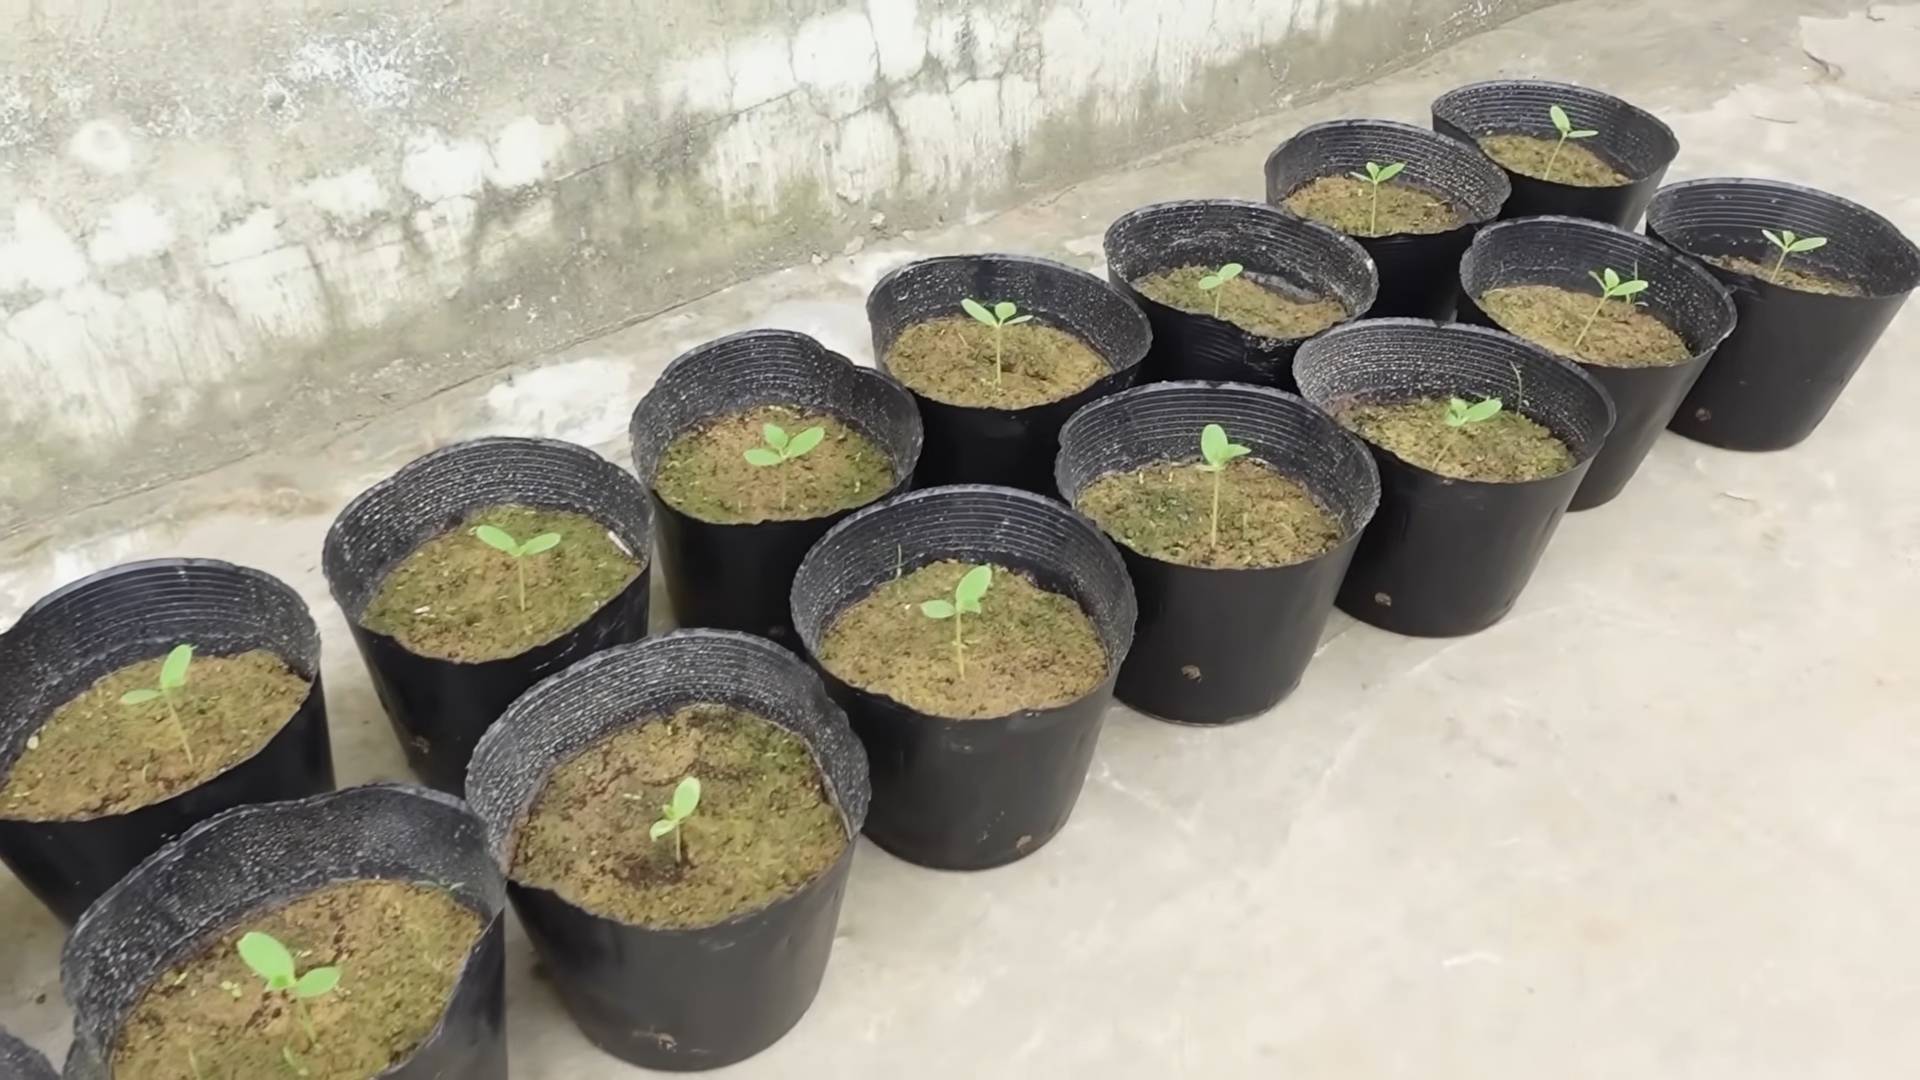
Can I use this trick in a container garden?
Absolutely! This DIY trick is just as effective in container gardens as it is in traditional garden beds. Simply place the container on top of a raised platform, such as a small table or a stack of bricks, to elevate the melons off the ground. This will provide the same benefits of improved air circulation and reduced ground contact.
How do I know when my melons are ripe?
Determining when a melon is ripe can be tricky, but there are a few telltale signs to look for. For watermelons, look for a dull, rather than shiny, rind and a yellowish spot on the bottom where the melon rested on the ground. For cantaloupes, the stem should slip easily from the vine when the melon is ripe. Honeydew melons should have a slightly waxy feel and a sweet aroma. Ultimately, the best way to know if a melon is ripe is to taste it!
What if my melons are already growing on the ground? Is it too late to use this trick?
It’s never too late to try! Even if your melons are already growing on the ground, you can still carefully lift them and place them on a raised platform. Be gentle when handling the melons to avoid damaging them. If the melons are very large or heavy, you might need to enlist the help of a friend or family member.
Does this trick work in all climates?
This DIY trick is beneficial in most climates, but it’s particularly helpful in humid or rainy areas where ground rot is a common problem. In drier climates, it can still improve air circulation and sunlight exposure, leading to sweeter, more flavorful melons. However, in extremely hot climates, you might need to provide some shade to protect the melons from sunburn.
How can I share my results and connect with other melon growers?
We’d love to see your amazing harvests! Post photos of your elevated melons on social media using #BackyardMelonMagic and tag us! You can also join online gardening forums or communities to share your experiences, ask questions, and connect with other melon growers. Sharing your knowledge and experiences can help others succeed and contribute to a thriving community of home gardeners.
Leave a Comment